Using the Desktop Recorder
The Desktop Recorder software on Media Hopper is a great resource for creating training videos.
The Media Hopper is the University of Edinburgh’s new Media Asset Management Platform. It’s a place to showcase video content from across the University. It also comes with a great, little piece of software which enables you to use screen capture and record videos. The Desktop Recorder can be downloaded and used by anybody with a Media Hopper account.
User needs
Here at the University Website Programme this software is a great resource for creating training materials. The screen capture functionality is ideal as it means that we can record videos with step-by-step guidance on how to carry out tasks in the University CMS. The Desktop Recorder is basic but intuitive and quick to use. The editing components are limited but our videos need to be simple and informative and, as they are for the internal use of University of Edinburgh staff, they do not require a high level of polish or editing finesse.
Recording a video
In my first experience of using the Desktop Recorder I had downloaded the software, played around with it and recorded my first video all in a couple of hours.
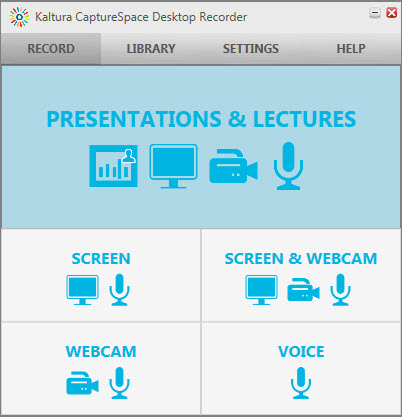
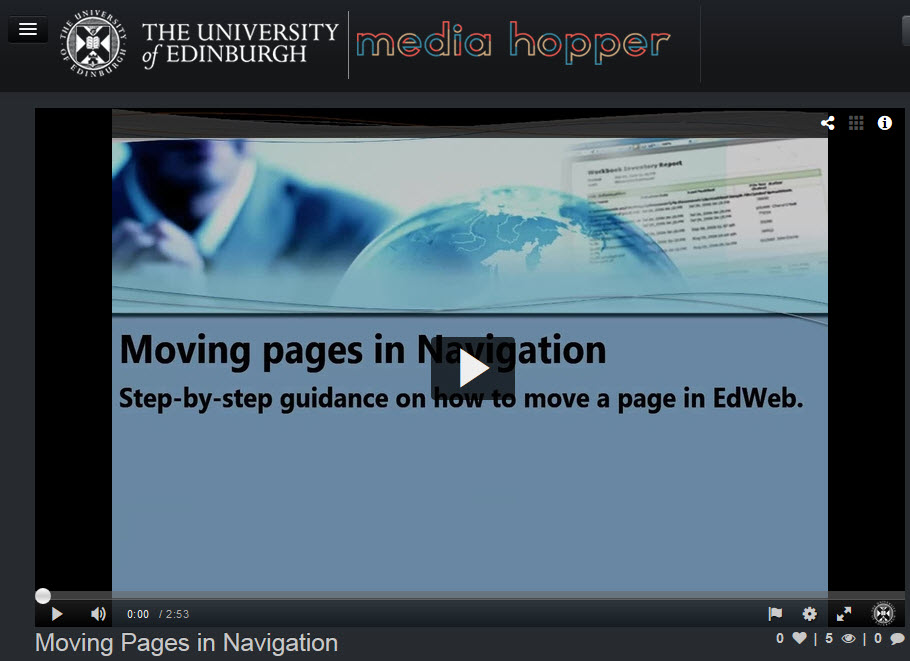
The video I recorded was a guide for EdWeb users on how to move a page in navigation. I have two monitors so I set the Desktop Recorder to record a section of my left desktop screen while using my right screen to display my script. I then recorded myself reading my script and running through the task on my left screen.
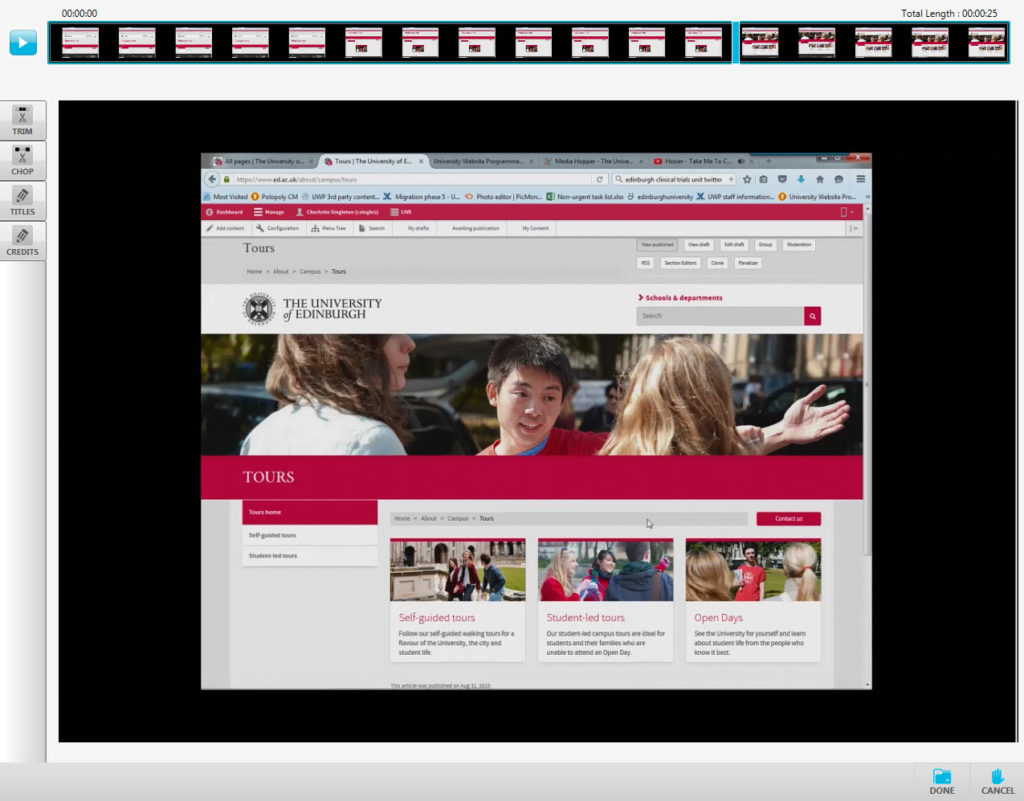
As the Desktop Recorder has an inbuilt editing functionality I could simply start the task again if I stuttered or had an issue with my computer, even doing several takes of the same section all in one recording. When I felt I had all the material I needed I watched through the video and used the “trim” and “chop” options to edit out the parts I didn’t want. Trim enables you to cut parts from the beginning and the end of your recording. Chop allows you to cut sections out from the middle of your recording. You can edit your video without saving and then revert back to the original at any time by simply cancelling your edits. When I was happy with the video I then used the “Title” option to add a title slide and description to the start of the video. I also used the “Credit” option to add a slide to the end of the video, detailing where the viewer could get more information. Both of these options had a number of slide templates, enabling you to choose a design that you think best fits the purpose and feel of your video.

The editing functions enable you to cut together your recording and create a title screen before uploading.
Once the video was made I could upload it straight to my Media Hopper account.
Media Hopper in EdWeb
As Media Hopper is still in soft launch there are some things which are not yet available to users. In the next few months they will be rolling out some additional features which will make the desktop recorder a very useful tool for producing a variety of content.
At present, it may be possible to embed items from Media Hopper into EdWeb using the Custom HTML asset, but this is not recommended as Media Hopper has not launched yet and it is not supported.
We are seeking to allow simple embedding of media assets in EdWeb linked directly from Media Hopper. This would replace the current Streaming Media asset type. Doing so would allow access to embeds from a recognised, supported University source for all editors, and encourage sharing and re-use of quality multimedia content University-wide.
Subtitling and Accessibility
Currently you can import your videos from Youtube into Media Hopper but not the other way around. In the future, however, Media Hopper will enable you to upload videos straight from Media Hopper onto your Youtube channel.
This is especially handy as it means that you can use the Youtube subtitling feature and make your videos more accessible. Although Youtube automatic subtitling is notoriously bad, their subtitling tool is a great way of manually subtitling the videos yourself. You can upload a transcript and then drag the text to match up with the timing of your audio.
Add subtitles & closed captions with Youtube
Read our previous blog post about creating your own subtitles.
YouTube subtitling – accessibility in video training
Subtitling and providing transcripts is really important in order to make sure you web content is in line with the University’s web accessibility policy. The importance of this was covered in a previous Web Publishers Community Session.
You can read coverage on the session on our blog.
Web Publishers’ Community – October Update
The University of Edinburgh’s Web Accessibility Policy
UWP subtitling service
A subtitling service is also provided here at the University Website Programme. We can create a subtitle file for you and a transcript which you can include with the video on your site.
Subtitling can take somewhere in the region of 5 – 10 times as long as the video’s duration depending on the complexity of the content. We charge by the hour, so get in touch if you’d like an estimate of the likely cost for your video.


1 replies to “Using the Desktop Recorder”