Adobe After Effects training

After Effects, is an industry-standard tool for video compositing, motion graphics design, and animation.
Before the training
Before I attended the After Effects (AE) training I had only used the software a little. I’d watched some of the Lynda training videos, though I found it tricky to decide which videos to watch when you don’t know what you need to know.
Research data management MOOC
The first AE project I worked on was to create a series of short animations for a FutureLearn MOOC on research data management. The static illustrations were created by Gillian Kidd from the Graphic Design Service and my job was to animate them. So firstly I had to work out the best way to import the graphics. AE imports Illustrator and Photoshop with layers so that makes things much easier. This project was a good starting point for me with AE as it wasn’t too complex. This is one of the sample clips created back in January, it was redone later in June with updated graphics and is part of a larger video.
Staff development training
I travelled to Glasgow back in March to attend a two day advanced Adobe AE training course with XChange Training. The advanced part was actually the third day of the training, the first two days being the introduction. Thankfully it was pitched about the correct level and I didn’t feel too out of my depth. The trainer Simon King is very knowledgable and was happy to answer any questions. I recently created this short demo video to show some of the techniques we covered back in March. I go into more depth about each technique featured after the clip.
The techniques
Motion tracking
Motion tracking is exactly what it sounds like, tracking something which is moving. In this section I added text to move along with a person walking whilst using their mobile phone.
Camera tracking
This footage was taken from the Edinburgh to London train stopping at York. Here I have added text to the train, and the signpost. I used camera tracking here rather than motion tracking because the angles change. The camera takes into account the different perspectives in the video so you can add images, video or text to anything and it looks like it belongs there.
3D camera and lighting
For this clip I have a section of footage from the same London train journey masked behind a photo of a London underground carriage to look like it is seen through the windows. I added text to the window and cut out the photograph of a figure. I then added a camera which moves back to reveal the figure in the carriage. The figure has been placed closer to the foreground and by adding a couple of lights with shadows it highlights the fact the figure is flat. In the training we imported Illustrator files to build up lots of layers of images, moved the layers around in the z axis, then added some lighting to show shadows and so you have a 3D environment.
Lower thirds
Even if you don’t know the term ‘lower thirds’ you will have seen them. They are often used for text overlay, for instance interviews on the news where someones name animates in as they start to speak, usually appearing in the lower third of the screen. I used it at the beginning and end of my example video.
After the training
I had previously used pre-compositions (pre-comps), a composition within your composition, I now use them all the time in AE and have learned how useful they can be. You can use them to keep related layers compiled together, great for animations which you can then reuse in other parts of your video, and it helps prevent your main composition from getting unwieldy. If you edit it, it will update wherever you have used it, and duplicate them, pretty handy.
I’m still learning when the best use of null objects are. A null object is a bit like an empty object, you can attach other layers to it to control them for positioning, scale and rotation. I used one in the motion tracking clip of my example video above but I know I could make more use of them. Parenting is linking layers and like a null object you can make them position, scale and rotate together. I used parenting in the lower thirds section of my example video for the text and background colour so they move together.
I hadn’t used the cameras or lighting since doing the training until I created the example video so it is quite simplistic. That is something that would be good to have more time to learn.
When looking for a particular technique to use I now know a lot more of the terminology to help me search for them.
SEBI animations
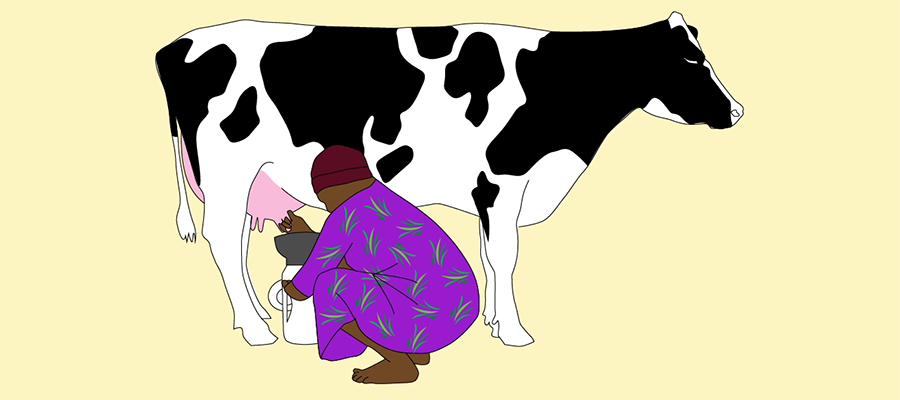
The Supporting Evidence-Based Interventions (SEBI) animations are a series of eleven video animations on mastitis in dairy cattle. I created all the images in Illustrator in separate layers which I then imported to AE and animated. I’ve learned a lot whilst working on this project, but using pre-comps made handling the vast numbers of different layers more efficient. Before my training I would have created these all as individual assets and layers, nothing was reused. This was a fantastic project for me, I enjoyed creating the illustrations and of course using AE.
SEBI OERs (CC BY license)
- Mastitis animations (Media Hopper channel)
- Mastitis animations (YouTube playlist)
- Mastitis illustrations (Flickr album)
- Mastitis animations technical handbook (PDF)


1 replies to “Adobe After Effects training”