
Diary of an Accessibility Intern (Weeks 1-4)
Introduction
In this blog post, I write about what digital accessibility is, how we can make digital content more accessible, and why all of this matters in the first place. Also, this is a sort of diary of my first month as a Digital Accessibility Intern: what I have been up to, and my thoughts about various activities I have undertaken.
Why should we care about digital accessibility?
This question is (fortunately) being asked less and less as time goes on – and as we as a society keep trying to improve in every way, shape, and form, it continually becomes more rhetorical, and less literal. Of course, the answer to this as a literal question is obvious: because we want to be inclusive, and to promote equity. However, one can go much deeper in terms of answering the question “Why should we care about digital accessibility?”. Indeed, the way in which many will think about digital accessibility is taking a product which works fine for “normal people”, and adapting it so that people who have various disabilities can use it too.
This view is just wrong, for many reasons, but there is one which I would like to focus on:
Creating two distinct categories: “normal people” and “disabled people”
Innately disabled people or innately dis-abling design?
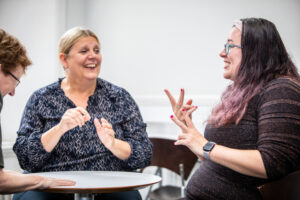
UoE staff using British Sign Language
While even the idea of creating these two categories is one which, I hope, most people would find utterly repulsive, it is (unfortunately) something which many of us still subconsciously do.
Even with all the noise around us about various Equality, Diversity & Inclusion (EDI) policies, movements, and other projects, it is still so easy to see some people as “disabled” and some as not. People might subconsciously interpret EDI as: “the normal people expanding their horizons to let the disabled people in on the fun too”. This view is degrading to the “disabled people” in question, who typically are individuals whose impairments make coping with typical (usually bad) design particularly difficult, hence they are “dis-abled”, not by virtue of their condition, but by virtue of whatever they are trying to do being inaccessible to them, due to this “thing” they want to do being designed without considering them.
The implications of this were a revolution to me when I first realised:
No one is disabled until something dis-ables them; disability is enabled by anyone who (usually unknowingly) produces dis-abling design.
This fact makes it quite logical to push designers of all kinds to work on making their content enabling for all, on making it accessible. As I see it, this can be done at three different “levels of implementation”:
1 – Building a diverse workforce
The best and easiest way to enable as many as possible to carry out the things they want to is to ensure that as many workforces as possible are as diverse as possible. As many of us know, ensuring diversity in every part of the University, and of the world at large, allows for everything to be designed with as few disabling features as possible, since the designers in question will have first-hand experience of the various issues that could be faced by their target audience, which itself will, unavoidably, be diverse.
2 – Creating accessible content
The second way to “disable” dis-abling design is for designers of any kind to be made aware of what good design – design which doesn’t actively dis-able anyone – looks like. For example, this means to ensure that web developers are aware of WCAG 2.2 – the current latest version of the W3 Consortium’s Web Accessibility Guidelines – and of the underlying design principles these guidelines are built upon. Although I mention web developers, anyone who creates any form of content should be made aware of these things. As I write this blog post, I try to ensure that I have meaningful link hypertext, use HTML heading levels properly to create a reasonable page structure, and do not use continuous capitals. There are plenty of resources online to learn about these things, a few of which are listed at the bottom of this post, but for anyone who is interested in learning more about what general design principles should be followed by all who output any form of content, I can recommend the Disability Information Team’s excellent “Creating Accessible Materials” training session, here at the University of Edinburgh. I attended it myself, and it goes over what the characteristics of accessible content are, for you to take home and apply in your own media creation, whatever media this may be.
3 – Collaborating with accessibility specialists

WAVE toolbar automated accessibility testing tool showing a contrast error on ITOT website
The third way of maximising accessibility is to work with an accessibility specialist. This is what my role this summer consists of as a Digital Accessibility Intern. As you will see in my sort of diary, further in this blog post, the different projects and activities I have taken part in so far have covered a broad scope, but the main part of my role is to test websites across DLAM, and from my findings, to produce an accessibility statement, to be published on the said websites. As the University of Edinburgh is a public sector body, it must comply with the Public Sector Bodies (Websites and Mobile Applications) (No. 2) Accessibility Regulations 2018, and various other pieces of legislation, which means that all websites which the University of Edinburgh and any other public sector body develops, or helps to develop, must have an accessibility statement published on its website, and this statement should be updated every year. This takes a tremendous amount of work, given the size of the University, as well as how few staff members in the University are able to do this testing and statement producing full time.
The key thing about these “levels of implementation”, as I call them, is that they are arranged from most optimal to least optimal. I mean this in the sense that for example, in an ideal world, there would be no need for an accessibility specialist, as designer teams would be diverse enough to cover the main bases of accessibility, and the other ones would be covered by the designers having the basic awareness of WCAG I talked about.
Similarly, in an “ideal++” world, there would be no need for even having guidelines like WCAG produced in the first place, because designer teams would be diverse enough that all possible disabling design factors would be covered effortlessly and seamlessly by the fact that these diverse design teams would have innate understanding of what makes it accessible for them, leading to design that is accessible for all, due to this perfect diversity.
Of course, this “ideal++” world is not feasible: there are way too many possibly disabling factors for every single design team in the University – let alone the whole world – to be able to have first-hand experience of them all. Also, it is not something which we should strive towards achieving, as the “ideal++” world is only any good if it is perfectly executed. Because of this, we should not try to strive towards this at all, as that effort would not be rewarded.
What I suggest is that we look to the second level of implementation – we should aim to eliminate the need for accessibility specialists. Of course, there will always be a need for accessibility specialists, but mastering the first two levels of implementation would allow accessibility specialists to focus on the tasks which only they should spend their time on, like testing and creating statements for teams which don’t have the knowledge or the time to do it themselves, for example.
Why do I care about digital accessibility?
I myself care about digital accessibility for all of the reasons outlined above, for all the reasons why “we” should care about digital accessibility, but I also care for other reasons.
I care because I have first-hand experience of bad digital accessibility.
I would be extremely surprised if anyone who has used a digital device tells me they have never experienced bad digital accessibility. It might not be as obvious as having alt text for screen reader users, but for example, it could be a cookie banner that you couldn’t close on your phone because the button was off the screen. Or, for example, when I am drying my hair, I like to have captions on whatever content I might be watching, as the hairdryer is too loud. Digital accessibility benefits everyone, sometimes in scenarios no one has ever considered.
I also care because I have second-hand experience of bad digital accessibility.
My best friend is considered legally blind. He is blind in one eye, and has 1/20 vision in the other. Needless to say, it is not always easy for him to navigate the digital realm. For example, he is sensitive to bright light, so if he comes across a site which displays a white page which doesn’t respond to the dark mode he has set up in his system settings, he can’t use that site without considerable eye strain. Small text is also an issue: often, zooming in on a website causes its layout to change drastically, and, usually, not properly. Many times he wants to do things in less time than it would take to open Windows Magnifier and zoom in that way, so that is not a good option for him typically. Day to day, I see him struggle with poorly designed apps and websites. This, along with the other factors mentioned above, is why I care about digital accessibility
My first month as a Digital Accessibility Intern
Coming into this role, I wasn’t sure what I would be doing with my time apart from producing and updating accessibility statements. I didn’t even know about the procedure which we use: producing a testing report while testing the website, before using that to draft the accessibility statement for the website. So what have I been up to? Quite a lot, as it turns out! Here is my timeline for weeks 1–4 of my job.
Week 1
In the first week of my job, like many, I met my team, got set up for work, set goals for my internship and completed my mandatory training. Here are a few other things I did:
Helped with two transcripts for ITOT
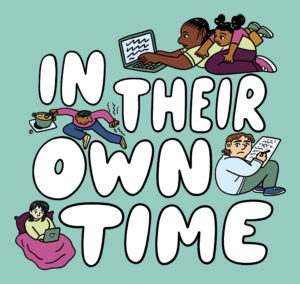
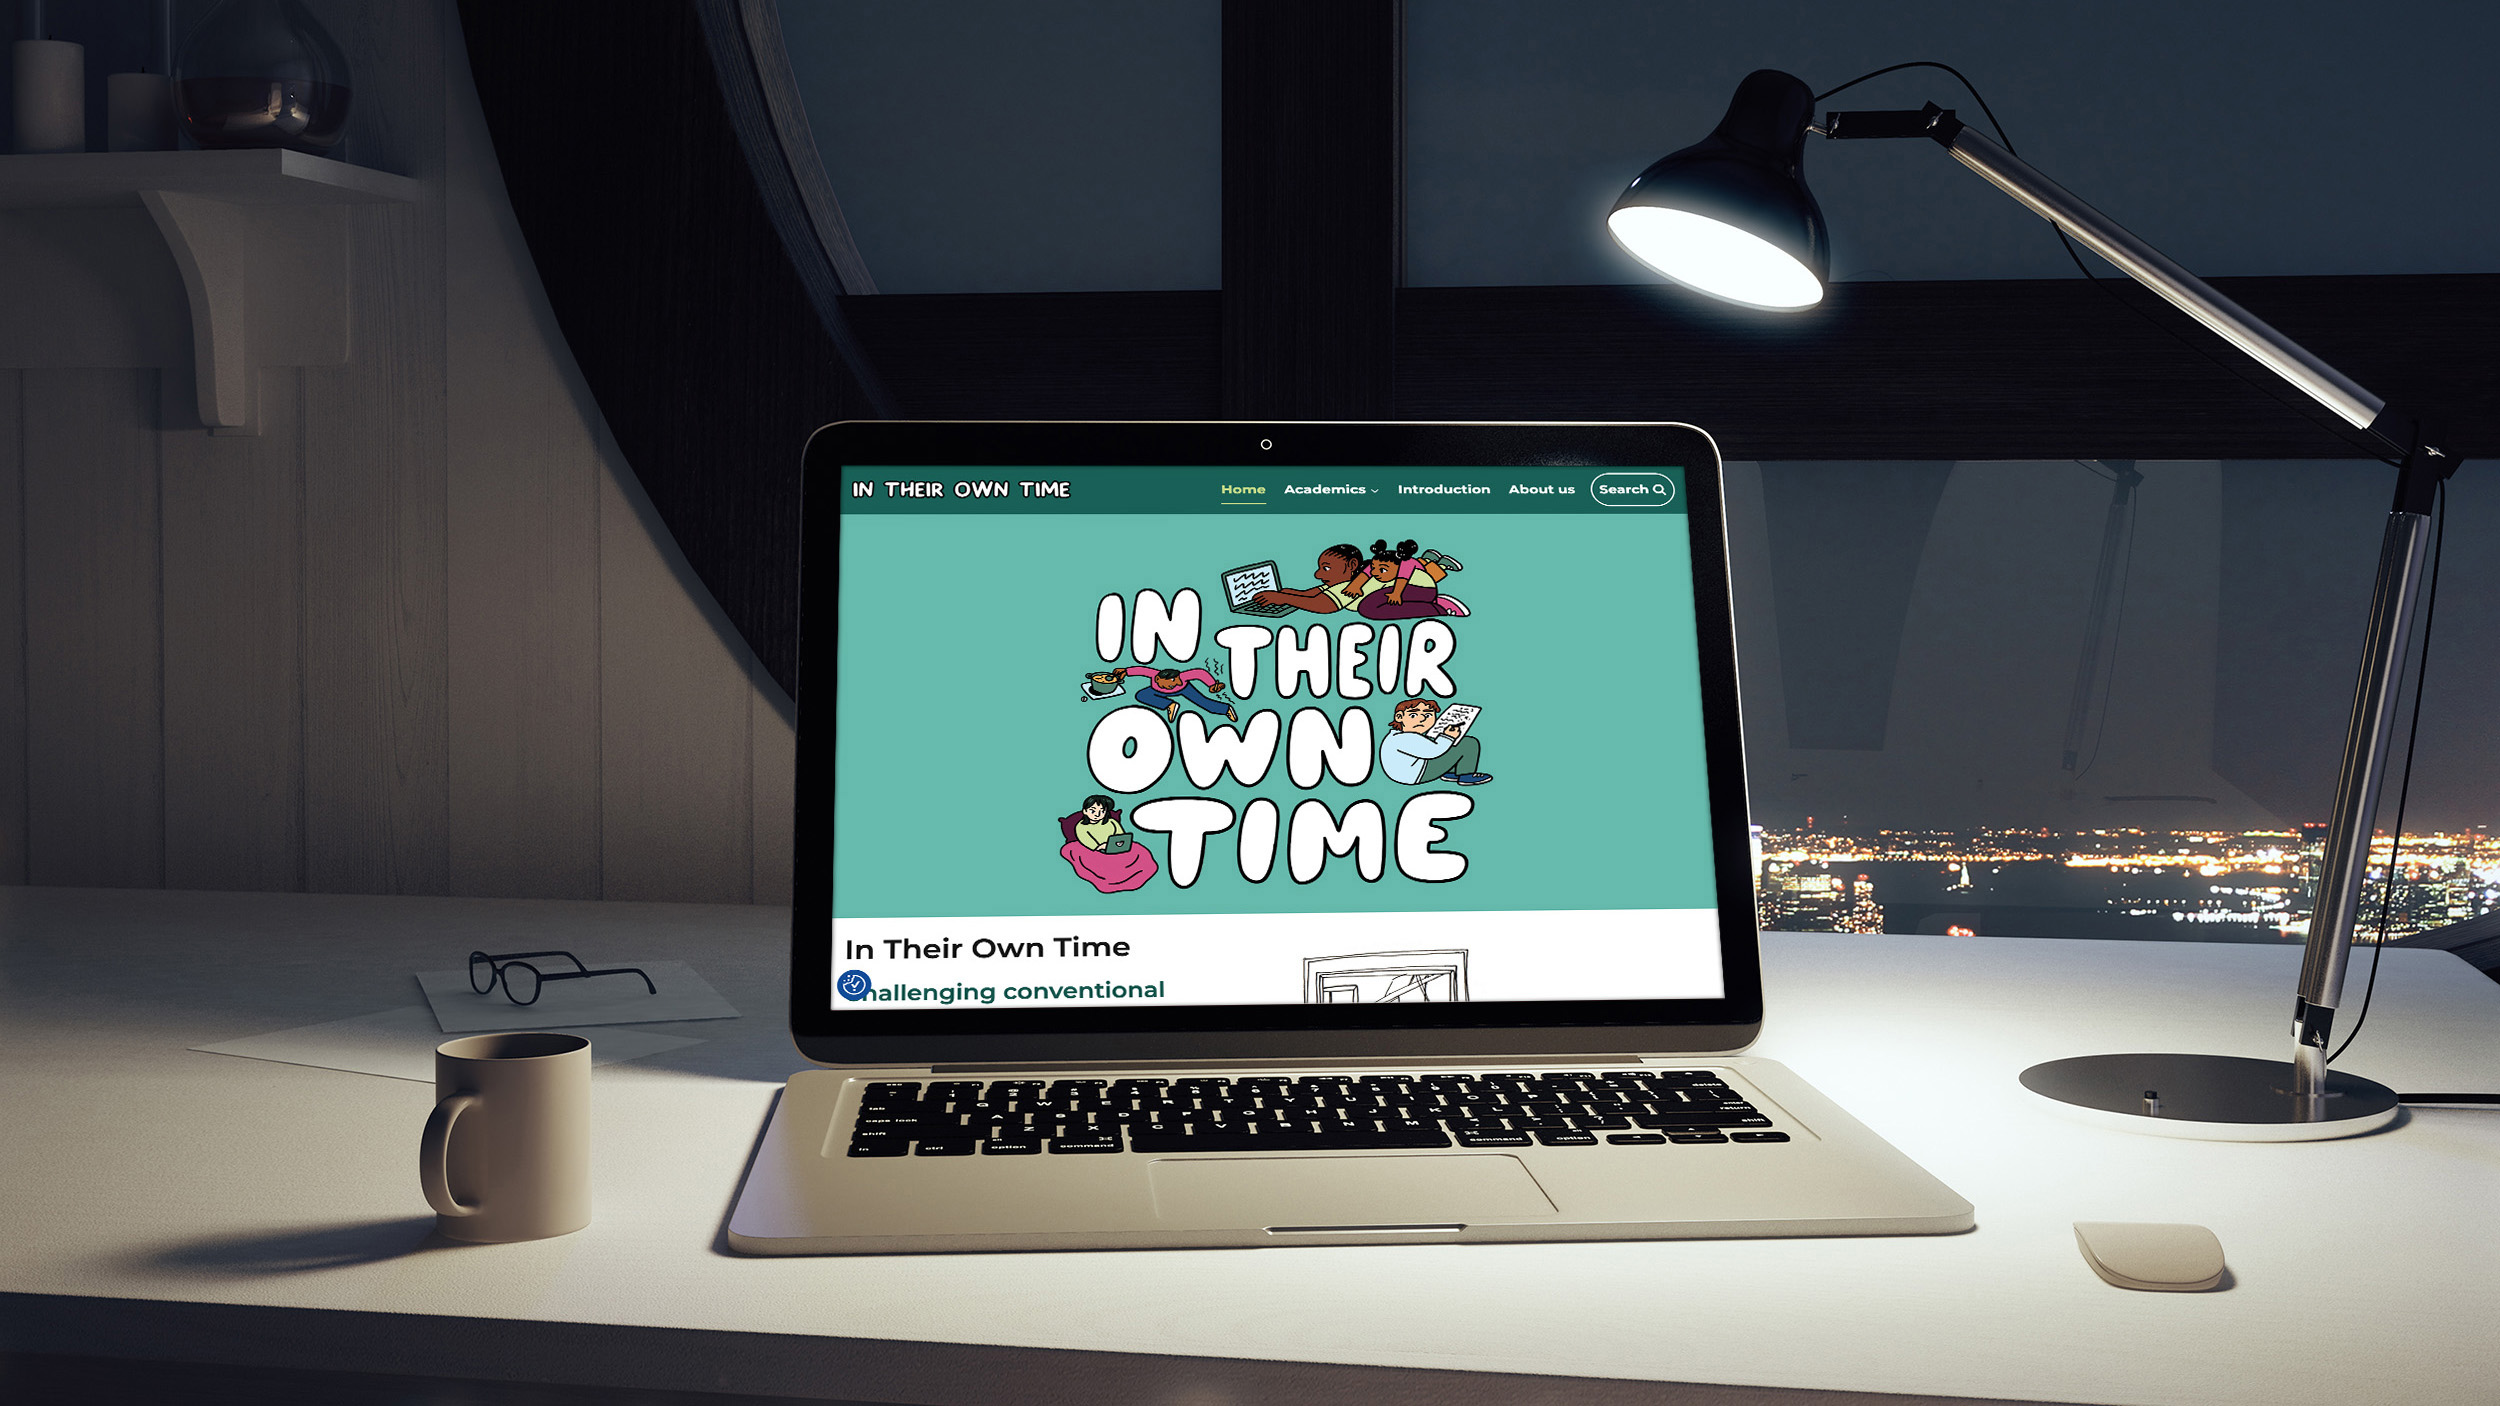
ITOT, or In Their Own Time (access 17:00 – 08:59), is a project which is “[c]hallenging conventional funding structures to include intersectionally underrepresented casualised academics”. Basically, it sheds light on those who work in academia, and how they have to do their research work “in their own time”, unpaid, because of various factors. This is an amazing project, and I would strongly encourage you to check it out. That said, that will have to be in your own time, outside of UK office hours, since the site is voluntarily inaccessible between 9am and 5pm. I am also quite happy with this website’s accessibility, and this the first site I tested myself.
Each of the academics has their own page with a comic about them on the website. We found that the best way to make a comic accessible was not through alt text but rather through producing a transcript, with image descriptions.
Helping with producing the transcripts of two of the comics involved copying the text from the speech bubbles into Word, and proofreading this text, before adding it into the website on WordPress, which got me into some of the basics of the front-end interface of WordPress and the block editor, as well as how to edit text within blocks.
I also realised just how hard it is to describe an image for the purpose of a transcript, or for alt text. It doesn’t suffice to look at what can be seen in the image and put that into writing. You have to understand the purpose of each image you describe within its context, which I did find tough at first, and although I didn’t do that much of it, I did gain in confidence towards the end, and found it pretty fun, as it forced me to properly engage with the content, so that I could describe it meaningfully.
Followed the “WordPress Essential Training” LinkedIn Learning course
I was extremely happy to learn that University of Edinburgh staff has free access to LinkedIn Learning, as it is a platform which I had considered signing up for personally, shortly before beginning my internship in fact.
I came across this course when I started going through the “23 Things for Digital Knowledge” self-led course. In “Thing 2” of this course, I was directed to the WordPress course I mentioned above.
Since gaining proficiency in WordPress and Drupal is one of the goals of my internship, it was very productive for me to follow this course. While earlier in the week I had started to become familiar with the front-end features of WordPress, this course focused more on the backend. Notably, it encouraged me to register my own domain for a personal website, an idea which had come into my head a while ago, but this idea finally materialising was great.
After having registered my own website, the course took me through how to add various plugins and how to set up pages and posts. After just having experienced the front end of WordPress for the first time 48 hours before following this course, I thought it was really interesting to see more of what it looks like outside of the block editor.
Week 2
The second week was very interesting; I discovered a lot of things which I never knew about:
Helped to publish the accessibility statement for Consultation Hub
Consultation Hub serves as a central repository for consultation responses from the University and individual academics and researchers.
While I did not test this site myself or prepare the statement for it, I had fun moving over the content from the Word document which contained the statement to the website’s dedicated page for an accessibility statement.
Copying and pasting Word content into WordPress might seem easy, and it was in the end, but it was not at first. I first tried copying and pasting the text into the WordPress block editor, but found the formatting hard to work with. Then I tried to paste the text into the code view, as Stewart, my line manager, told me that would clear its formatting (although I now realise that I could have clicked “Paste as plain text”).
One thing about accessibility statements is that, in the UK, we have to follow the government’s template very closely. This means that each heading in the statement has an HTML heading level it should be at, and that meant that I had to re-establish this structure within the text. I started by editing the headings directly in the code, replacing <p></p> with <h#></h#>, but found this to be very time consuming for the number of headings there were. Then, I discovered that the visual editor in WordPress did allow me to just highlight text and convert it to a heading of my choosing, which came in very handy for this, as well as for converting the content that was meant to be in bulleted lists into just that.
After this, I had fun proofreading the statement and making sure it was the best it could be. I was happy to be able to correct a few inconsistencies in some parts of it, and it was great to get feedback about things I’d missed from Viki Galt, Head of the Disability Information Team.
Further work on ITOT
While I was testing how the ITOT website fared in the world of screen readers, I discovered that there was an issue: although most of the comic panels didn’t have alt text, one of them did as an experiment, and I discovered that how a screen reader proceeded with this alt text present was far from user-friendly. What the screen reader did was first, as expected, read out the alt text. The problem was that then, it would try to read the text in the speech bubbles of the comic, which is not normally accessible text as it is contained in an image, leading the screen reader it to make some mistakes. Next, it tried to read out any other text present in the image, and this time, it was unable to produce anything satisfactory.
I then tried to see if a screen reader would try to do the same thing on the comics which did not contain any alt text, and I thought that it I noticed it did. This had to be fixed in some way, of course. I brought this up during one of our team’s daily meetings and suggested that we add a “Skip To Transcript” button, which would have made sense, as there was already a “Skip to main content” and a “Back to top” button on the website. I thought this button should be added because, if a screen reader user realised that there was a “Skip To Transcript” button, they wouldn’t be stopped on each comic panel by their screen reader attempting to perform a task which it couldn’t do very well – and which, even if done perfectly, was not as good as a transcript with image descriptions in terms of user-friendliness.
After deciding that this “Skip To Transcript” button was a good idea, Stewart very quickly implemented it on one page, and Jackie on another, and I was then tasked with adding it to the other six. I’m ashamed to admit that this took me much more time than I would have hoped. It took quite a bit of experimenting to find where to add the links and anchors that were required on the different WordPress blocks. I also discovered that it was possible to “Copy styles” in WordPress, which meant that I didn’t need to recreate identical buttons from scratch and was a breakthrough in this process.
Now that the buttons were all operational, I tested how a screen reader responded to the page at that point. This was when I realised that it was only on the one comic which had alt text that the screen reader attempted its poor image-as-text to speech conversion. This meant that the “Skip To Transcript” buttons were obsolete, as all that had to be done was remove the alt text from the comic in which it appeared. I removed this alt text, and later on removed the buttons too, as they only were a hindrance, in the sense that their only use was to force the user to use one extra keystroke to get to the transcript. Quite the opposite of skipping to the transcript.
I was sad that I had spent time thinking about and implementing a feature which had to be removed anyway, but this is part of the process. On the upside, I now would be able to add a “Skip to main content” button on a WordPress page myself, which although being a very simple task, I am happy to have learnt how to do this through my own experimentation, rather than looking it up.
Started Drupal 9 Essential Training LinkedIn Learning course
This course was recommended to me by LinkedIn while I was following the WordPress course, and since learning Drupal aligns with the goals of my internship, I figured it was a good idea to follow this one too.
As I had already set up my own website using WordPress, I didn’t want to have to buy another hosting plan, so I set my sights on trying to host my Drupal environment for this training locally. In the tutorials, the instructor recommends Acquia Dev Desktop as a tool for hosting a Drupal environment locally. This sounded promising, but a quick Google search informed me that Acquia Dev Desktop had reached the end of its life and was now discontinued since 2021. The course is on Drupal 9, of course, and the current latest release of Drupal at the time of writing this is Drupal 11.2.2, which explains why some of the information is out of date.
Then, I mentioned that I was trying to set up a local Drupal environment during one of our team’s daily meetings, and Stewart told me that he personally used MAMP, on MacOS, but told me that he knew of something called WAMP, for Windows. So I googled WAMP, and found a tool called WampServer. This tool’s website was only partly translated from French to English, which already reduced my confidence in this solution, but as a native speaker of French, it personally didn’t discourage me. I started going through the setup process for WampServer, but I was not a fan of the installation UI, or of any of the first steps in the installation.

Another round of googling led me to the fact that Docker seemed like a pretty popular solution for my problem of locally hosting a Drupal website. I did a bit more research on Docker and was concerned when I learned that it is not natively supported on Windows, and it seemed that I would need to set up a Linux-running Virtual Machine in order to use Docker. Luckily, Docker has a solution for Windows or MacOS users, namely an app called Docker Desktop.
So I started installing Docker Desktop. I set it up through the installation wizard, and then faced another issue: Windows Subsystem for Linux 2 (WSL 2) had failed to be installed by Docker itself. Luckily the error message did provide me with a direct link which made it very easy to download WSL 2 myself, and I now had Docker installed on my laptop.
The whole concept of Docker containers and how this software actually works was (and remains!) way beyond my understanding. This means that it was hard to do virtually anything through Docker, although the tutorials they provide were quite useful. I now had to set Drupal up in Docker.
This step required quite a bit of use of the Command Line, which is not something I have any experience doing, and while I could have spent a lot of time trying to learn enough commands to do what I needed to, all I wanted to do was learn how to use Drupal, and using Docker was only a stepping stone in that journey, so I chose to follow tutorials on YouTube, for the sake of efficiency. I first set up a MySQL database in a Docker container, and then linked this database to another container on which I installed Drupal. I tried to dissect each part of the commands I was executing, to make sure I was not blindly following the tutorial, with some success, but I could never have come up with them on my own.
Now that Drupal was all set up, I was able to go through the LinkedIn Learning course on Drupal 9, which is made up of five parts. I only completed the first, which basically took me through the different menus found in the Drupal interface, demystifying it, and helped me to get to grips with it faster, although I did still learn some of the stuff through my own experimentation, as I like doing that when picking up a new piece of software anyway.
All in all, this attempt at getting familiar with Drupal has given me a taste of Docker, which I will certainly look into further, as I found trying to understand it most compelling. I also look forward to going through the other parts of the Drupal 9 course, as it seems to be particularly well designed.
Week 3
My third week was exciting because that is when I got the training necessary to conduct my own testing and write my own statements:
Creating Accessible Materials Training
This was one of the sessions I mentioned, offered by the Disability Information Team. Out of the three training sessions I took that week, it was probably the least relevant to me, sadly, as it mostly echoed what I already knew about the basic principles of how to make websites – and any material – accessible, like ensuring that the font size is at least 12, using sans-serif fonts, and various other things. Still, I managed to learn a few new things throughout, like for example the minimum legal requirement for magnification, which is 200%.
Accessibility Statement Training
This session, as well as the Accessibility Testing session I followed the day after, are also offered by the Disability Information Team, but would have been too spread out across the summer for me to receive this training before doing work, so Viki Galt and her colleague Lori Anderson very kindly gave me one-on-one sessions, which were of great help.
This particular session took me through what an accessibility statement looks like, and tips for writing my own through the template which was provided to me after the session. I was able to ask quite a few questions and Viki was able to give me very good answers to all of them.
Accessibility Testing Training
This session went over the most material, and was very insightful. Lori took me through the testing template which we use, which I had taken a look at before when looking through the Consultation Hub report and statement. She talked me through each question, and on almost every single one gave me one or two tips, which I found useful in my own testing later on.
All of these sessions were a great help in getting started with the whole process of accessibility testing and statement writing, and I find myself relying on much of the advice they gave me in my own work.
Week 4
The last week of my first month as a Digital Accessibility Intern was great fun. Frankly, I spent quite a bit of time on this blog post, but I also got to test and publish a statement for a website myself:
ITOT Accessibility Statement
The website which I conducted my first testing on was ITOT. As I said earlier, this project is just great, and it has been amazing to be able to work on it. Through a little informal testing beforehand, the website was already in a pretty good state in terms of accessibility when I conducted the testing for it.
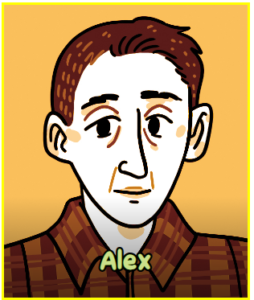
There were still a few accessibility issues, some of which have been fixed since my testing. Notably, the selection displays were not easy to see on light backgrounds, as the displays themselves are solid yellow outlines. The issue mainly occurred on a section of the website where there are portraits of all of the academics, with a sort of button which is highlighted when hovered over. This was fixed by making it so that the text was highlighted when tabbing through too, which was not the case before, and allowed the user to not solely rely on the sometimes hard-to-see selection display to know where they find themselves on the page.
This time, converting the report into a statement was a lot easier. I still did a bit of playing around to find a way to get the formatting to work, but just pasting it into the visual editor – like what I had done last time but which I recalled hadn’t worked – did the trick. I still had to format headings, and had a weird issue where each of the items in my bulleted lists made themselves into separate lists, but after a bit of dragging blocks around, that was fixed.
After getting the statement ready, I realised that I could make the templates I use – which were at that point the ones provided by Viki after my training – a bit more filled in by default. For example, I can already have my own name and our team name written down in the correct places. I was also able to make a few corrections to minor parts of the templates. I am currently starting work on the next website on my list, and look forward to seeing how much these amendment to the default templates can improve my workflow.
Summary
I hope that you now have a better understanding of digital accessibility, how we can make the digital world more accessible, and why this matters so much. My first month as an intern in DLAM has been a blast, and it has really given me a taste for working in digital accessibility, and all that it involves. I find it amazing that in a field like this, there is always at least one area which you can improve a lot. Whether it is learning to better communicate within your team and with other teams too, or learning more about web development so that you can understand where issues arise from and get an idea of how they could be fixed. I don’t see an end to the development pathway in this line of work, and as someone with a burning love for learning, that is very motivating.
Links to resources
Here are the links to the resources I mentioned on web accessibility:
Accessibility Fundamentals – W3C
Understanding accessibility requirements for public sector bodies – gov.uk
Introduction to Web Accessibility – WebAIM
Dos and don’ts on designing for accessibility – gov.uk
Designing for accessibility – WCAG by Level Access
(Illustrations by Maria Stoian. This work is licensed under a Creative Commons Attribution-NonCommercial-NoDerivatives (CC BY-NC-ND) 4.0 International licence.)
([Whitedog Photography] September 2022)


N.B. Closing date now extended to 23:59 on Wednesday, 4th of March.
Thanks Stewart for your encouragement!
Thank you Miki. I very much enjoyed reading this with my morning coffee. It was lovely to have such a…
Hi Otis
What an insightful blog post, I've learnt a lot