Any views expressed within media held on this service are those of the contributors, should not be taken as approved or endorsed by the University, and do not necessarily reflect the views of the University in respect of any particular issue.
Our most common enquiry is about how to use a recording made in a previous year in Media Hopper Replay.
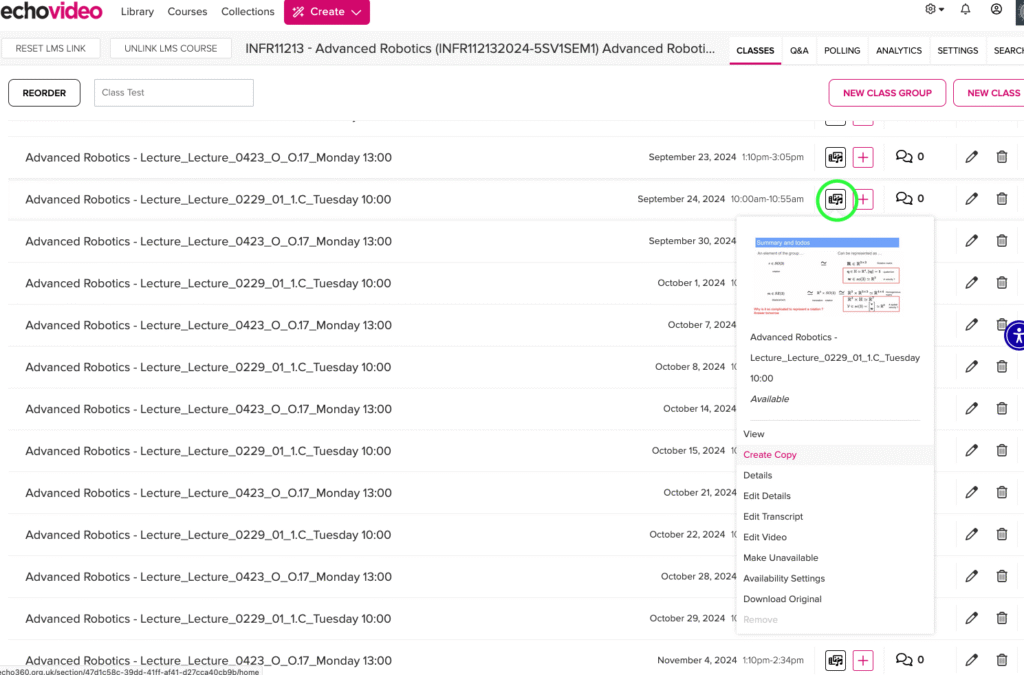
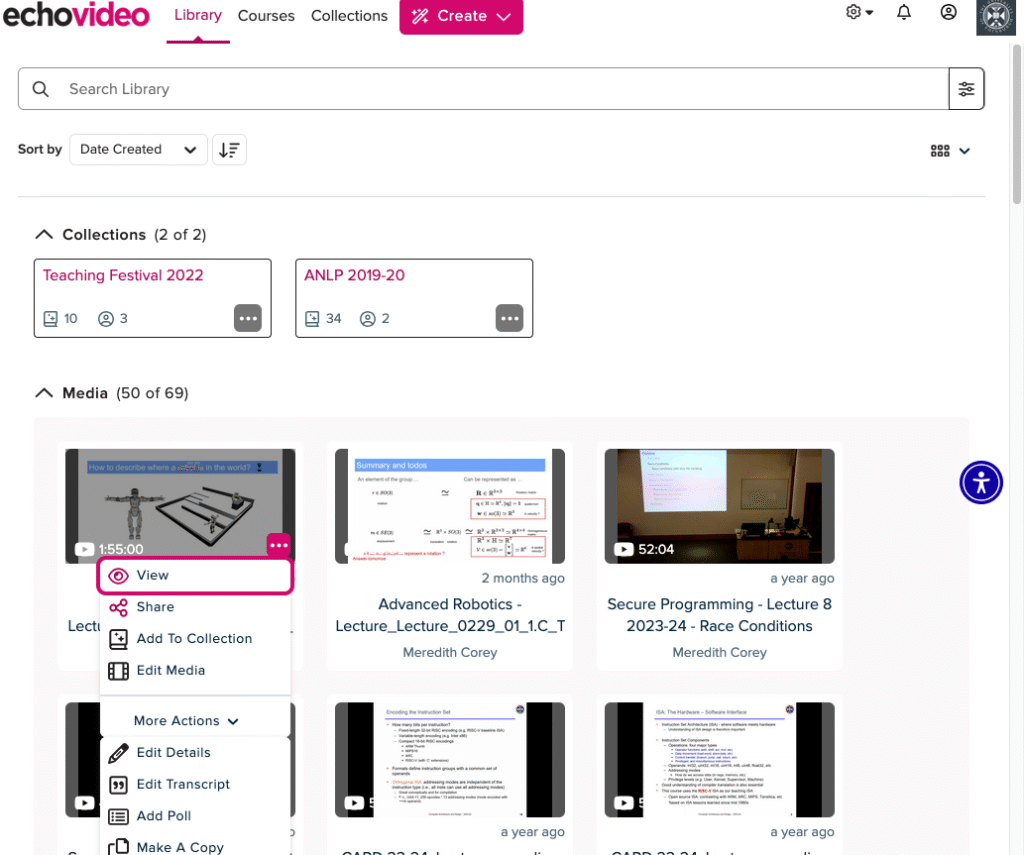
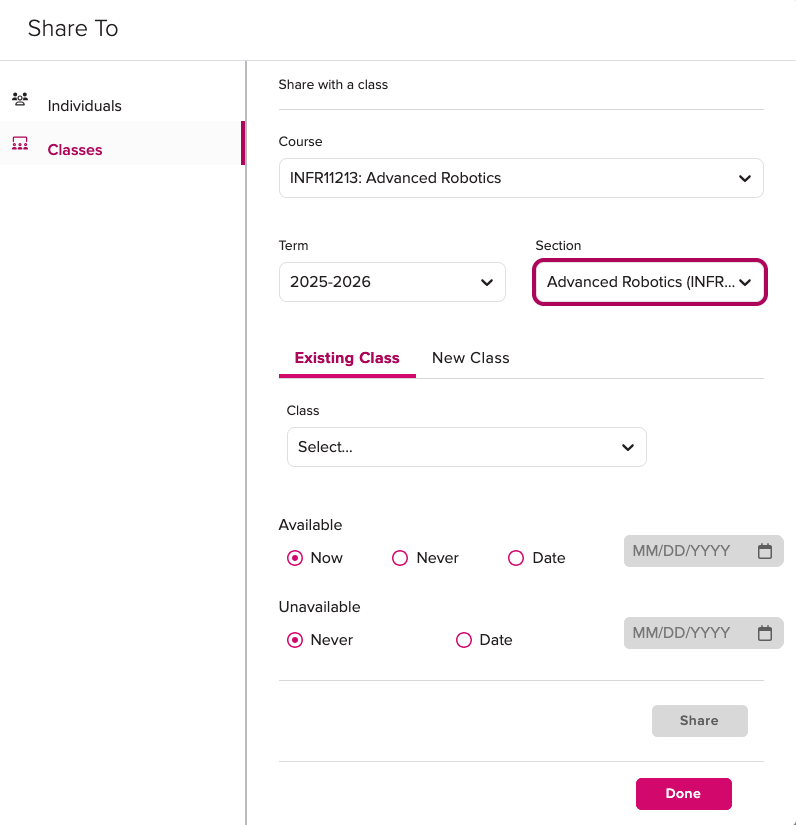
As an instructor, you can make a copy of a previous recording in Media Hopper Replay and then upload it to your personal library, thus allowing you to publish it to another linked course in Media Hopper Replay. This one page quick reference guide details the two step procedure to do this for each recording. View the PDF quick reference guide here.
This quick reference guide, along with many others, is available via the IS Media Hopper Replay quick reference guide website.
The IS Helpline supports Media Hopper Replay throughout the University. Contact details are listed here.
To embed a video from Media Hopper Create (MHC) into a Drupal page for your course, please follow these instructions.
Note: you can mostly follow these steps for embedding a video from another platform e.g. YouTube, but how you find the embed code on that platform will be different than the steps for MHC.
If you haven’t used Media Hopper Create before or need a bit of help, IS has extensive documentation and help guides here.
Make sure that the video you want to embed in Drupal is set to either Unlisted or Published. (Not sure how to check or change this setting? Please see IS’s guidance on Understanding privacy levels in Media Hopper Create.)
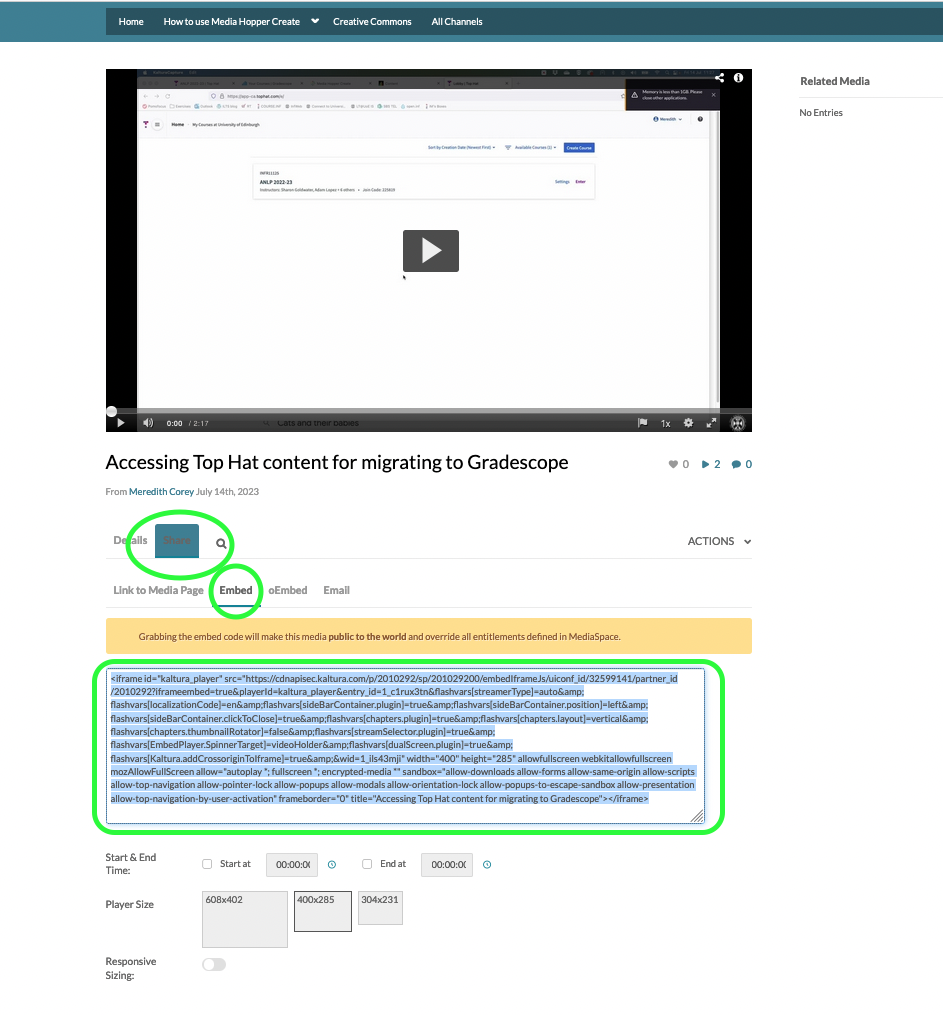
Open the video you want to share in MHC and below it, you will see several tabs. Click on the tab “Share” and then select “Embed” (N.B. do not select oEmbed) and then select and copy the full embed code that appears in the box. (Note: you can use the options below the code to choose a different sized embedded player or start/end times for the video. Do *not* use Responsive Sizing at the present time.)
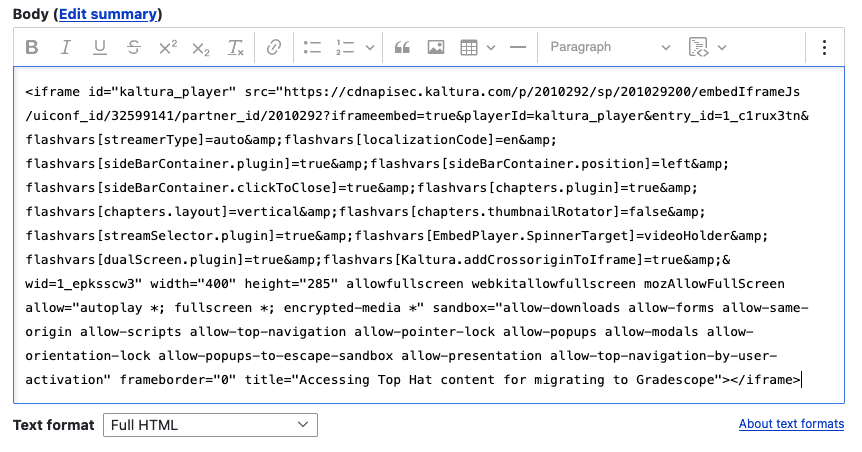
Go to the Drupal page where you want to embed the video. Make sure that the Text Format for the Body field is set to Full HTML (this is the default). Then use the three vertical dots on the right of the editing toolbar to open additional tools and select “Source”
Paste in the embed code you copied from MHC.
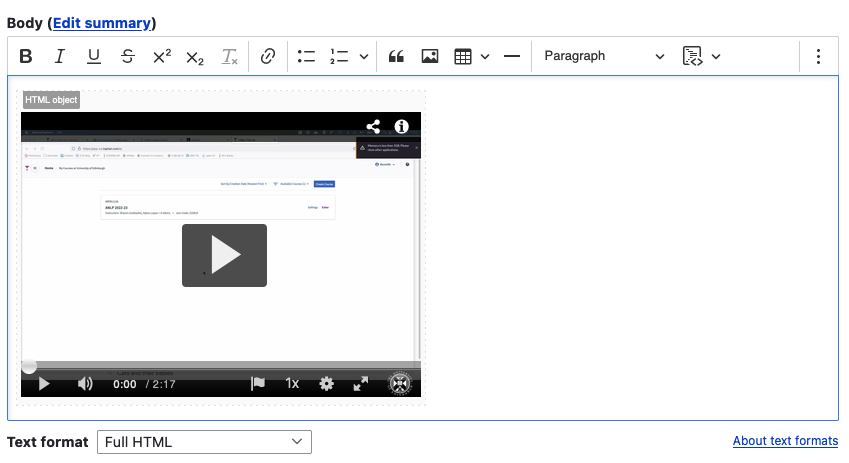
Use the three vertical dots to open the expanded toolbar and click Source again to go back to the main editing view. It may take a moment or two to load, but you should now see the video you just embedded.
You can, of course, add text before or after the video or embed multiple videos on a single Drupal page. Once you are done with the edits on the page, just remember to press Save at the bottom.
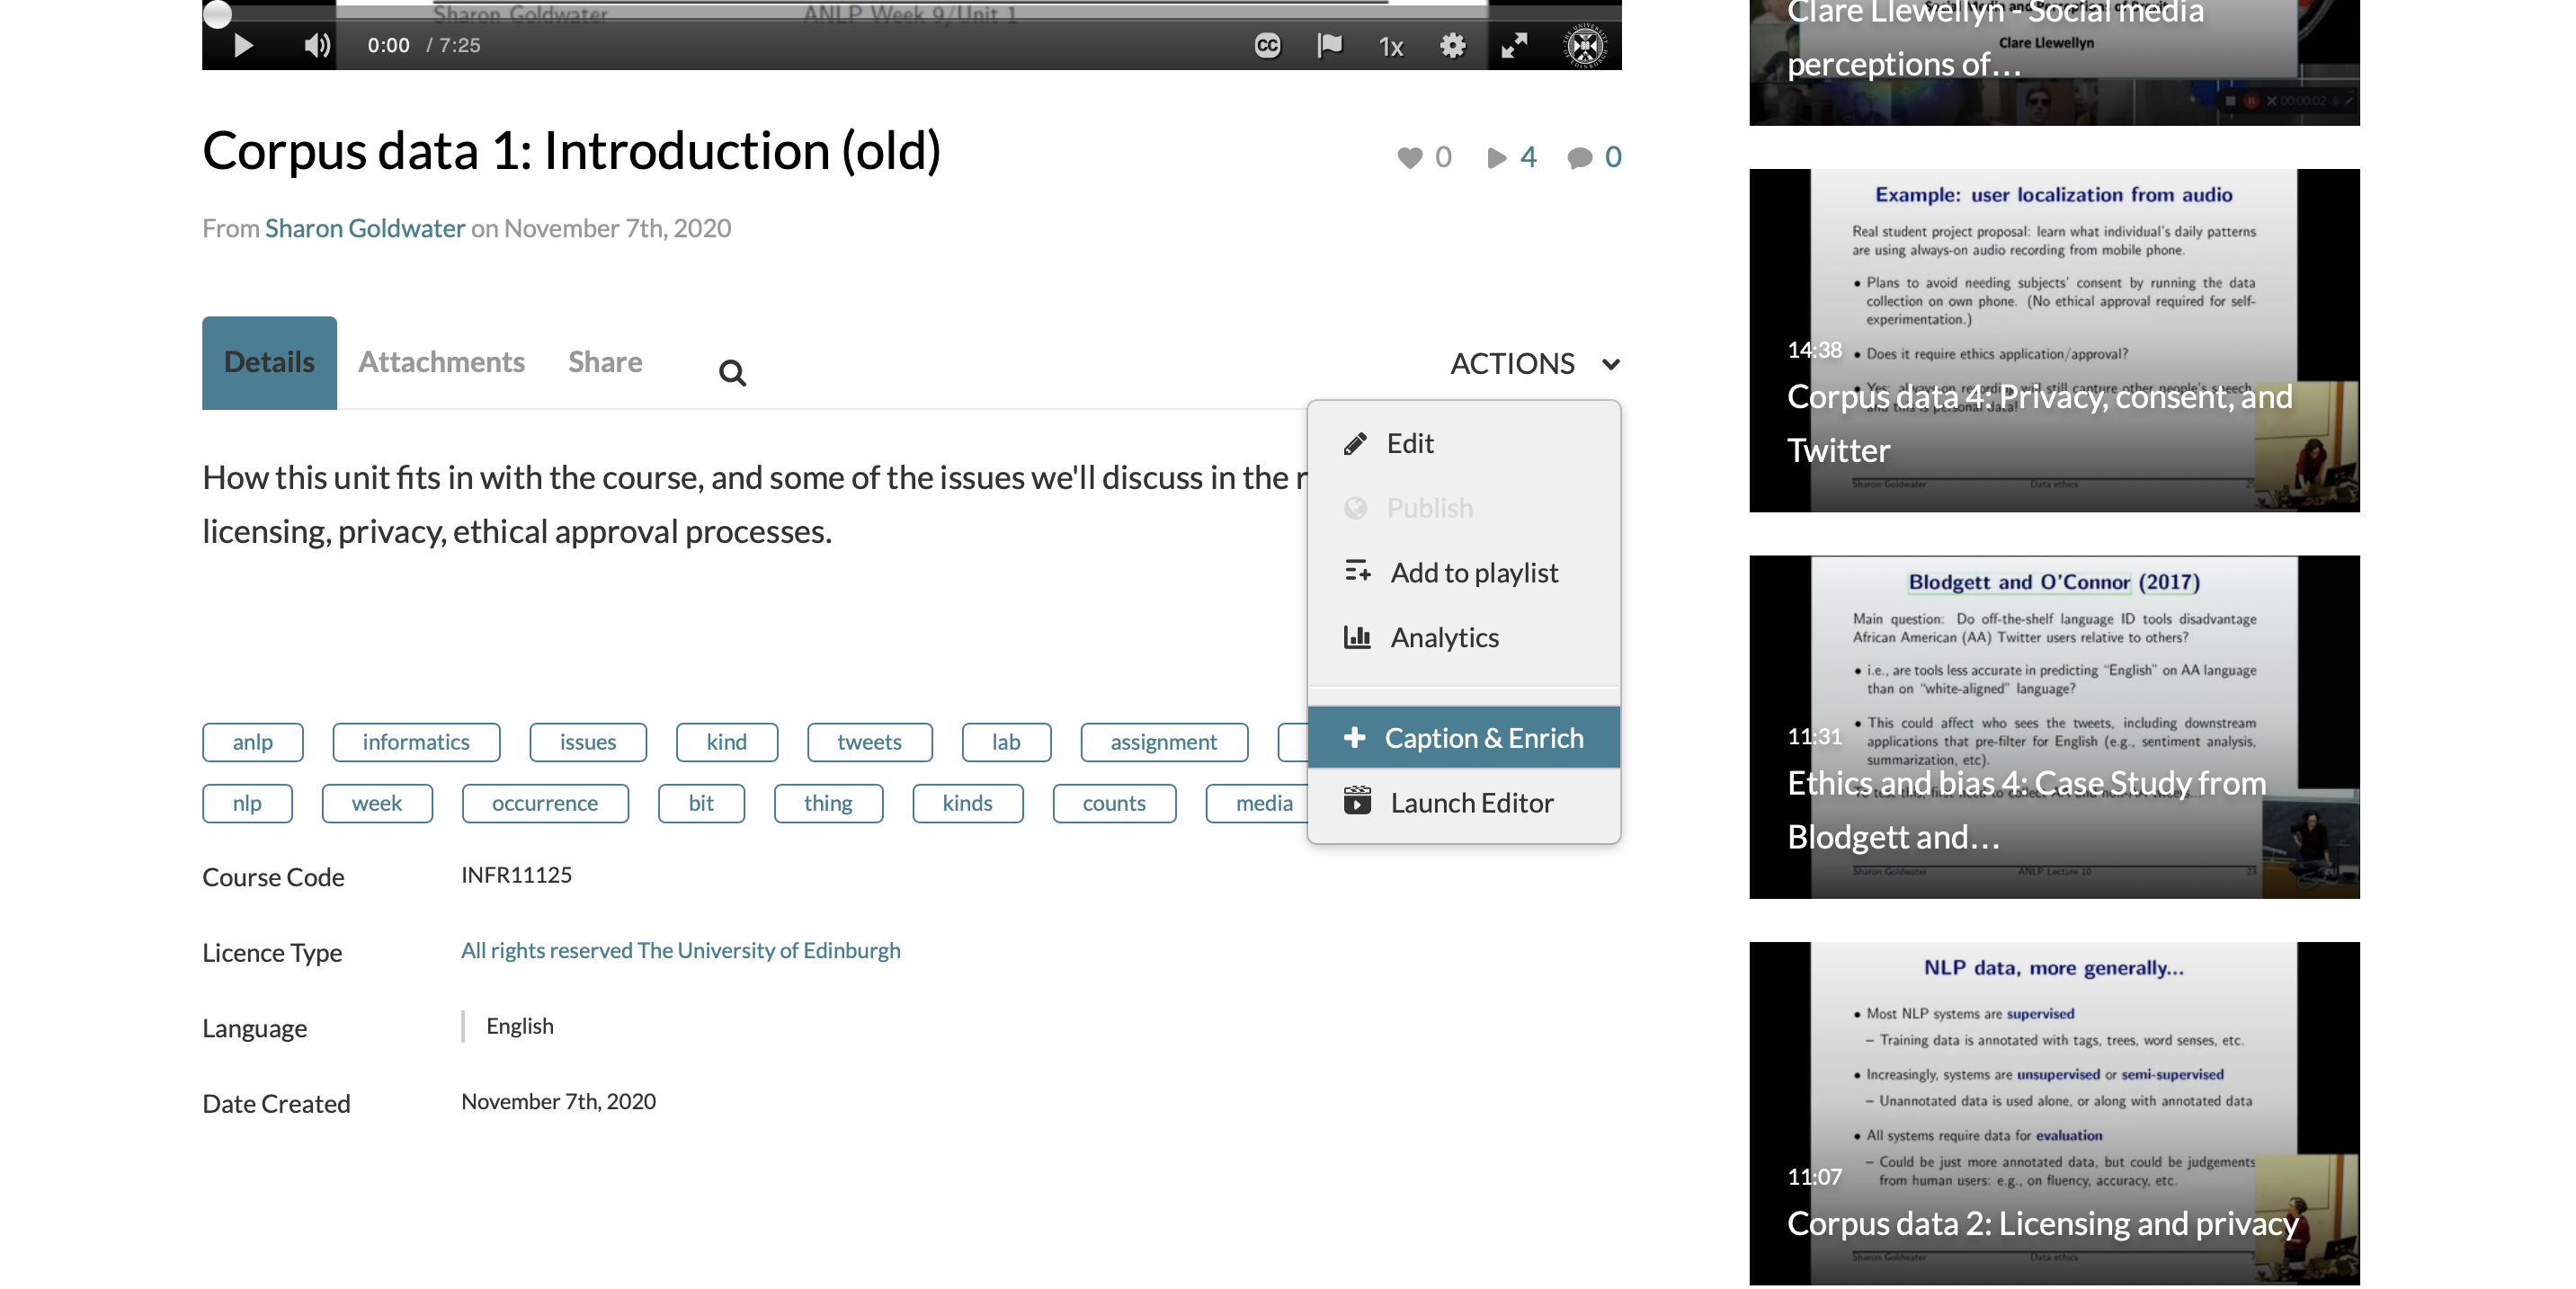
Important! You must have captions available on any video you use for teaching. MHC has auto-generated captioning available and it is very quick (just a click or two) to request this for your videos before sharing them with students. Please see this guide from IS: Requesting subtitles for your content.
The Informatics Teaching Festival is back for a second consecutive year.
Join us for the opportunity to:
hear interesting presentations around lessons learned in the past year and good practice in online/hybrid teaching from colleagues and inspiring speakers from other schools
listen to the feedback provided by student representatives regarding their experience with studying in an online/hybrid context
listen to the feedback provided by teaching support and administrative staff as to their experience with teaching and administration this past year
learn about new approaches to teaching and educational software
share your own experience with teaching delivery, student support and course administration during workshops and informal GatherTown meetings
reflect and come up with ideas together for improving our delivery of online and hybrid teaching, both as a school and in our different courses.
If you’d like to attend any of the following sessions, and are not a member of the School of Informatics, please register your interest here, and a Collaborate link will be emailed to you in advance of the session(s).
The Kaltura desktop recorder is designed for easy upload to Media Hopper Create. However, there may come a time where you wish to have access to the native video files on your local machine. You can find these as follows:
Windows
Right click on the Kaltura Capture icon on the desktop.
Select Properties.
Click on ‘Open File Location’ and go up one folder to the ‘Capture’ folder.
Or simply go to: C:\Users\<username>\AppData\Local\Kaltura\Capture\
Mac
Go to the Finder.
From the Go menu, select Go to Folder.
In the form, enter ~/Library/Preferences/Kaltura/Capture/
Click Go.
Or simply go to: /Users/<username>/Library/Preferences/Kaltura/Capture/
To upload a video, e.g. from another university source such as Blackboard Collaborate, click Add New on media.ed.ac.uk, then click Media Upload to begin.
When uploading a piece of media to Media Hopper Create, certain fields must be filled in order for the video to be published to a course channel. The required fields to publish can be filled in while uploading the content, or after uploading the content by finding the video and clicking Actions>Edit>Details and filling in the fields below. In order to publish the media fill out:
–Name (The title of the video that will be displayed)
–Description (Will be displayed underneath the video)
–Tags (at least one tag word is required for the video to be published and help people find it easier)
–License Type (This is the copyright license to be applied to the content. I normally select All Rights Reserved The University of Edinburgh from the dropdown menu but this is at the content creator’s discretion.)
Course code, Publisher, Language and Date Created do not need to be filled in order to publish the video but can be useful to fill in to make the video easier to retrieve later on. A publishing schedule can also be set so the media can only be viewed for a certain period of time (useful for perhaps making a video only available during one semester).
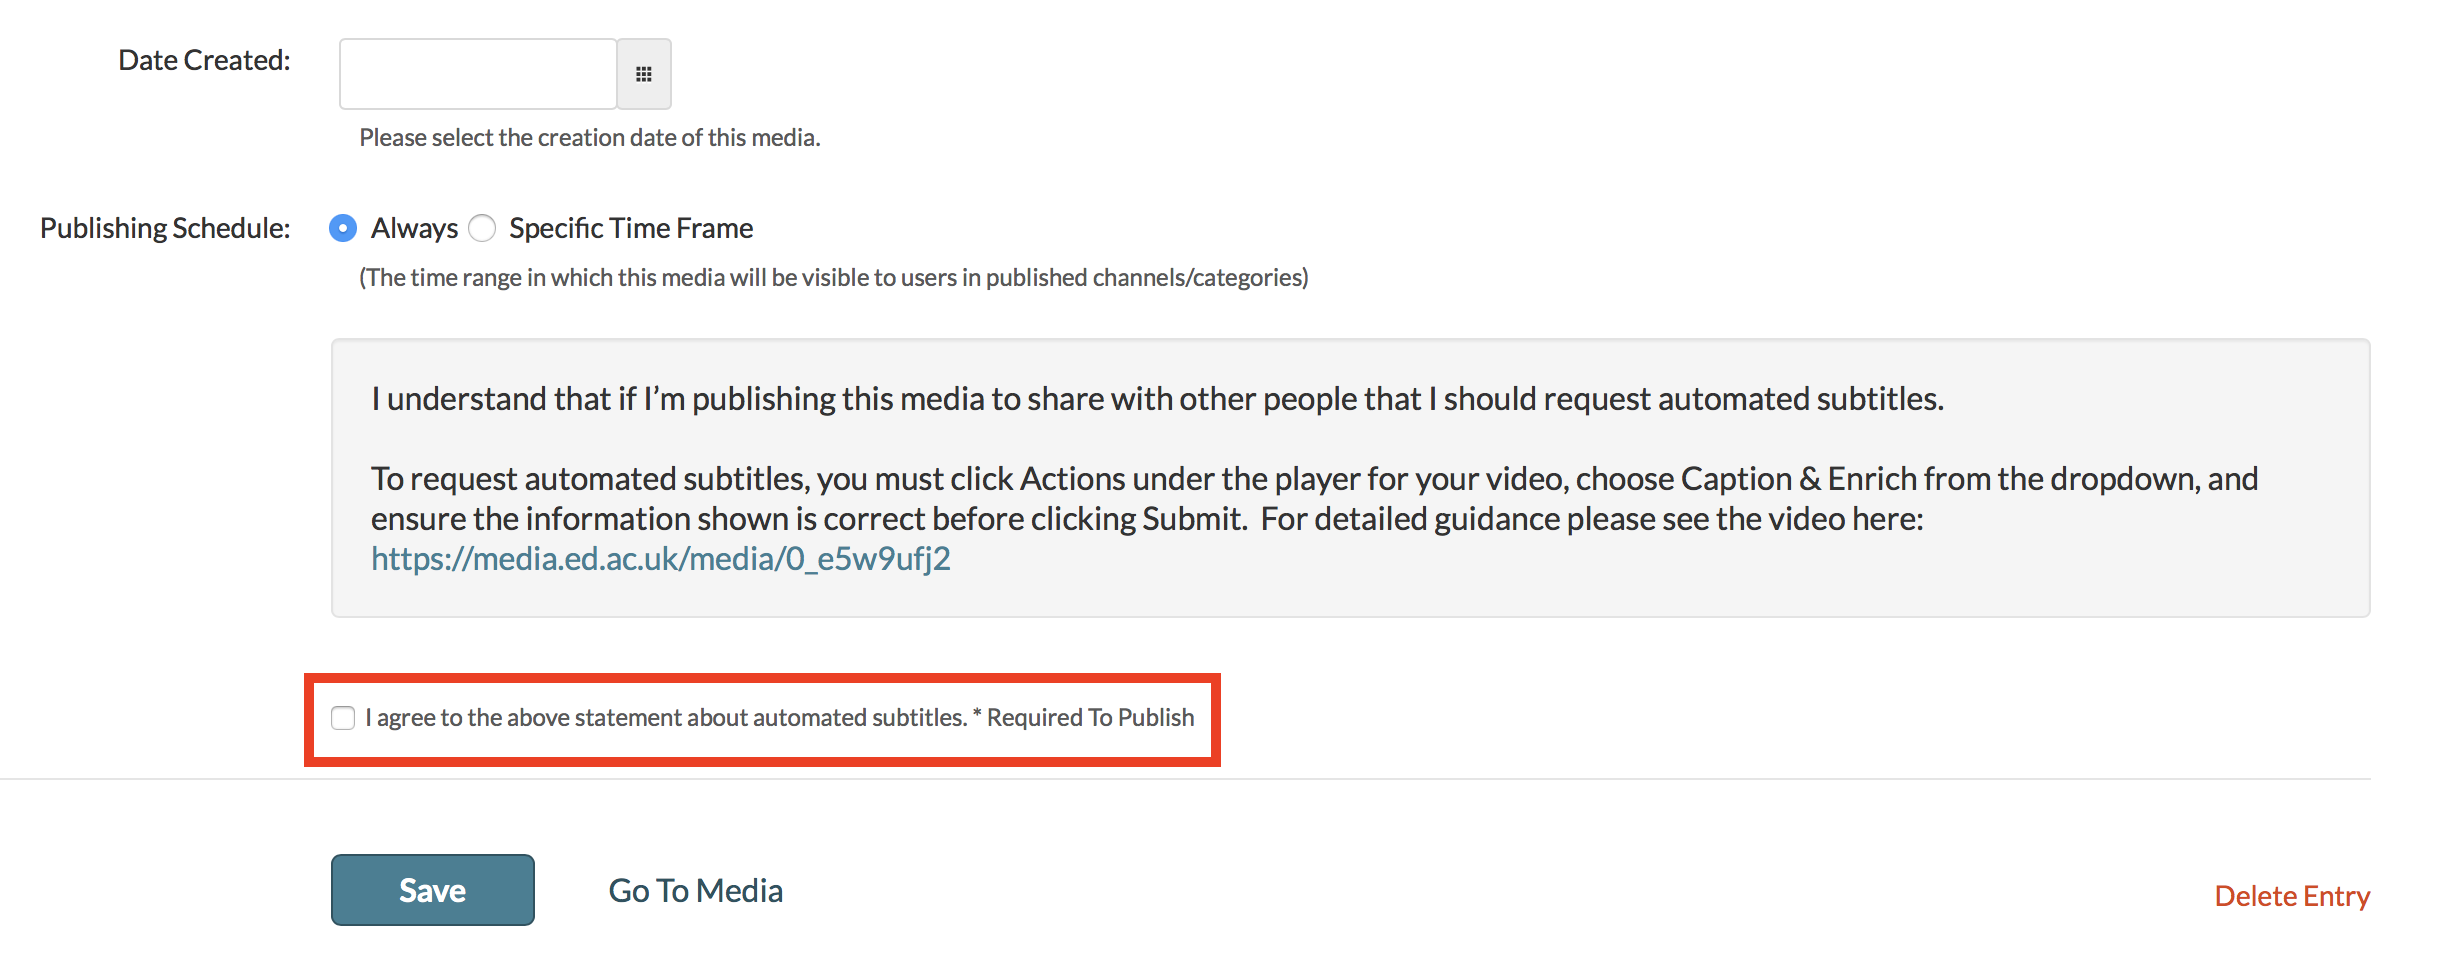
– You now need to agree to request automatic subtitles before you can publish your content.
NOTE: Selecting this box does NOT enable auto-captioning, this is done in the next step.
After the details are filled in, on the video uploading page (or on the video editing page under Publish instead of Details), set the Publishing Status to Published (if Published is not selectable, there are missing video details that still need to be filled in). A drop down menu will appear giving the option to Publish in Category or Publish in Channel. Select Publish in Channel and select a channel you manage to publish to the channel.
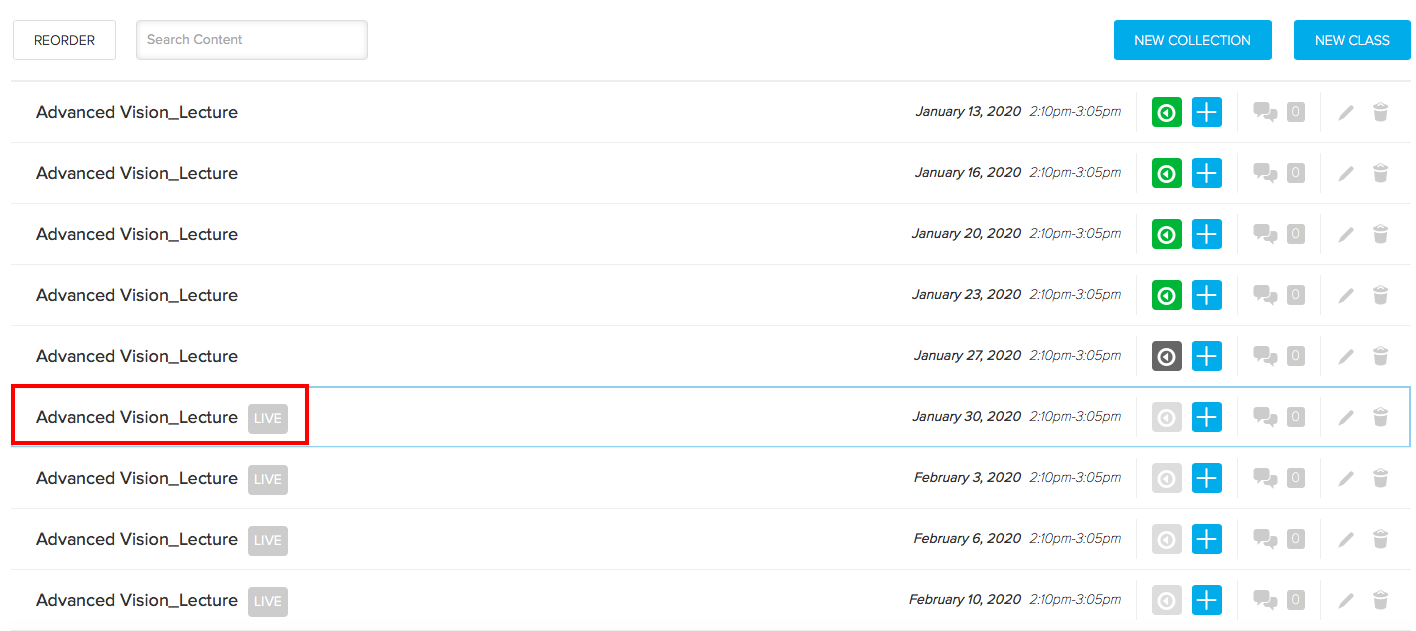
In some circumstances, your course organiser may enable the live streaming of their lectures. This is most frequently the case when timetable clashes prevent a student from being able to get to the classroom in time.
If this has been enabled, you can access the live stream the same way you access the lecture recordings.
Go to the Learn course page and navigate to the Lecture Recordings link (this is usually under ‘Course Materials’).
Locate the ‘live’ button next to the lecture you wish to access and select.
If the recording has started, you will see a further ‘play button’ icon to select. Press this to access the live stream of the lecture.