Learn Ultra basics for Instructors
All teaching staff will need to interact with Learn Ultra, even if the course materials are hosted on Drupal. We have compiled links to instructions on the most common tasks you will need to perform in Learn below. If you do not see what you need below, please check out the following page, which has additional instructions and guidance materials on a range of other aspects of Learn Ultra: Using Learn as an Instructor.
Introduction to Learn Ultra: a series of short videos providing an overview of Ultra and how to navigate the site.
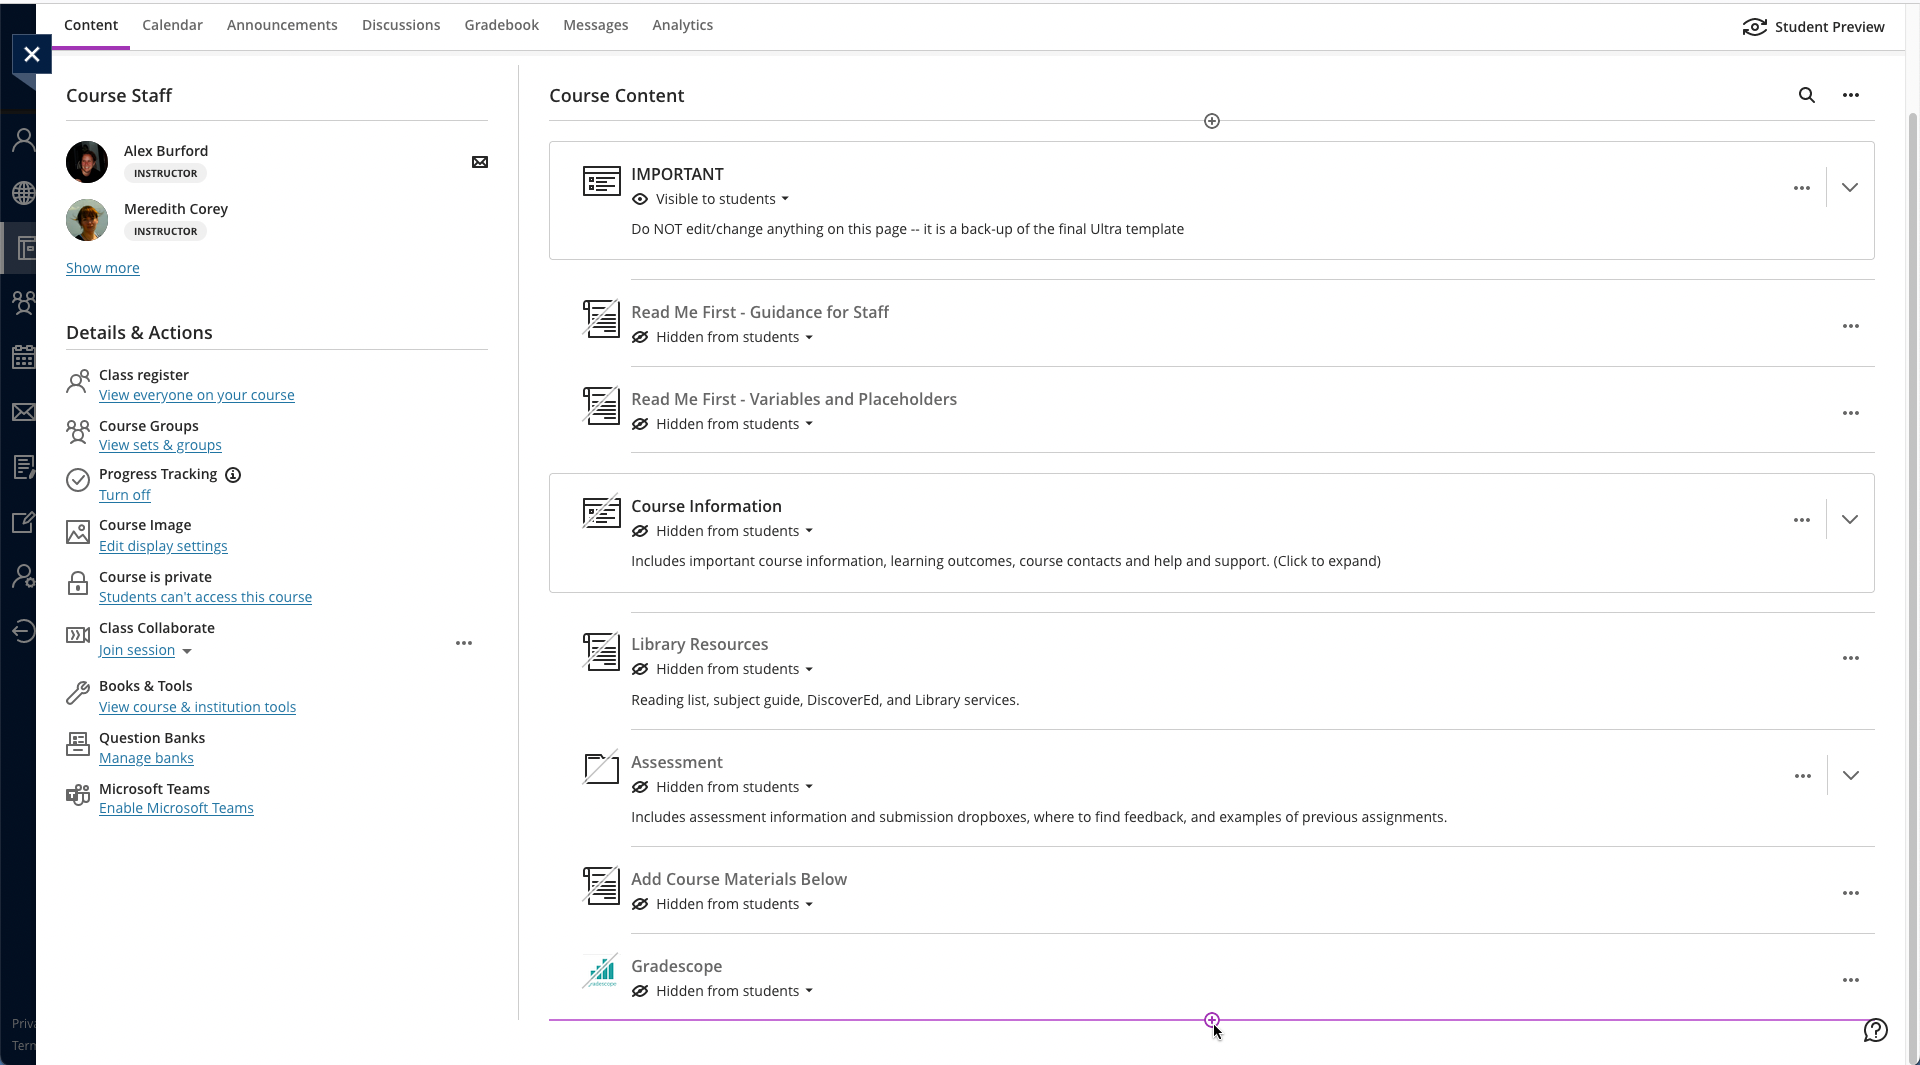
Adding and organising content:
- Types of Course Content – start here to get a definition of the terminology used for content types in Ultra
- Learning Modules and Folders
- Adding Documents
- Web and course links*
- Copying content in Learn Ultra
- Add a video to your course
*If you want to share a link with students to a file you have uploaded to the Content Collection for a course, you will need to adjust the permission settings in the Content Collection folder following these instructions from Blackboard.
Assessment and marking:
Please remember that the Course Secretary is now in charge of setting up most assignment submissions, so please contact the ITO about the creation of assignment submission boxes. Below we have provided links for guidance on accessing student submissions and how to give marks and feedback.
For Learn Assignments:
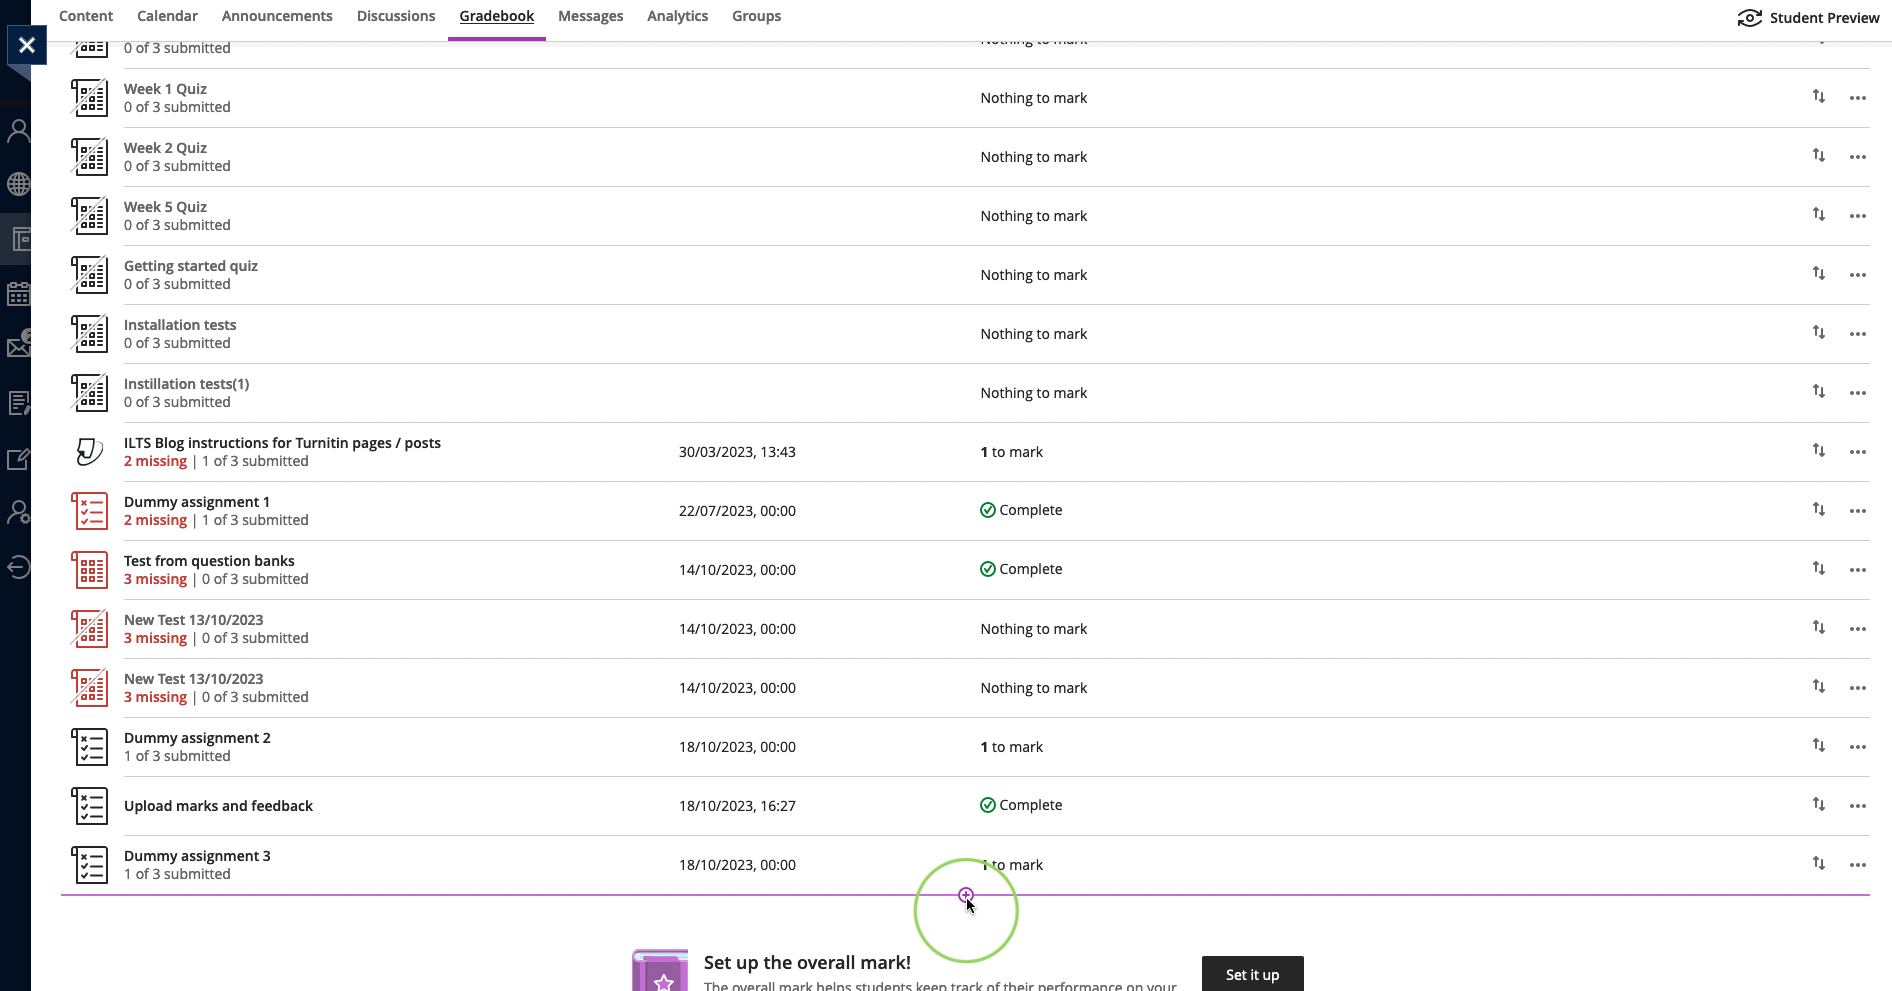
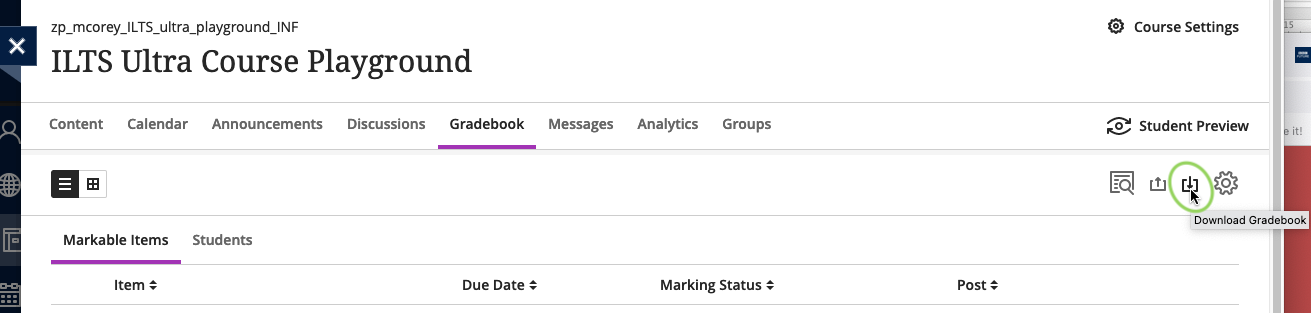
- Marks and Gradebook, Feedback, additional information on marking and the Gradebook
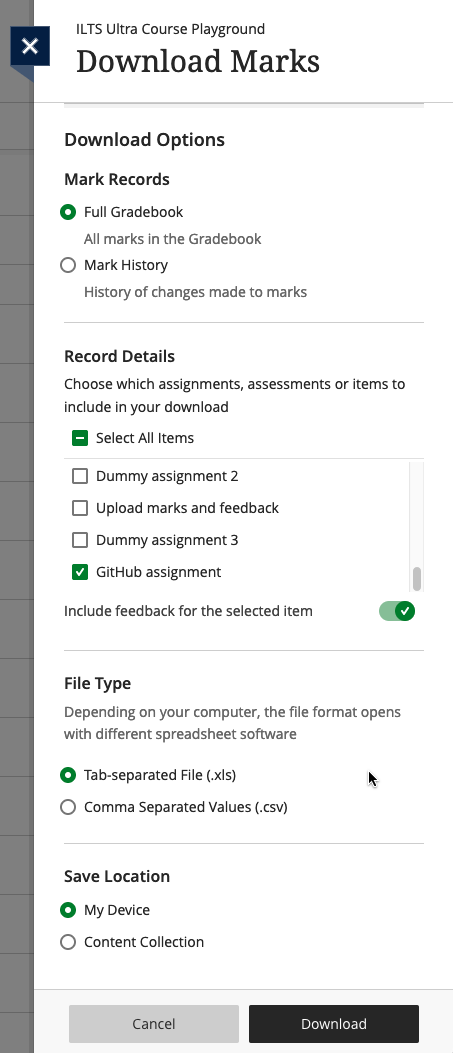
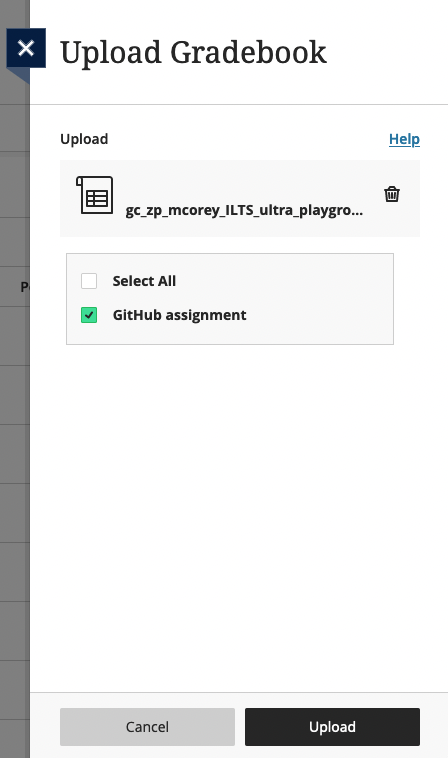
- Uploading marks (and feedback) to Learn Ultra
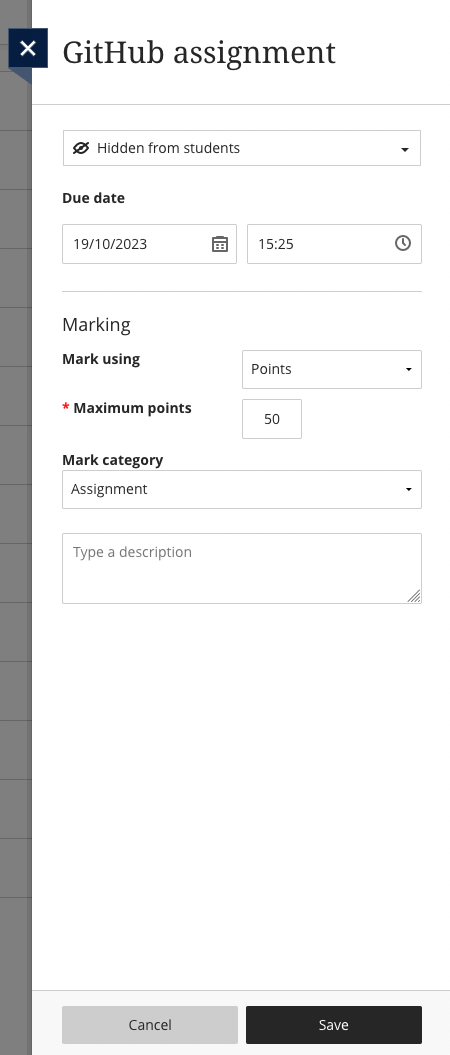
- Creating and managing tests
For Turnitin assignments:
- See the Marking, Feedback and Grading section here
For Gradescope assignments:
- See our blog post Marking an exam or homework assignment in Gradescope
Tools:
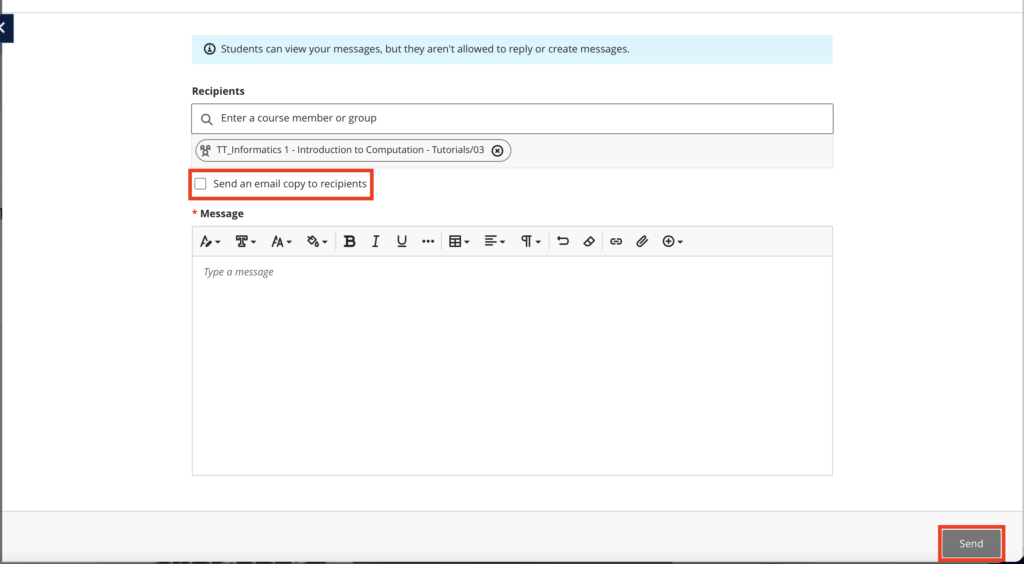
- Communicating with your students (incl. Announcements and how to email a Group in Learn)
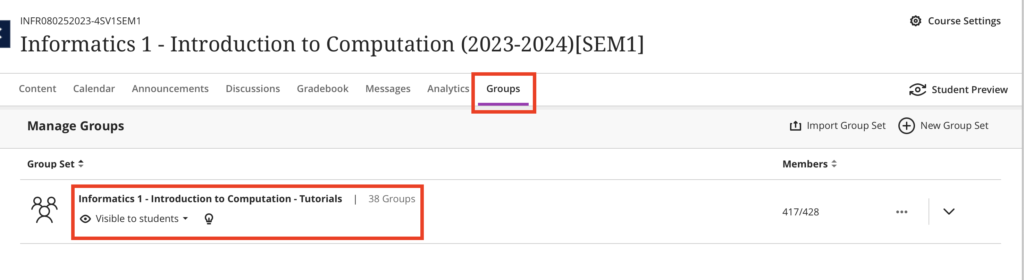
- Managing Groups and Group Import and Export
- If you don’t use Piazza for your course, you can set up a discussion board in Learn. This can be linked to Groups, so that students can talk to their group members: Create and manage Discussions
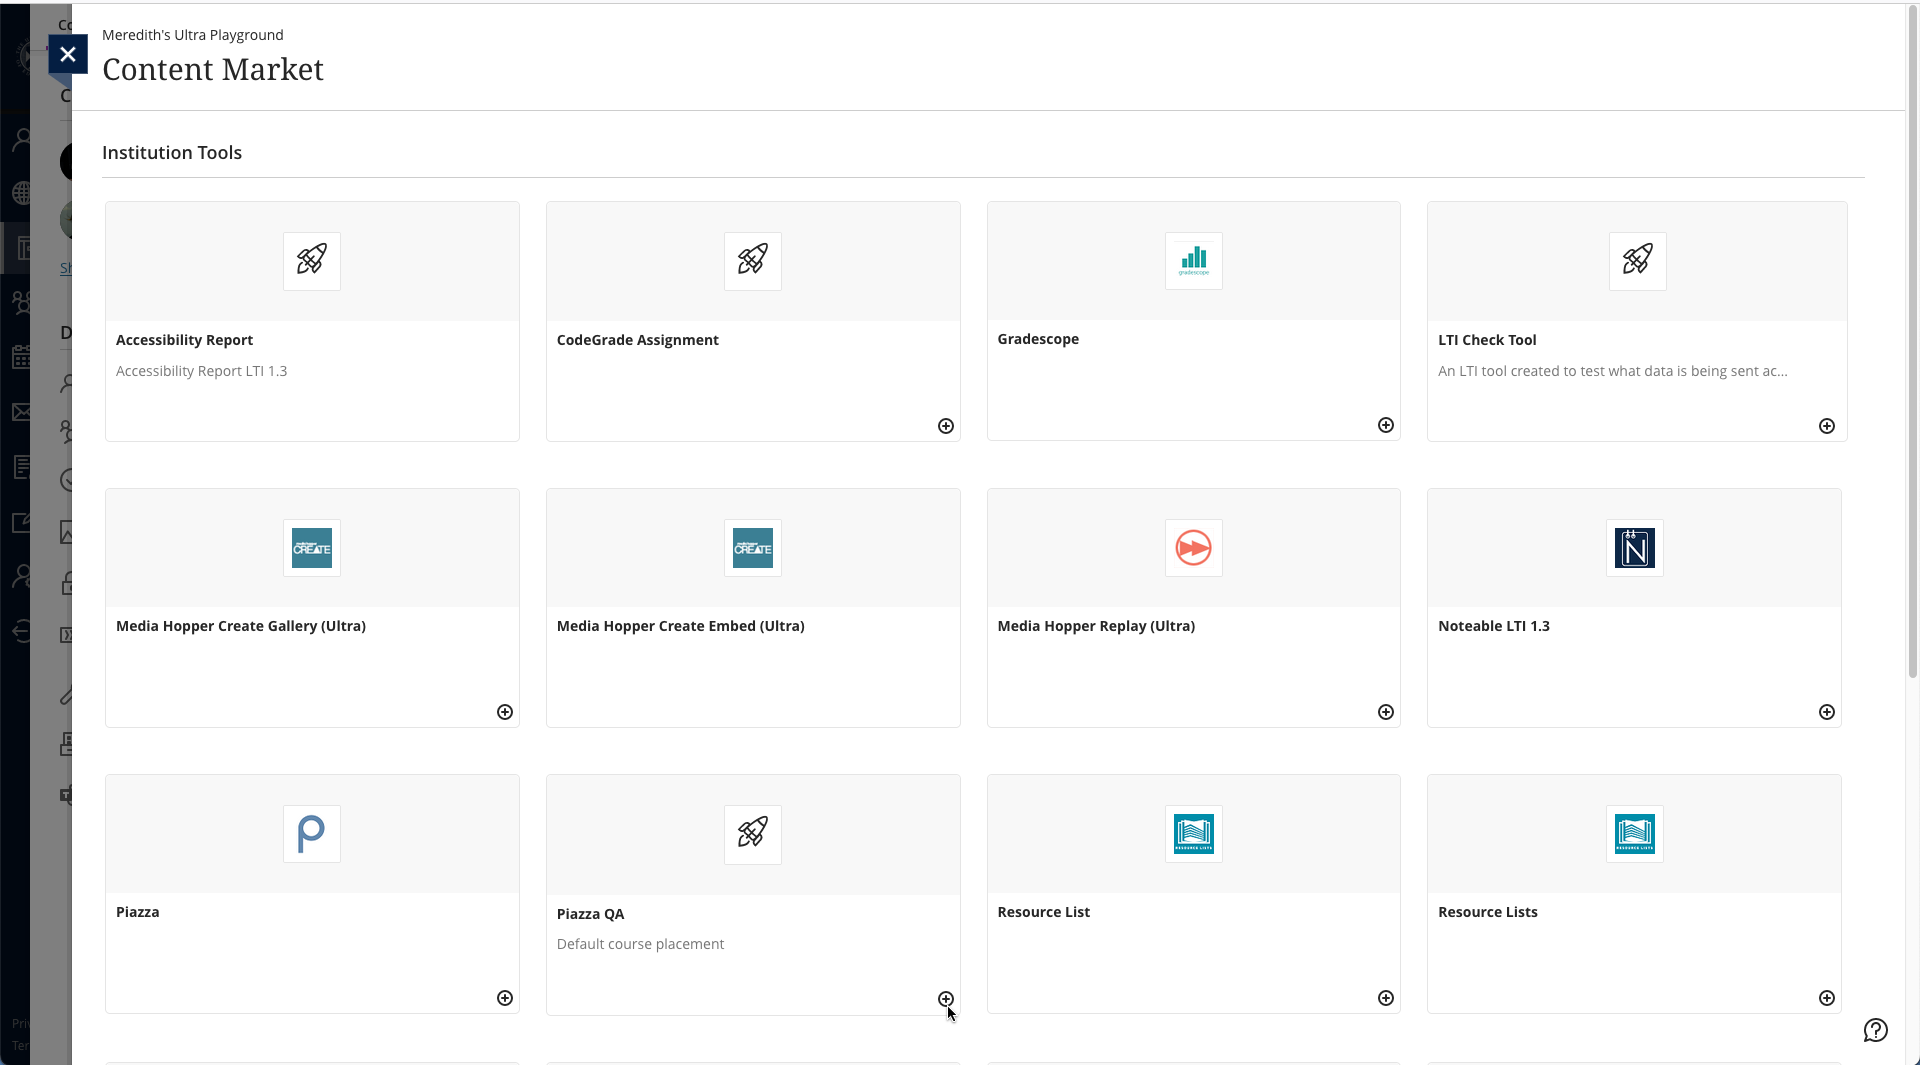
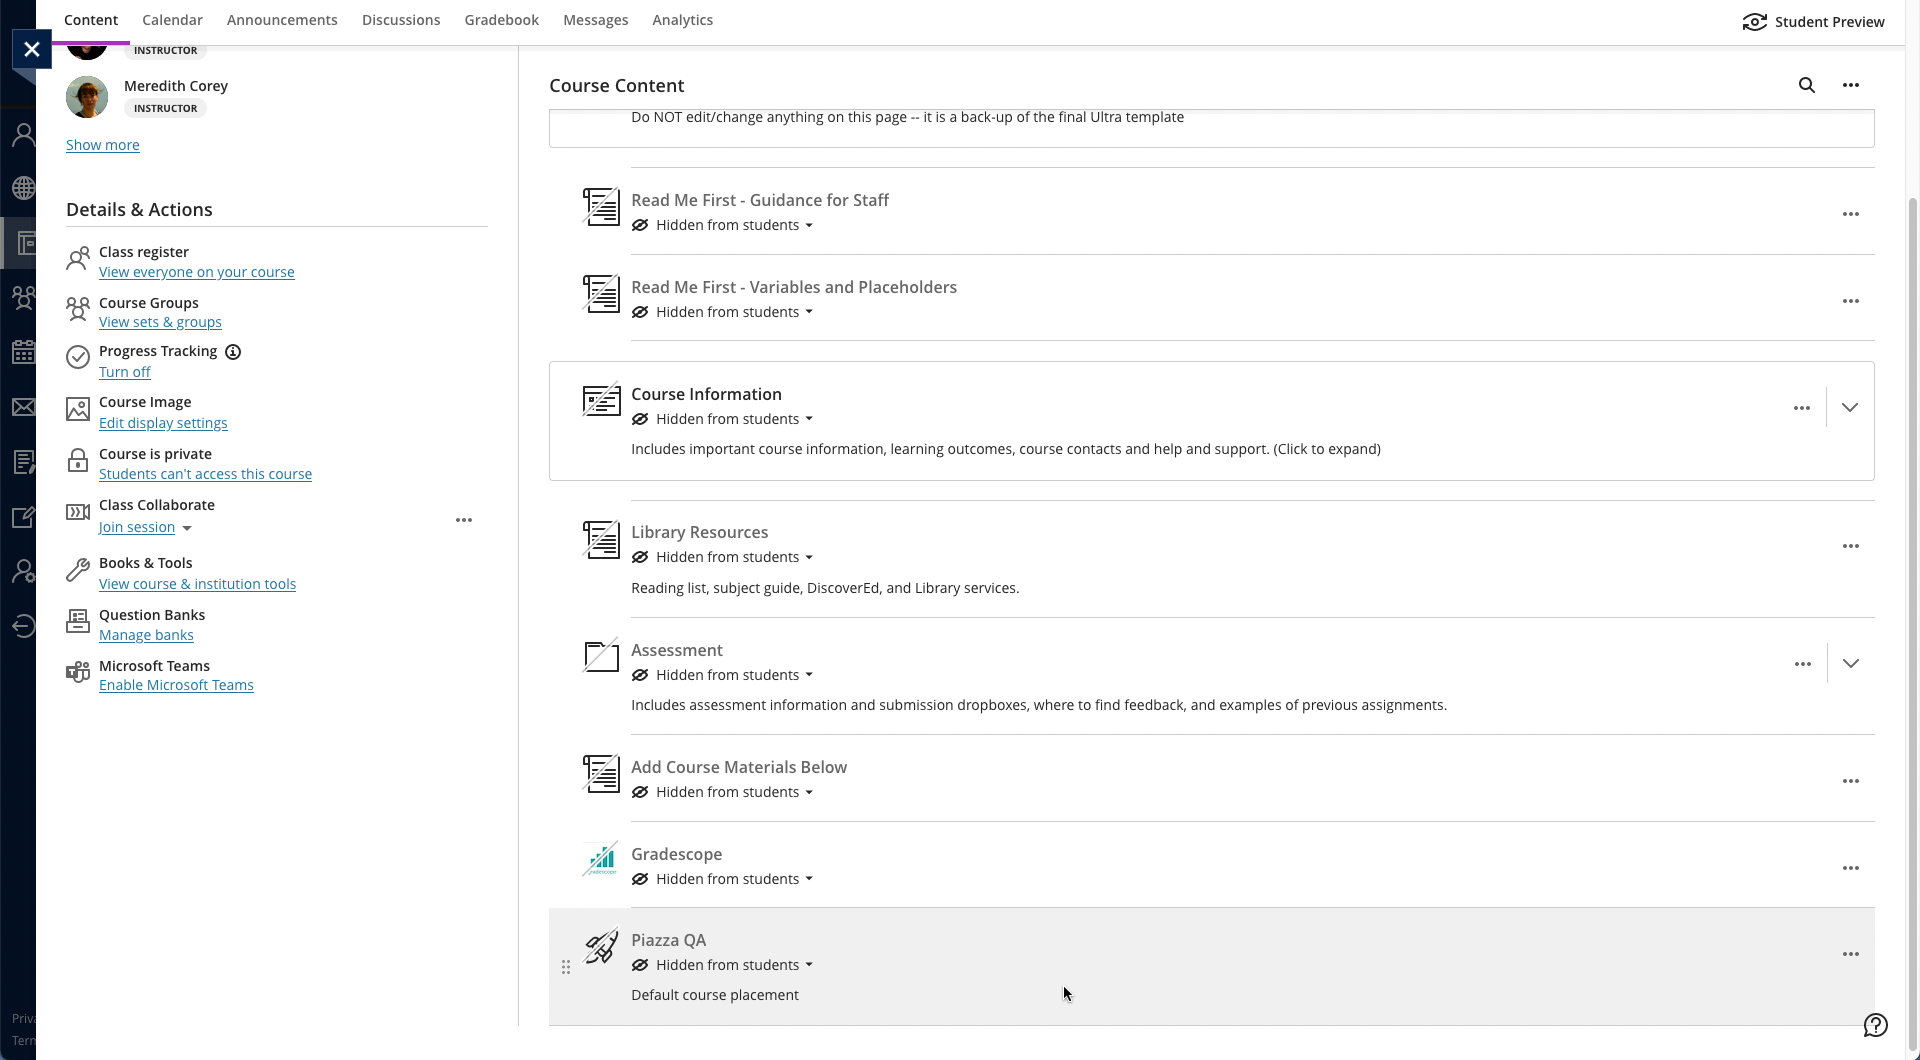
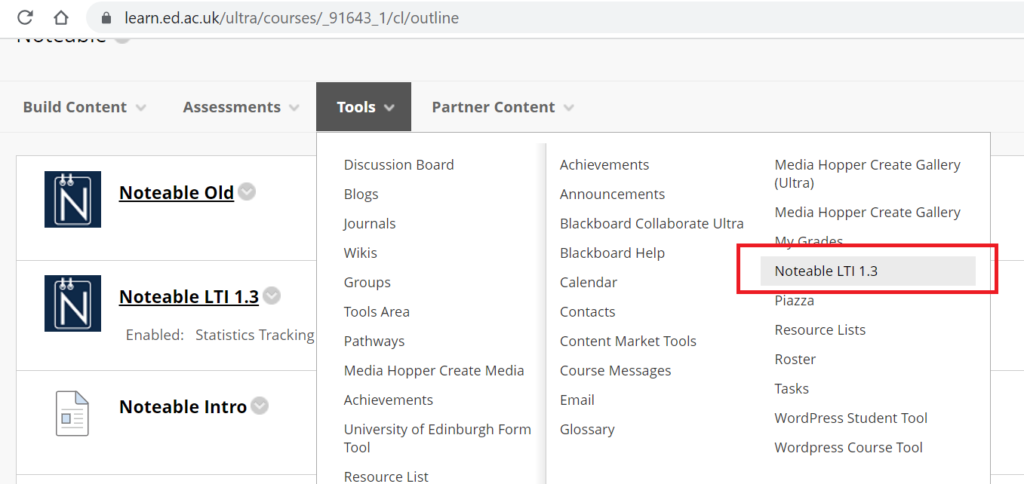
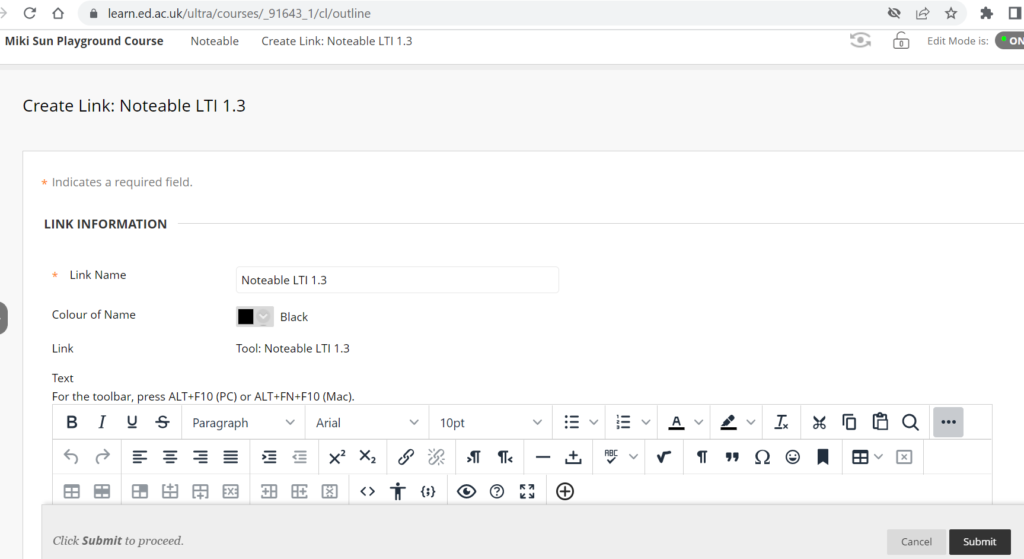
- Adding tools to your Learn course (e.g. Zoom, CodeGrade, Noteable): Adding Tools via Content Market; for more on Zoom, see Adding a Zoom session to your Learn Ultra course
Note: All students, the Course Organiser, and Course Secretary will be automatically enrolled on the Learn course via a feed from EUCLID. All other teaching staff (i.e. additional lecturers and teaching support staff) will be enrolled via a feed from the School’s own databases; teaching support staff will only be enrolled in Learn once their contract is confirmed in PiP.
As an Instrutor on a Learn course, you can also add any other member of staff to your course as an Instructor or Staff Participant, if they want to view materials on the site.