Note: Due to an ongoing bug in Learn Ultra, if you upload feedback to submission box in Learn, it will not be visible to students. If you want to upload feedback for an assignment that students submitted to via Learn, follow the instructions below to create a new “item” directly within the Gradebook itself, which (for some reason!) allows students to view the feedback you upload. Update: This bug appears to have been fixed, but let us know if you encounter any problems with the visibility of feedback for students.
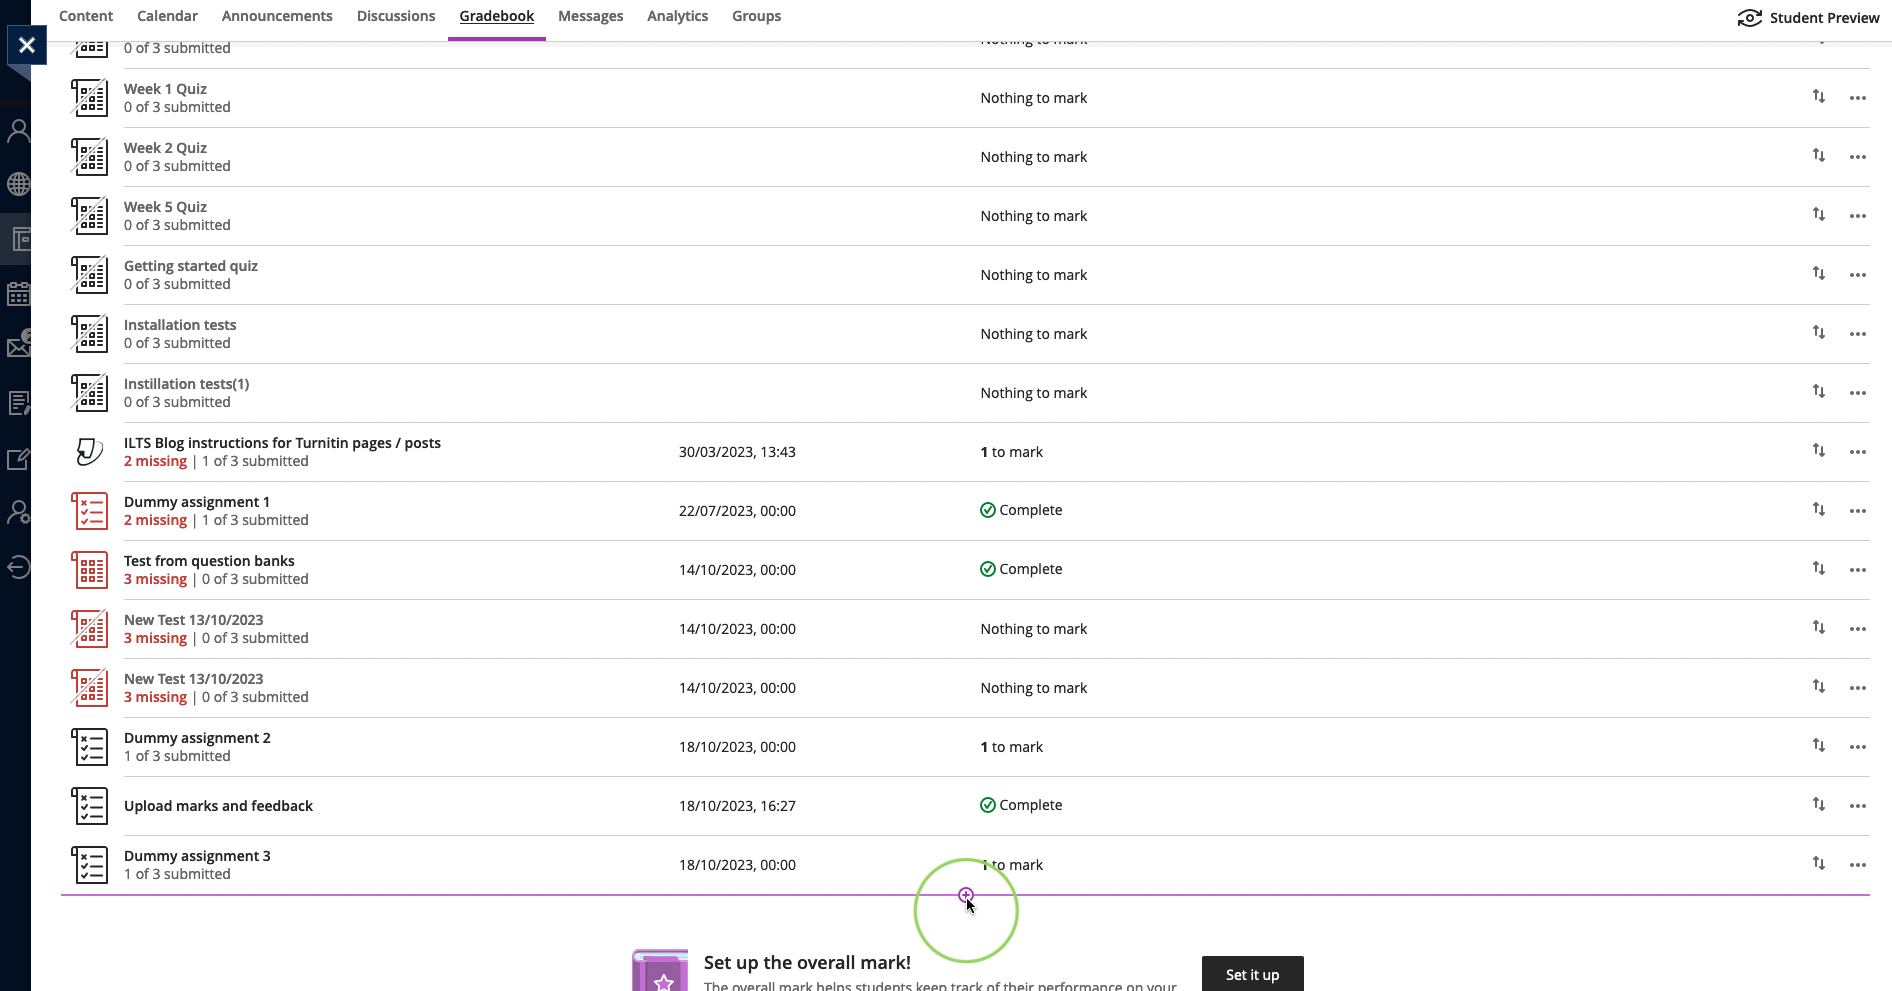
- Go to the Gradebook in the course Learn page.
- Add a new Item to the Gradebook by hovering over where you want to add it in the list and clicking on the purple (+) when it appears and then select “Add Item”.
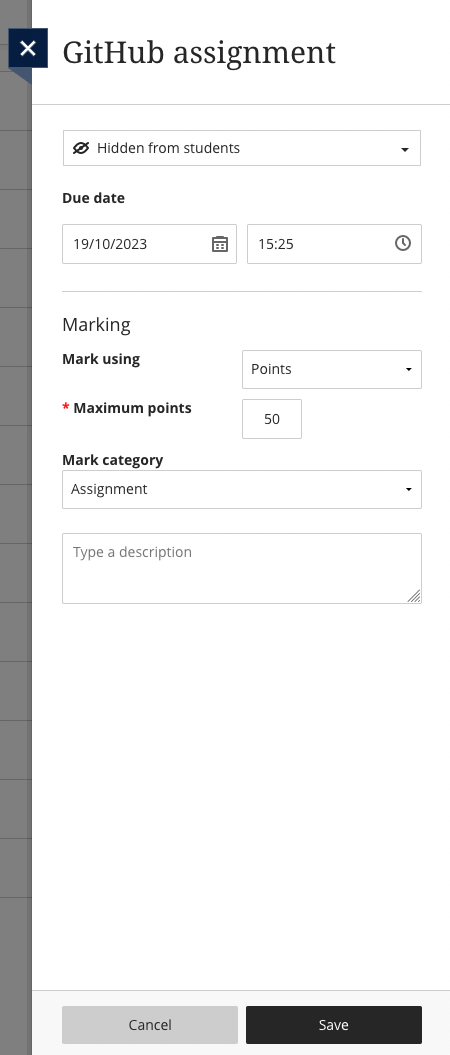
Then make the following adjustments when the item settings window opens:
- It will give the item the default name of “New Item and the current date”; change this to the actual assignment’s name to ensure that students can locate it easily.
- We recommend keeping this item hidden from student view for now.
- The due date doesn’t really matter for this, so you can leave it as the default of the current time.
- Set the marking as required (points, percentage, etc.) and, if points, the maximum number possible for this assignment.
- For “Mark category”, choose Assignment.
- Add a description if you want, but it’s not required.
- Press Save.
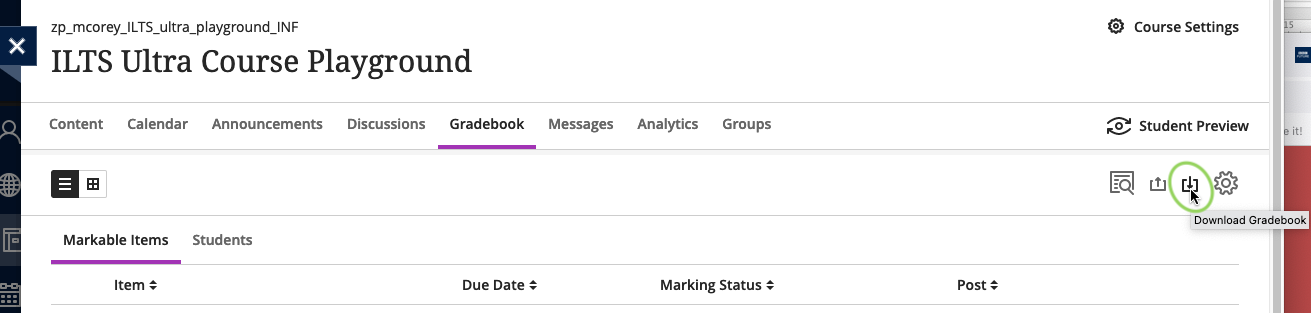
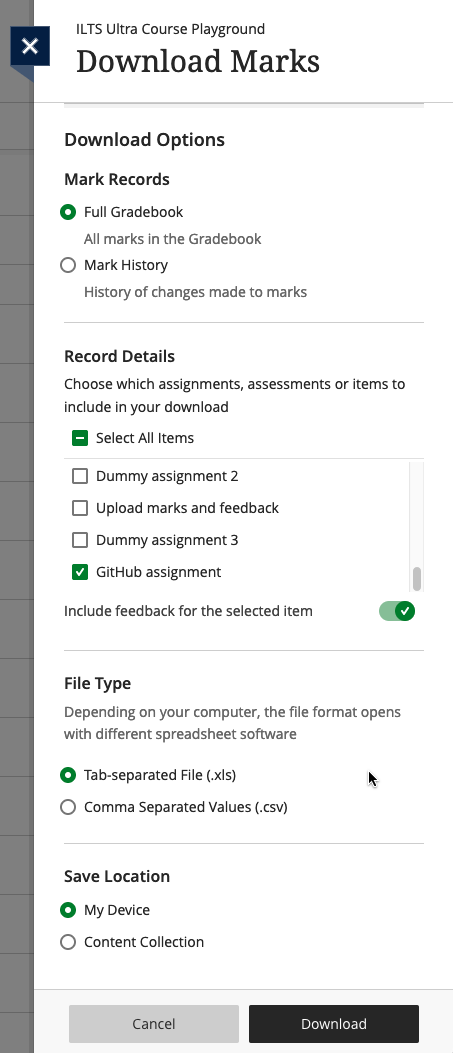
- Download the Gradebook, selecting just the new item that you created. Make sure to tick the option to include Feedback (unless you just want to upload marks, in which case, leave it unticked). Choose to save it as an xlsx file and save it to your computer.
- Open the file on your device.
- Make sure that the header for Column G is the assignment you want to be uploading marks for (i.e. the item you just created in the Gradebook).
- Input the marks in Column G.
- Input the feedback in Column J, if you need to share this with students.
Note: Make sure you do not change the header of any of the columns or Learn may not be able to read the file properly when you upload the marks. If you need to copy and paste data from another spreadsheet, make sure that it aligns with the columns as laid out in the file you downloaded from Learn.
- Save the file.
- Return to the Gradebook in Learn and now select “Upload Gradebook”.

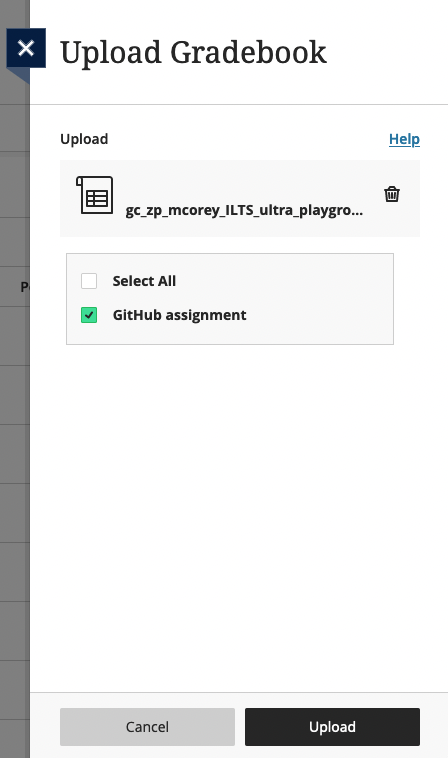
- Choose “Upload Local File” and select the spreadsheet you have just saved. Once it has loaded, untick the option for “Select All” and just leave the assignment you want to upload marks for ticked. Click “Upload”.
- Once Learn has uploaded the document, you will see how many students there are not marks for (i.e. those who did not submit the assignment) and also the option to post the marks that you just uploaded.

- Before you post the marks, it’s worth quickly checking that your upload worked. Click on the assignment name and you will be taken through to a list of all the students on the course. You can then check the a few of their marks and feedback in Learn with your spreadsheet to make sure that the upload worked properly.
Note: If you only want to post marks to certain students, you can do that from this view. Just click the “Post” button next to the name(s) of the student(s) whose marks you are to post.
- Once you are ready to share the marks with the students, Click to Post the marks. And then “Post All Marks” when the dialogue box opens.
- Go back in to the Edit view of the assignment (by clicking the three dots … at the end of the row for it) and from the drop-down menu choose to make it “Visible to students”. Press Save. The students will now be able to view their marks and feedback for this assignment.