The following guidance is aimed at ITO staff.
Accessing the Learn Grade Centre
- The Grade Centre is where Learn stores all marks associated with any assessed work on Learn. Any test, assignment, assessed blog / wiki / journal can have associated marks or grades. The person creating the assessed work on Learn can decide how they want the grade displayed to students (eg points / percentage / grade).
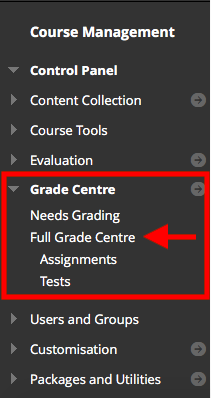
- To access the Grade Centre, go to the Course Management panel and select Grade Centre>Full Grade Centre.
- To download grades (for example, for upload to APT) select ‘Work Offline’>’Download’.
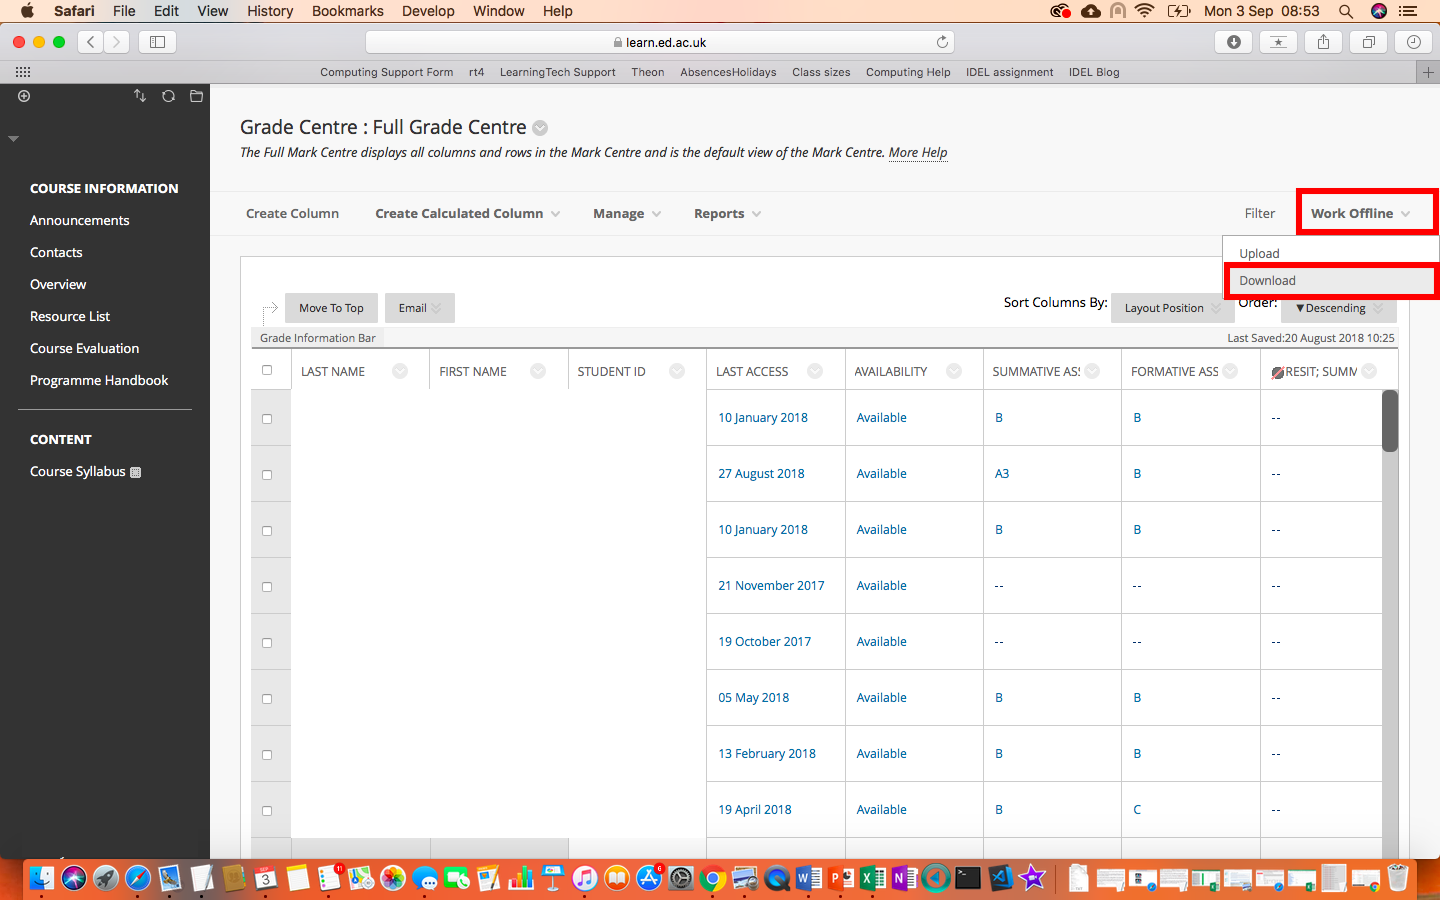
- You can download all grades associated with the course, or select a particular piece of assessed work.
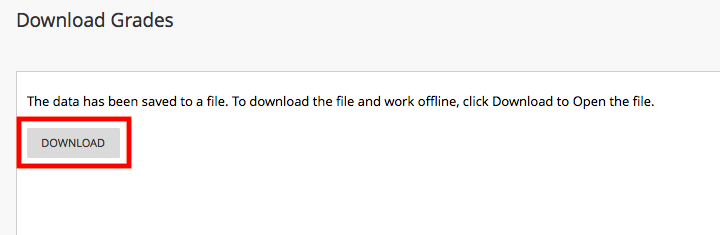
- To download as a CSV file, select the Comma delimeter type (CSV stands for comma separated value). When selecting to download the file to your computer remember this is highly sensitive information and should always be protected.
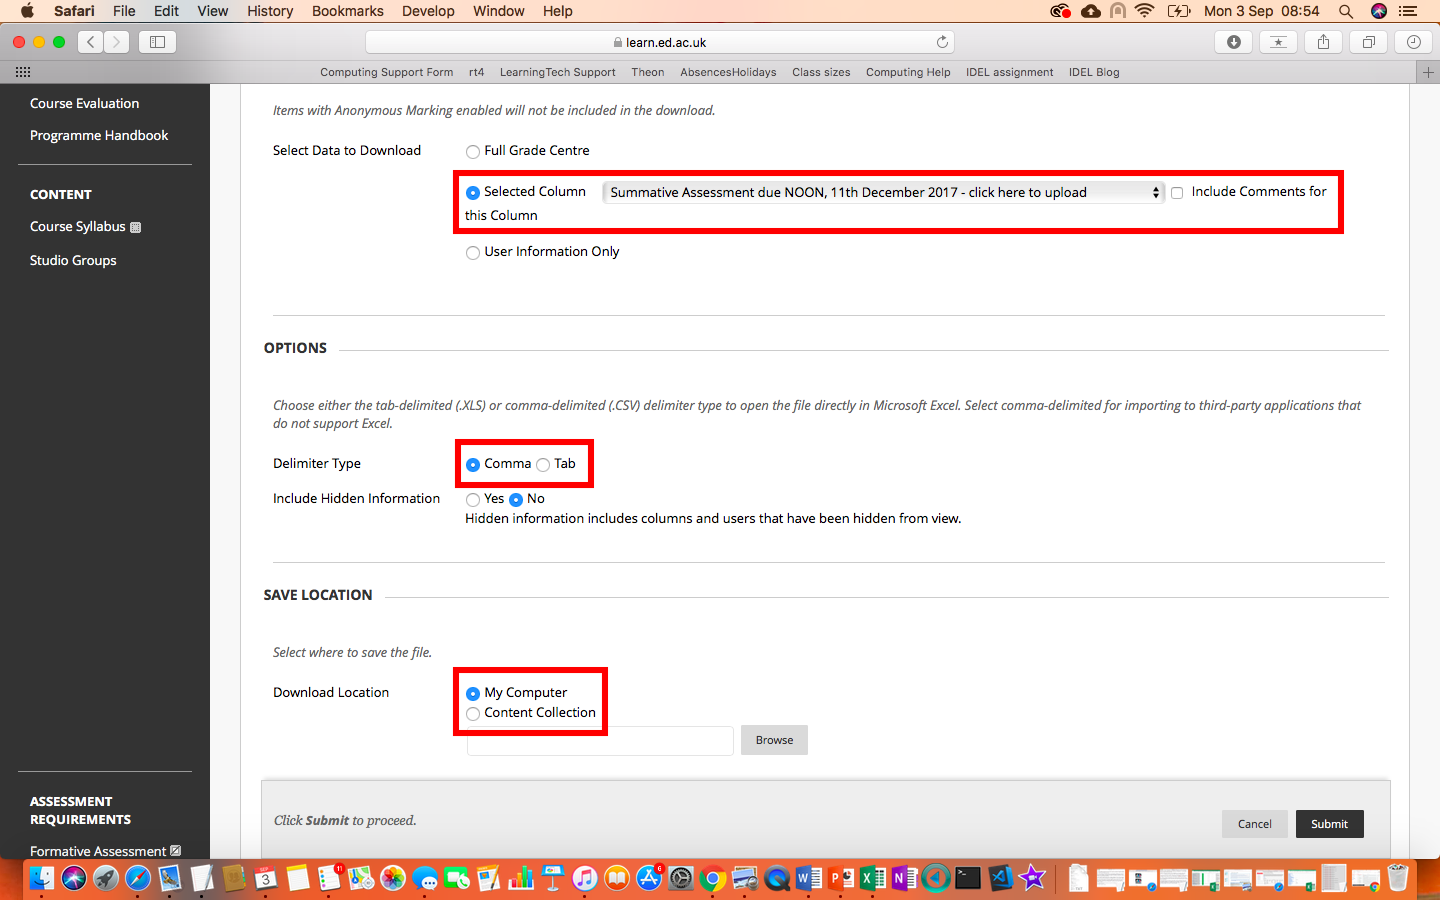
- Select the Download button.
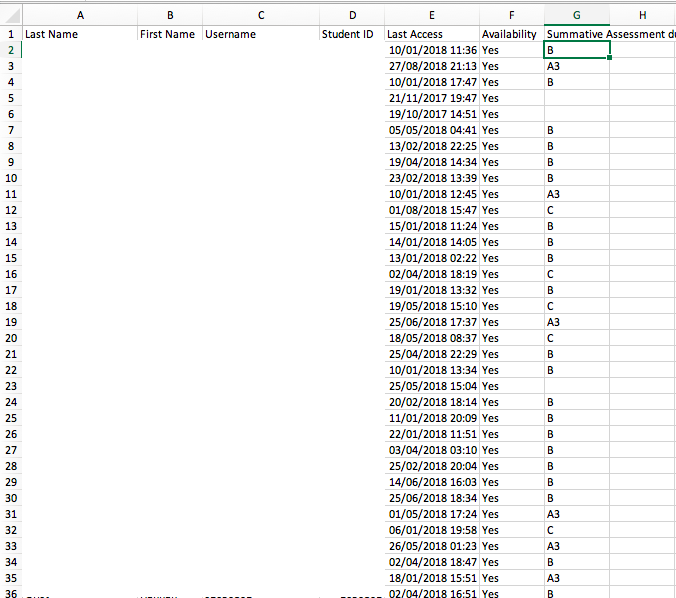
- You now have a CSV file you can upload to another service. You can remove any unnecessary information (such as Last Access) by deleting the column.
Giving students access to their grades
Students can access their records in the Learn Grade Centre via the My Grades tool link. The Informatics Learn template does not, currently, include a link to the My Grades tool link. This is because at present, few courses use the Learn assignment functionality. However, if your course does utilise the Grade Centre, it is easy to add this link.
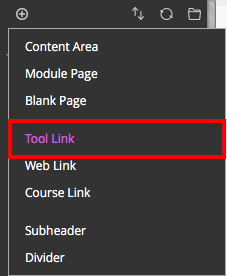
- Select the + symbol in the top left of the grey menu

- Select ‘Tool link’
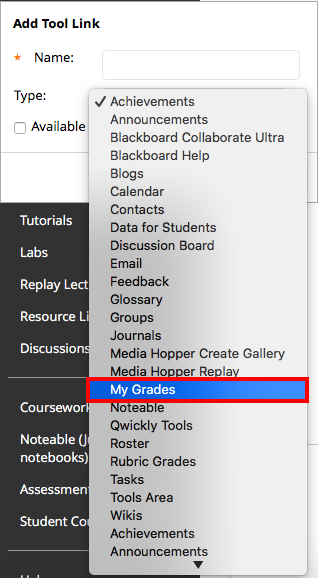
- Give the tool link a name. Most Schools across the University stick with ‘My Grades’. Select tool link type ‘My Grades’. Remember to select the ‘Available to Users’ tick box option. This ensures students enrolled on the course will see the link. Select Submit.
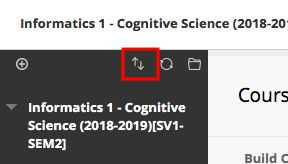
- The tool link will now be added to the bottom of the menu. You can drag this up to a more appropriate place in the menu (eg in the Assessment section) by hovering your mouse to the left of the menu title until the cursor changes to the cross symbol. Now drag the item to where you wish it to be. PLEASE NOTE: you can also re-order your menu items using your keyboard. Select the arrows up and down icon at the top of the grey menu.
- Students will see any grade they have been assigned in the Learn Grade Centre. They will *not* see anyone else’s grade and they will not see their own grade when that particular assignment column is ‘hidden’ in the Grade Centre. If you would like to understand this further, please get in touch with your learning technologist.
Smart Views
- Smart Views are a filtered view of the Grade Centre. Certain Smart Views are pre-set in Learn, ie Assignments and Tests. However, you can create your own Smart Views to make viewing Grade Centre data more manageable. For example, if you would like to see student grades by tutorial group, you should create a Smart View for each tutorial group.
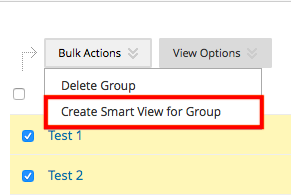
- On the Groups page, select the groups for which you would like to create a smart view. Select Bulk Actions>Create Smart View for Group.
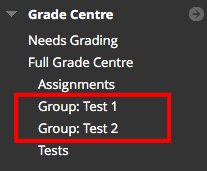
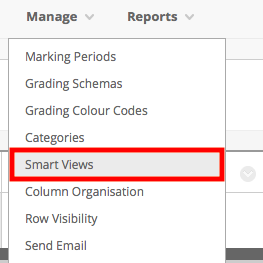
- Now go to the Course Management panel and select Grade Centre>Full Grade Centre. Select Manage>Smart Views.
- Finally, select ADD AS FAVOURITE for those groups which require a filtered smart view. You’ll now see these listed in the Course Management panel under the Grade Centre Heading.