Any views expressed within media held on this service are those of the contributors, should not be taken as approved or endorsed by the University, and do not necessarily reflect the views of the University in respect of any particular issue.
If your instructor has allowed you and other students to submit as a group, you can (and should) add group members to your submission.
To add group members to an assignment submission:
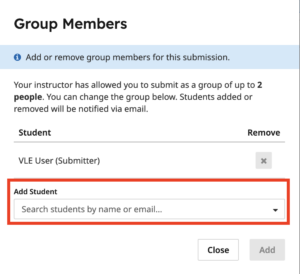
On your submission page, either select Group Members in the action bar (along the bottom of the screen) or select ‘View or Edit Group’ in the outline area of the submission (in the right hand panel).
In the Group Members modal, enter a name to add other students, and then select Add.
Note: If you cannot see your group member(s) listed in Gradescope, please contact the Course Secretary to ask them to re-sync the Gradescope roster with Learn.
If students are permitted extra time on timed pieces of coursework as part of their extended time adjustments, then you will need to set this up for any timed quizzes/tests on your course.
If you are a member of teaching staff, please ensure that you talk to the ITO about this before enabling it for any student on your course, as there are different types of extra time adjustments that a student may have and they will help clarify for your course how these need to be applied.
Below are links for how to add these extended time adjustments in the two commonly used coursework quiz/test platforms. For both Gradescope and Learn tests, you can set up an adjustment for a student that extends across a whole course and any timed assignments within that course or grant an adjustment just for one or more individual assignments.
Many of the learning technologies we use for teaching in the School of Informatics are integrated into Learn via LTI links, which ensure that user information (e.g. name, email address, and student number) are fed from Learn through to the other tool. Examples of these are Gradescope, Piazza, Zoom, Media Hopper Create and Replay, and CodeGrade. This also means that information can be fed back from these tools to Learn, e.g. marks in Gradescope added to Learn’s Gradebook. Many of these tools, including Library Resources, Media Hopper Replay (aka Lecture Recordings), and Piazza are included on all Informatics courses automatically through our School Learn template.
The process for adding these tools to a Learn page for students to access has changed in Ultra. Please follow the instructions below on how to add a link to these tools on a course Learn page for students and other staff enrolled on the Learn course to access. (Click on any of the screenshots below to open them full size.)
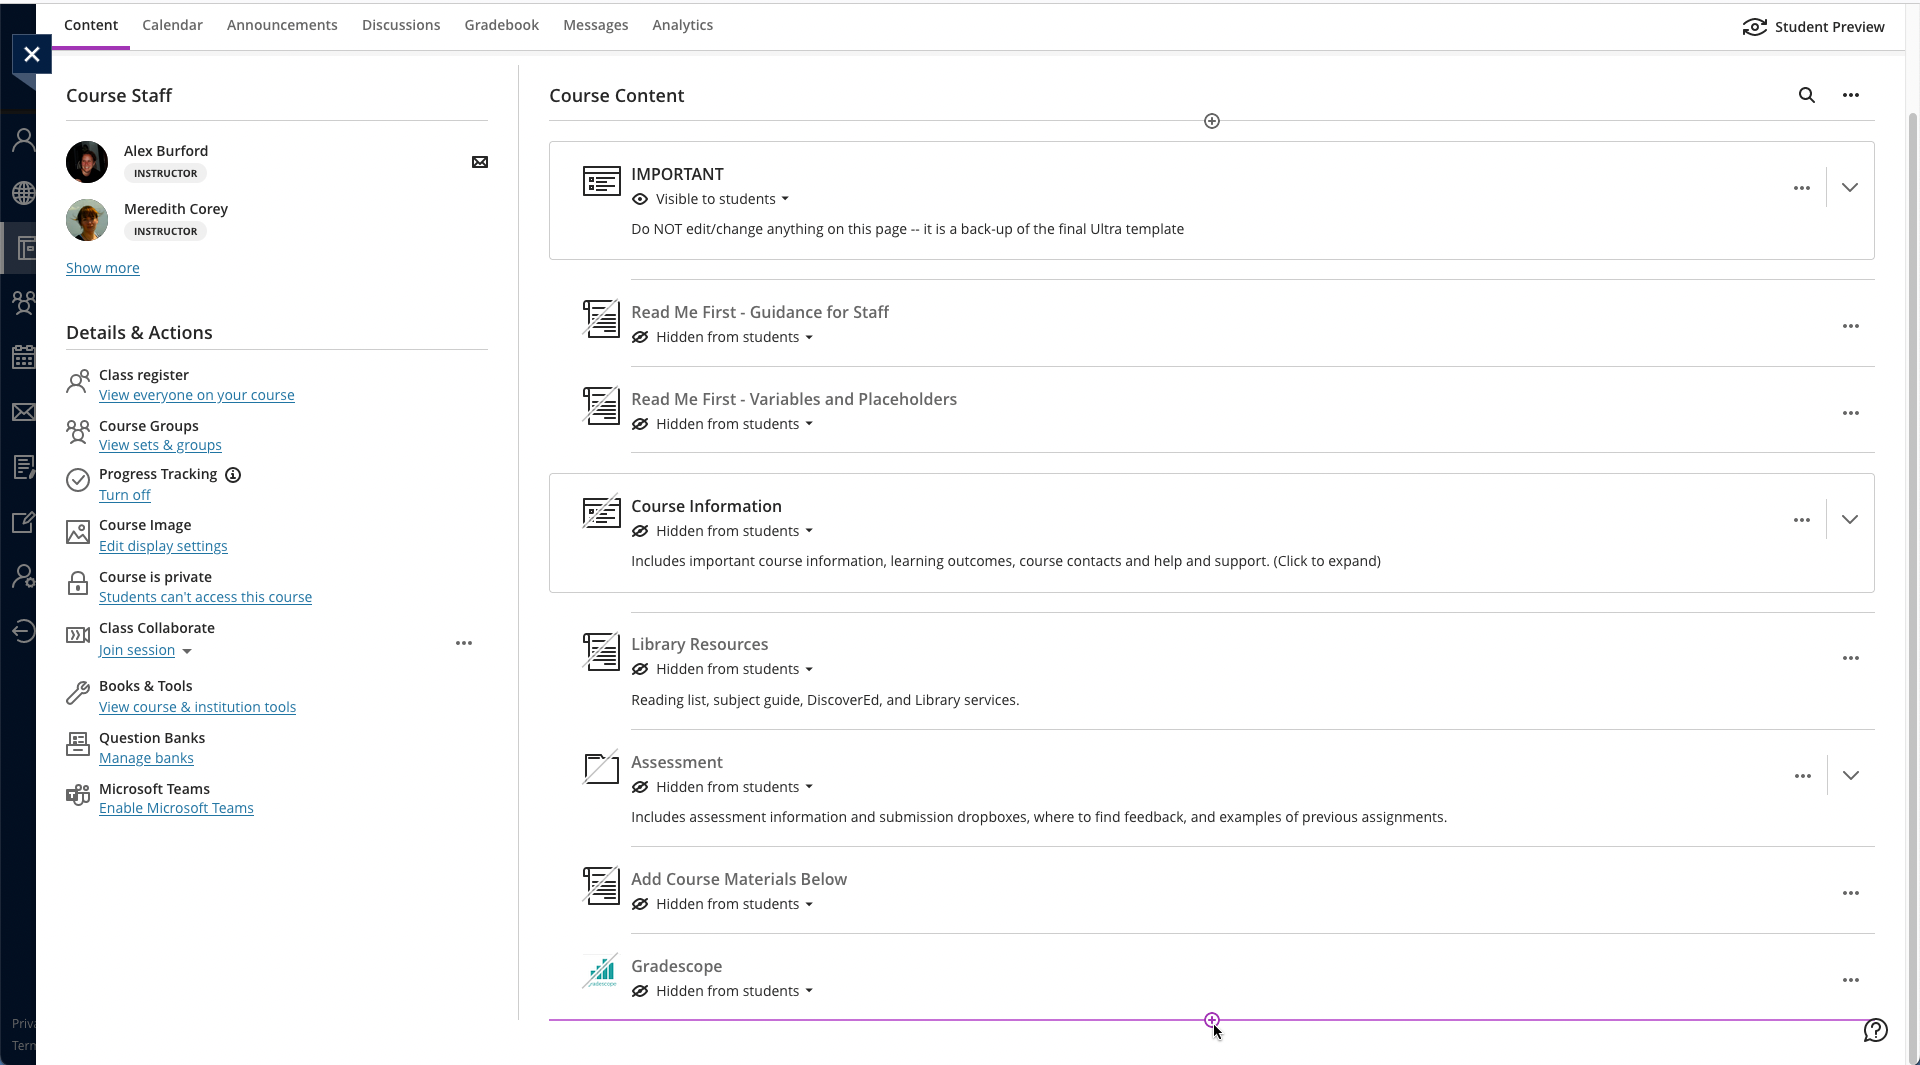
Navigate to the place in Learn that you want to add the link (this might be within a folder, e.g. for an assessment submission) and click on the plus (+) sign where you would like to add it on the Course Content page. You can see that the Gradescope link has already been added below using these steps and, for this demo, we will be adding a link to Piazza below it.
From the pop-up list of options that opens, select “Content Market”.
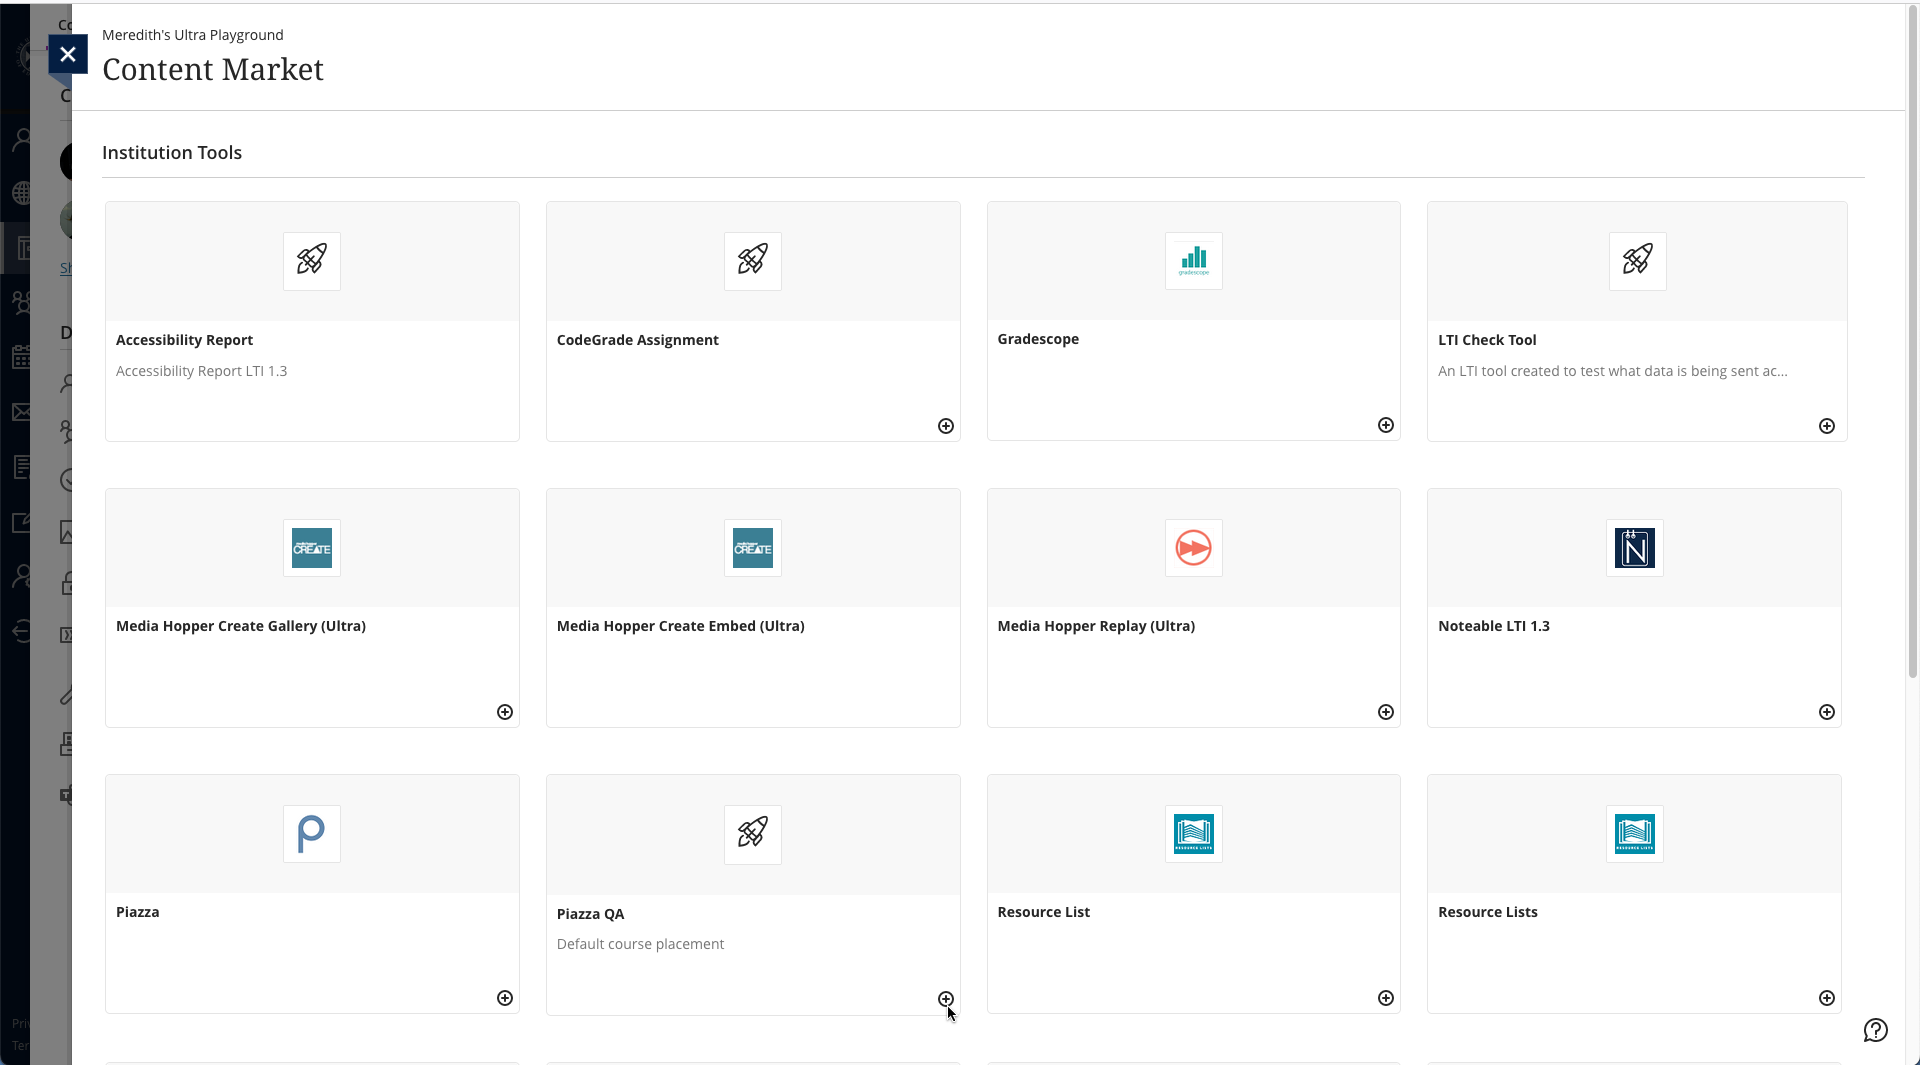
When the Content Market screen opens, navigate to find the tool you need. Do not click on the name of the tool, rather select the little plus (+) sign icon in the bottom right-hand corner for that tool, as shown below for Piazza QA.
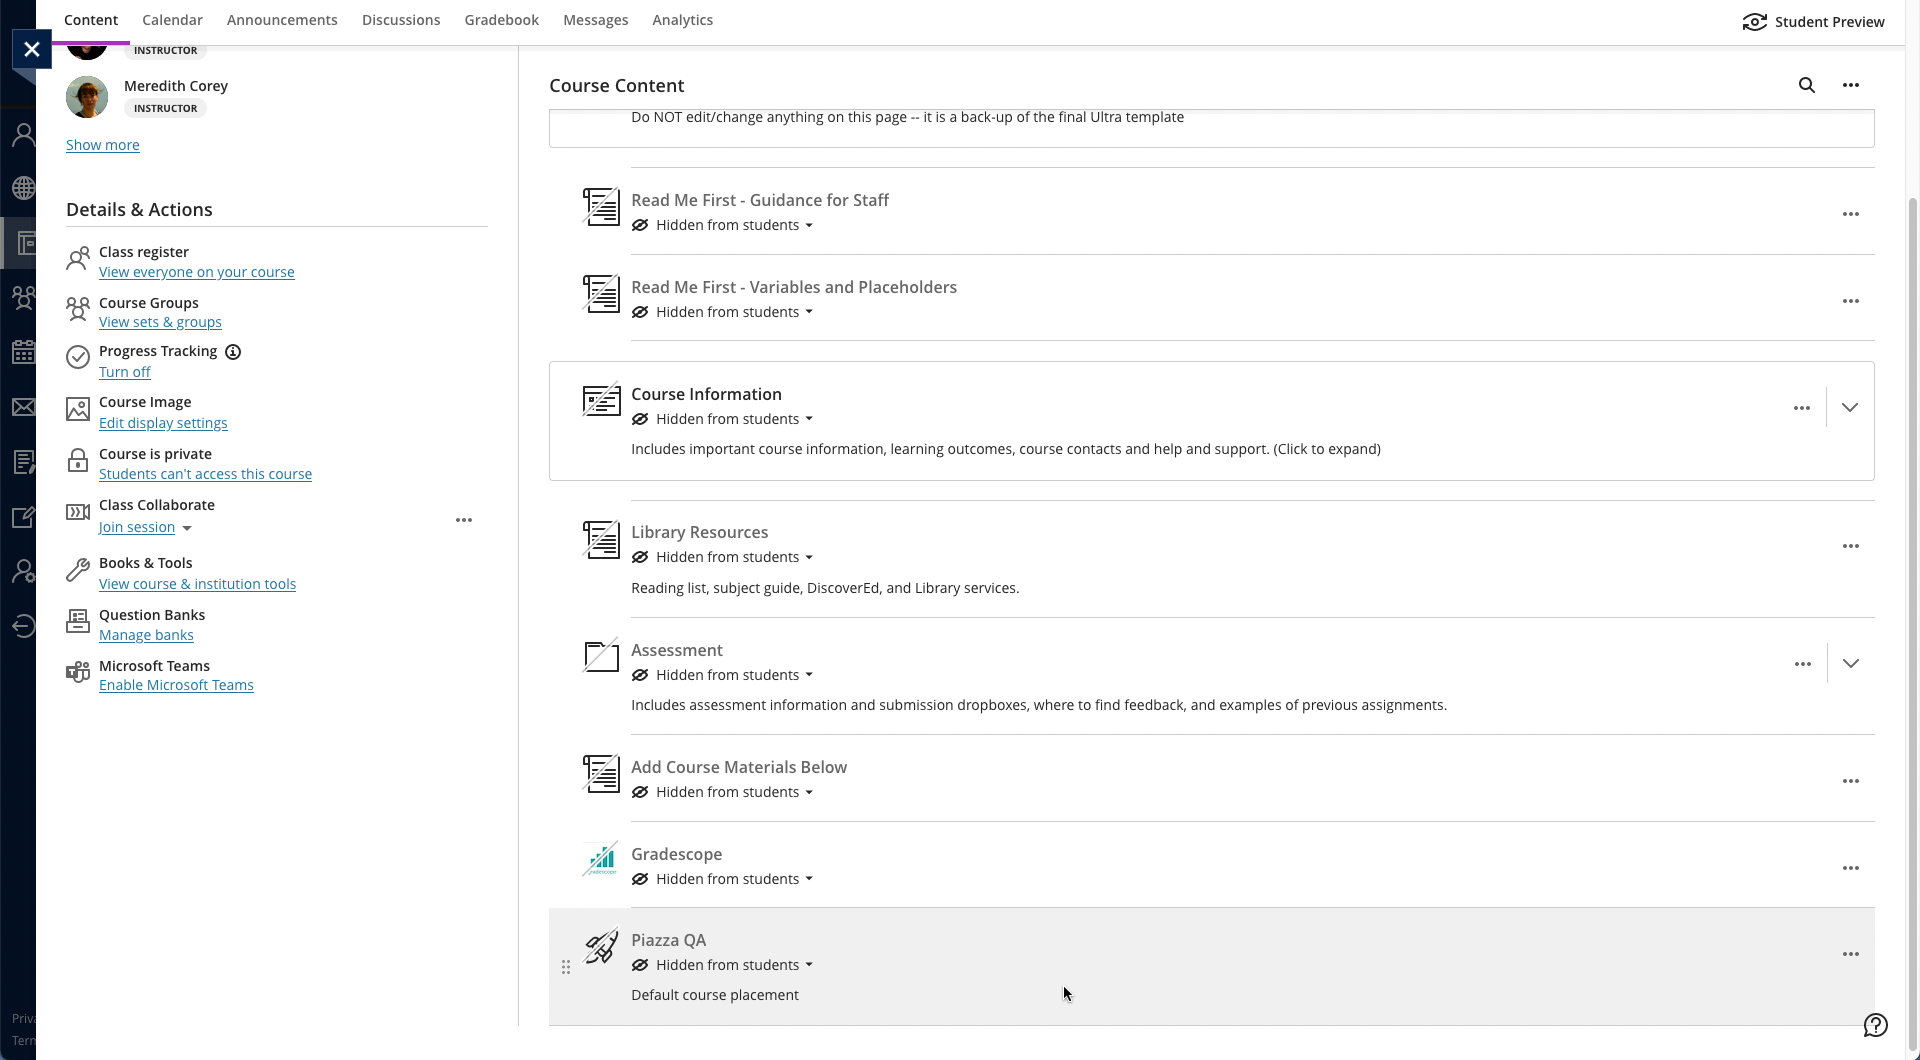
You will then be taken back to the main course Learn page, where you can see that the Piazza QA tool has been added, as you can see below. You can use the three dot icon (…) to open the menu for the item and edit its name and/or description. Once you are ready for students to access it, make it visible to them.
There are many times when you may need to check submission dates and times for coursework or exam hand-ins. The way you do so will depending on the mechanism used to submit.
The following instructions are for when a student has submitted via the Gradescope link within Learn.
Go to the course in Learn and find and select the link to Gradescope.
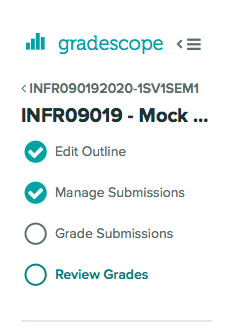
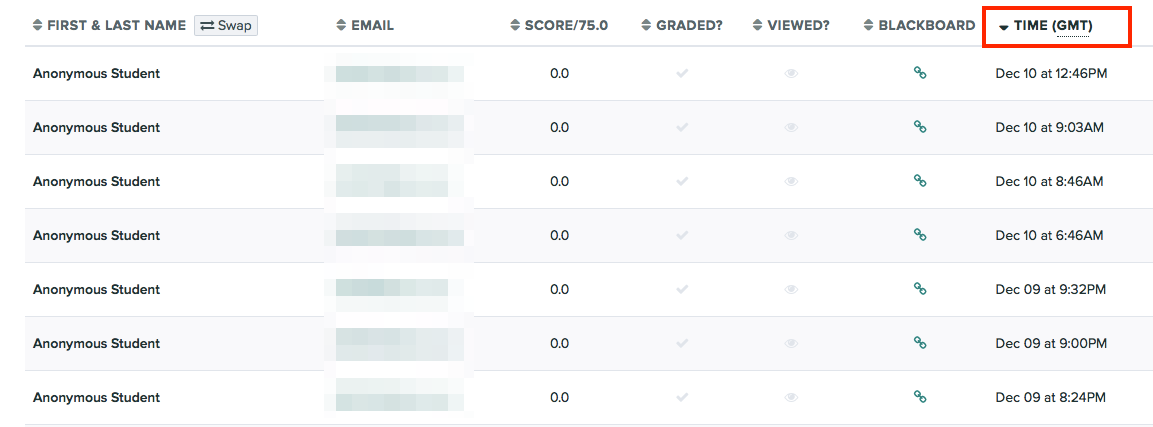
Select the assignment name within Gradescope to open. Select Review Grades.
Sort by the Time column header to see which submissions were made after the deadline.
This blog post is aimed at all students sitting an exam or submitting coursework using Gradescope Homework assignment.
Submitting your PDF to Gradescope
Navigate to the appropriate area in your Learn course (this will be the “Exam” content area for taking an exam, or the “Assessment” area if submitting coursework)
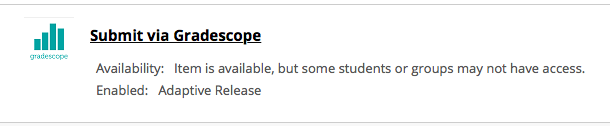
Open Gradescope by clicking “Submit via Gradescope”
Gradescope will open in a new tab
You will be taken directly to the corresponding course area in Gradescope
Open the submission area for the question
Select the file you wish to upload for your answer – this can be uploaded directly from your device. Upload your file – note that Gradescope does not provide a progress bar, and so it will look like nothing is happening while your file submits. Please be patient and do no click Back or Submit again while you wait.
You will be shown a preview of your submission. You can rearrange pages if required.
You will be required to tag which pages from your document correspond to the question part being answered. If your answer to a particular section spans multiple pages please tag each corresponding page. Please also make sure you have labelled each page with a note of which question you are answering. This tagging process takes place after the submission and can be done after the submission deadline without affecting your timestamp for submitting your response.
Check all pages have been tagged correctly, and confirm your submission by clicking Submit.
Video Demonstration of the PDF Upload & tag process
Gradescope is now the School of Informatics’ default platform for marking exams and some coursework assignments.
The technology takes a much more innovative approach to marking which better aligns to the standard practices for marking paper-based exams, with some added benefits over traditional marking.
Horizontal marking (i.e. Mark papers by question) by default
Rubric based marking, with the option of dynamic edits which recalculate previously marked papers
Inline annotation / notes for markers
The exam spaces and initial setup is now managed by the ITO team.
Marking Submissions
You’ll find detailed help and guidance from the Gradescope Help section, but some key elements and videos have been highlighted in this article.
Horizontal Marking
The preferred marking workflow is to mark each question across all submissions, rather than marking a whole paper one submission at a time. The interface for marking is set up this way to apply your mark to the question and then proceed to the next ungraded question.
Rubric Marking
The points per question will be setup prior to the exam. The rubrics will use positive marking by default. Ahead of the exam, course organisers will have a chance to discuss with ILTS how they want their rubric initially setup for all questions. One of the key features for Gradescope is that the rubric can change and be adapted throughout the marking process with the changes being reflected in papers that have already been marked.
Making changes to the rubric can be done by any marker and could be for the following reasons:
Tagging responses marked in a certain way
Tagging responses for additional review
Awarding partial points based on certain criteria
Realising the original rubric design needed altered
Students map their questions to the pages submitted
As part of the submission process students are asked to map which questions have been answered on which page of their PDFs. Some question components may be answered across multiple pages. You can check to see if there is an additional page by using the next arrow or using the “K” keyboard shortcut.
Rubric components can be scored the same and culminative
You can use rubric components for identifying features of how a question has been answered. You can award a rubric item the same points as any other rubric element. This allows you to allocate marks while identifying features of how the question was answered. You can then report on the marking breakdown by each rubric component to get a detailed understanding of how each question was answered across the cohort.
You can select more than one rubric element for each question and the score can build a running total. These settings can be customised and configured as required.
Moderation during the marking process
A suggested workflow for moderation during the marking process is as follows:
CO marks first sample of questions to confirm the rubric fits well
Markers continue to mark remaining questions
CO reviews rubric changes and areas for attention in stages throughout the marking process
Papers can be filtered based on the rubric criteria to look for anomalies
Standard moderation after marking can still take place
Keyboard Shortcuts
To help speed up marking Gradescope uses a number of keyboard shortcuts to apply the rubric components using the number keys, and you can traverse your stack of marking using a number of keyboard shortcuts.
Finally, we would like to stress the importance of running a practice exam, using Gradescope accessed via Learn. As with the real exams, the ILTS team will set these up, but you should identify a suitable timescale to run these, and ensure all students have completed this process prior to the date of their real exam.
Feature requests?
If you are interested in the development of Gradescope, you can view and contribute towards their roadmap here: