Fourth CAD Workshop
9/10/23 – Viewpoints and Layouts
In the fourth CAD workshop I had made significant progress in terms of getting used to CAD and all its functions and I felt a lot more comfortable using it than the weeks before. In this week I learnt how to use the hatching tool which is very useful for walls and making things in my drawings more prominent. To use the hatch tool I selected it and then clicked the area I wanted to be filled with the Hatch. I could also edit the hatch in the hatch editor making it a solid fill or more transparent in addition I could also edit the colour.
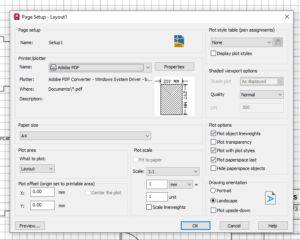
I also learnt moving from model space to paper space. We did this by putting the drawing into a new layout which took it from model space with the black background to paper space which made my drawing printable. We also learnt how to change the paper size and adjust the settings of paper space such as changing the scale of the drawing.
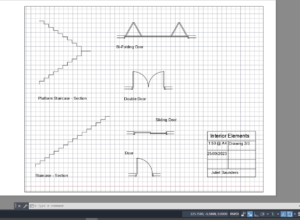
Once getting the hang of paper space I then transferred a lot of my drawings such as my Interior Elements drawings and the floor plans of Blackness to paper space. I also added titling using the text tool to label my drawings. I also experimented what text style I preferred for my drawings and decided I liked the style of Bahnsrchift the most.
Finally, also looking at plot styles for printing from paper space. I made a ‘Demolition’ plot style where when selected to print it will print the red lines in a demolition layer to be red and hatched and all the other lines to be greyscale. We also looked at choosing the printer, size of paper, page setup etc.
![]()
After the workshop I transferred a lot of my drawings into paper space to make them legible and professional drawings with annotation. I also added title blocks to my drawings using the line tool in model space to create a box and lines. It showed the name of the drawing, date, scale and artist. This made my drawings a lot more professional.