Making the prototype light:
- Firstly I simplified the WWW logo for the lights. This is because when testing making the logos using the plasma cutter, it was very unclean and there were too many lines that the machine found hard to navigate. After I simplified the logo, they came out much cleaner and more concise and easy to see when underneath the light.
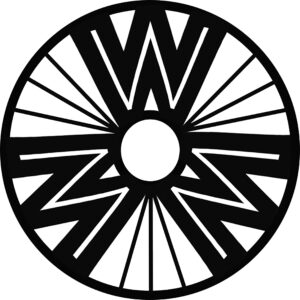
The logo for Women’s Wide Web 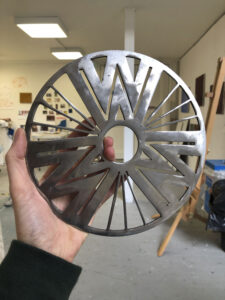
The first plasma cut version of the logo 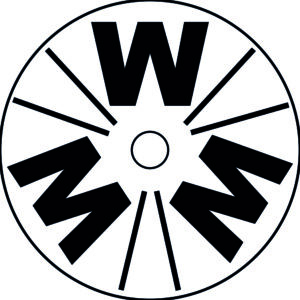
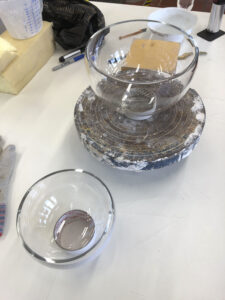
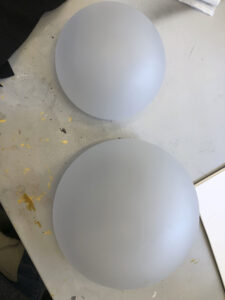
The simplified version of the logo for plasma cutting - Before cutting the final bases out, I set out to make the glass domes to house the lights. As they were to be hand blown, the precise measurements of the domes would only be known once there . To make the domes, large glass spheres were blown which were then split in half using a heat cracking technique:

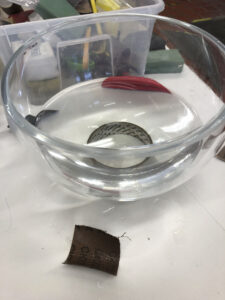
the glass spheres before splitting

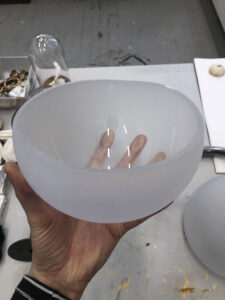
I then sanded these down to smooth any sharp edges:
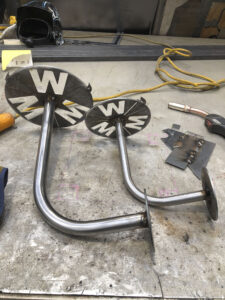
- We ended up with two domes, one large and one small. I took this as an opportunity to try out two scales of lights
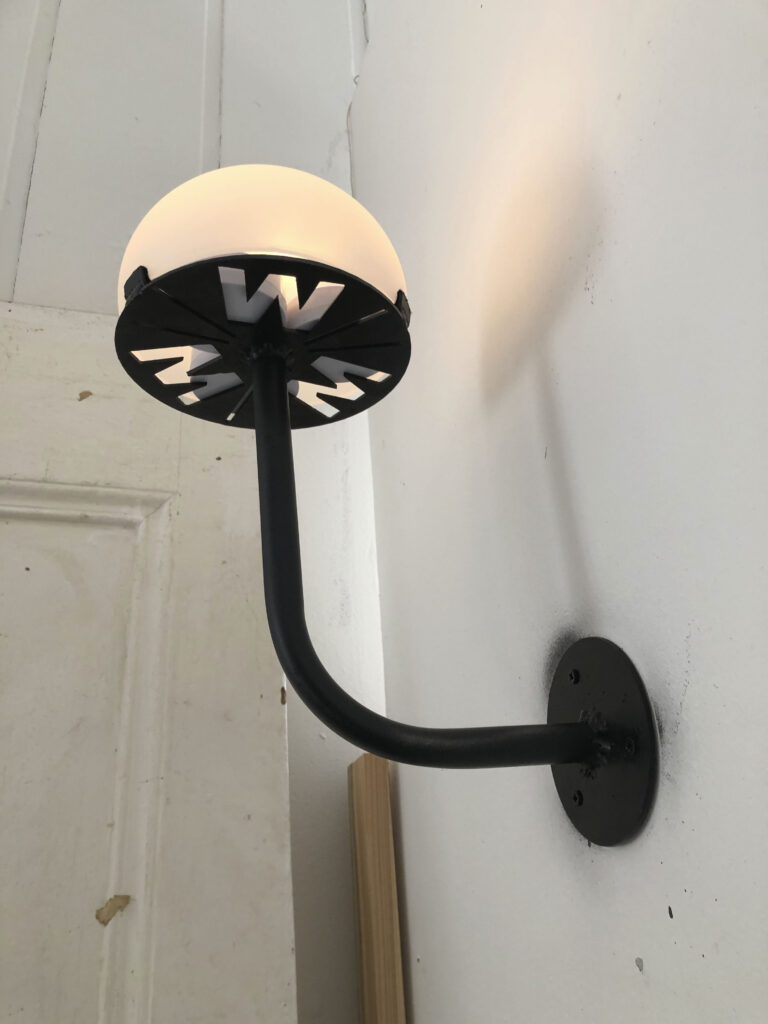
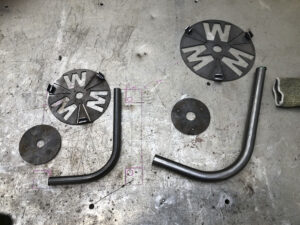
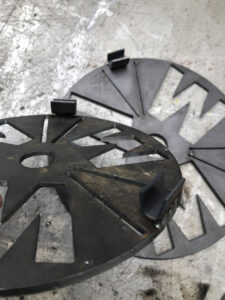
- When I had the domes ready, I then scaled the logos to fit their size and then cut them out in 6mm steel on the plasma cutter. I also ensured that the central hole of the logo was measured to the size of the steel pipes that would be holding up the lights. The brackets for the lamps were also cut out with the plasma cutter.
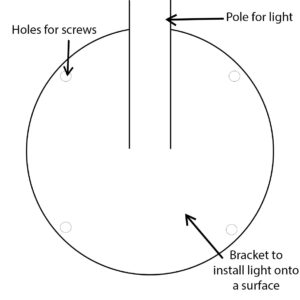
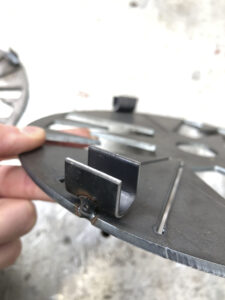
The bracket design to install the lights 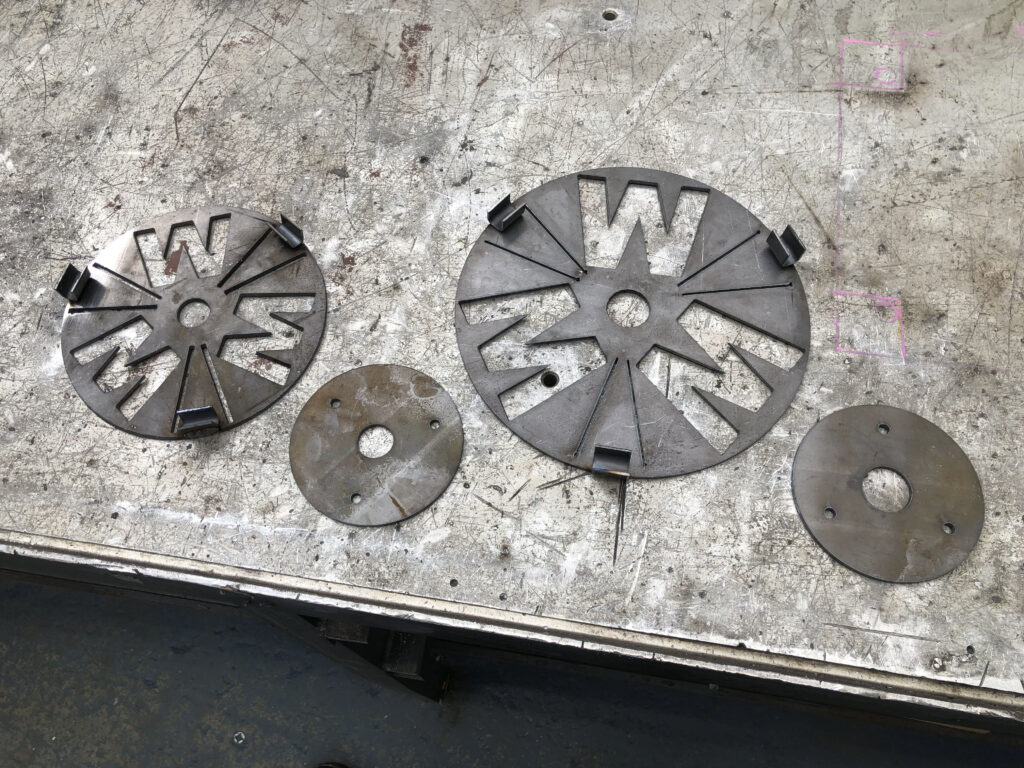
the bases for the lights (logo sections) and the brackets to install the lights
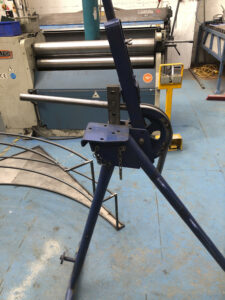
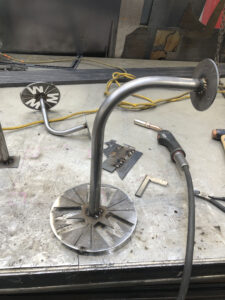
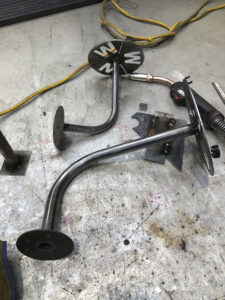
The next stage was to make the metal structure of the lights. Now I had all of the elements for the lights, I needed to bend the steel pipes and weld the sections together
- I then welded all of the pieces together
- I then spray painted the structures with matt black metal paint, I wanted a clean and finished look that tied in with the vintage streetlights of Edinburgh

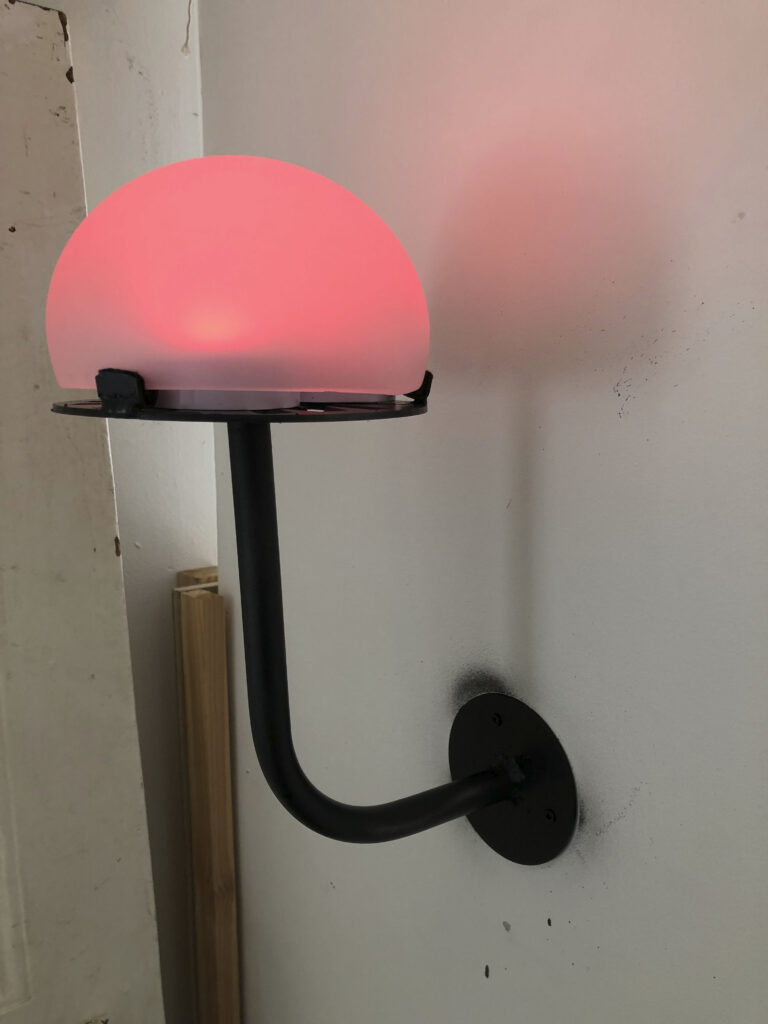
- As I wanted a soft light, I sandblasted the glass domes to create a muted light
- To finish, I placed remote controlled LED lights underneath the glass domes. These also had different colour settings so I could see what the lights would look like in their red warning phase