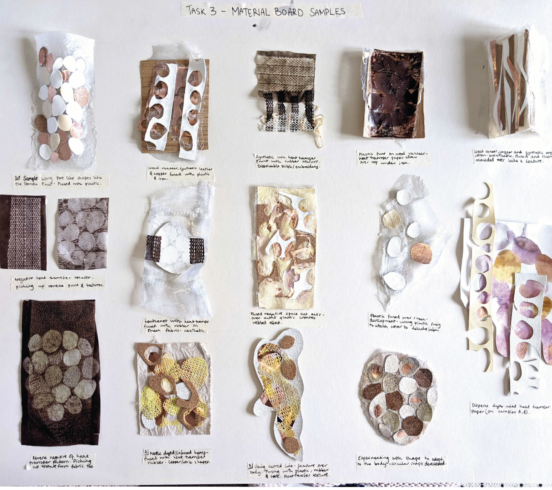
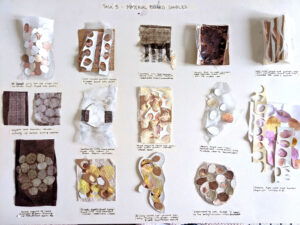
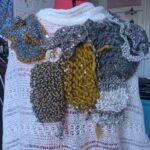
For tasks 3 and 4, we were asked to create material sampling boards using the materials and fabric in our material packs. These used the colour palette of the brief, following on from looking into using more tonal colours whilst still adding an aesthetic element to the designs. I initially looked back at some of my primary photos, shown in the mood board below which also features some of Iris Van Herpen’s work with 3D printing. this further emphasises this idea of creating textures, fabric and material without the use of stitch or a sewing machine, which the tasks this week were based on. I focused on melting, bonding, joining and fusing in my samples, initially starting with what Natalie had shown us in this weeks workshops.
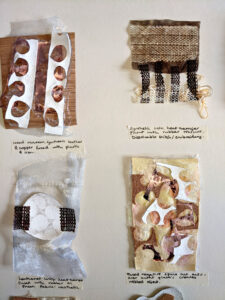
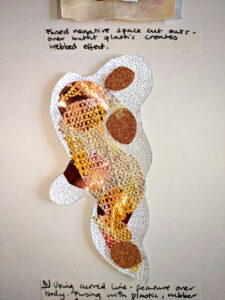
These first samples show my exploration into these techniques, using a hot iron to meld different elements together. I found the plastic especially effective in fusing heavier fabrics together as well as to lighter materials. Also I found it interesting to experiment with using different heats with the iron and pressing the plastic for different amounts of time, in which, in some cases, the plastic created a webbed appearance. I also enjoyed working with the heat transfer papers as well as disperse dying which I could do from home. The colour actually transferred also when heat was applied onto the hardened, webbed plastic, so effectively you could fuse colour into the designs as well as joining them together.
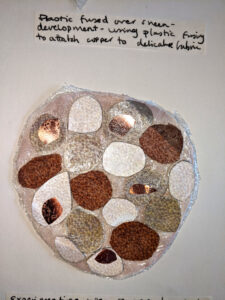
I started to develop these pieces through using my own materials as shown with the sheen fabric which also has a breathable quality as well as adding a nice aesthetic. I also used water soluble stitching in some samples to experiment not only with heat, but also with water to fuse and bond threads, binding materials.
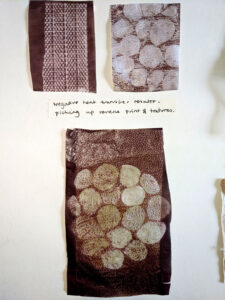
Although not technically material samples, I decided to include these negative prints of the heat transfer paper, which gives this interesting reverse imprint of the material or fabric it was printing onto. The rubber matting created these track marks, which can then be reprinted over another surface to create a new print. In addition, it was interesting to see that the leather synthetic fibre also left an interesting texture which was almost porous, down to the raised texture of the material. This reminded me of the Pomelo peel structure that I had been researching and which had inspired me to use circular shapes and curves in these samples.
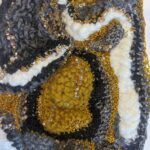
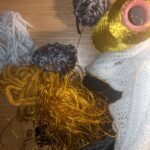
This piece below is a more developed sample, showing my thought into how the covering may react to different surfaces of the body and skin. This design is quite versatile and could potentially be fitted around many different parts of the body, if applied in a medical sense. I used heat transfer paper which added this interesting texture to the fabric. I painted up a mix of yellows, dark reds and brown disperse dye pigments and used this to transfer colour to the rubber matting, which took colour particularly well as shown below. I used this over the top of the other circular pieces to the design, which then in addition to colouring, fused all the parts to the base surface, creating this overall design.
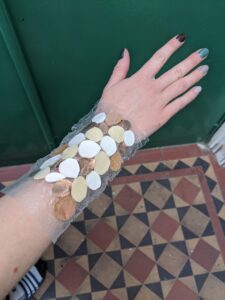
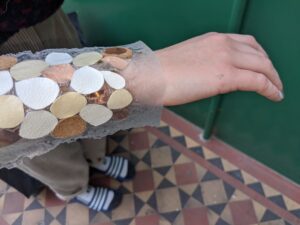
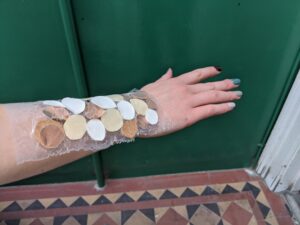
This sample again shows how I tried to push my designs further into looking at how the bandage could work functionally on the body. I used a cotton as the base surface, only fusing with plastic on the top layer, so that the cotton was still functional in adding a breathable quality to the design. This was then laid with my circular, pore-like structures, cut out from the different materials provided. I really like the use of the copper and the reflective quality that it gives to the design. I would like to look more into the use of photochromic and thermochromic inks, which has been further inspired by the shine and reflection of the metal being used as a textile material. I used a hot iron to gently fuse the plastic material to lay over the other elements, fusing the sample together so that all the pieces remain in place.
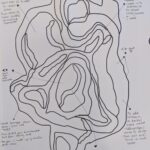
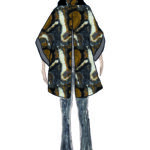
Below I have included a few images of my design concept ideas – I wondered how the samples might form around an arm, cheekbone, knee of shoulder and experimented with these ideas using Photoshop. After heating the plastic, the material became extremely mouldable for a short amount of time, whilst the material was still cooling, which allowed me to form the sample around a curved surface which gave it this added 3D element and a more structured foundation.


nadamson
29 October 2020 — 3:59 pm
Really great materials board and you are directly relating it back to your theme and visuals which is great. More drawing to link the theme to materials would be good to really refine the composition and design of final piece, great work and very thorough research you are really considering each stage and linking it back to the brief really great.