 Week 1- Metal Workshop
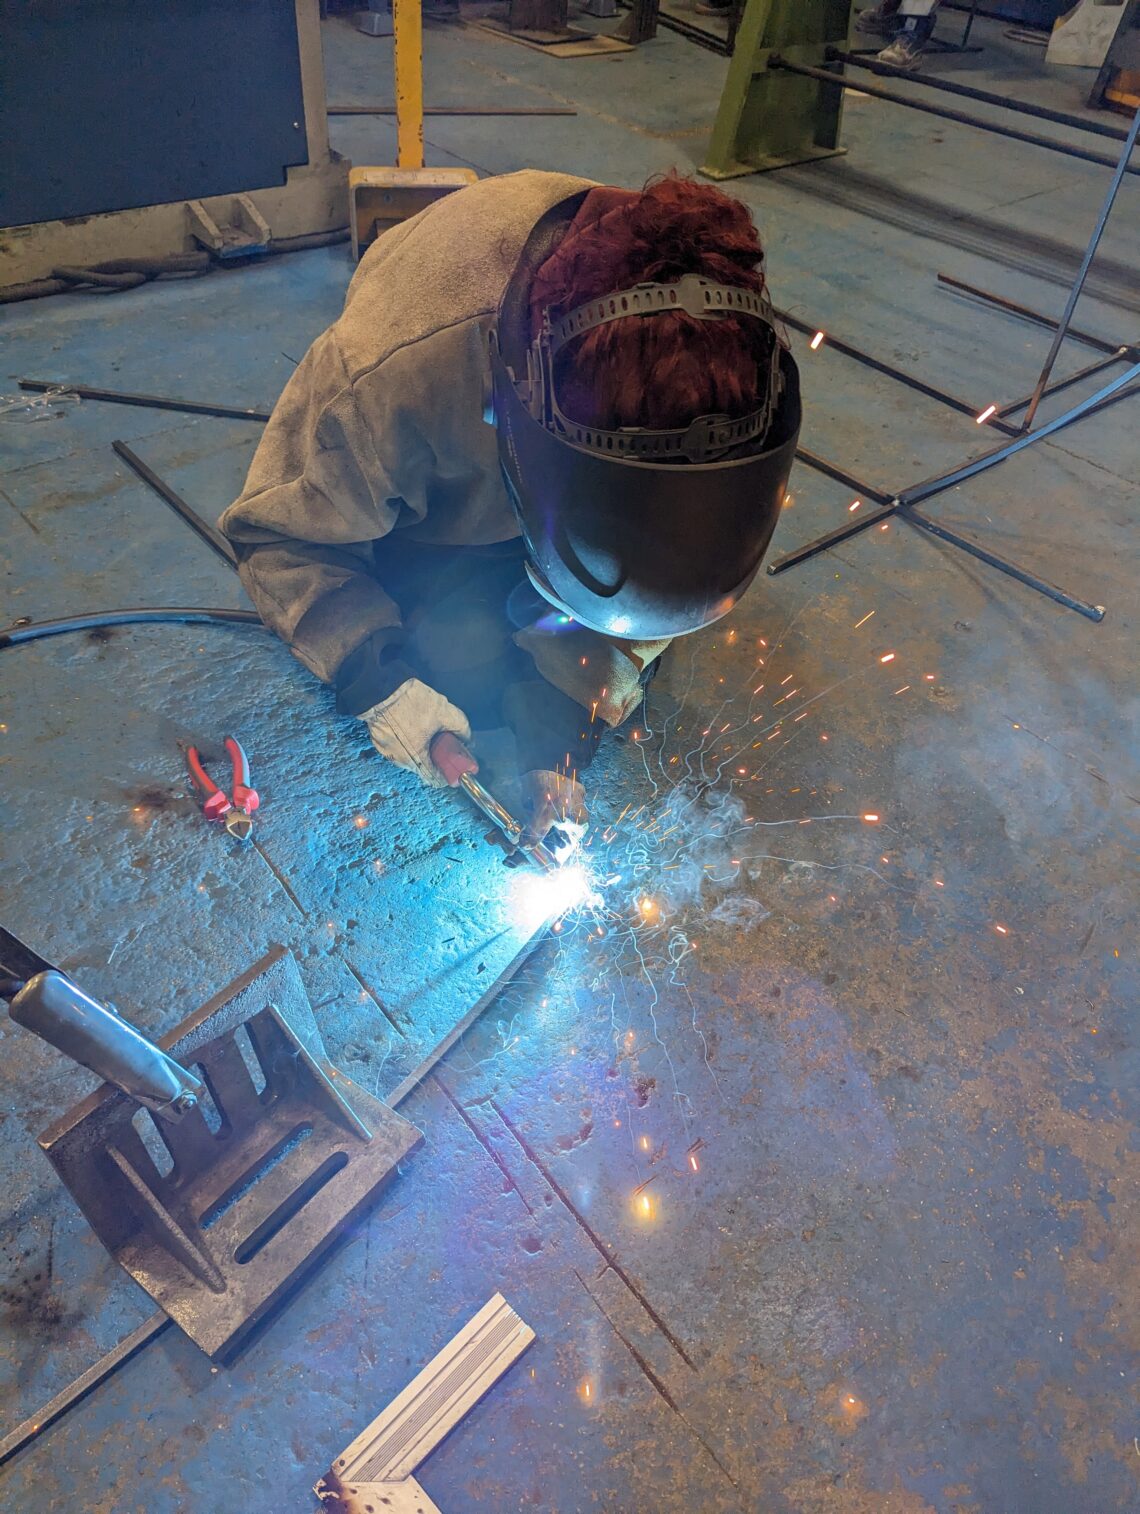
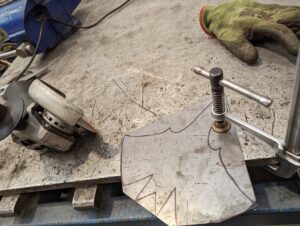
I was keen to go into the metal workshop as I had already been into the workshop using some off the tools to build sculptures for my Environmental sculpture elective. While I was there previously I had been shown how to do basic welding, using the cutting machines, lethal sanders and metal rollers. I was keen to build up more skills projects could move at a quicker pace if I needed these skills in them. The workshop was based around making a coat hook. We were able to design our own which could be any size and have as many hooks as you liked. This meant a few skills were required to be taught, cutting sanding, welding dn bending. As I had acquired most of these skills already I chose to design something which would be more focused cutting and creating shape from the metal.
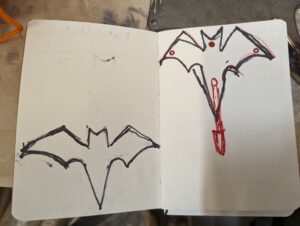
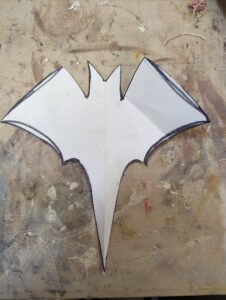
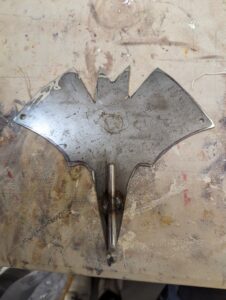
I designed a bat which was required to be cut by the metal guillotine and then the shape refined by using the angle grinder. The angel grinder was used first to but as much of the shape as possible. As it only cuts in straight lines the curves had to be seated using the sanding tool on the angle grinder. sanding down the metal into curves using the edge.
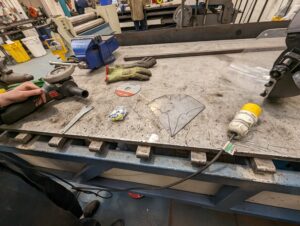
This was time consuming process but I was pleased to have focused on where I needed two build up skills rather than create a basic stand using skills I already had.
I had planed to sand down the bat to it was shiny and then make a more refined hook. Cutting the shape was time consuming and the time limits made this not possible.

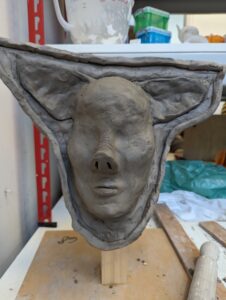
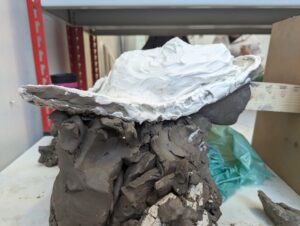
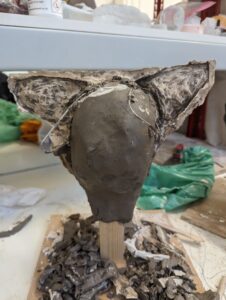
Plaster casting workshop Khe enny organised a small workshop to introduce cast making. The workshop focused on creating plaster moulds which could either be used as a mould replicating the image captured on the internal. Alternatively using the mould to make a mask by building up and sculpting the external layers.
Using the clay models models which had been created the pervious Monday we learned how to create a wall around the area we wanted to use for casting, how to layer plaster into the mould, and how to remove the cast.
My clay model had pig earl sheikh caused a problem when the weight of the plaster went onto them. I had to make supports from clay to go under the ears until the plaster was dry.The ears were fragile when removed from the cast and required to be build up. My pig last some features in the process. I built up more layers of plaster to give more room for deveohpling the features back into my work. I enjoyed the process and think it would be a beneficial tool for creating moulds in the future.
As I was working with a mask in my painting project I was pleased this workshop linked into my own work smoothly. Creating the mask its self, sculpting features is time consuming and if I was doing so in the future I would plan ahead to make time allowances.

Week 2 – Photoshop
I took part in the online workshop for photoshop. The workshop was teaching basic skills and in the end developed a collage. I was pleased to have a refresher on photoshop. As I had lost access to photo shop during the summer I had used alternative photo editing tools.
I would have preferred a longer induction and more hands-on skill building rather than watching someone else. I feel tactile learning is always more beneficial for me. The teaching was straightforward and easy to follow and comprehend. I have signed up for an in-person workshop later which I hope will be more in-depth. The workshop introduced some apps like Linked In Learning which was helpful as a learning resource.
Week 3 – 3D printing
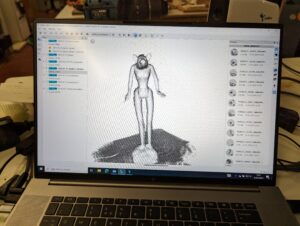
It was requested we bring an object which we could scan and then 3D print.
I took along a Barbie doll which had been modified by myself. We were shown how to scan the objects slowly and steady keeping the correct distance indicated on the scanner. Once satisfied the information was accurately gathered on the software we were able to clean up the image of any unwanted data, and then transfer the file to the printing software.
There were different option is 3d printing with sizing and obkects which can be scanned. Materials which things can be printed in.


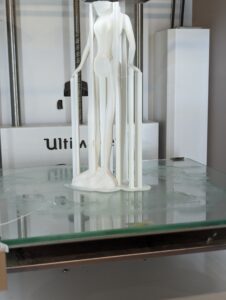
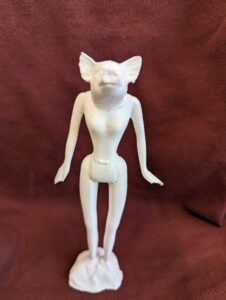 I was pleased with the final product and felt there was now potential to look back at previous projects and use the facility to complete some works in 3d printing. I would like to print some works in clay to give a more sculptural look.
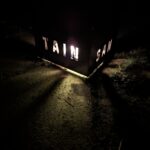
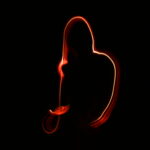
Week 4 – Photograph
In this workshop, I learned some basic camera skills for both SLR and Analog Photography.
learning how to use and set up equipment sucha s tripods, lights and backdrops. Setting up camers settings with use of a light meter , how lighting is affected by light reflectors and absorbers. How different lighting affects images
.

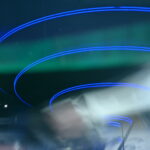
DIY film school- I took part in a DIY film school. This was aimed at creating films using mobile phones as a primary camera.
Shown clips from movies which had been shot on mobile phones.
Advised on the basics of setting up using camera settings such as grids and exposures to set up shots correctly, using the rule of 3rds and not over-exposing images.
Advised on lighting and equipment available such as gimbles.
Photoshop workshop- Week 5
Online workshop learning the basics of Photoshop.
premier pro film editing -Workshop – week 6
Attending the premiere pro workshop I learned basic skills in how to edit scenes together. Learning how to use shapes, sound and movement similarities in scenes to join them together along with the technical elements in the software.
I also learned how sound can impact images and how to edit images to sound, matching the tone of music/sound to action to provide atmosphere/energy to movements.