Sketch-Up Workshop 3
13/11/23 – Week 3 Sketch-up
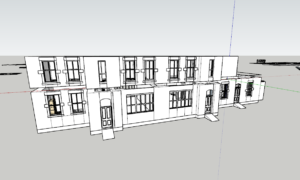
From the first week of using sketch-up I had made significant progress and was getting used to the software a lot more. From the second sketch-up workshop to the third I had made a lot of progress in the construction of my outer shell of the Officers Quarters at Blackness s Castle.

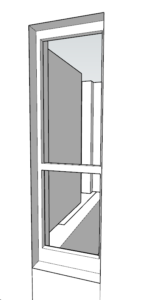
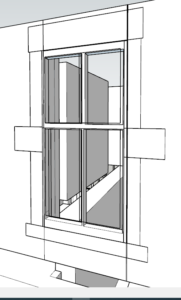
I had mainly been focusing on putting in all the windows which took me a significant amount of time. I did this by aligning up the elevations to the base of my model. Then copying and pasting the windows and putting them on where they should go using construction lines to make sure they were in the right place. I then traced over the drawn window component using the line tool. Once I had done this I used the push and pull tool to push out the windows and make them 3d. I also then used the erase tool to erase the faces of the window. I struggled a lot to get the tools to work and the windows to all be of the same standard but once I got use to it I got better at doing it. Once I had completed the windows I then went and put the doors in and the details. Again using the elevation and copying and pasting the door onto my shell. Then using the line tool to outline and the push and pull tool to make it 3d and add depth.


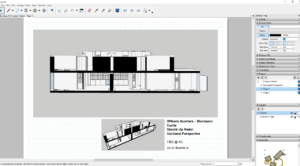
In the workshop I learnt how to use the section tool and how to present my drawings using sketch-up layout. I cut various sections and put them in ‘Views’ to save them. Then going into layout I was able to bring in my work from sketch-up to put on a plain sheet of paper. I brought in pictures of different views of my model and a section. I then arranged them to create a professional standard sheet of paper to display my work. I also added in a title block using the text tool in layout.


