Sketch-Up Workshop 2
6/11/23 – Sketch-Up Workshop 2
I was now a lot more comfortable using the sketch- up software but still finding it challenging. I had started developing my floor plans of the officers quarters into sketch-up using the push and pull tools to create a shell outer wall for the building. I had struggled to get the push and pull tool to work on my floor plan that I imported from CAD into Sketchup as it wouldn’t allow me. I thought it was due the fact the drawings were groups/components so I made them not a group. I had to go and outline the plan using the line tool to create the surface and then use the push and pull tool to make it 3d.
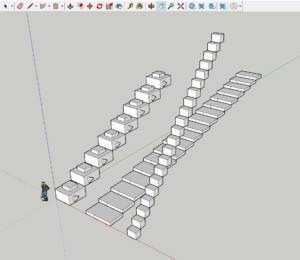
This week we looked further into groups and components and what you can do when you put objects in groups and components. We started of with an exercise of building a rectangle then copying it to create a stair shape. As well as putting it in groups and components . You can also put it into duplicates and type the number of duplicated you want it to produce, which created a stair case.
We also looked out how when you edit an object that is in a component every single other object in the component will change as well.
We also imported a component called the ‘Vita Chair’. Using this component we looked and the different functions you can do to the object. Firstly, looking at ‘Scenes’ when you can change the views on your screen that you see of the component/Sketch-up Screen. You can also save them so you can go back and look at the same views. You can rename and rearrange the scenes to your preference. We also converted these scenes into a short animation. Which would be a very effective way of presenting your own work.
We also looked at styles, which edited the background, colours and created different graphic styles, I experimented with the water mark, background, edges and styles etc. Finally, we also looked at how to create a section of your drawing on Sketchup.
After the workshop I went away and kept on developing my sketch-up 3d model of the officers quarters. I tried to continue building it as best as possible. I had put in most of the walls but had not done the windows yet. I first started creating a regular window pane on where the windows are according to the dimensions of the plans and elevations and then using the push and pull tool to make it 3d and erase the holes to make it so it can be seen through. I initially struggled with this a lot and found it difficult to create the windows exactly. However, I just kept going to try make the model as complete as possible.