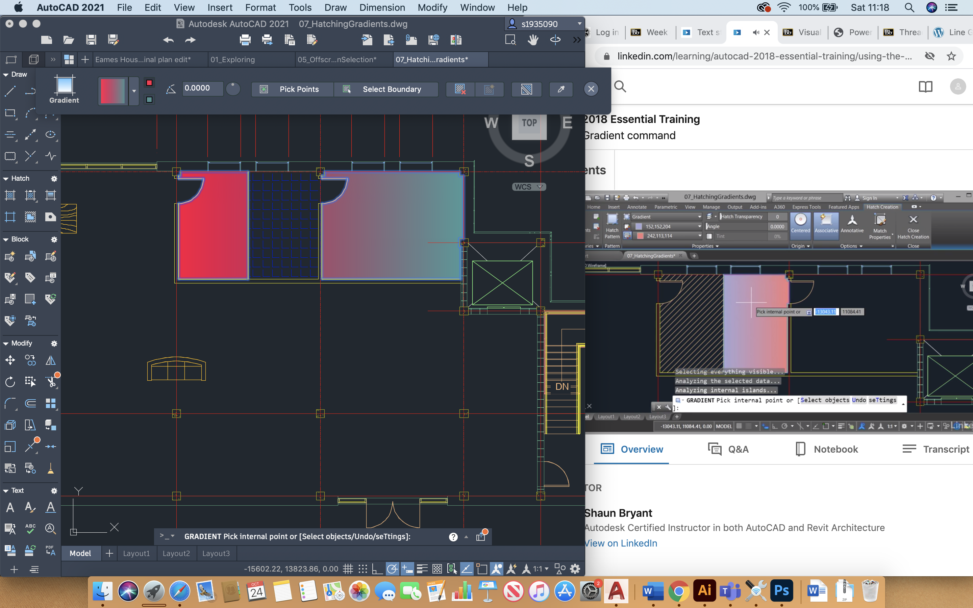
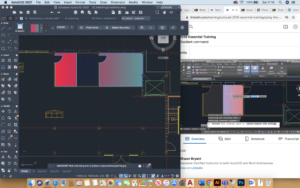
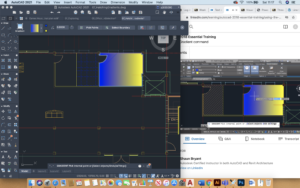
To consolidate my learning from the lectures I have rewatched some of the Linkedin learning videos on how to use the hatch and gradient tools for AutoCad. The below screenshots show examples of my work using the gradient tool. By selecting the gradient tool, I changed the colour and scale of each tool as well as changing whether you select the inside of an object or using the gradient tool in a different way.
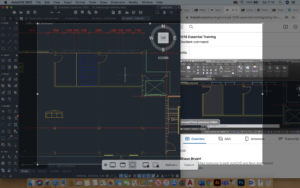
In using the hatch tool, I used the scale tool to scale the hatch to 50 to create larger squares of the hatch pattern. I also learnt how to change the hatch pattern and scale. You can select an area within and then view the inside of the object – I think this is different to the AutoCad 2018 programme, which selects the layer as a preview so that you can view the hatch before you select or enter to the object.


Leave a Reply