
I decided to begin getting to grips with the methods and processes of mokuhanga by designing and printing a simple ukiyo-e. I was more concerned with understanding and practising the process than the complexity of the outcome so I chose to design and print a simple koi fish.
Step by step, making a print – first print:
Planning the print – began by sketching, first on paper and then on the wooden block.
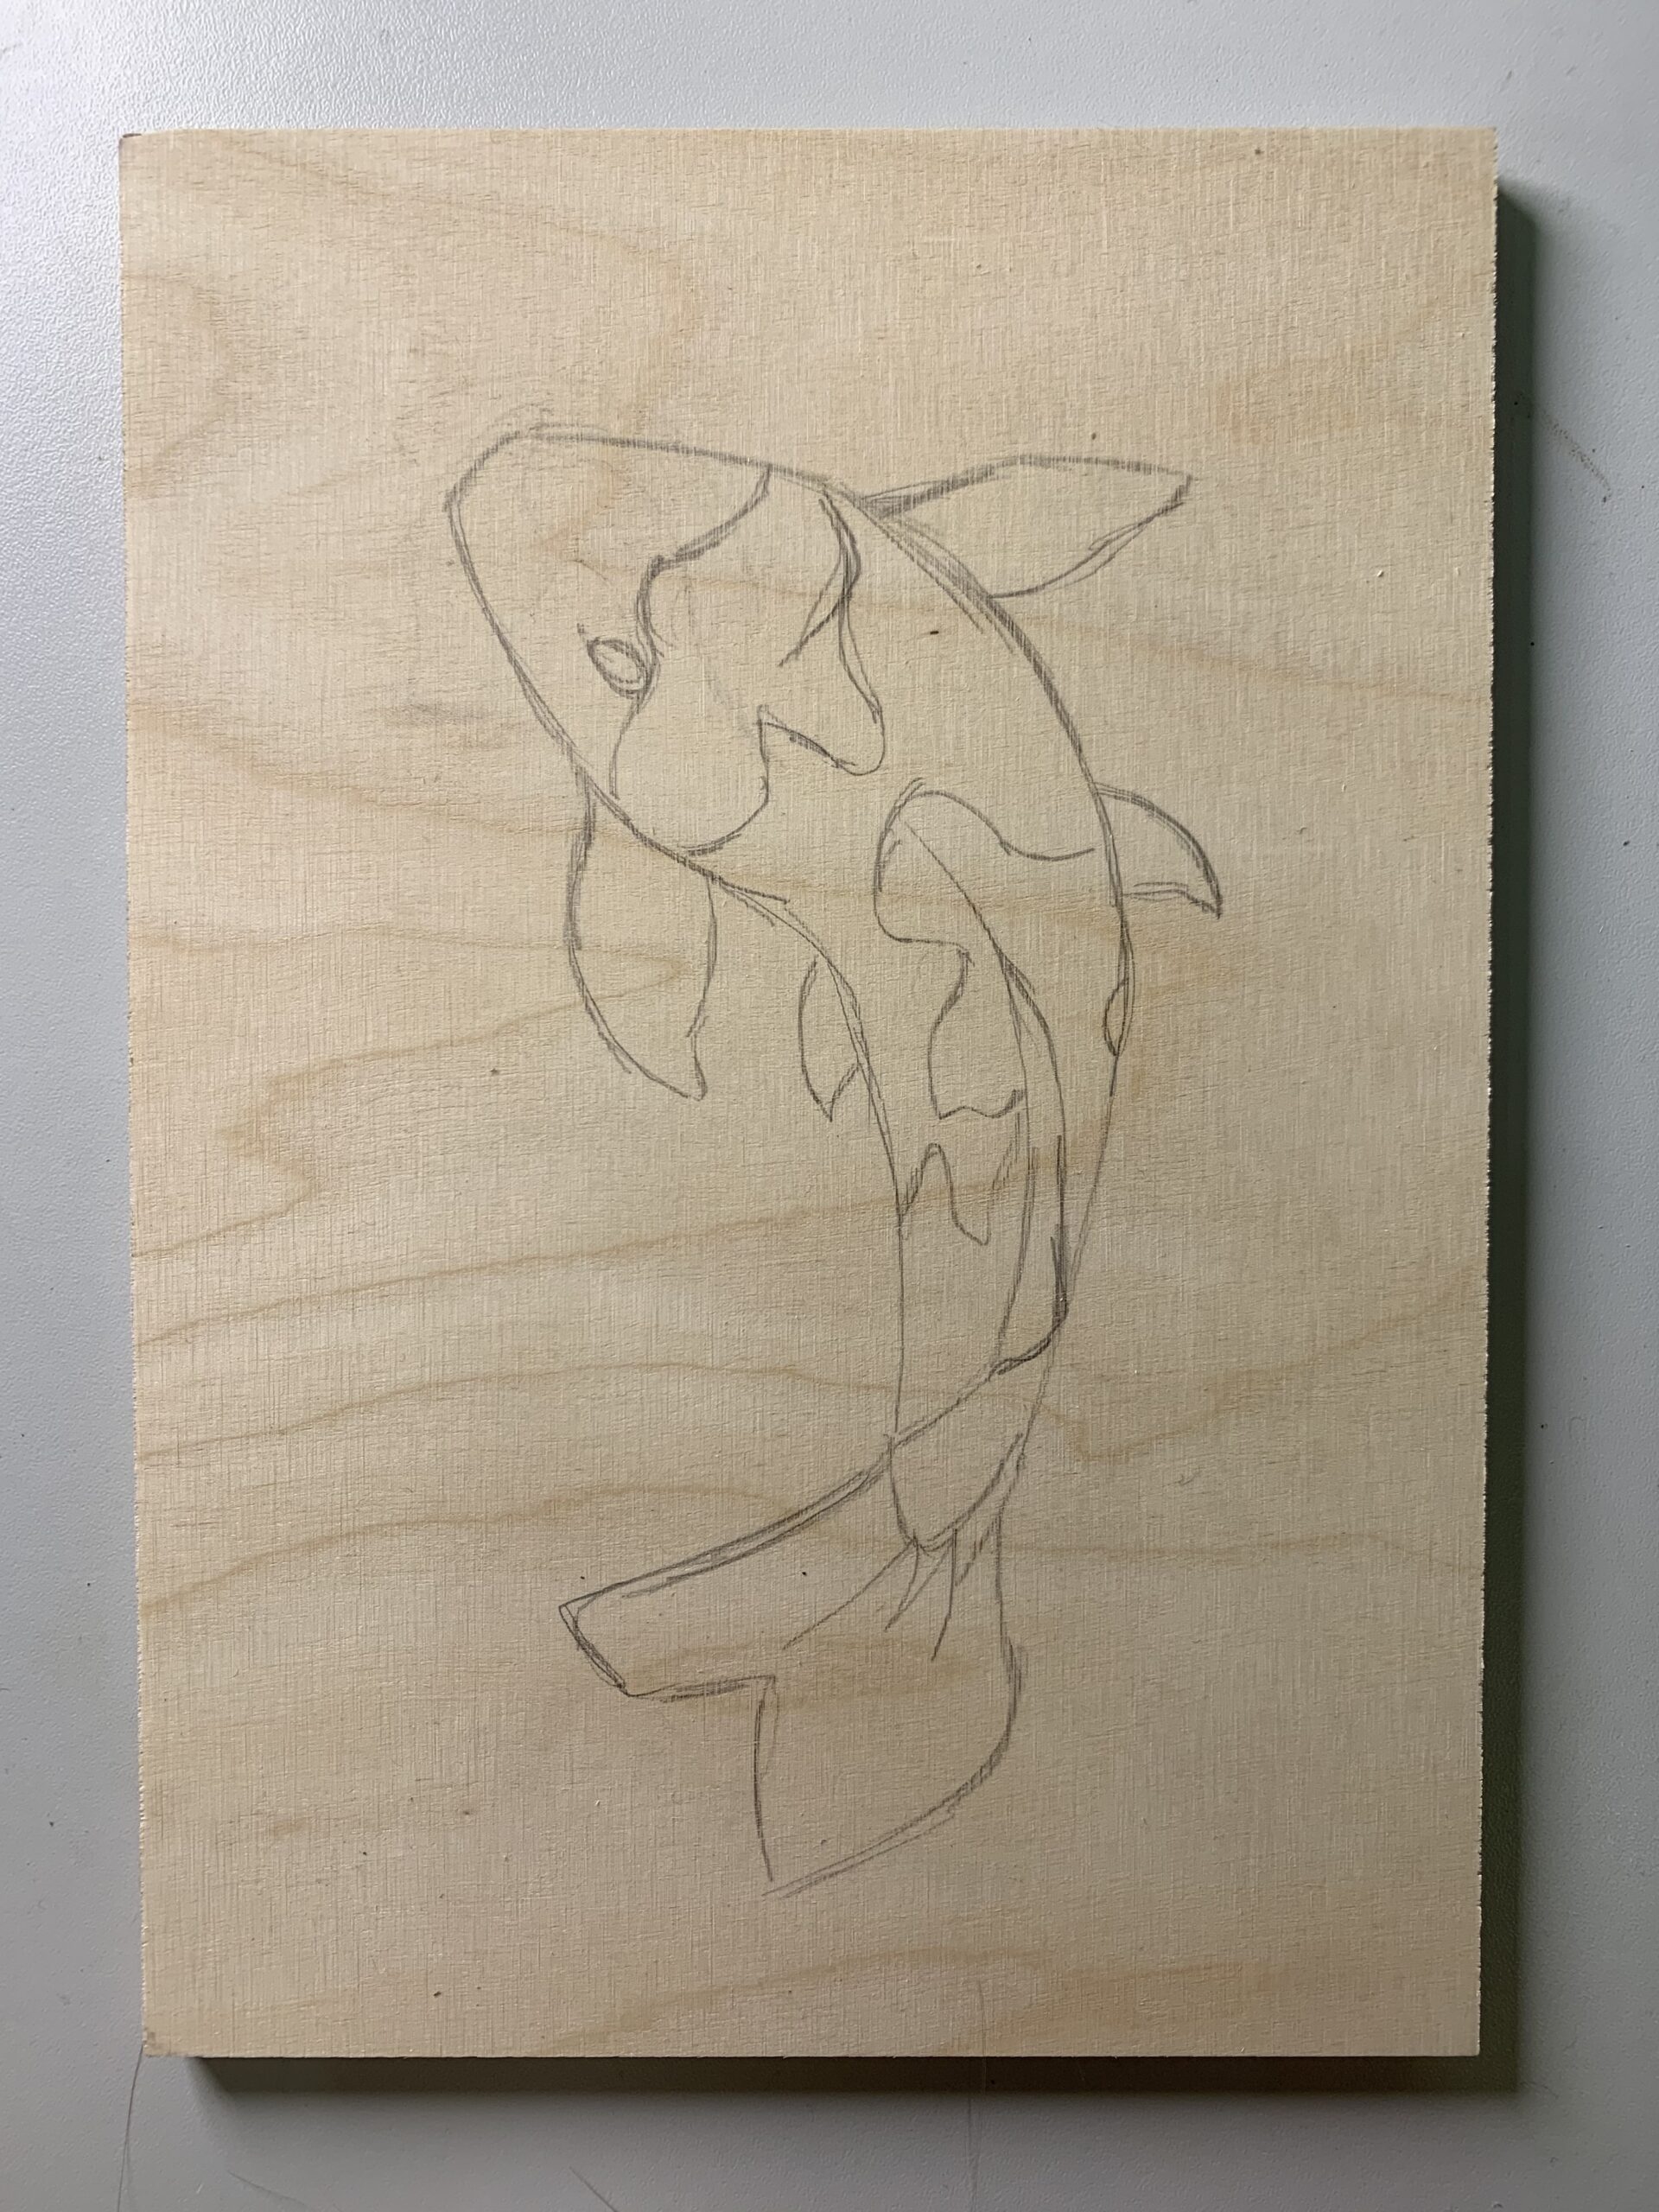
Outlined the design with the hangi-toh (knife).
Cleared a border around the design with the maru-nomi.
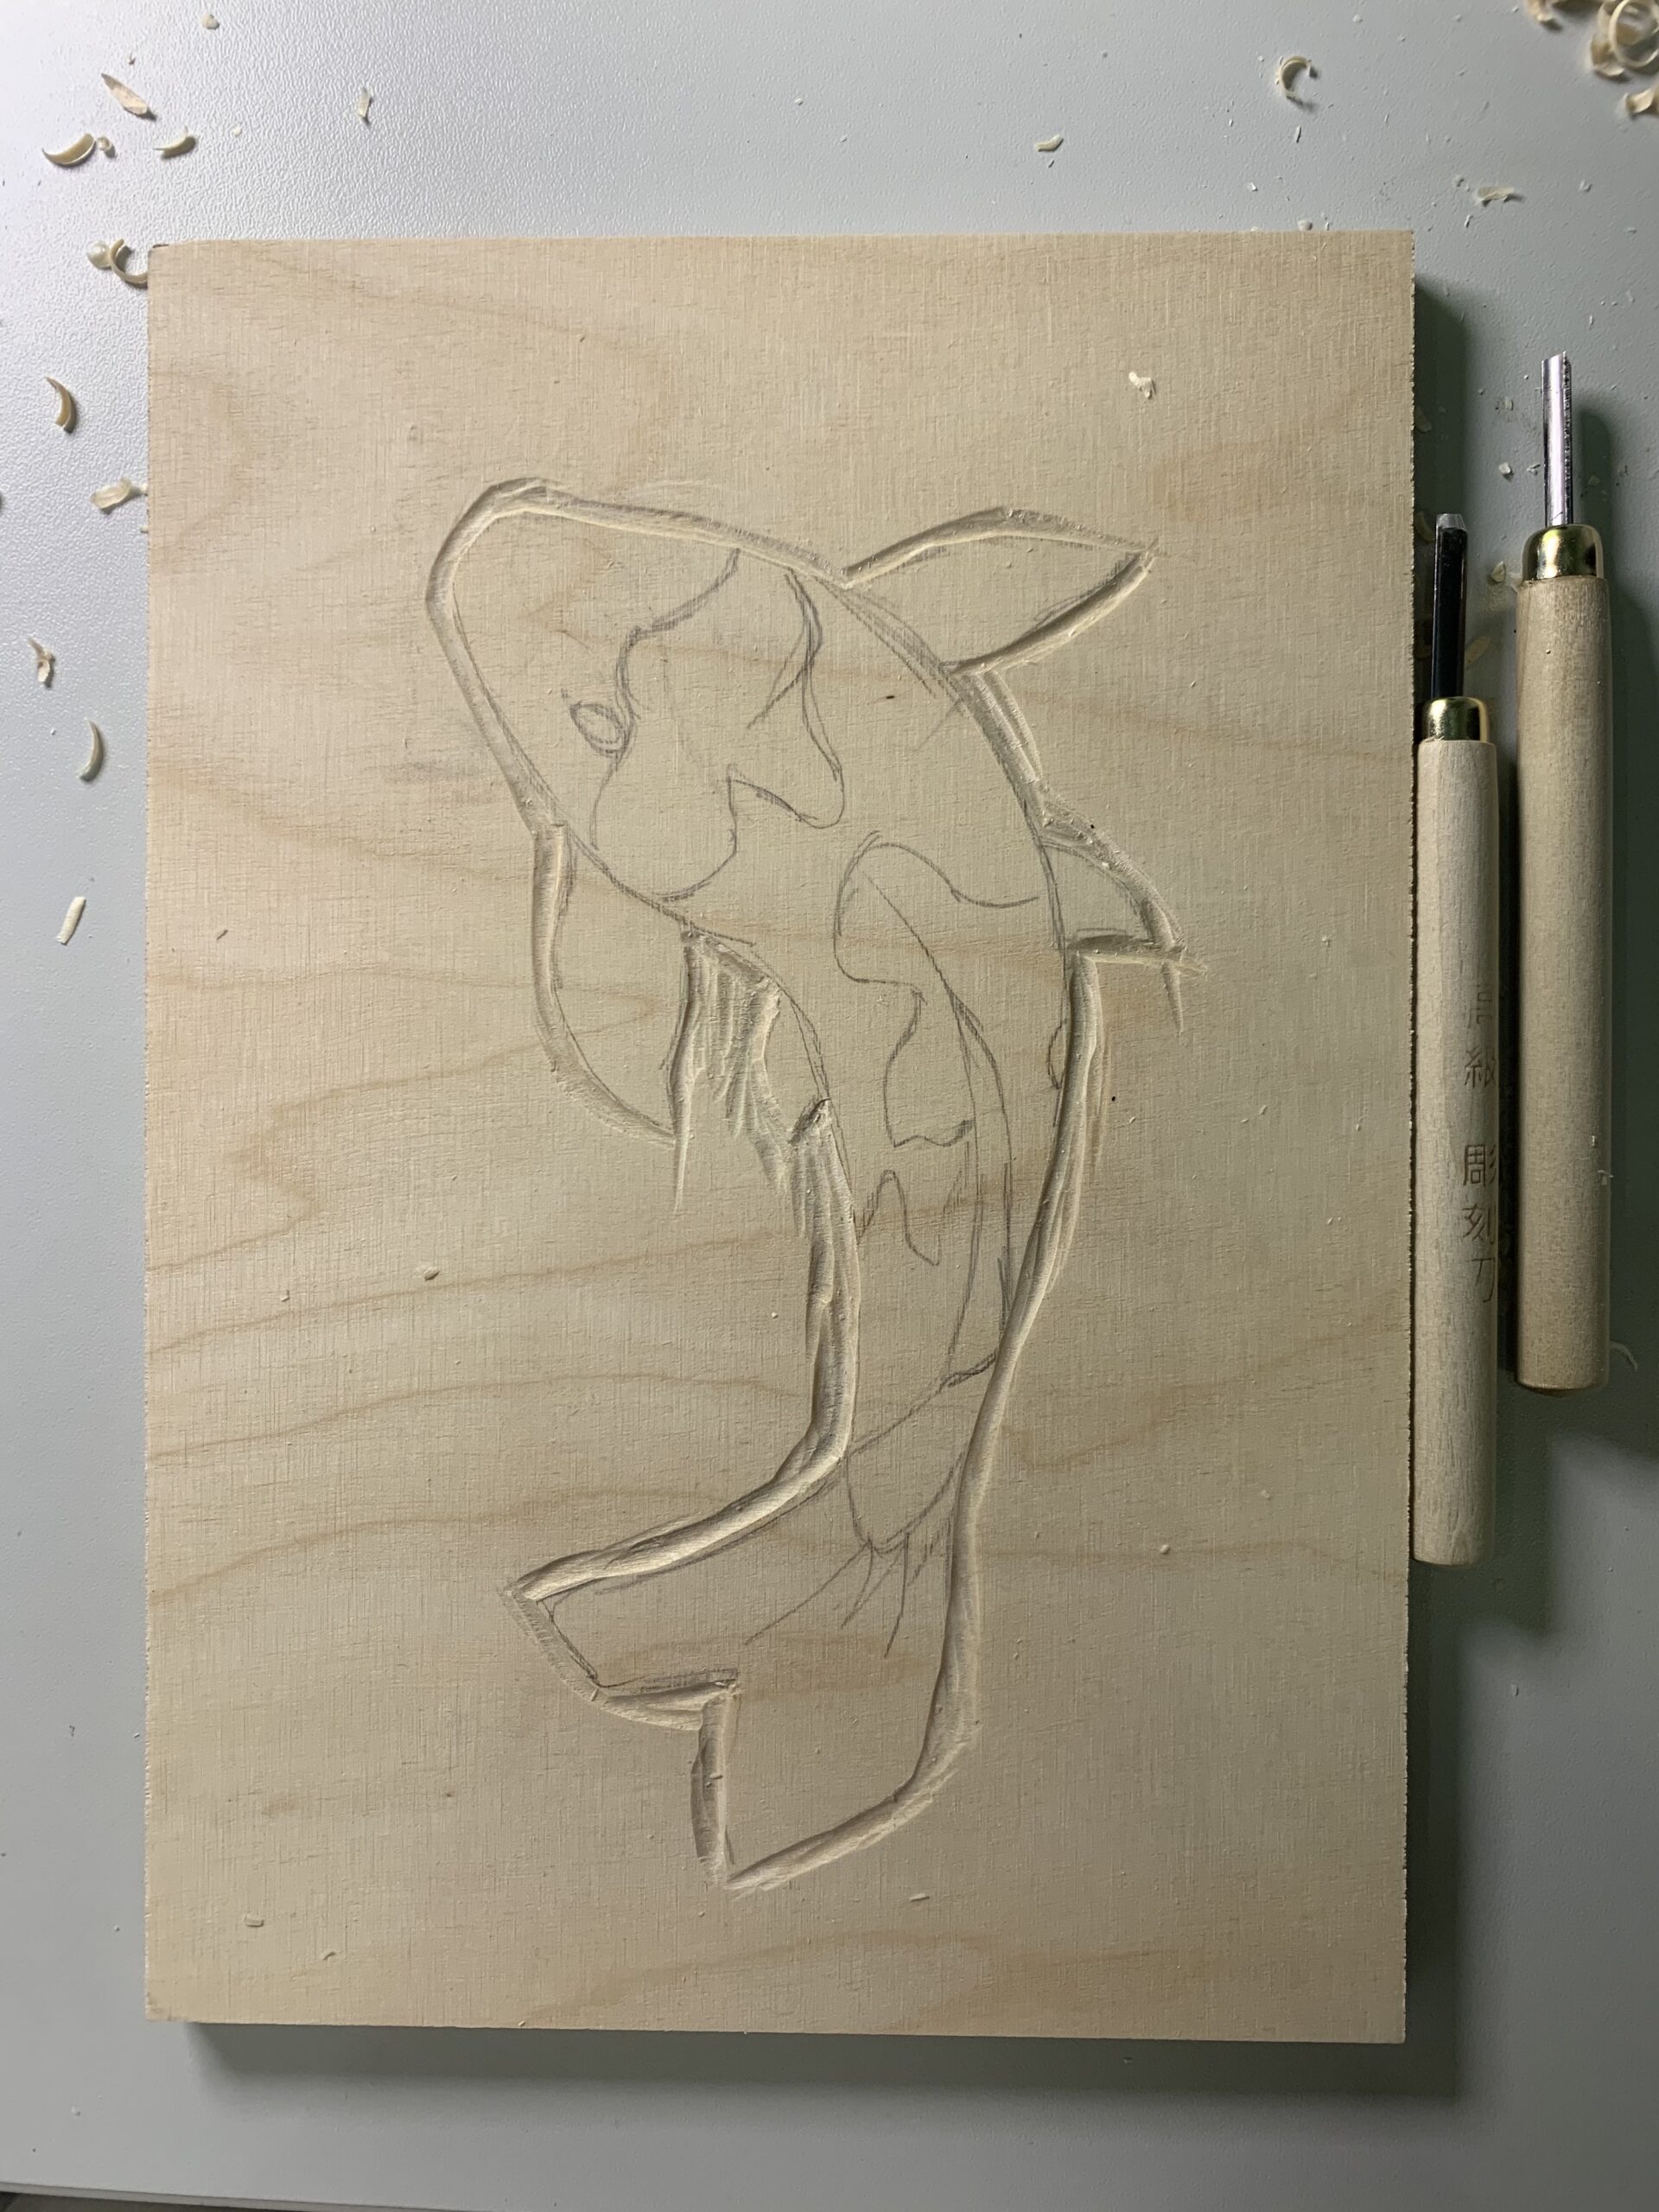
Cleared the rest of the background with the maru-nomi.
![]()
Outlined smaller sections that are to be cleared using the hangi-toh and then clear them with the maru-nomi.
![]()
Dampened the woodblock and washi paper with the mizu bake brush.
Mixed the ink with the nori paste.
Applied the colour mixture to the block using the hanga bake brush.
Laid the washi paper on the block and smoothed over in a zigzag pattern using the baren.
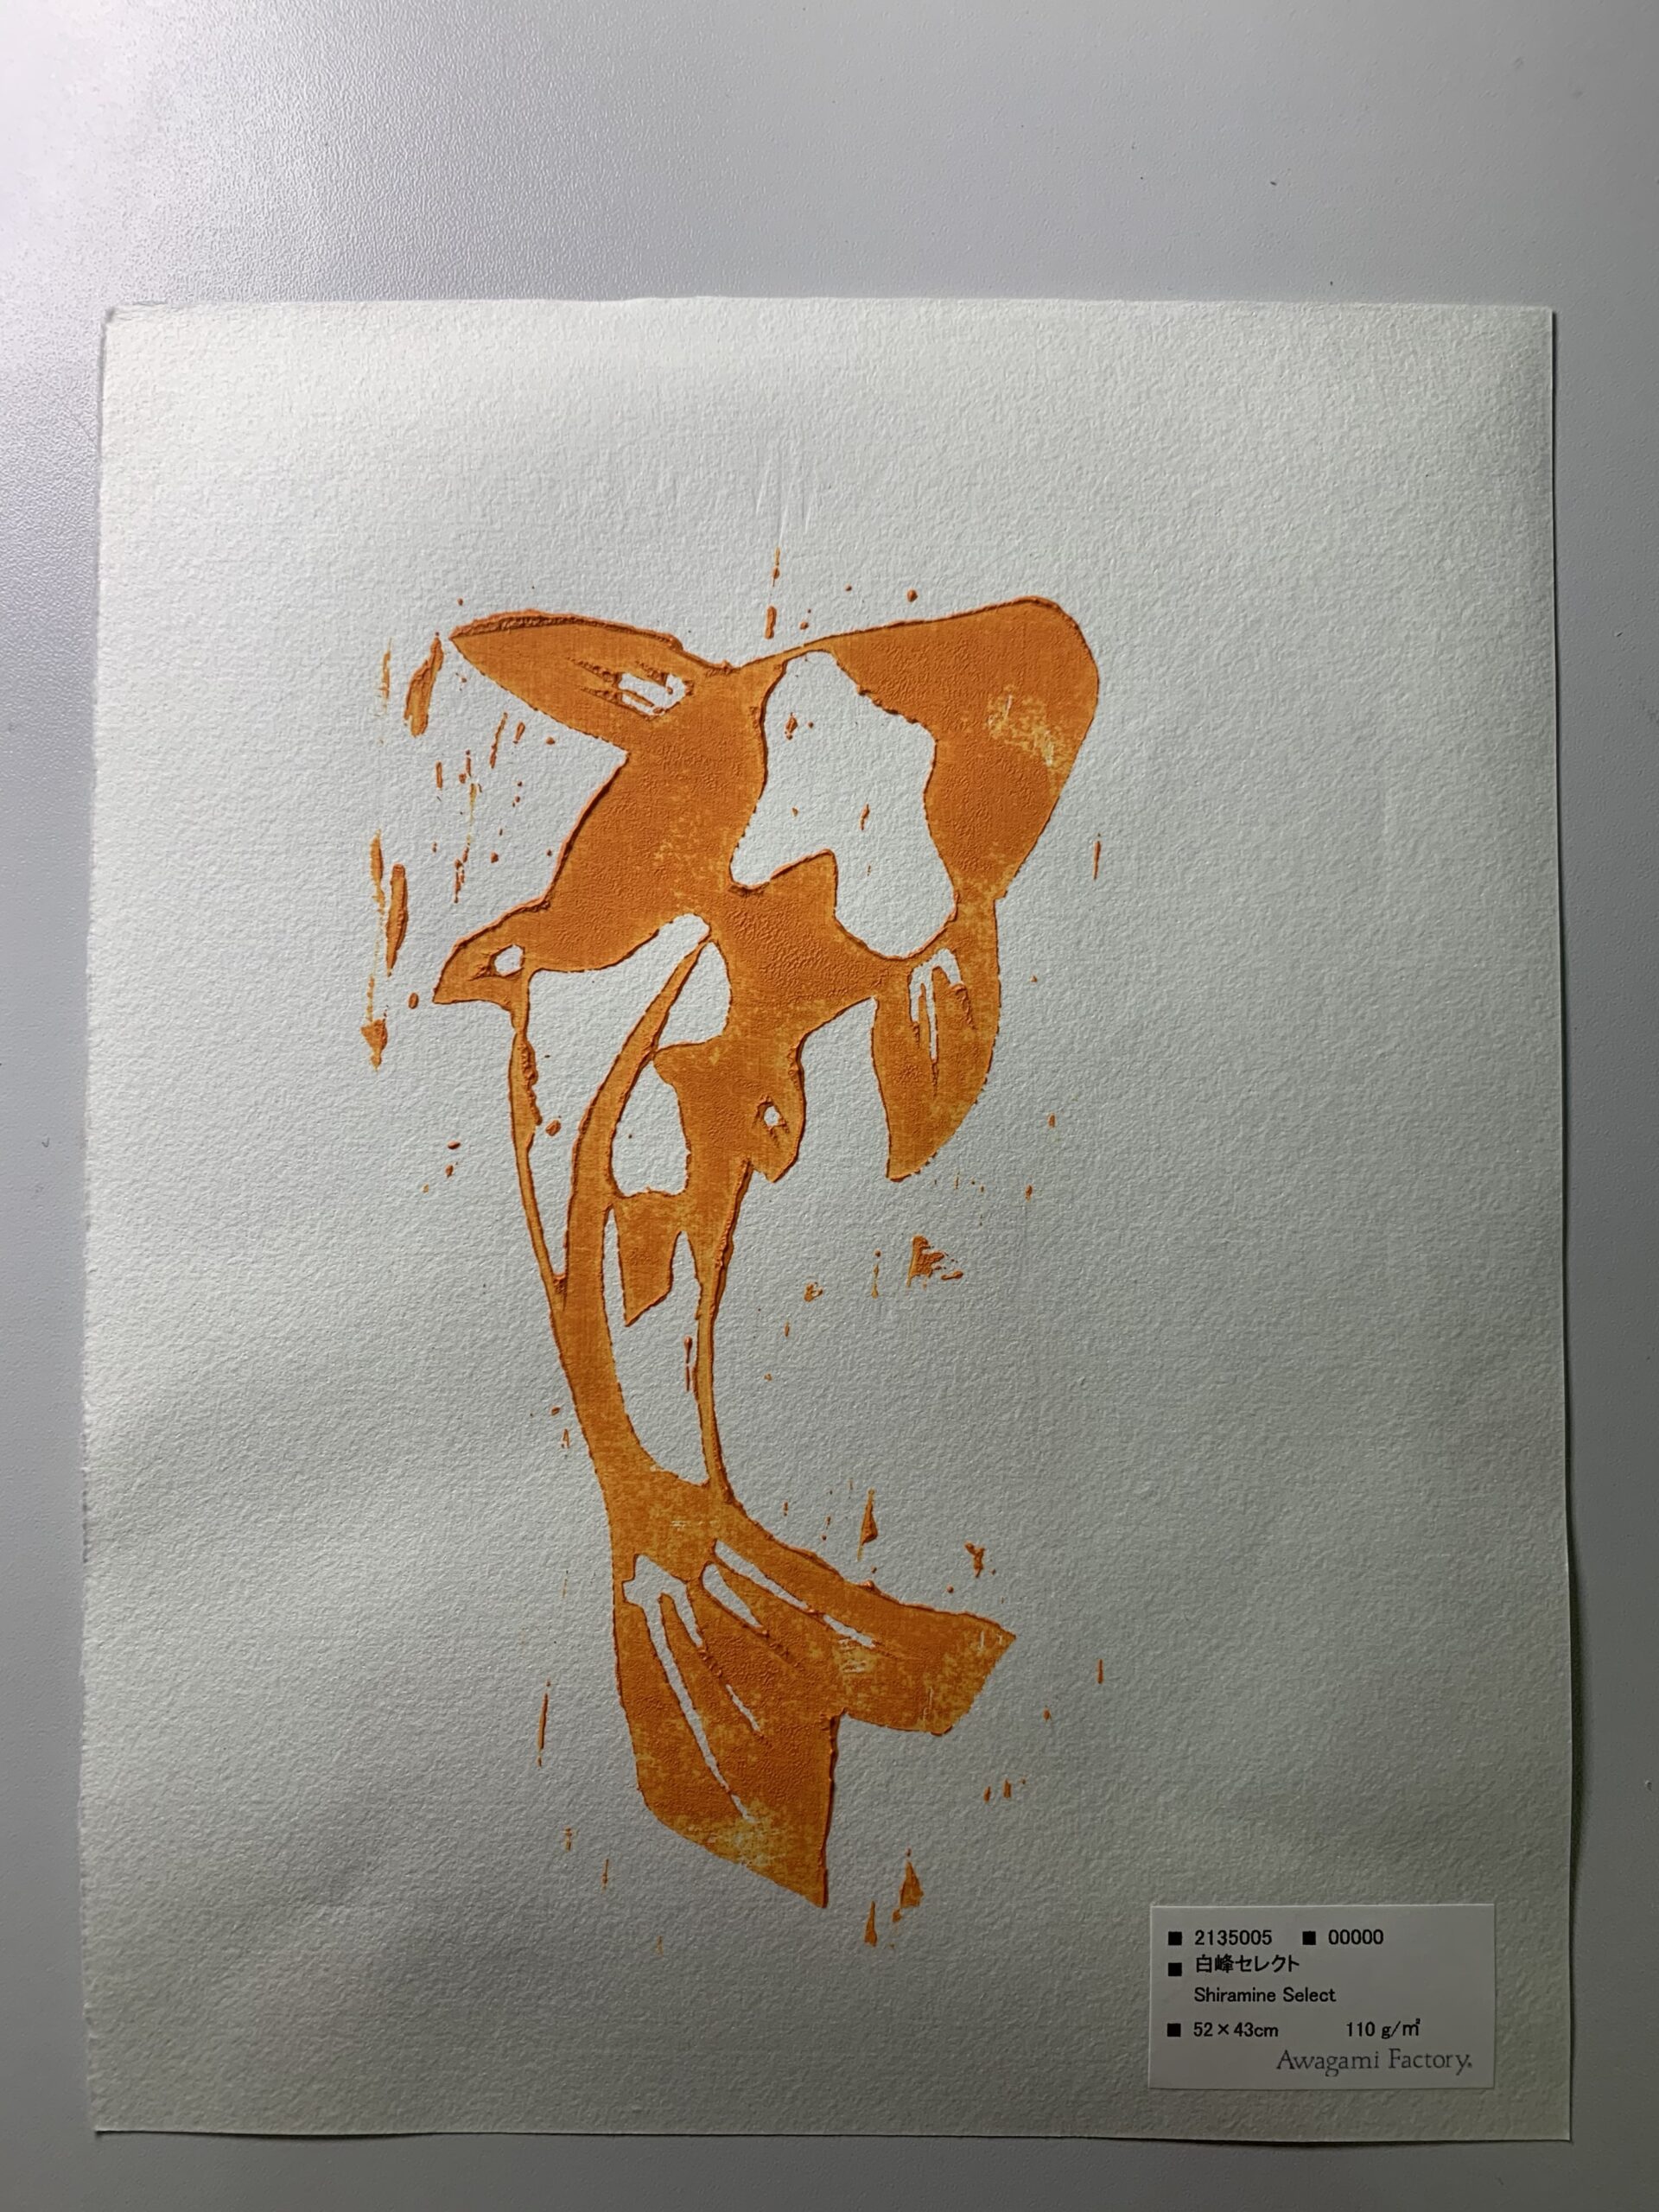
First edition – colour too strong – needs more nori paste.
Colour blotchy and paper dried not flat – paper too wet.
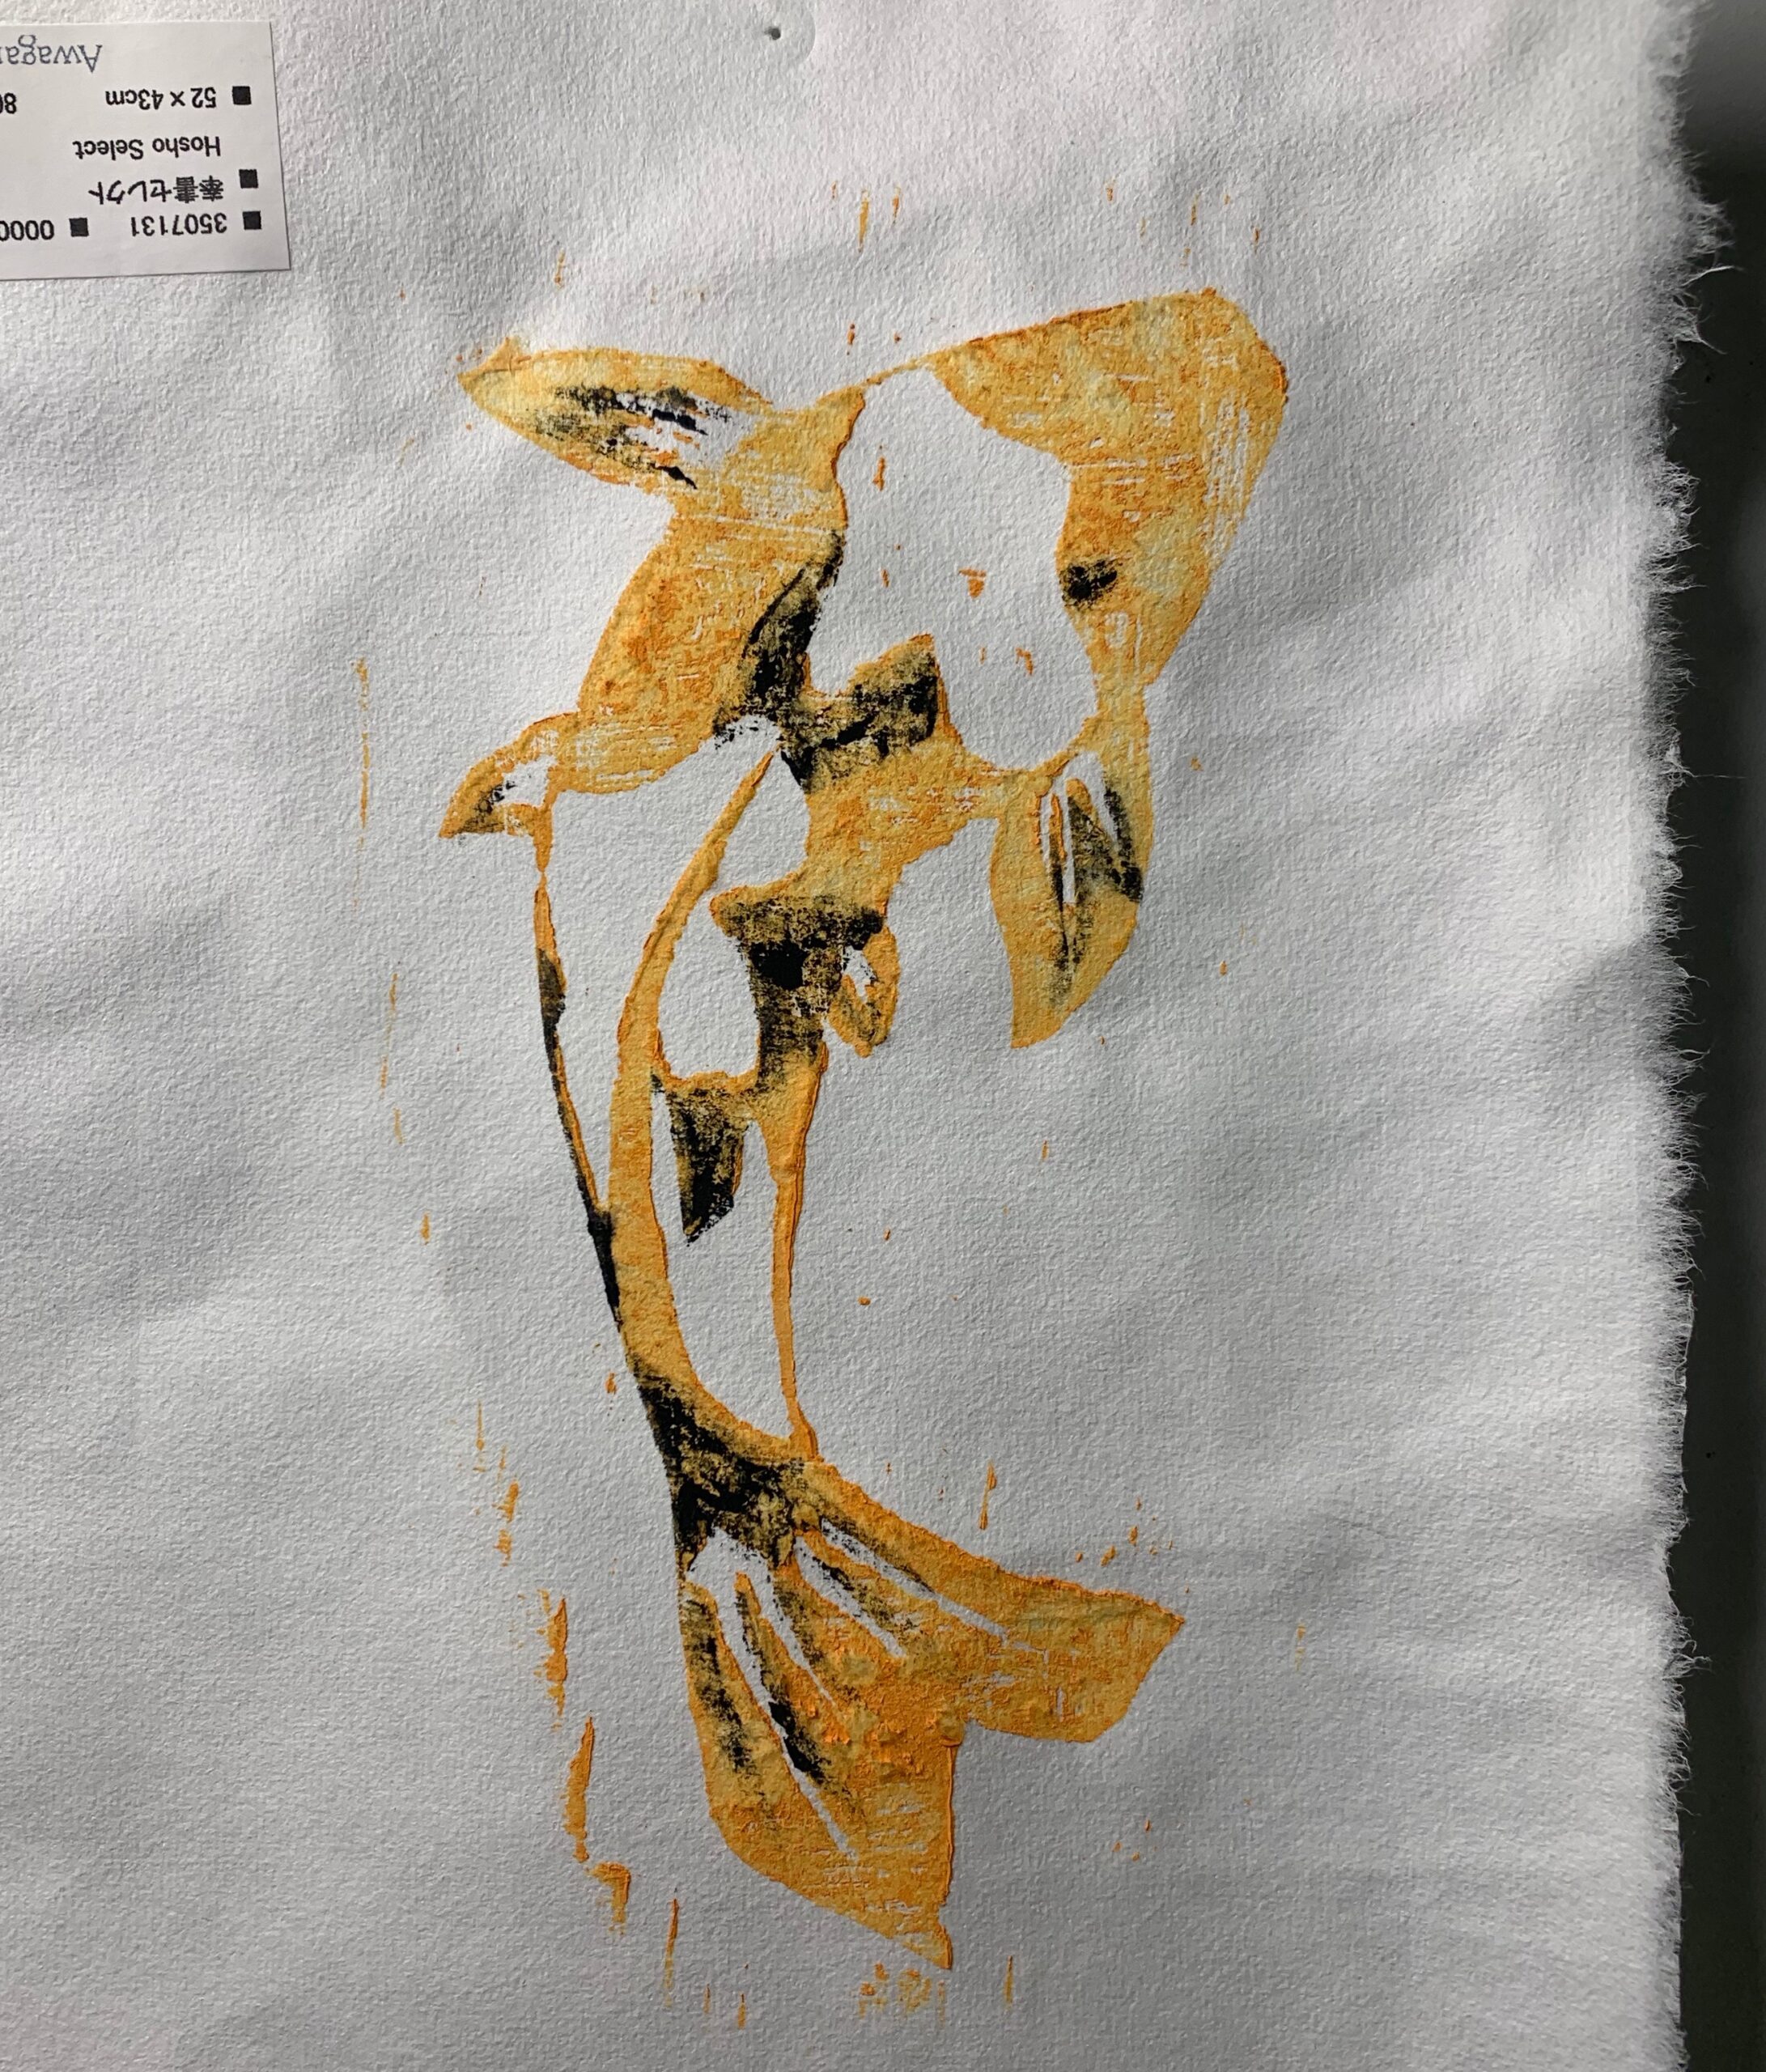
I also decided to do another layer of the print in black to add detail and dimension to the print. In ukiyo-e this would be done with another printing block which I intend to do in my next print but as this was just an experiment I painted the colour onto the washed printing block in the areas I wanted it to do the second layer.
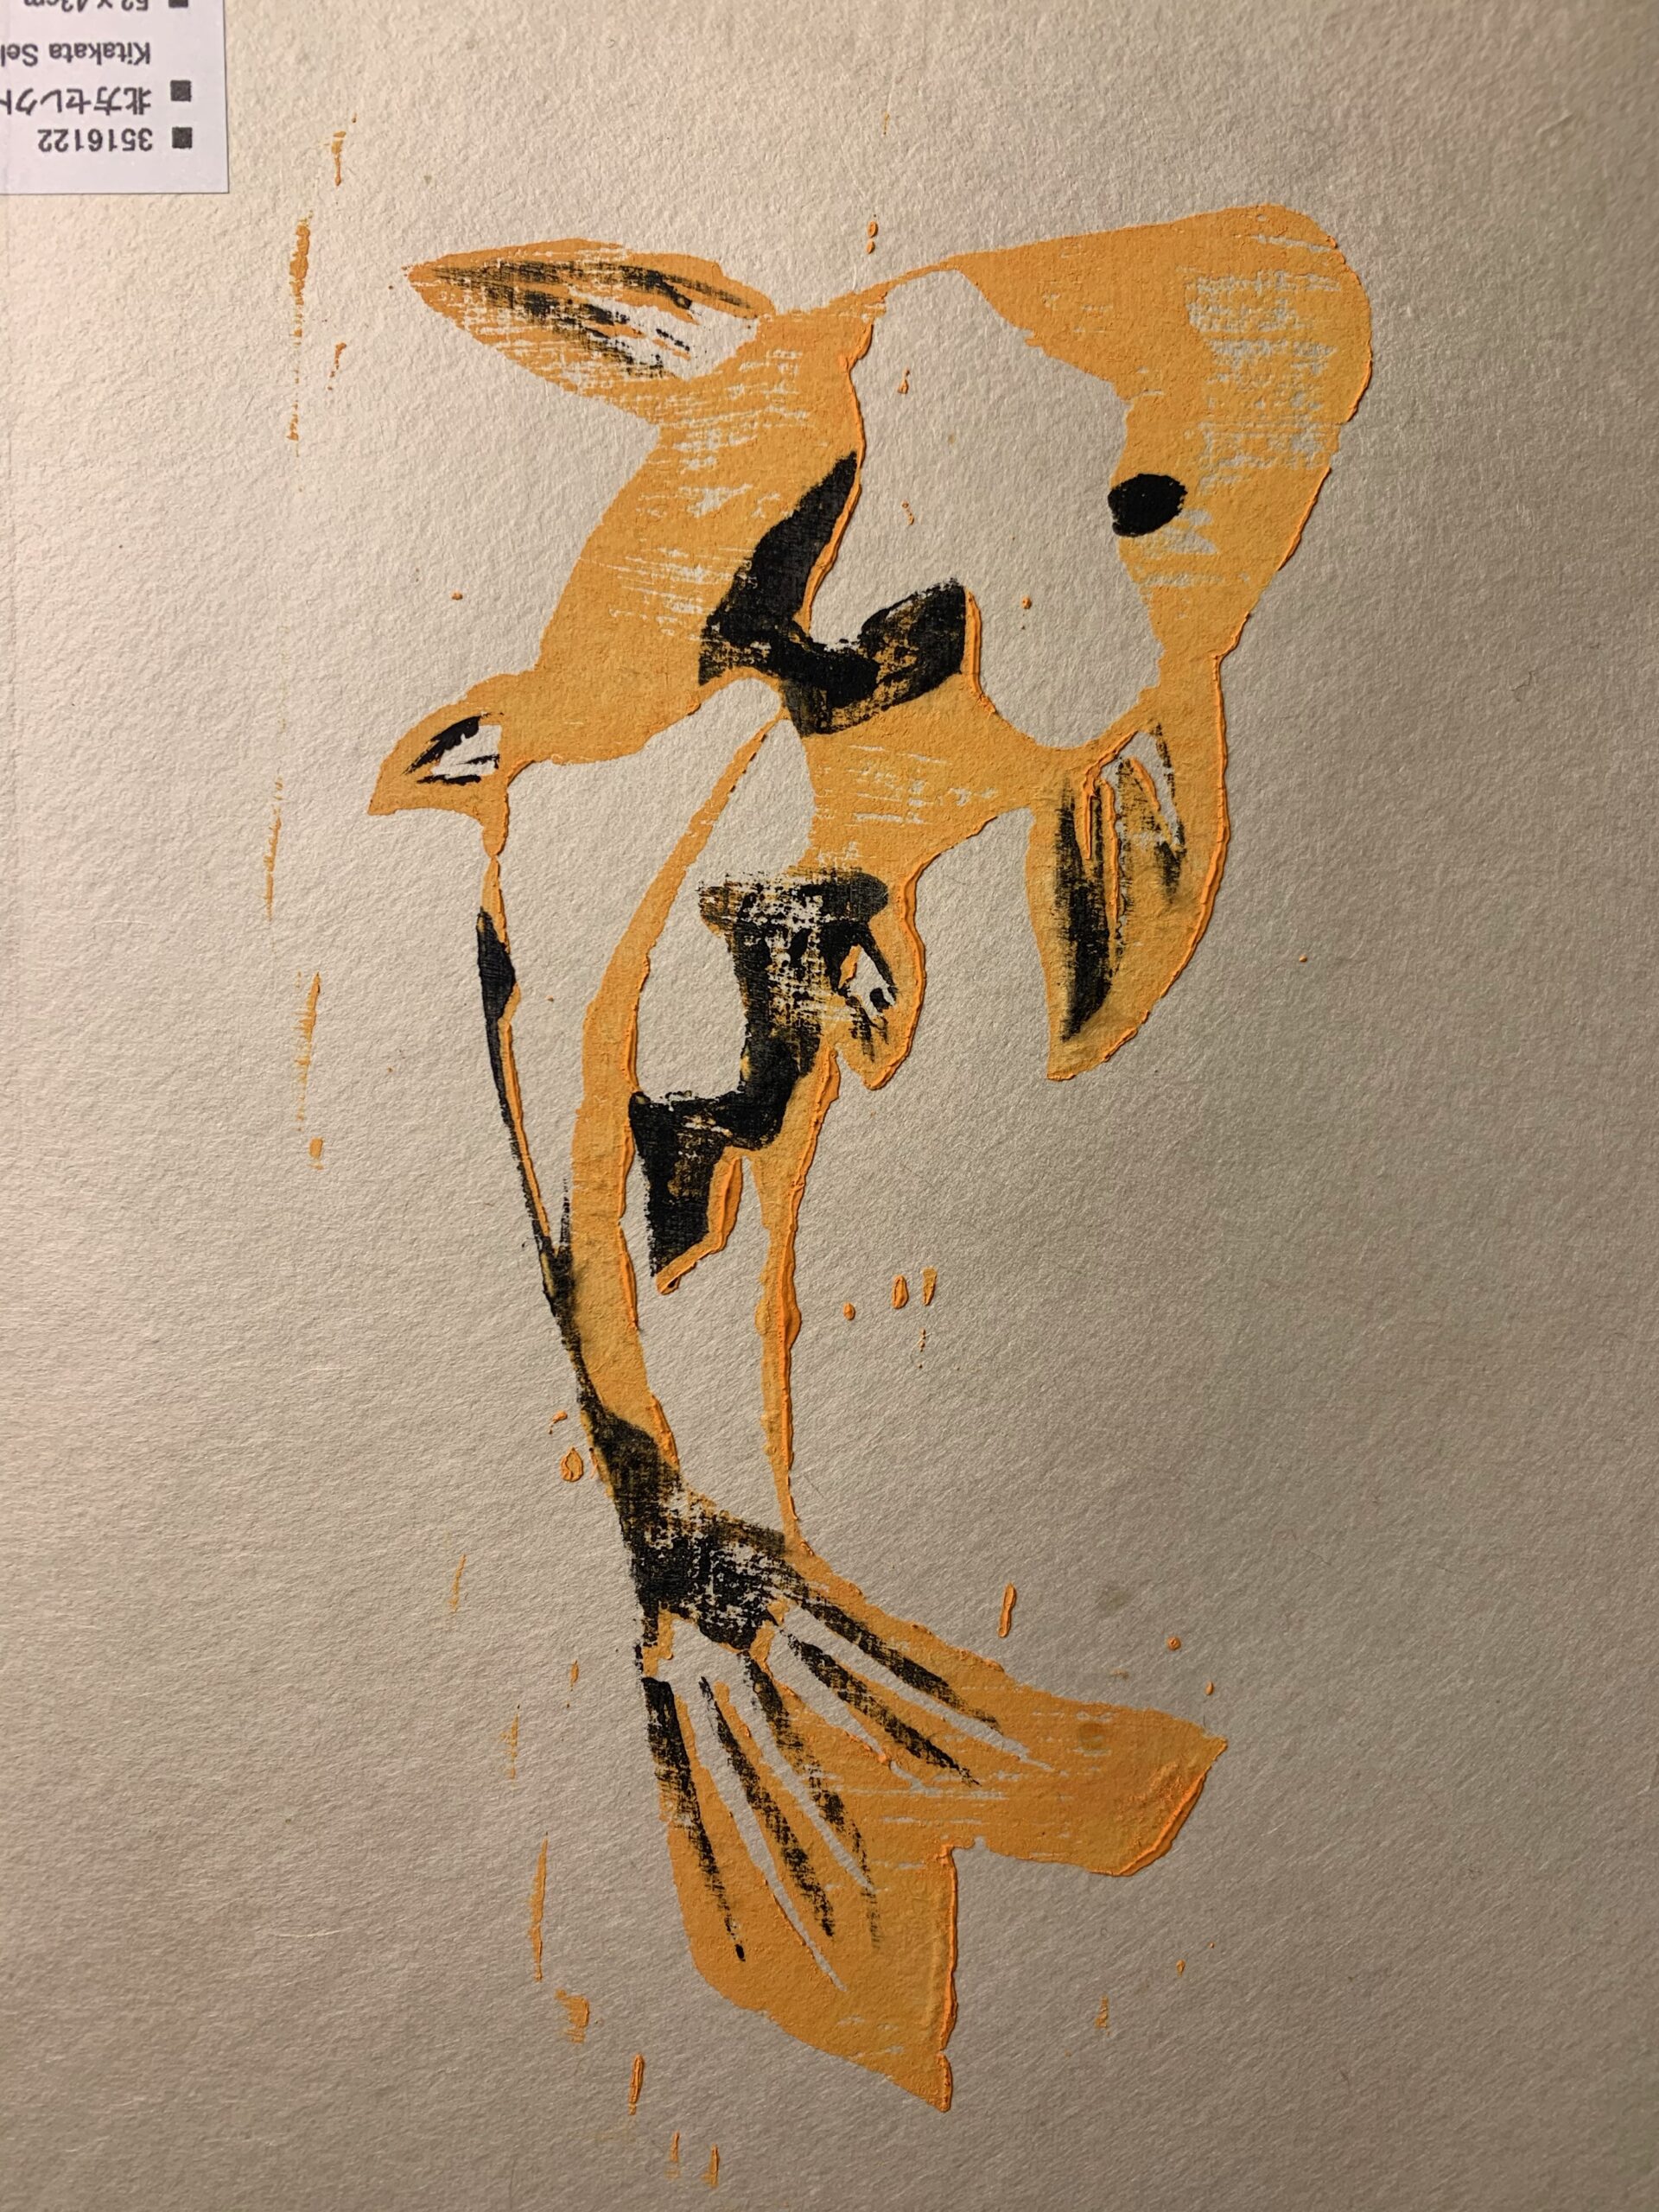
Better balance of moisture, colour pigment and nori.


Leave a Reply
You must be logged in to post a comment.