This week, the class was introduced to Case studies as a way of us to develop our research and source inspiration. I am yet to choose which case study I am going to research from the three; Barcelona Pavillion, Eames House and Kimbell Art House.
Today our drawing on CAD was developed on from last weeks session. Using shortcuts was a large part of the process to quickly draw lines, shapes, add length or adding an angle. The following was covered in this session –
DRAWING ON CAD –
- Double tap mouse to find drawing.
- Ctrl A selects all shapes and lines
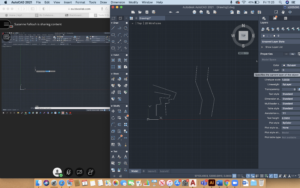
- Line – enter L then enter 1000<30 to make a line at 30 degrees of 1000 mm
- Rectangle size
- Line angles
- Mid points
- Tracking
- Polyline selects a single piece – can then perform other functions – offset when you make walls.
- Using rotate, copy and moving a shape or line.
- Mirror
- Use the grip tool to scale objects – make larger, smaller, wider, stretched etc.
- Stretch tool – easy to use – s in enter and then drag the side you want to stretch.
- Trim command – can trim lines that are intersected in a shape.
- Extend tool extends the line if cut off and meets the nearest line.
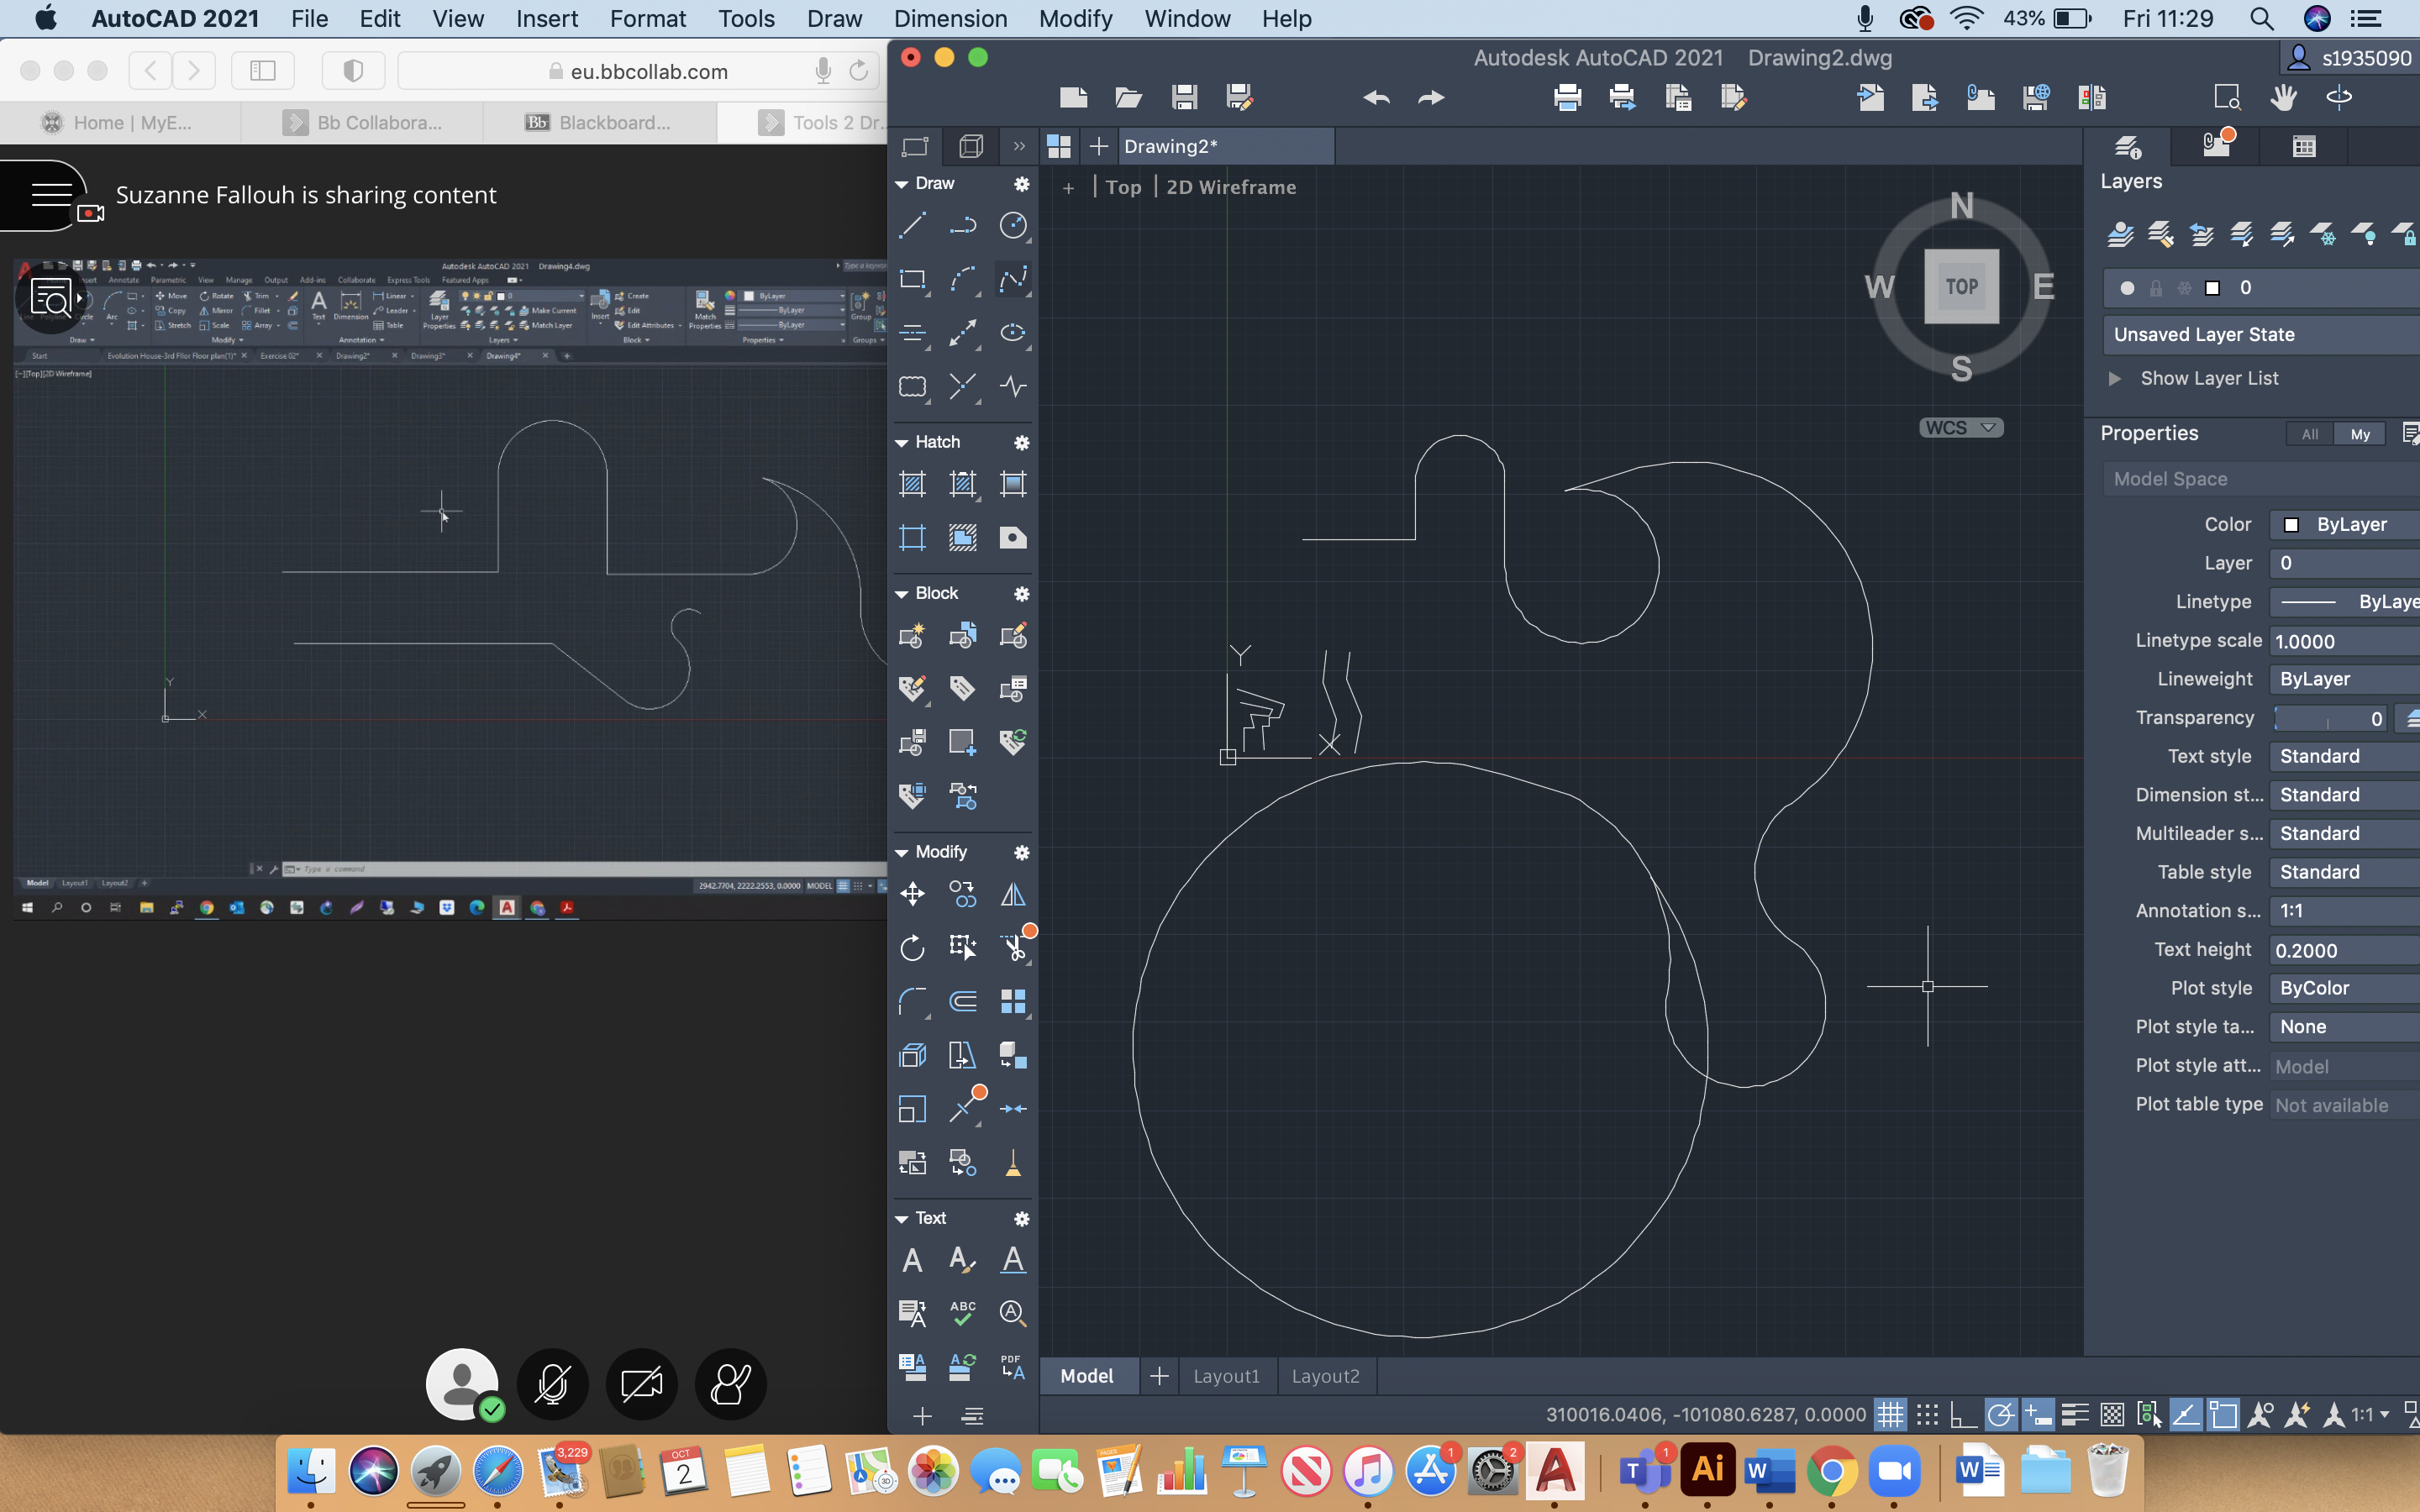
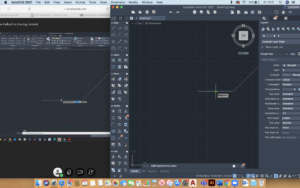
Below I have attached some screenshots of my work from today’s class.
Using the polyline tool to draw a continuous, connected line. Then offsetting this to create a parallel replica/ a wall
Using the tracking tools to find the midpoint of a line or shape, to help draw accurately
Using arcs to create decorative shapes. Using shortcuts such as a =arc, l=line, ex=extend, tr=trim, o=offset.


Leave a Reply