Here I describe a low-budget solution to conducting hybrid seminars -- blackboard-delivered talks as well as digitally delivered talks. The specialized equipment required costs well under £1000 in total, and it also requires some equipment which I assume will be available in any academic department.
You will need to buy:
- Cameras. You will need a Mevo Start camera. This camera captures a wide angle of the entire front board area and digitally crops it to replicate a more expensive authentic "pan tilt zoom" camera. It interacts with an iPad where the user can pre-define shots (e.g. wide, left board, right board, podium). In addition, you will need a standard usb webcam to capture a wide shot of the audience. It is advisable to get a small tripod to help with aiming the Mevo.
- Audio equipment. In this configuration, the speaker wears a lapel mic, and there is also a "conference mic" which captures audio from audience members. Note that the conference mic needs to be 3.5mm, not usb, as otherwise it is difficult to combine it with the lapel feed. There are then two inexpensive adapters needed to bring these into the laptop: one adapter combines the two audio jacks into one feed, and the other adapter is needed to adapt them from the "two pin" to "4-pin" input so as to work in a standard laptop headset. It might well be possible for the lapel mic to repurpose one which sits in most lecture rooms, ask your IT team if you can have one.
In addition, you will need the following equipment (which should presumably be on hand):
- A big screen with HDMI at the side of the room to display the gallery.
- Blackboards and/or projector screens at the front, to display the content being delivered.
- A laptop which will run the Zoom call.
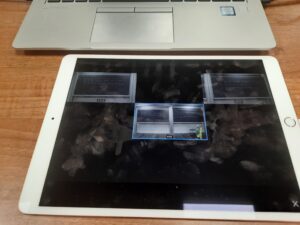
- An iPad or Android device to direct the Mevo.
- Either a large iPad or a Wacom plugged into a laptop at the podium, to allow digital content.
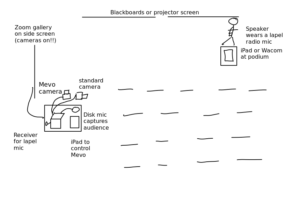
With all that in hand, the physical set-up is remarkably simple:
- To get audio working, combine both the conference and lapel mics into one 3.5mm feed, and use the 2-pin to 4-pin adapter to feed this into your laptop. Make sure both audio sources are picked up by the laptop. Now people on Zoom can hear speaker and audience during the call. Note: have spare batteries on hand!
- To get video working, plug both cameras into the USB of the laptop at the back desk. More later how to introduce them to the Zoom call.
- To get the gallery screen working, plug it into HDMI and ensure you are using "Extend desktop" rather than "Mirror desktop".
Now, for Zoom.
- Follow the instructions here to ensure your Zoom account is set up well for hybrid seminars.
- Start your pre-scheduled Zoom call, and ensure (clicking and dragging if necessary) that the duplicate gallery view is showing on the side screen.
- For your audio, ensure that the microphone input is selected.
- For your video, choose the *standard webcam* which is pointed at the audience.
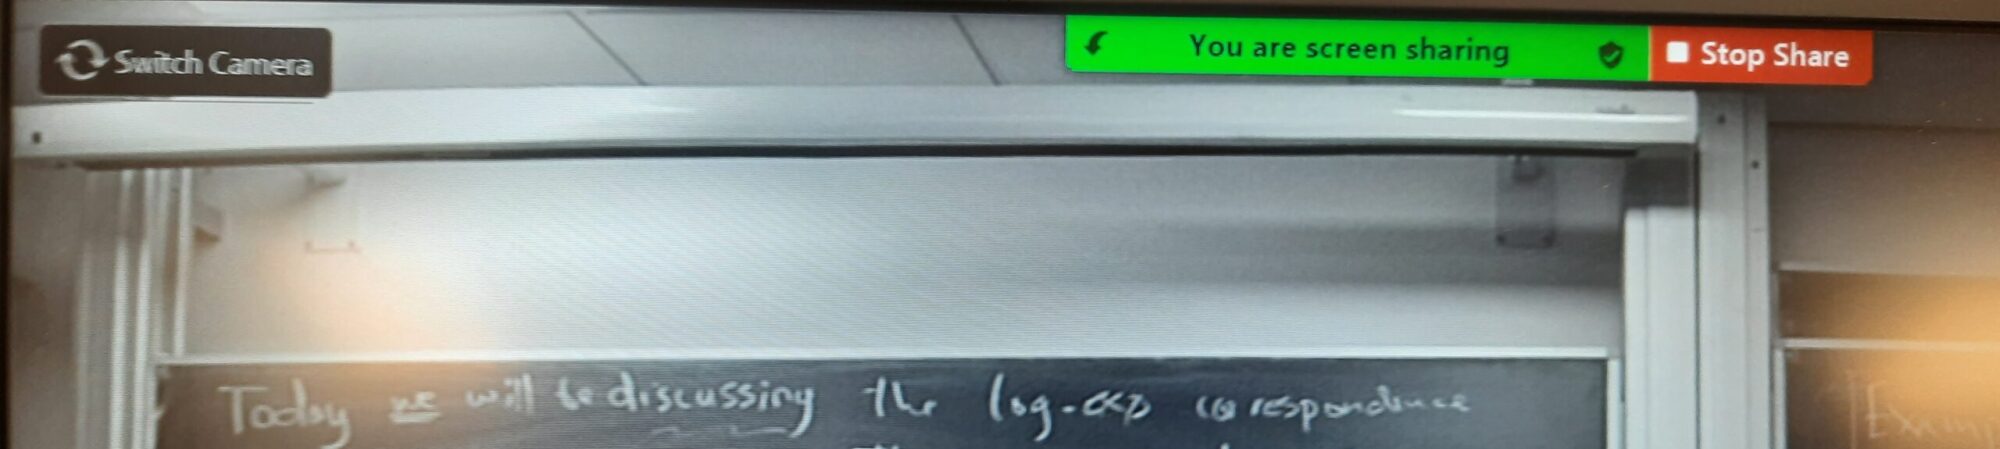
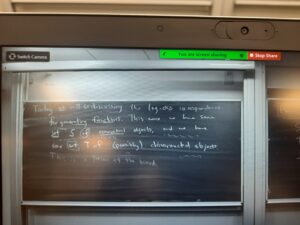
- Now, to get the Mevo showing the board shot, do the following: Click Share screen > Advanced > second camera.
- Finally, connect the iPad to the Mevo and set up the shots. During the talk, a volunteer will need to tap on the iPad to change shots when the speaker moves from board to board.
Now, to control the Mevo.
- Before the seminar make sure you download and install the Mevo webcam app on either an iOS or Android device. Note that Mevo have two apps, one is for livestreaming, but you rather want the one for webcam use. You will need to log your Mevo and your tablet onto the local network and ensure they can talk to each other.
- In the Mevo app, tap and hold to create static shots you'll need to capture the speaker. For instance, if they are speaking at a blackboard, create a shot capturing the left board, a shot capturing the right board, and a wide shot. When this is done, you can tap the icon looking like nine small squares. This will take you to a simpler "switcher" screen which will allow you with one tap to switch between your chosen static shots.
 .
. 
One more thing! If a speaker in the room is presenting digital content from an iPad or a pdf, there is one additional step. They must connect their display to the projector at front, and they must also join the Zoom call *without joining the audio*. They can share screen in the Zoom call, and this will show instead of the Mevo. Now, redirect either the standard or the Mevo to capture their body, and share this as the webcam.