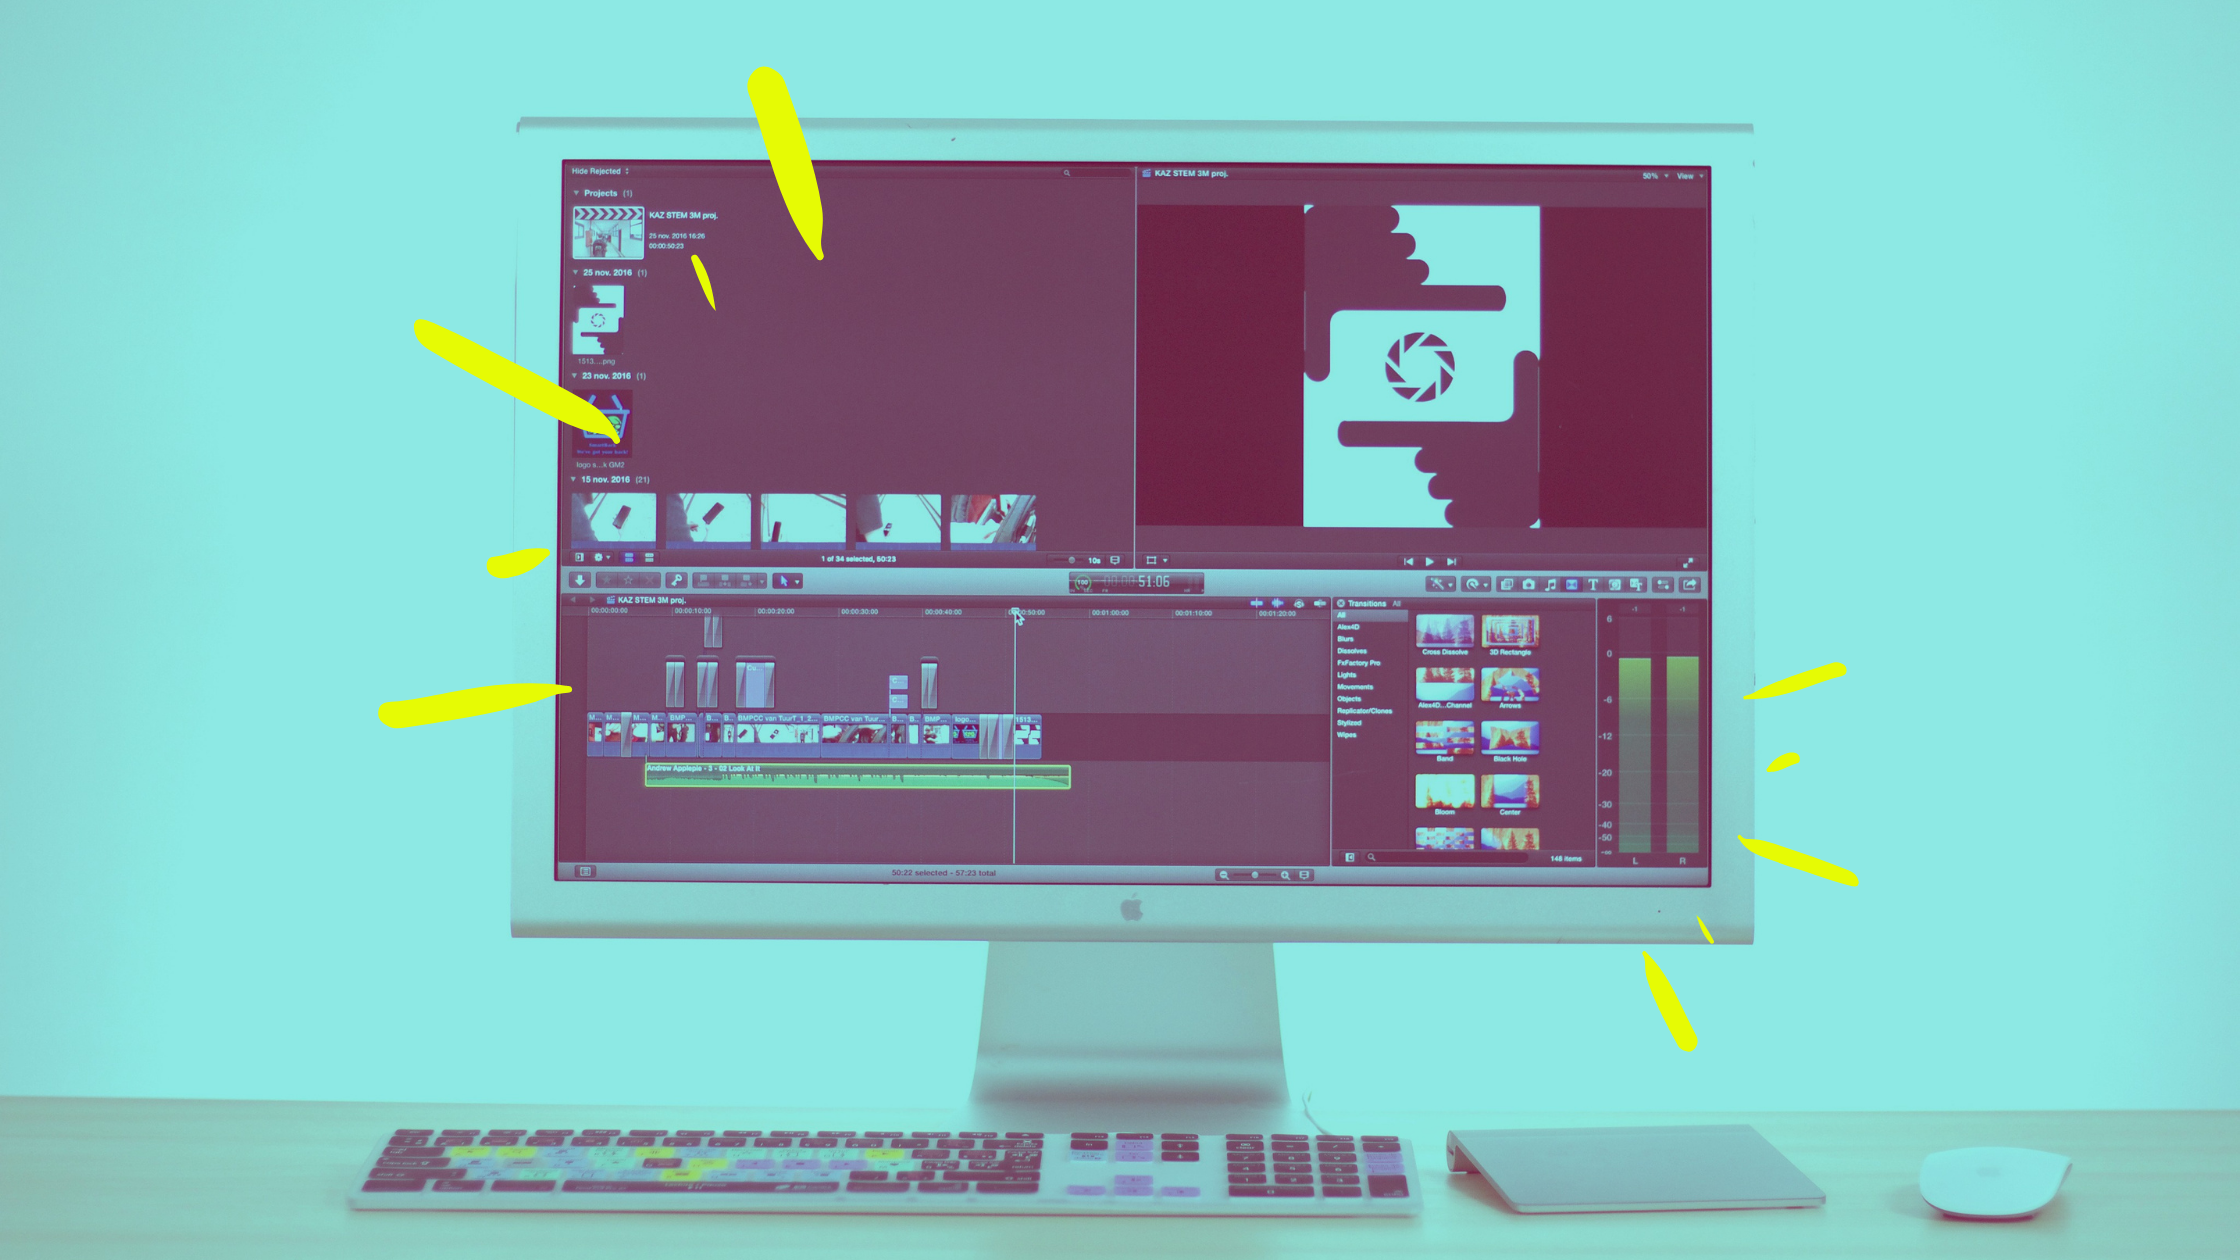
Editing Event Recordings

When moving all of your events online, you’d be forgiven for focusing on what is lost: the ability to casually meet new people, the free wine after a guest speaker... Moving events online also asks people to get to grips with technologies and skills they wouldn’t have considered part of their job – take Zoom’s different hosting functions, for instance.
But like anything, there are positives: alongside an online event increasing your visibility and potentially (though not necessarily) your accessibility, the event is much more amenable to being recorded. Zoom in particular very easily accommodates recordings, and allows for different views: speaker view, which cuts between each speaker’s camera, or gallery view, where you can see everyone on screen at once. You can also record people’s PowerPoints. We have recorded gallery view with shared slides, as it creates a nice conversational feel.
All of CDCS’ online events have been recorded, edited and uploaded to the CDCS website. This process does require a proper integration into someone’s workflow, rather than simply being ‘added on’, as it can be a bit fiddly and requires some patience. Time also needs to be factored in with regard to download, upload and export time, even if these things can happen in the background while you do other tasks.
We’ve been uploading our recordings onto the University’s Media Hopper site. Media Hopper does have editing functions, but I would advise using an editing app before uploading. Initially, I was using iMovie on my Mac. iMovie is very intuitive: it assumes you don’t know much about editing, and, as such, has an interface that is easy to figure out. Clips can be easily trimmed, sound adjusted, and transitions (such as a fade to black) can be inserted between slides. It exports fairly quickly and you can choose the quality and speed of the export.
I’ve since been using Shotcut, which is free to download – you will just need University admin permissions enabled. Shotcut is fairly easy to use, though perhaps in being more geared for serious editing, its interface looks more complicated. It also takes longer to export.
A few things to note with editing. We put an opening slide at the beginning of the video – don’t make this too long (2/3seconds), otherwise people will think the video is frozen. Give the whole video a scan for any loud noise disturbances, such as a dodgy internet connection, before you export. Apps like iMovie sometimes crop the video’s dimensions – for Zoom, if your speaker’s box is in the top right corner, you’ll want to make sure iMovie doesn’t crop it out.
When uploading to Media Hopper, then, you can select the copyright preference, which you can check with the speaker before uploading. You can also select automatic captions – these take about half an hour to generate (you can choose British or American English), and then you can edit them. They are fairly accurate but to ensure better precision, you’re looking at about 2/3 x the video’s length to edit them fully (i.e. a 1 hour recording might take up to 3 hours to edit the transcript). If you don’t have that much time, a scan through to correct peoples’ names, place names, and technical jargon is the most efficient way of cleaning up the transcript. The rest of the inaccuracies will be mostly grammatical.
We then both embed the Media Hopper video on the event’s page and provide a link to the Media Hopper site, so that viewers can view the video in full screen there. Overall, there is a bit of administrative work in setting up these processes, but if you implement them regularly (i.e. after each event, rather than letting them build up), you’ll end up with a backlog of nicely recorded events!
(Image created using Canva. Original image Tuur Tisseghem)
(Image created using Canva. Original image Tuur Tisseghem)


