Drupal – Course Structures

Introduction

When creating a course in OpenCourseWare (powered by Drupal) for the first time, the ILTS team can provide a starting course template in Drupal either based 1) on the course structure and content from Learn; OR 2) as a blank template with an agreed structure.

In this post, we would like to focus on the options available for a blank template structure within Drupal. We will use courses, already available within OpenCourseWare, as examples of the types of course structure you can choose from. The following is not an exhaustive list of all courses within OpenCourseWare, but a small sampling of courses within our chosen structures. The home page of Open Course has a list of all courses for you to browse, if preferred.

Course Structures

A) Structured by activity (e.g. lectures, tutorials, readings, etc.):

ARO and EPL

ARO Navigation Menu in Drupal - public view
ARO Navigation Menu, in Drupal (public view)


B) Structured by week (e.g. week 1, week 2, week 3, etc):

CDI1; IRR; and SDM

CDI Navigation Menu in Drupal
CDI1 Navigation Menu, in Drupal (public view)


C) Structured by schedule (e.g. a schedule table with links to slides, video, handouts, etc):

CT; EXC; and IQC

CT Schedule in Drupal


D) Courses with a mixed structure (e.g. by schedule, activities and weeks):

ANLP; CGGS; IQPS (aka QPS-11); and USEC

USEC Course Structure - Weekly View
USEC Course Structure – Weekly View


USEC Course Structure - Lecture View
USEC Course Structure – Lecture View

Further Information

When creating the course in Drupal, ILTS will provide support and guidance for you to choose a suitable structure for your course. This agreed structure will then make it easier for you to build your content and populate your course in time for Welcome Week.

If you’d like to discuss the options and contact ILTS then please visit the support page. We look forward to working with you.


Embedding a video in Drupal

To embed a video from Media Hopper Create (MHC) into a Drupal page for your course, please follow these instructions.

Note: you can mostly follow these steps for embedding a video from another platform  e.g. YouTube, but how you find the embed code on that platform will be different than the steps for MHC.

If you haven’t used Media Hopper Create before or need a bit of help, IS has extensive documentation and help guides here.

  1. Log into your MHC account at: https://media.ed.ac.uk/
  2. Make sure that the video you want to embed in Drupal is set to either Unlisted or Published. (Not sure how to check or change this setting? Please see IS’s guidance on Understanding privacy levels in Media Hopper Create.)
  3. Open the video you want to share in MHC and below it, you will see several tabs. Click on the tab “Share” and then select “Embed” (N.B. do not select oEmbed) and then select and copy the full embed code that appears in the box. (Note: you can use the options below the code to choose a different sized embedded player or start/end times for the video. Do *not* use Responsive Sizing at the present time.)
    Screenshot of where to find embed code in Media Hopper Create
  4. Go to the Drupal page where you want to embed the video. Make sure that the Text Format for the Body field is set to Full HTML (this is the default). Then use the three vertical dots on the right of the editing toolbar to open additional tools and select “Source”
    Screenshot of body field in Drupal
  5. Paste in the embed code you copied from MHC.
    Screenshot of embed code pasted into a Drupal page in Source view
  6. Use the three vertical dots to open the expanded toolbar and click Source again to go back to the main editing view. It may take a moment or two to load, but you should now see the video you just embedded.
    Screenshot MHC video embedded in a Drupal page
  7. You can, of course, add text before or after the video or embed multiple videos on a single Drupal page. Once you are done with the edits on the page, just remember to press Save at the bottom.

Important! You must have captions available on any video you use for teaching. MHC has auto-generated captioning available and it is very quick (just a click or two) to request this for your videos before sharing them with students. Please see this guide from IS: Requesting subtitles for your content.


Drupal course template (2023-24)

Top right menu

In the top right of each page are links to the 2023-24 Learn instance for the course, as well as the DRPS entry. If your course uses Piazza, a link to the course Piazza page will also be added here.
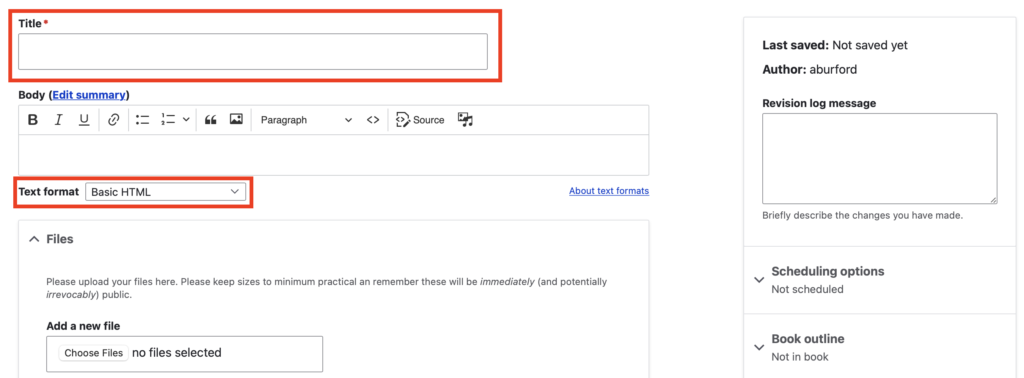
Course homepage

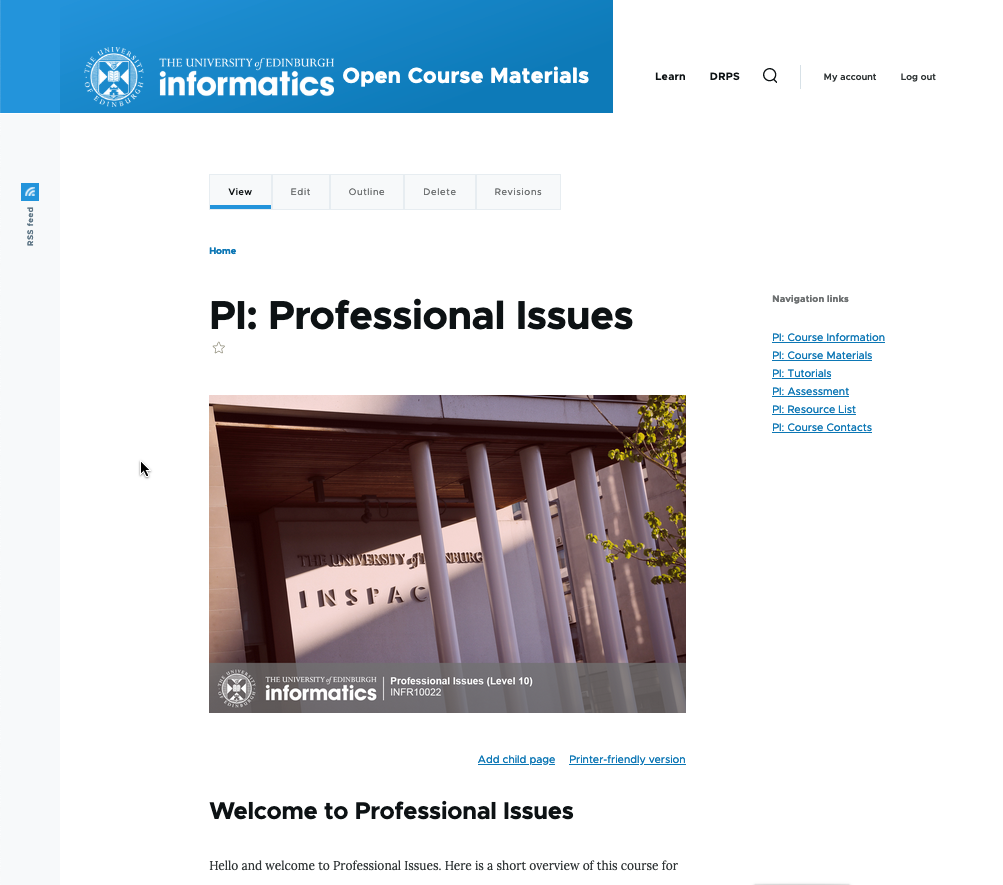
e.g. PI: Professional Issues – this is the welcome or home page for your course. You will see that it has an image identical to the image on the 2023-24 Learn page.

The information on this page is a combination of some of the items on the “Welcome” and “Course Information” areas on the old Learn pages. It will vary a bit by course.

Course Information

If there was an extensive amount of information on the Drupal homepage for your course, we have split some of this out into a separate “Course Information” page. Feel free to move things around these two pages, as you wish.
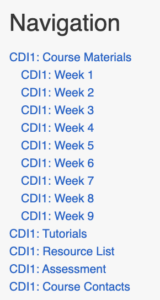
Right-hand menu

The right-hand menu is how you and students will navigate quickly around your course. The expands to include any child pages nested within a parent page. This keeps the menu from getting too long and overwhelming.
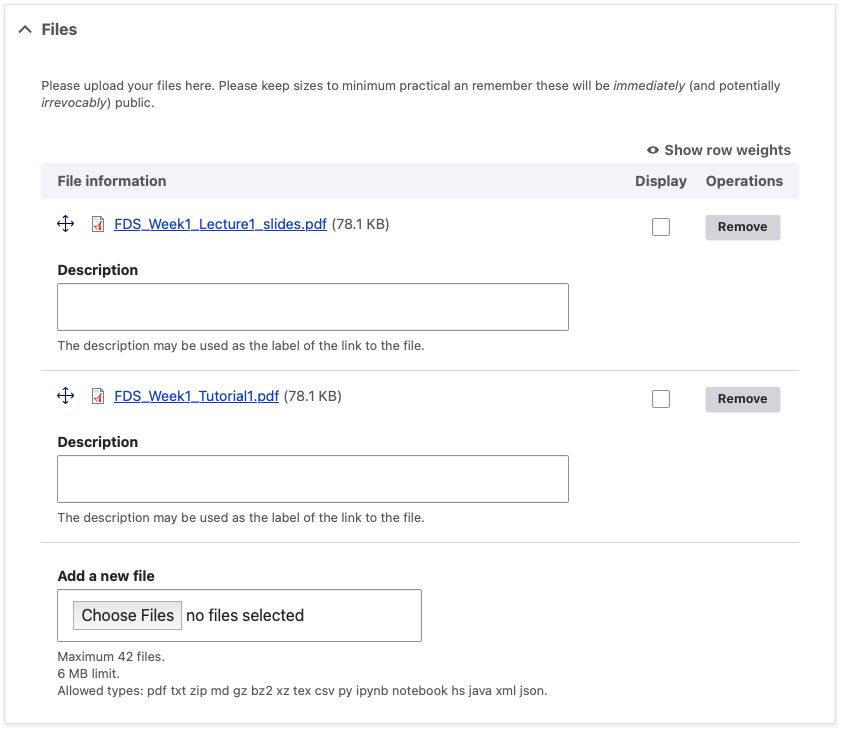
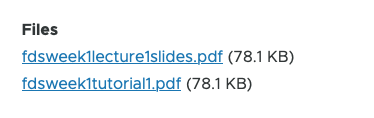
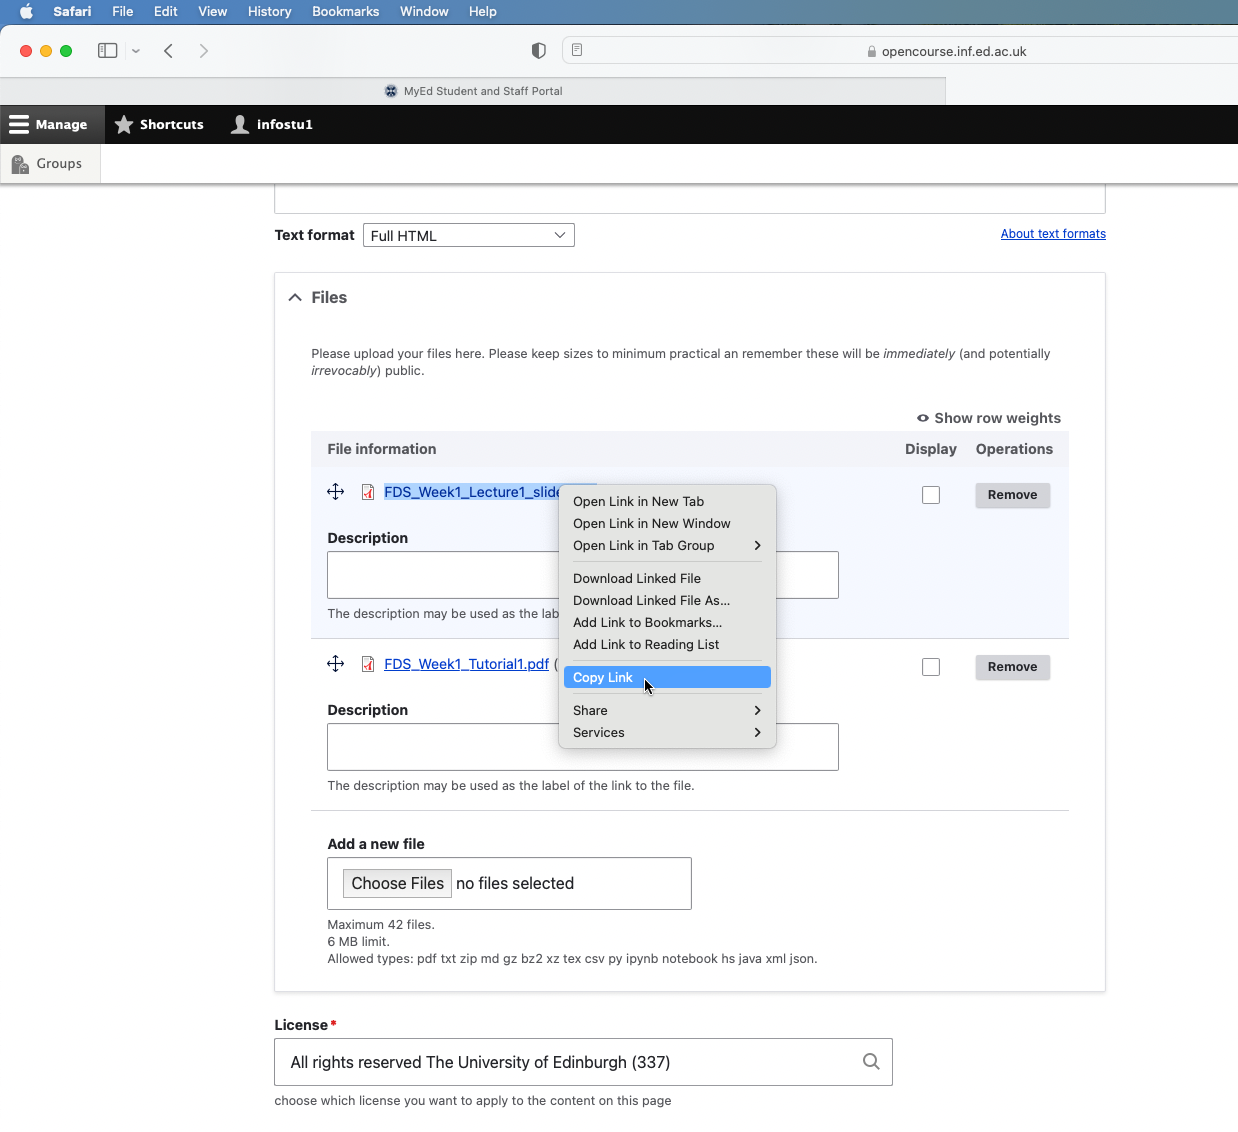
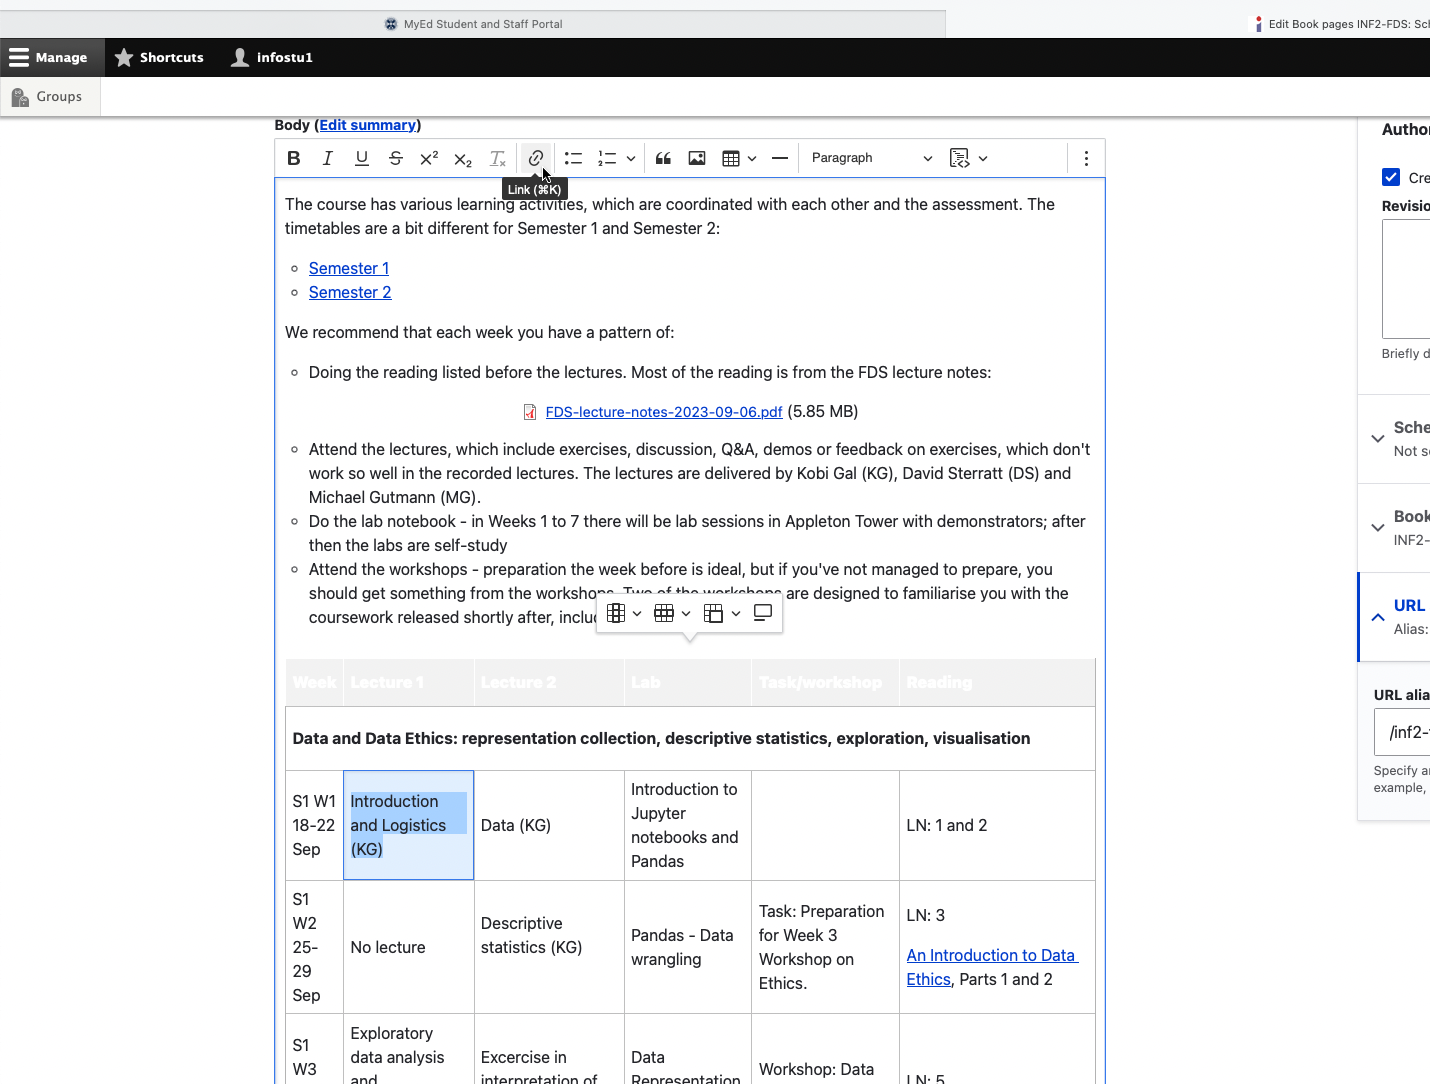
Course Materials

This is the area where all the teaching materials will be. It will vary a lot by course. Some courses just have a schedule page with links to all files, others have weekly pages with longer text and various files.

Tutorials / Labs

Some courses have tutorials and/or labs separated out from the other course materials; for other courses, they are sitting under Course Materials. You can move / create these pages for your course, if you would prefer to structure it differently in Drupal than you had in Learn.

Assessment

This is currently a standard template, directing students to the Assessment folder in the Learn page for the course. In the future, we also plan to push automated content (such as coursework deadlines) to this page.

All assessment instructions, dates, examples of previous students’ work, etc. must be added to the Learn instance for the course. If you want to share a copy of the assessment instructions on Drupal for curious members of the public, that is OK, but remember that what is in Learn will be considered the “golden copy” for our students. Please see the “Learn vs. Drupal” document sent out to teaching staff for more information.

Resource List

We strongly encourage you all to start using the Library’s Resource List tool and we must ensure that any third-party content you use in your course materials are cleared for copyright. You can choose to make the list itself open to the public to view, but any copyrighted materials on your list will only be accessible to someone with a UoE log-in.

For courses that already use Resource Lists, we have updated this to the 2023-24 link.

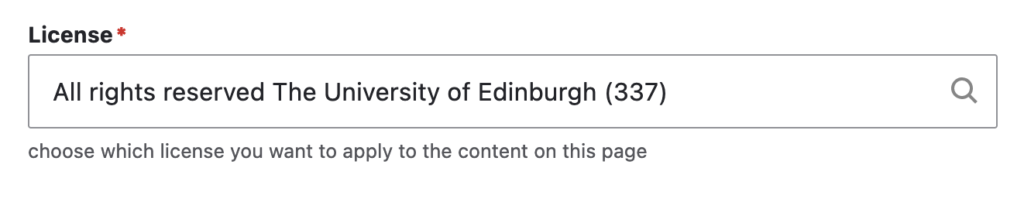
Copyright of content on Drupal

By default, we have added a statement at the bottom of every page assigning copyright to the University. If you prefer to share your content with an Open Educational Resource license, (which some courses already do), you can change this for your course. If you are unfamiliar with Open Educational Resource licensing, you can find out more here under Creating and Sharing OERs: https://open.ed.ac.uk/how-to-guides/


Adding files in Drupal

To upload files to your course Drupal site:

  • Go into “Edit” the page where you want to add the files.
  • Scroll to the bottom of that screen and you will see a field called “Files”, as shown below.

Screenshot of the Files field in Drupal

  • Click “Choose Files” to add one or more files from your computer.

You can see in the screenshot below that I’ve uploaded two files to this course now. For each one, you can give it a “Description”, which will act as the document label, if you add it; if you do not add a description, then the document title will be the label.

Screenshot of Drupal interface showing file uploads

  • You can choose now to “Display” to one or more of the files to students, which means that they will appear at the bottom of the page for students to acces once you have saved your changes. This is how that would look:

  • However, you might just want to share links to the files within the body text on the page. To do this, leave the “Display” option unticked and then Save your changes. You must save your changes now before the next step to ensure that you have proper links to the files and not just a temporary upload link.
  • Go back in to the Edit view and hover over each file you have uploaded and copy the link to the file URL (how you do this exactly will depend on your web browser; in the image below I have right-clicked on it in Firefox).

  • You can then navigate up to the body text of the page and insert the link you just copied as a normal hyperlink in any area of the text you want. (Shown below, I want make the text “Introduction and Logistics (KG)” link directly to my lecture slides file.) Now when you save the edits you’ve made, students will not be able to view the files as individual downloads at the bottom of the page, since you chose not to display them to students, but they can access them via the hyperlink in the body text.

Note: If you want to replace a file you have uploaded, please use the same steps above and click “Remove” next to the appropriate file (as shown in the second screenshot). You can upload the replacement file and share it with students following these instructions. Please make sure that you let your students know if you upload a new version of a file! Some may have downloaded/accessed the older version and will not realise that there is a new, updated version.


Getting started in Drupal

Accessing your Course Materials in Drupal

The following guidance is designed to help you get up and running with your Course Materials content in Drupal. Please comment below with suggested amendments / additions.

  • You will log in to Drupal using your UoE EASE account.
    1. Go to https://opencourse.inf.ed.ac.uk (or https://opencourse.inf.ed.ac.uk/<your course acronym>
    2. Select ‘Log in to edit’ in the top right of the screen. This will take you to an EASE login page. Enter your EASE credentials.

    Once you are logged in, you will only be able to access courses for which you are a member of teaching staff. Each course will be listed as a separate “group” in Drupal. See the details below about how to access the group for the course(s) you teach on.

  • Contact ILTS if you do *not* have access to your course(s) in Drupal.

Edit existing content

  • If your course has run before, you will likely start with course materials already migrated to your Drupal site. We have created a framework for you and hope you find this helpful. It is also designed to bring some consistency of experience for our students. To view existing content, select the Groups tab in the top left of the page (under Manage). Any courses for which you have edit permissions will be listed on this page. Select the group (course) name which you wish to edit.

screen grab highlighting groups tab and course name

  • Select the ‘Nodes’ tab to see the list of nodes (pages) for this course.

screen grab highlighting nodes tab

  • Select ‘Edit node’ to edit a node (page)

  • You will now see a web form with some content already added. You can edit content in any of the fields which follow. Change the Text Format option to ‘Full HTML’ if required.
  • If you wish to hide a page until a later date, you can do so by using the scheduling options panel towards the right of the page. Set a date in the future for the page to be published.

screen grab highlighting scheduling options

  • When you have finished, select Save.

Adding new content

  • Select the Groups tab in the top left of the page. Any courses for which you have edit permissions will be listed on this page. Select the group (course) name for which you wish to add content.

screen grab highlighting groups tab and course name

  • Select the ‘Nodes’ tab to see the list of nodes (pages) for this course.

screen grab highlighting nodes tab

  • Select ‘Add new content’ to add a page to your course materials site.

screen grab highlighting 'add new content' button

  • You are now taken to the ‘Add Group nodes (Book pages)’ page. Adding content via the group ensures that your new page is assigned to the correct course. You need to give the page a title, e.g. Week 7, or perhaps a particular topic you are covering. For the time being, please ensure that the title for every new page you create starts with the course acronym, e.g. ‘ANLP: Week 7, Lecure 2’ etc. You can then add text to the Body field. Change the Text Format option to ‘Full HTML’ if required.

screen grab of course add / edit screen highlighting node title and text format fields

  • A ‘Files’ field is made available to you. Adding files here will allow you to display the files towards the bottom of the page. You can also choose not to display the file(s) as a list, but rather copy the URL to use inline in existing text. For more detailed instructions on how to add files, see our blog post: Adding files in Drupal
  • Finally, there is a license field at the bottom of the page. This defaults to ‘All rights reserved The University of Edinburgh’. However, you can choose to change this to a Creative Commons license as you wish (if you are unsure what Creative Commons licenses are, you can find out more here). This licenses the content on the page.

screen grab showing 'license' field

  • To the right of the page are three further options you should consider:
    • Firstly, you should assign a URL alias to your new page. This should begin with your course acronym eg /anlp/course-materials/week-7.

screen grab showing how to apply a URL alias to a Drupal page

    • When adding a new page you need to ensure you you assign it to the correct ‘book’ to keep the navigation of your site comprehensible. You can assign a ‘parent’ page if you wish to nest your content and can choose the order of the pages by using the weighting mechanism.

screen grab showing the book outline in Drupal

    • Finally, you can also schedule a suitable date and time for the publication of this new page. Enter a date and time for when you wish the page to be published. You can also enter a date to unpublish the page.

screen grab highlighting scheduling options

  • When you have finished, select Save.

Files

We are pleased to say that we have now configured the site to allow the upload of zip files and code based files. If a file type is not currently supported, please get in touch with us to request. For instructions on how to add files, see our blog post: Adding files in Drupal

Student Preview

You can mimic the student view by simply accessing the site in an alternative browser *where you are not logged in*.

Support

The ILTS team are here to support you throughout this process. Please contact the team and we will be happy to help you. Contact details here.


Copyrighted material in teaching

It is vital that any third-party content you use in your teaching materials is cleared for copyright. This includes readings that you might set your students, images in your slides, or videos you share with them.

For course materials published on Drupal, the Course Organiser must ensure that all material posted on their course pages is copyright compliant.

Take a few minutes to read through this fantastic (and brief) summary from the University’s Open Educational Resources team about Copyright in Teaching and the three sub-pages detailing more about using book journals and texts, videos, broadcasts and sounds, and images. (If you need some background, check out What Is Copyright?) The University’s Open Educational Resources team run workshops on these topics, which you may be interested in attending; you can find more information about them here.

Readings

You should use the Library’s Resource List service for any essential / suggested readings. If you do not currently use this service, please familiarise yourself with it at your earliest convenience. It offers a lot of flexibility in terms of structure and layout to suit your course design. More information can be found on our blog post about Resource Lists.

Broadcast recordings and images

Some materials (often images or videos) are published under Creative Commons licenses, public domain, or other copyright cleared conditions and these may be available for you to use. However, ensure you that you check all the policies for the relevant license before you use them. If you are new to looking for images or other media you can use, Creative Commons is a great place to start. They provide great explanations, instructions on how to attribute what you use, and a search engine, which searches across a whole range of other platforms.

Below are a couple places you might be able to source materials to use in your teaching:

  • Are there any TV or radio programmes you want to share with your students? Check out Box of Broadcasts, which provides recordings you can share with your students (and unlike, say, BBC iPlayer videos, these won’t get deleted after a set time period!). This is service that the UoE subscribes to and which all students and staff can access.
  • The University’s Image Databases list is a great place to find other useful resources, some of which you will have access to only through your UoE account and others, such as Pixabay, Unsplash, and Creative Commons, anyone in the world can access.