After data collection using lidar, an e57 format point cloud file was generated. In order to further process the data, we chose to use CloudCompare to edit the point cloud files.
Reducing points
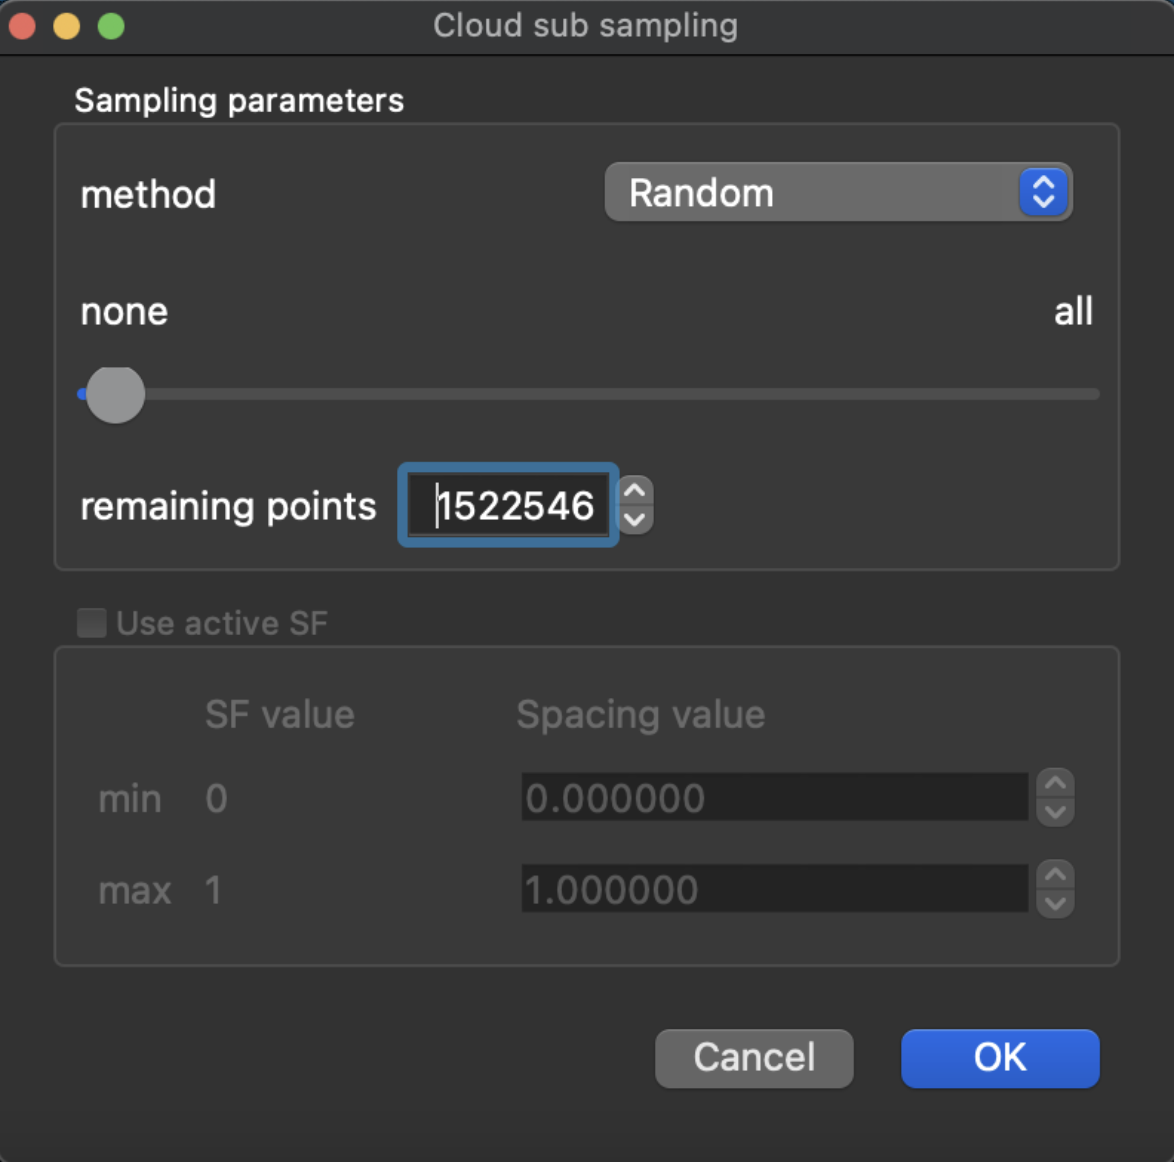
On the first attempt, because the data collected was of the highest quality when importing the file into CloudCompare, the file was too large, making it difficult for our computer to edit it. Therefore, we need to reduce the number of points in the data. In CloudCompare, this operation can be performed by sub-sampling, and in sub-sampling you can select the random method to customize the number of points after resampling and complete the reduction.
For subsequent data acquisition, we selected a medium-quality setting for scanning, reducing the process of handling the data and avoiding excessive loading times once in the software.
Separate scenes
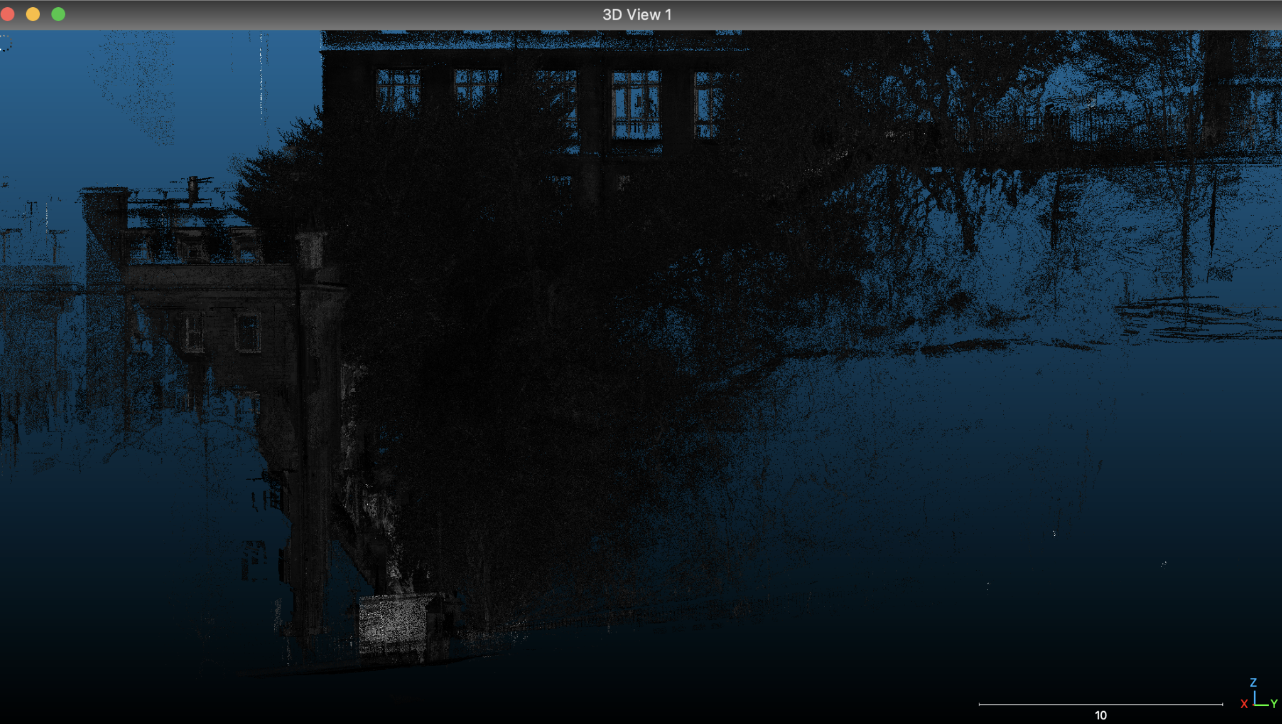
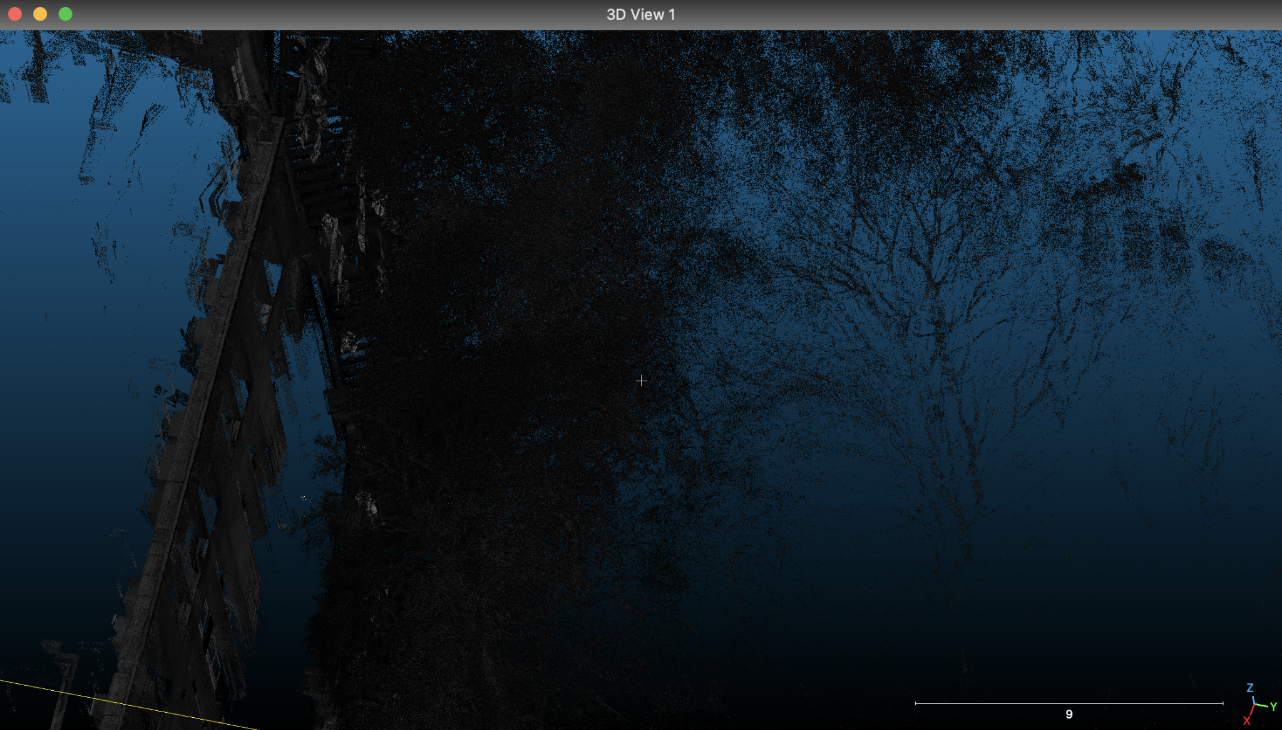
The scene we are scanning is The New Steps in Edinburgh, a section that includes a staircase with a 90-degree angle, a wooded area, and a building adjacent to the staircase.
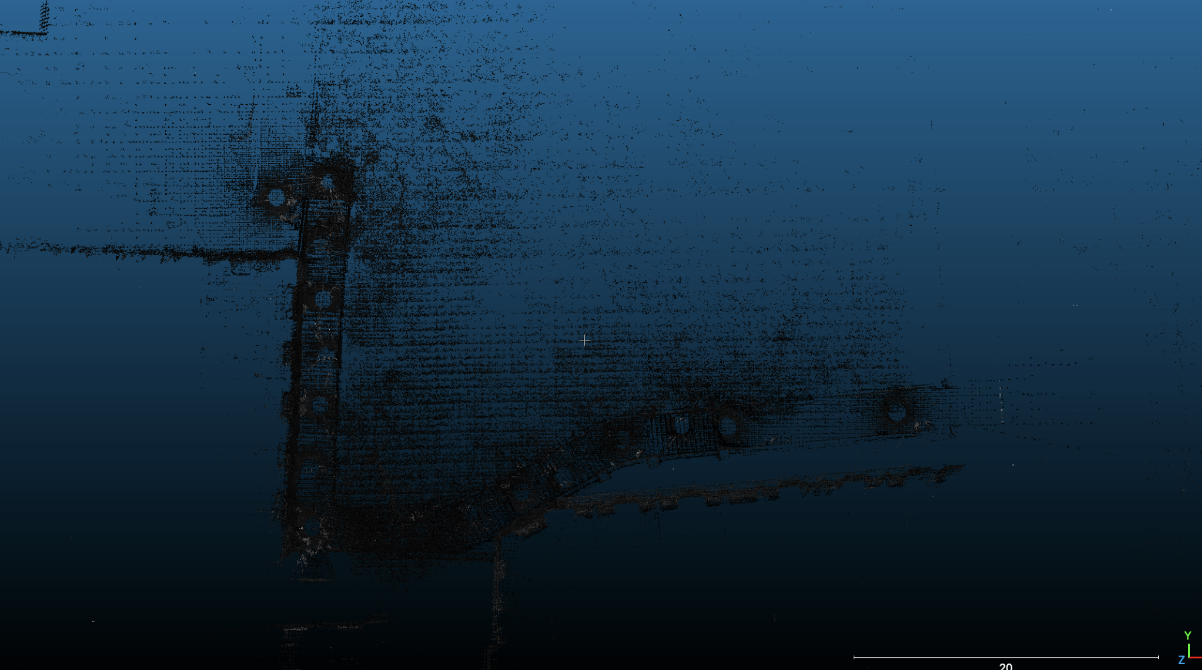
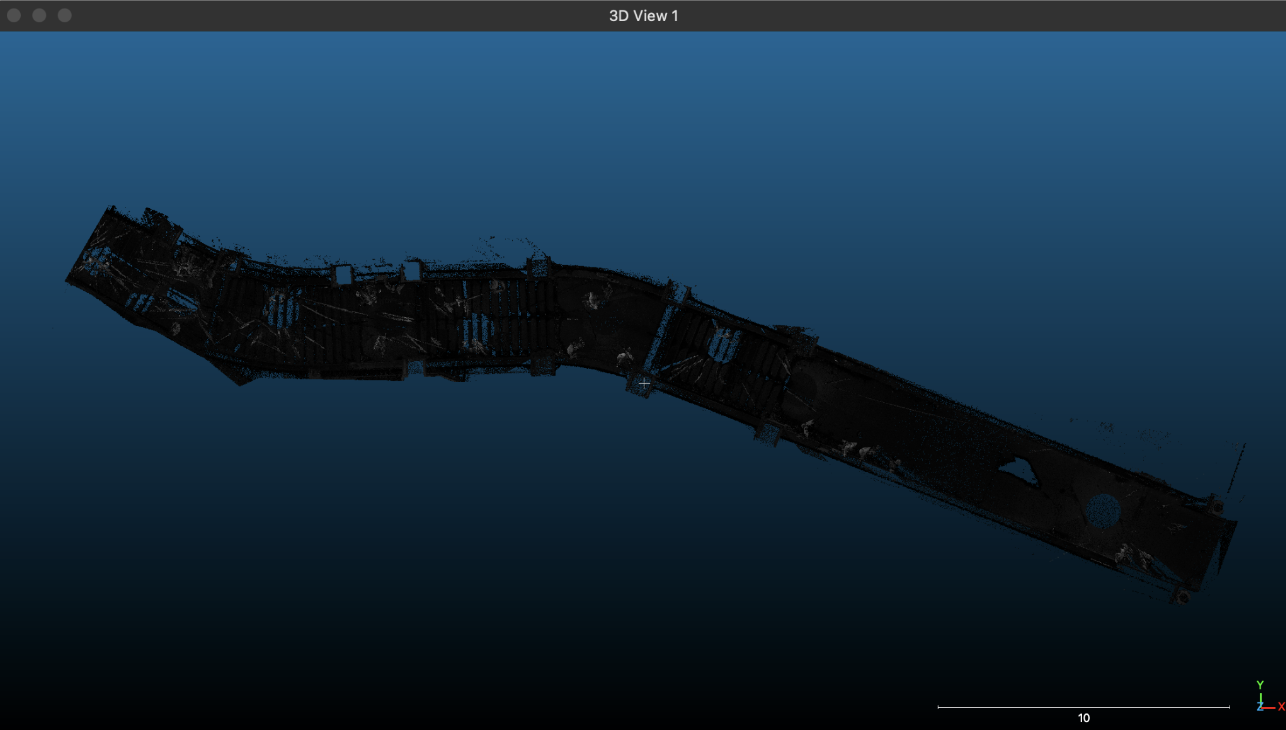
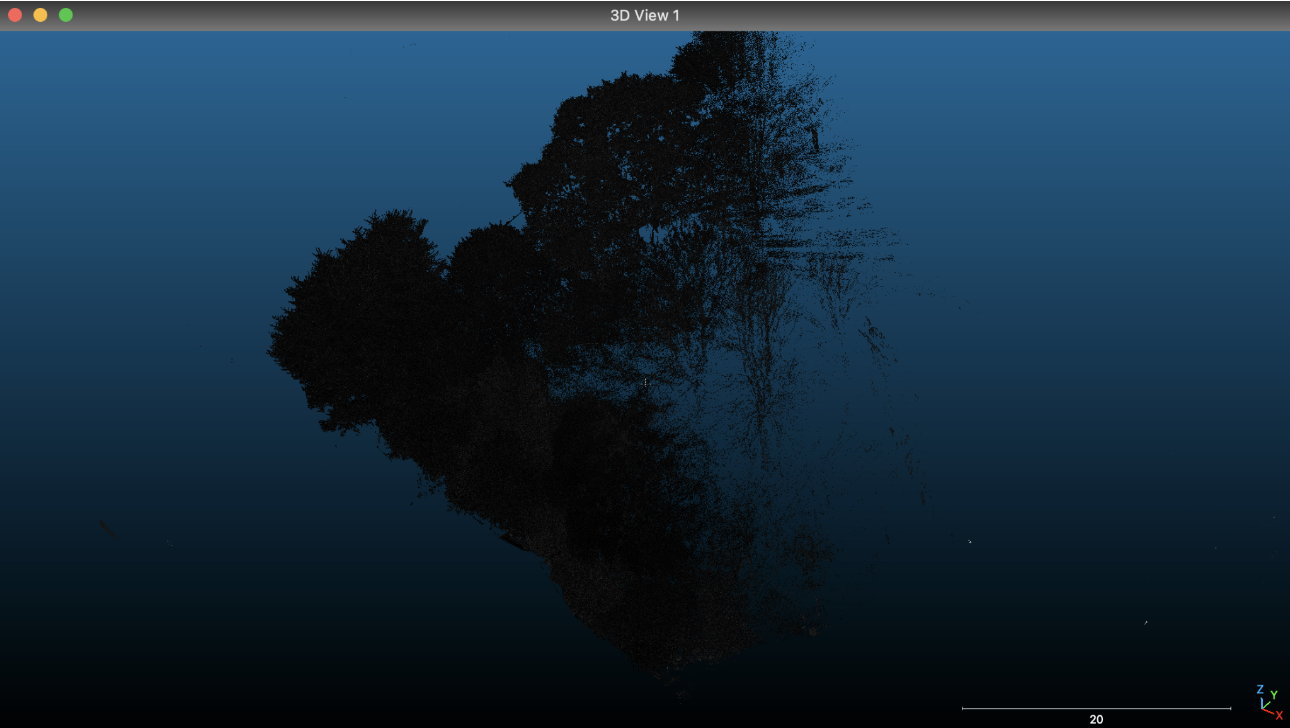
In order to make it easier to design the data in other software, we chose to split the scene into three scenes: a separate wooded scene, a staircase with buildings removed in the first half, and a staircase with buildings in the second half.
To complete the operation above, the segment tool is required in CloudCompare. For the specific operation method, I referred to the video tutorial by EveryPoint(2021). Clicking on this tool draws a polygon on the screen which can be mapped to the 3D scene where the point cloud is located. The user has the option to delete all points within or outside the mapped range of the polygon.
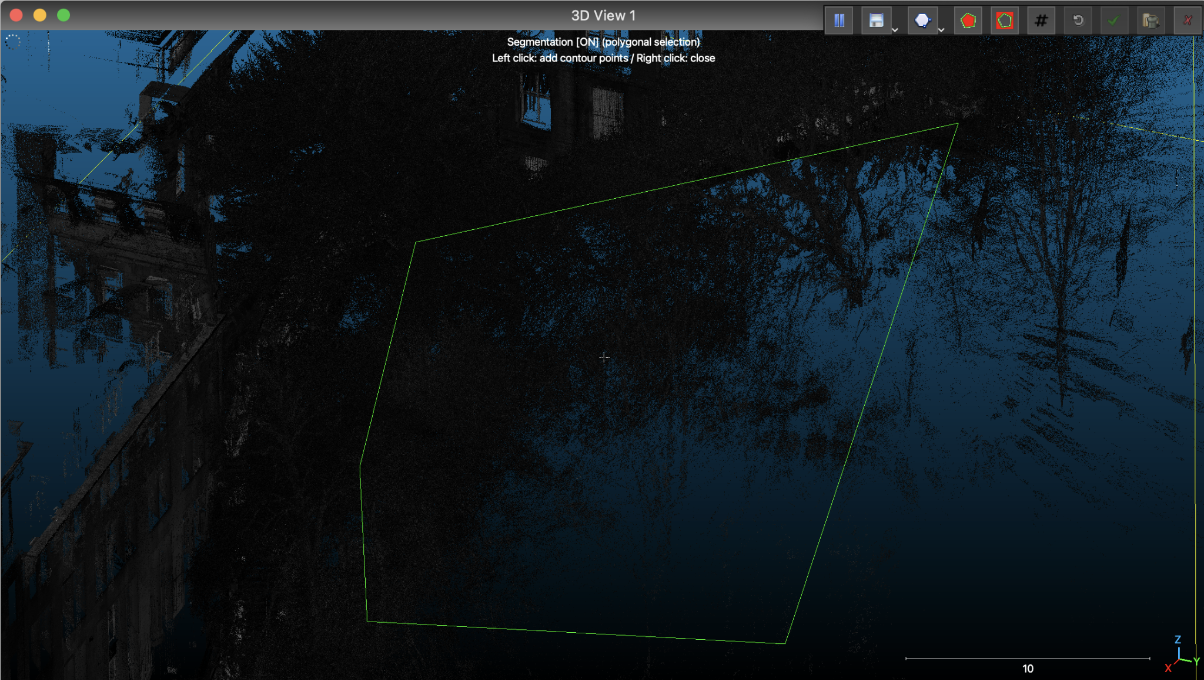
As it is not possible in CloudCompare to directly select different points in the 3D scene for processing as in other 3D software, nor is it possible to use shortcuts to select individual vertical or horizontal axes to rotate the scene. Editing the scene becomes extremely challenging, especially as the branches of the trees in the scene have spilled over the stairs and the fence. Dozens of separate pruning operations at different angles are required to sort out a clean scene. This took me a lot of time, but the result was quite good.
before:
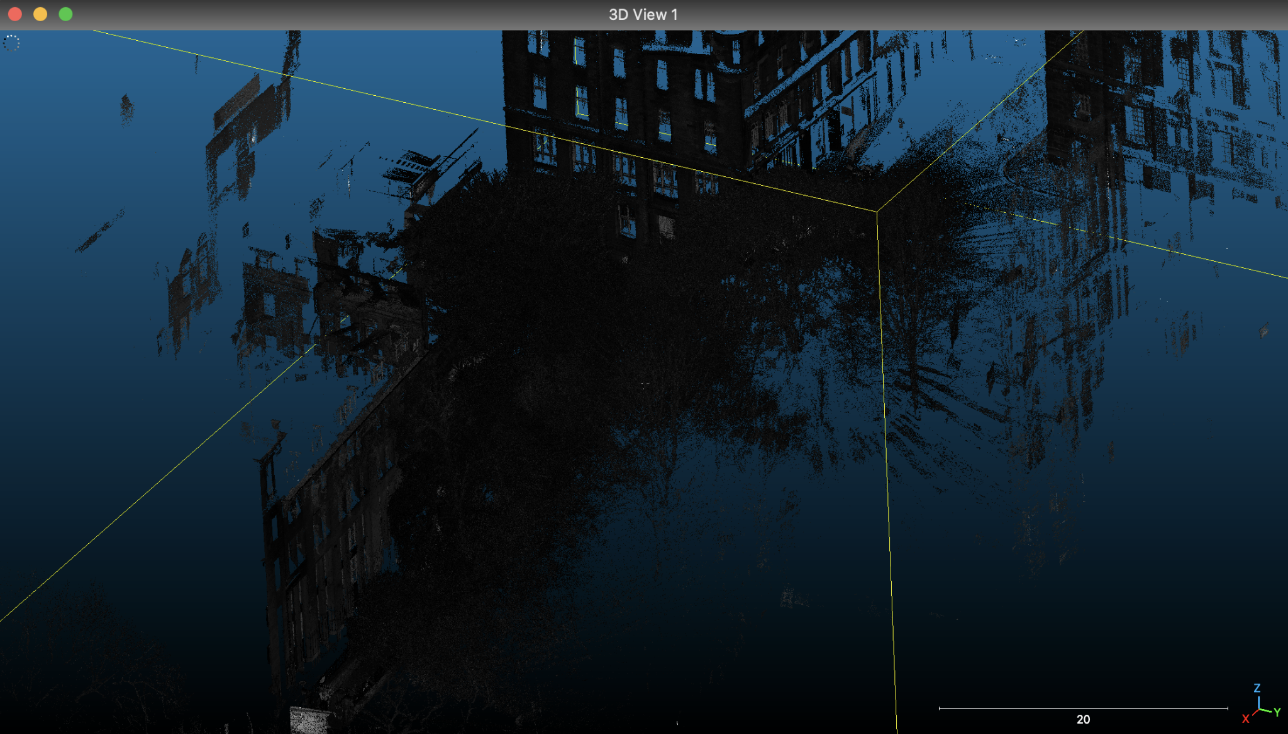
After:

Since subsequent point cloud color adjustments and camera animations need to be made in TouchDesigner, it is sufficient to export the point cloud to a format supported by TouchDesigner (ply, csv, xyz) after the separation of the scene has been completed.
Reference list
EveryPoint (2021). How to Quickly Align and Merge Two Point Clouds in CloudCompare. [online] www.youtube.com. Available at: https://www.youtube.com/watch?v=0OcN-lNChlA [Accessed 27 Apr. 2023].
Yuxuan Guo