Firstly, I ordered the videos and photos so that it would be a sequence of Chihuahua, Irish Wolfhound, Chihuahua, Irish Wolfhound… and another one for just the deaf dog and another for the blind dog.
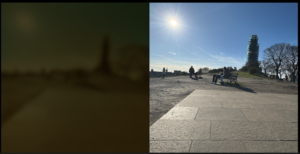
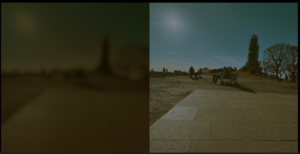
After many trials, I could say that I mastered the art of creating a deuteranopia effect in Photoshop. Sadly, we decided to add some videos to the mix, which meant switching to Premiere Pro for editing, as Photoshop does not support videos.
The difference between Photoshop and Premiere is that in Photoshop, there is a filter you can use to help with the process of converting a photograph into deuteranopia. Meanwhile, in Premiere Pro, there is none, so I had to create my own.
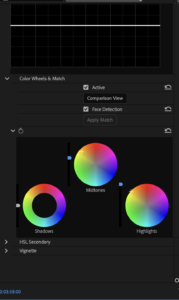
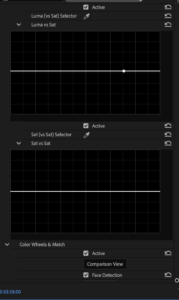
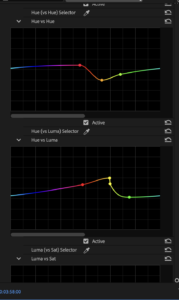
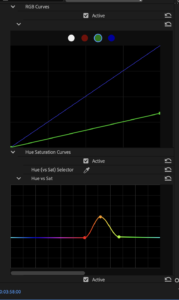
This meant adjusting the Lumetri colours myself until I could create a yellow and blue scale image; luckily, I found a way to achieve it.
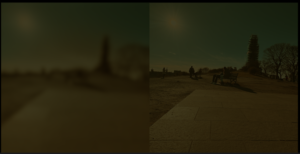
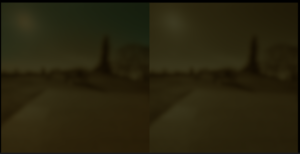
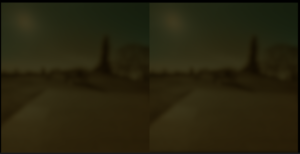
Once I got the colour down, I played with the brightness and darkness of every photo or video to ensure they were as similar as possible, once that was done, I proceeded to work on the blind dog files, I started blurring the image, then added a dark vignete in the center of the eye to simulate cataracts, after I darkend the image altogether.
In the following images, you can see the change that the images underwent:

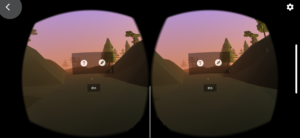
After testing the videos with the phone and the VR headset I realized we needed to make some changes as it was a dizzy and nausea inducing experience, for that we took a screenshot of the actual vr headset example experience and used it to scale our own images.
After adjusting the images, the videos were ready to go.