Any views expressed within media held on this service are those of the contributors, should not be taken as approved or endorsed by the University, and do not necessarily reflect the views of the University in respect of any particular issue.

First rehearsal venue set-up attempt and equipment commissioning

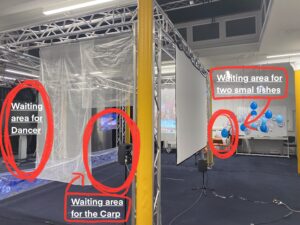
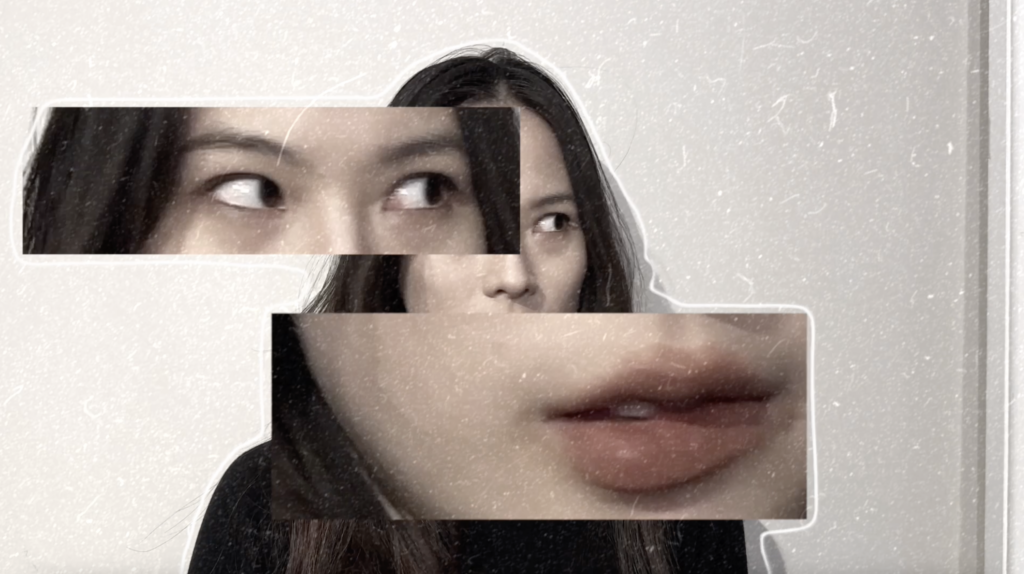
The first rehearsal is a crucial stage in our stage performance project, which gives us the opportunity to test the venue set-up and equipment commissioning in a real-world environment.

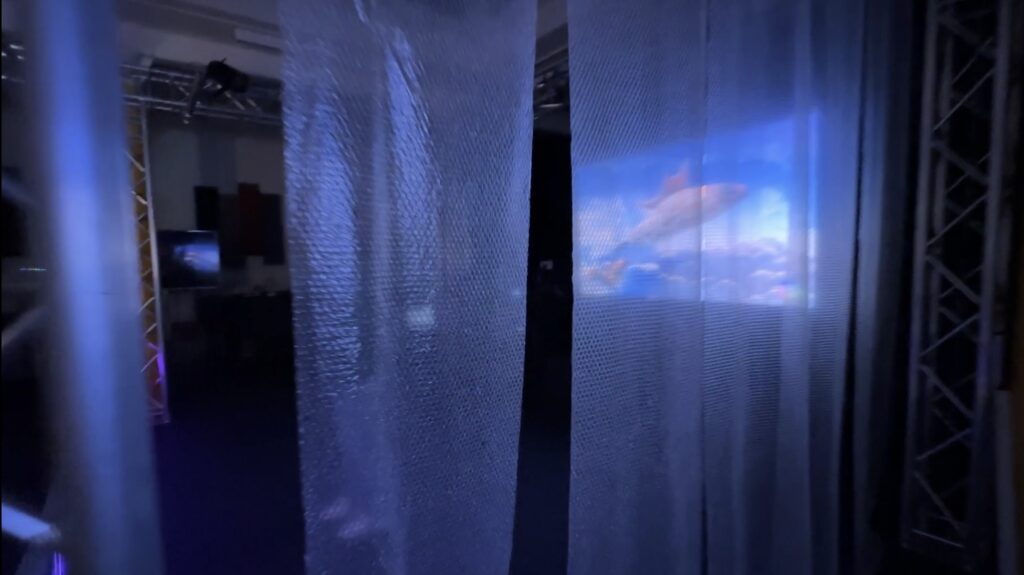
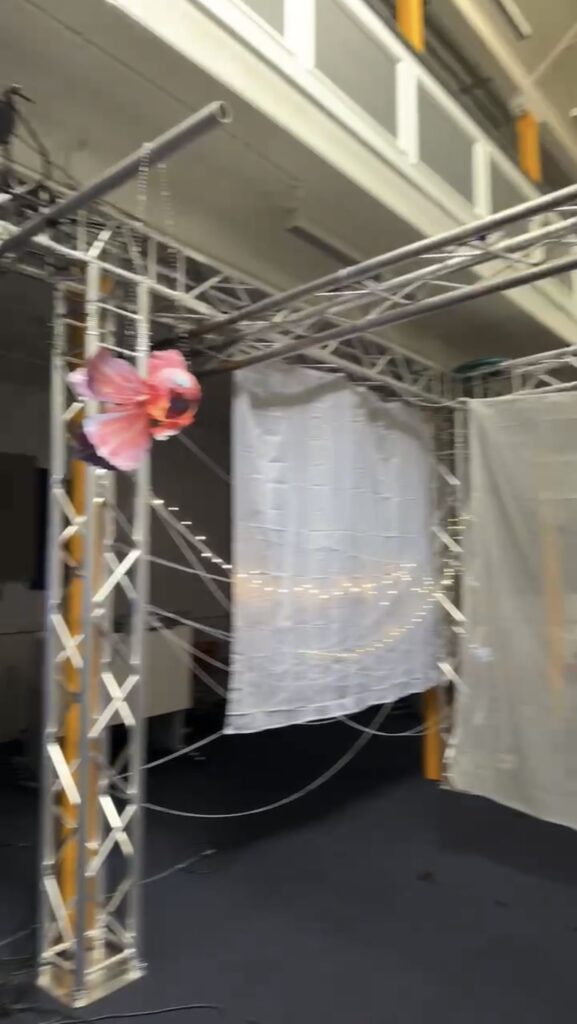
During the process, we made several attempts to test the projection effect of the projector, the induction sensitivity of the light strips, and the lighting effect of the fish lights. We also explored different setup options, including wool wraps, light decorations, and foam paper effects.

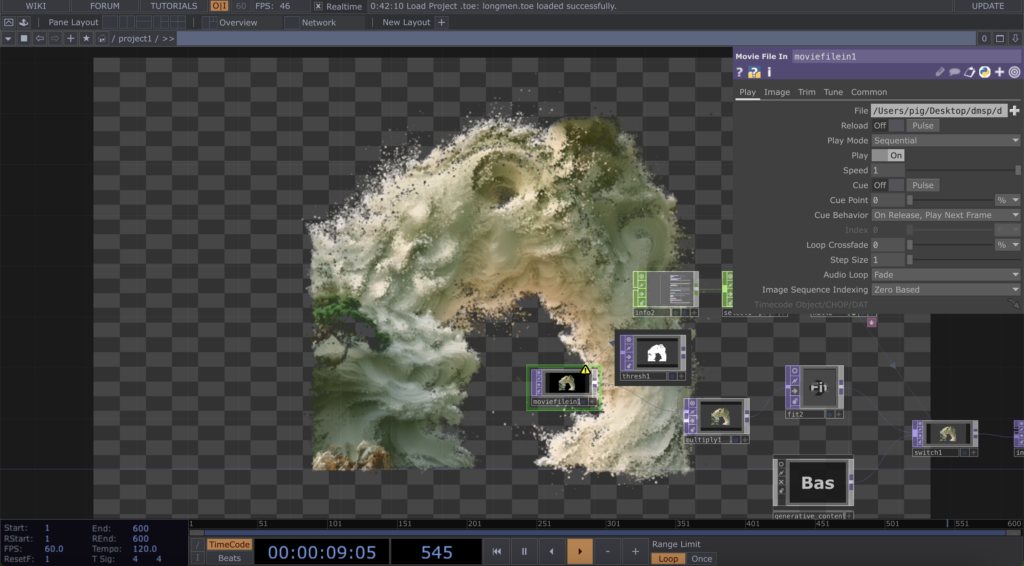
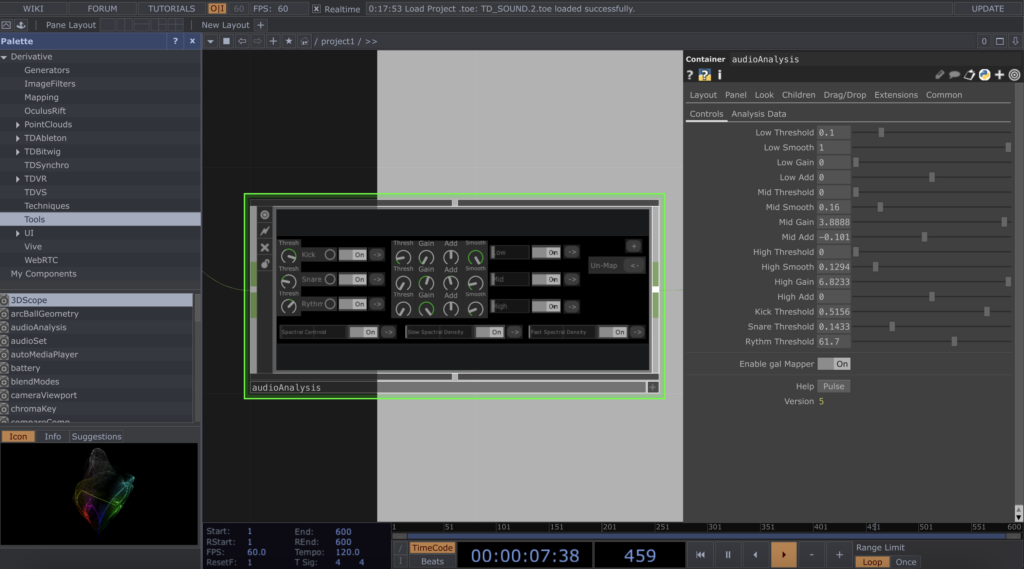
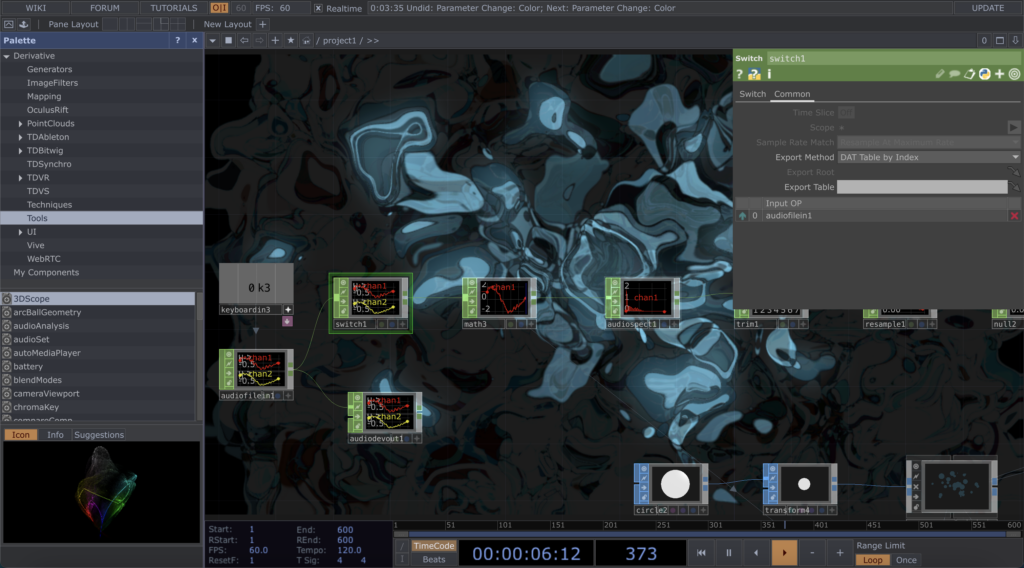
Equipment Commissioning

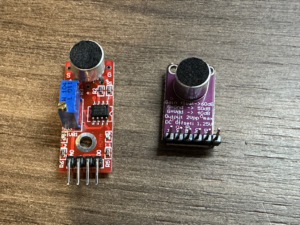
The projector was our main visual device, and we adjusted the projection angle and brightness during the rehearsal to ensure the best projection effect. The sensing sensitivity of the light strips, on the other hand, has a crucial impact on the synchronisation between the music and the light effects, but in the test, the strips had difficulty in accurately capturing the sound changes in the scene.

Venue Setup

In terms of venue setup, we first tried the wool winding solution. However, the test results did not meet our expectations. The combination of wool and lights was average and did not create the visual effect we hoped for. We also tried light decoration, but again, the desired effect was not achieved.

Finally, we tried the foam paper effect. This effect was unexpected, it added a hazy feel to the venue and we decided to keep this design. However, we found that the foam paper was easy to stick diagonally and we plan to improve this before the official performance.

Foam paper effect
Foam paper effect
Decorative lights and wool

Directing Notes

After a few collaborative rehearsals, I laid down a detailed performance schedule – down to the minute, who was on stage, what they were going to do, and so on. It was my job to take control during the show, cue the actors on stage and what they were performing, and make sure the show flowed smoothly.

To control the situation with precision,  as the visual director, I tried various forms of documenting and articulating the performance schedule to ensure that each member understood their task.

Written proposal: DIRECTING

Video narration: this is based on projected video with subtitles to cue the actors to where they are. Certainly, this won’t be on the final show, but for rehearsals, it’s a good way to get everyone to understand the action.


Morover, I designed clear lines of movement and waiting position, which to avoide chaotic collision when the actors need to intersperse their performances—

  • The carp only initially entered from the east, all the rest of the entrances and exits were behind the ice screen on the west side.
  • The waiting position for the two small fishes is always on the west side of the screen.
  • The waiting position for the dancers is always on the west side of the screen.


On top of that, I personally demonstrated all the characters twice so that the actors could grasp the techniques. For example, how the little fish trembles when struck by lightning, how the carp’s body changes when it ascends into the air, and so on. I devised and agreed with the group on hand signals such as going up, retreat, running left, running right, jumping, etc. that would remind the actors to act during rehearsals. We originally wanted to talk through headphones or walkie-talkies, but this might affect their judgement of the live sound effects, so we finally decided to dispatch with hand signals.

Interactive light strip design and commissioning

Firstly, I picked up a 5 metre roll of WS2812B RGB LED Pixel Strip. This strip features individual colour control for each LED pixel, making it ideal for flexible and versatile lighting effects. Next, I chose the Arduino software as the control platform to enable precise control of the lights for live music.

Initially, I used the LM393 sound sensor to capture the sound signal of the live music, and then tried to write code to convert the sound signal into lighting effects. However, after many attempts and adjustments to the code, the results were still not satisfactory.

After a series of searching and learning, I decided to try to use MAX9814 sound sensor instead. MAX9814 sensor has higher sensitivity and performance to capture the music signal more accurately, which improves the accuracy and response speed of the lighting effect. And the code logic was realigned. In the original code, the update of the lighting effect is executed based on a fixed delay, which may result in being out of sync with the music tempo. In the improved code, an interval-based update mechanism is introduced, using the millis() function to achieve timed updates. This allows for more precise control of the update frequency of the lighting effects, allowing them to be better synchronised with the music tempo.

LM393 and MAX9814
LM393 and MAX9814

By increasing the sensitivity of the sensor and optimising the structure of the code, I managed to improve the capture of the music signal and reduce the latency of the code to make the lighting effect smoother.

Final code:

#include <FastLED.h>

#define LED_PIN 5

#define NUM_LEDS 300


CRGB leds[NUM_LEDS];

int soundsensor = A0;

j

void setup() {

delay(2000);

Serial.begin(9600);

FastLED.addLeds<WS2812B, LED_PIN, GRB>(leds, NUM_LEDS);

FastLED.setBrightness(50);

}


void loop() {

int soundValue = analogRead(soundsensor);


Serial.print(“Sound level: “);

Serial.println(soundValue);


// int redValue = 0;

int blueValue = 0;


if (soundValue > 70) {

redValue = map(soundValue, 80, 1023, 0, 255);

fill_solid(leds, NUM_LEDS, CRGB(redValue, 0, redValue));

} else if (soundValue > 40) {

blueValue = map(soundValue, 50, 80, 0, 255);

fill_solid(leds, NUM_LEDS, CRGB(0, 0, blueValue));

} else {

fill_solid(leds, NUM_LEDS, CRGB::Black);

}


FastLED.show();

delay(20);

}

Next, I secured the light strips to foam tape to create a water ripple shape and positioned them in the area between the stage and the audience.

Right Interactive Screen Design


In our stage performance project, we originally planned to place an ice screen in front of the main screen to project the gantry image and the expression performance to express the emotions of the little fish. Actors could travel in front of and behind the ice screen during the performance, creating a before and after scene.

Expressions to show the emotions of the little fish
Dragon Gate Screen
Dragon Gate Screen

However, during the testing phase, we encountered some challenges:

  1. The superposition of the front and back stage structures did not meet our expectations in terms of visual effect. There was a lack of harmonious integration between them, which in turn appeared to be abrupt and distracted the audience’s attention.
  2. The size ratio of the ice screen is 1:2, which is quite different from the ratio of the projected image of the projector, causing difficulties in video production.
  3. The light source of the small projector would penetrate the translucent ice screen and shine on the main screen, which affected the picture effect of the main screen.

For these reasons, we decided to move the ice screen to the right side of the stage and adjust the content strategy. We dropped the originally planned gantry screen and small fish emoji performance and instead created an abstract screen that could interact with the performers in real time. I created a TouchDesigner file to achieve this, and chose a blue colour palette that echoed the theme of the stage to simulate the flowing aesthetic of liquid water. Driven by the live sound, the dots of light in the image would flicker and flicker in response to the intensity of the sound, resembling the light jumping off the surface of the water.

At first I tried to use the audioAnalysis block to capture the low, mid and high frequencies, spectrum, tempo and volume of the live sound, in order to generate a varied and layered visual effect. However, after a series of tests, I found that this approach did not work as well as I had hoped when combined with live sound. So I turned to the switch component. Although switch is not as sophisticated as audioAnalysis in terms of functionality, it shows a much better and more stable performance in the field.

Debugging of the audioAnalysis module
Convert to switch module
Final Demo
Right side screen live effect
css.php

Report this page

To report inappropriate content on this page, please use the form below. Upon receiving your report, we will be in touch as per the Take Down Policy of the service.

Please note that personal data collected through this form is used and stored for the purposes of processing this report and communication with you.

If you are unable to report a concern about content via this form please contact the Service Owner.

Please enter an email address you wish to be contacted on. Please describe the unacceptable content in sufficient detail to allow us to locate it, and why you consider it to be unacceptable.
By submitting this report, you accept that it is accurate and that fraudulent or nuisance complaints may result in action by the University.

  Cancel