‘Light as a medium’
For this project, I was prompted to explore the vast and elusive nature of a subject through the practical and playful use of both traditional and new media using light. with such an open project, I was excited to not only expand my knowledge within light but also expand my skills when applying it within art. My research began with a few select interests that caught my eye in the library, after our initial introduction to the project. These being, ‘The negative: exposure and development. Adams, Ansel, 1902-1984’ and ‘Living anatomy : a photographic atlas of muscles in action and surface contours / by R. D. Lockhart, 1894.’ little did I know at the time of this research, would these two books influence my project entirely.
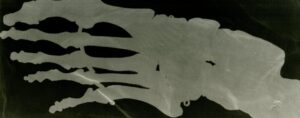

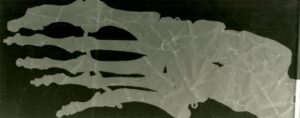

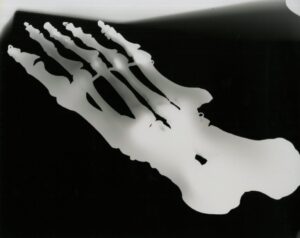
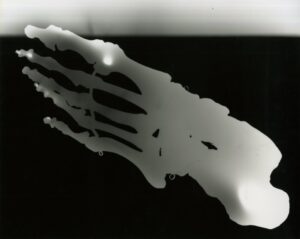
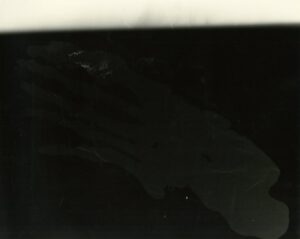
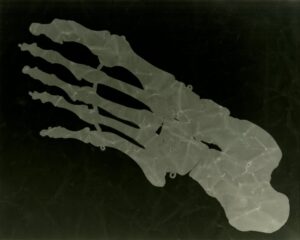
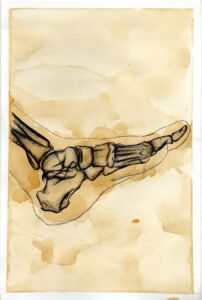
Still fresh into this project and with a few ideas in mind, I was given the chance to experiment with photograms in the dark room. Here I managed to borrow a replica skeletal foot to create interesting faux x-rays some simply on there own and others with a layer of scrunched up baking paper to create a textured layer within the exposed image.
Soon after my research on negative photography and human anatomy, I decided to focus on x-rays. Not only from its historical advancements, but also with how I could incorporate artistic techniques to create my own. when starting this process, negative photography came into mind but more specifically, how colours switch with its complementary colour when inverted as seen with these charts.


Given this and after investigating the evolution of x-ray technology throughout history, I decided to focus on diagnostic imaging considering its eye catching blue colour and process of exhibiting them with other doctors and sometimes patients.

Diagnostic imaging example
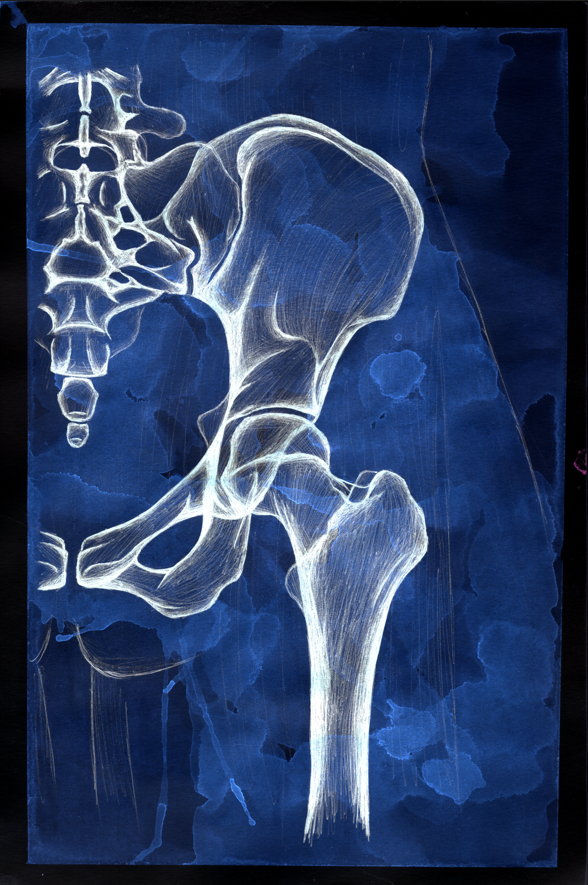
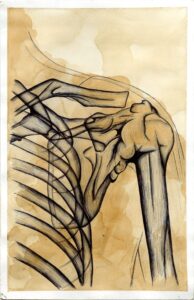
From here I thought about what mediums I could use to create such a consistent and dramatic blue colour, whilst also including my findings within negative photography and inverted colours. That’s when I considered tea staining. Tea staining is such a perfect contrast to diagnostic imaging blue, with not only its hue but also its consistency in thick and thin areas. This however also left what id use to draw the skeletons on top of the stained base. I considered pencils, markers, and ink but ultimately ended up choosing biro pens. with the pens thin lines, I could create small details as well as faded lines to create more depth, creating a 3D effect on 2D paper. After testing these together in the form of swatches, I was happy and ready to create my projects final pieces.


When deciding what I’d replicate, I decided to focus on different parts of the skeleton. The shoulder and ribs, the pelvis, a knee and a foot. With such varying images, the series will be sure to drag itself attention when being presented.


Finished pieces before conversion
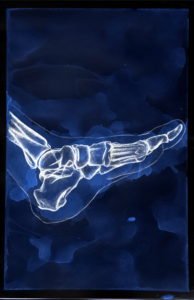


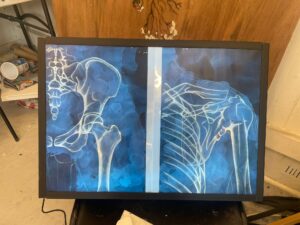
Final versions
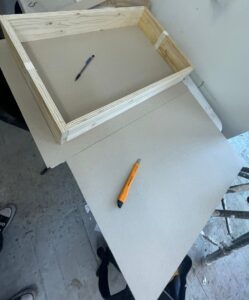
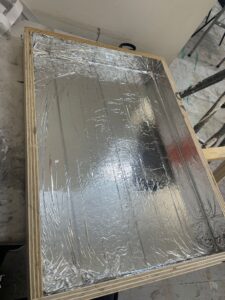
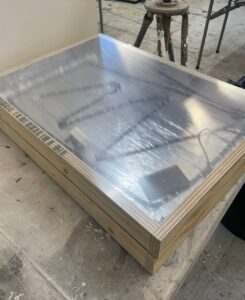
(WIP lightbox process)

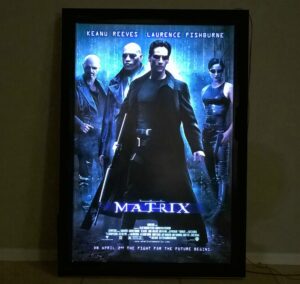
Diagnostic imaging lightbox and movie poster lightbox example
The last component with this project was presentation. Here I wanted to replicate a similar experience as a real one. I approached this with my own lightbox inspired by movie poster light box frames. (WIP)


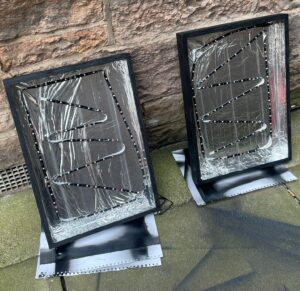

(WIP lights changing experiments)
(WIP final exhibition pics)


Leave a Reply