Dates of Development | Friday, March 21st, 2025 & Friday, March 28th, 2025

Sound Design Director | Max MSP: Ashley Loera
Reflection and Process | Plastic Flowers
What do Lilies Symbolize?
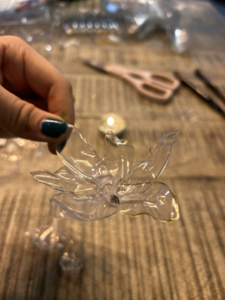
Plastic Lilies
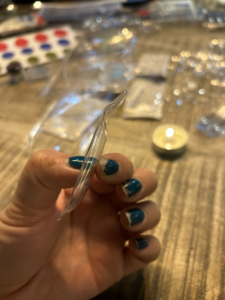
On Friday, March 21st and Friday, March 28th, our Process group crafted a beautiful sculpture of lungs and flowers with lights. I got to help create the plastic lilies with plastic water bottles and hot glue.

Process:
- I cut oval shapes in the water bottles and bent/shaped the oval shapes into petal shapes with a candle flame. During this process, I had a wonderful time creating petals that felt natural and as though they were moving in the wind. Capturing the movement of lilies as a form of breath.
A. Depiction of oval plastic petal – with a curve melted on the petal to mimic movement in the flower.

B. We used candles to melt the plastic.
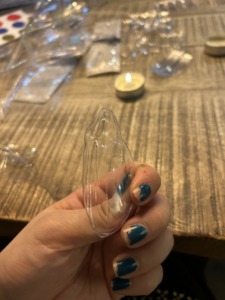
C. Example of a completed flower petal.
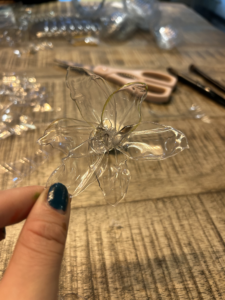
D. Glued 6 petals together to create the structure of a Lily.
Symbolism:
- In various cultures, especially the western culture, Lilies represent forgiveness. Floral design is one of my most passionate hobbies, and in my journey as a florist, I have learned the symbolism behind many flowers.
- Oftentimes, in spiritual practices, faiths and organizations, forgiveness is shared as a value that leads to peace and healing. For me, the symbolism behind the Lily and our use of it in this presentation holds a very special and powerful connection to the Process of breath.
How does this tie into our installation?:
- Through the process of forgiveness, we learn to let go. Not just emotionally or mentally. We learn to let go in the body. My education background is in Psychology and Substance Abuse Treatment and Prevention. During my undergraduate education I took courses in Trauma Psychology. One important concept and truth I learned, was that the body hold’s onto Trauma, Resentment and Pain. Often-times through the healing process, people must learn to work in the body to release trauma because the body internalizes pain, which later results into higher levels of cortisol. Ultimately manifesting into of anxiety, depression, chronic pain and illnesses. Meditation and Mindfulness has been used as a powerful therapeutic tool to help treat the body.
- As forgiveness is a powerful step of letting go, this process spiritually, psychologically and physically relates to the process of inhaling and exhaling in meditation.