Project Video:
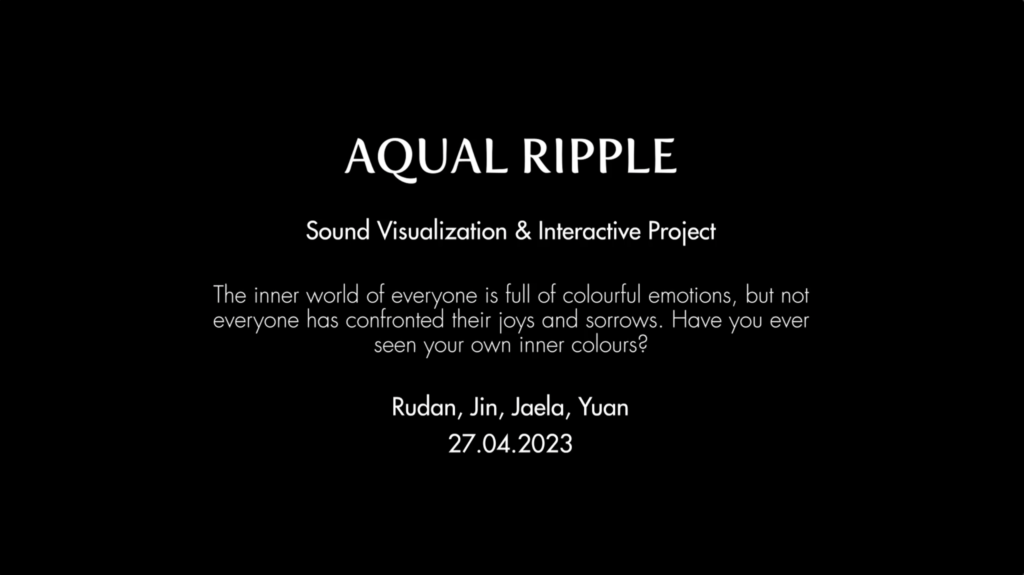
Final Presentation Video: Presentation Video (Full version of the video below)
Live Demo: Live Demo *2
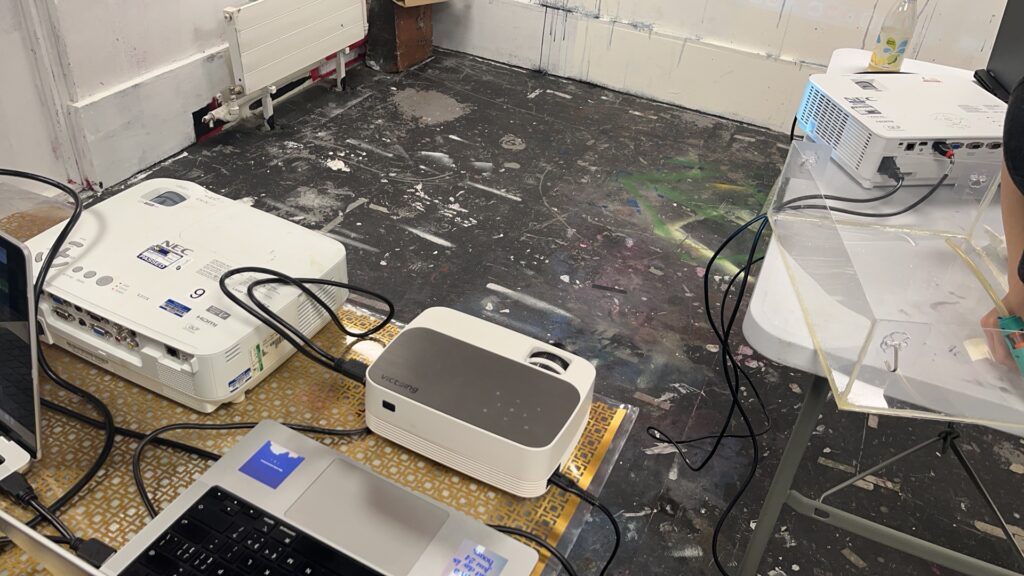
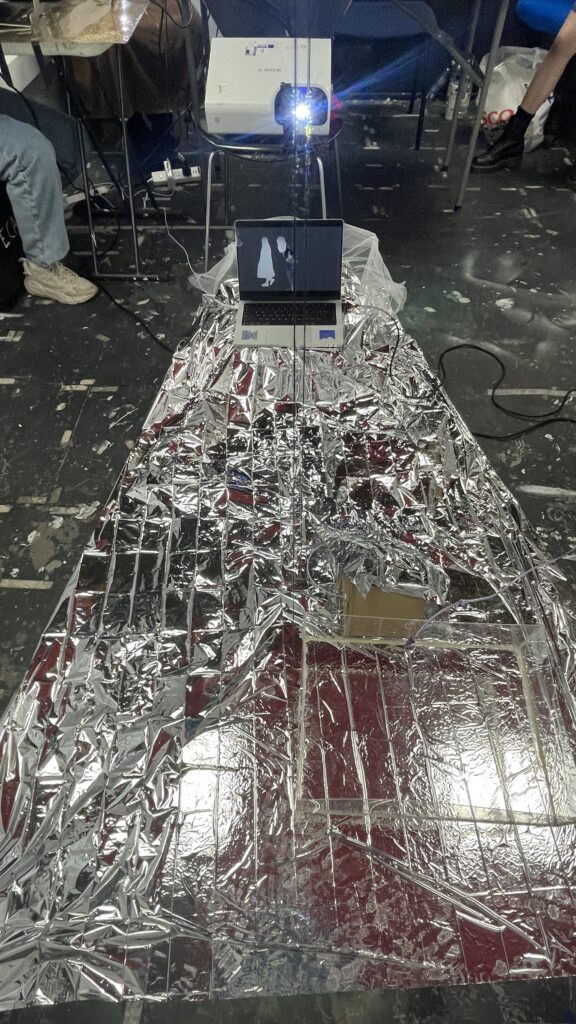
Due to the holidays, the school's projector is no longer available for hire. We had to use our only projector to set up the scene and shoot the video. As a result, the video recording did not meet our expectations and we had to project and shoot the video separately and edit it to create our final presentation.
After the first presentation, we optimised the project, rebuilt the scenario and recorded the video again.
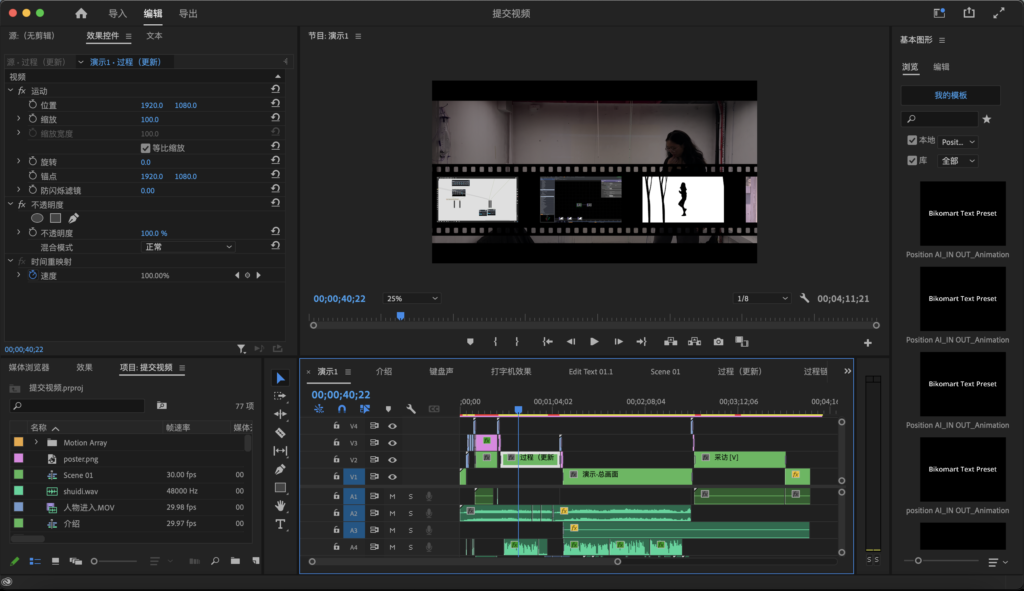
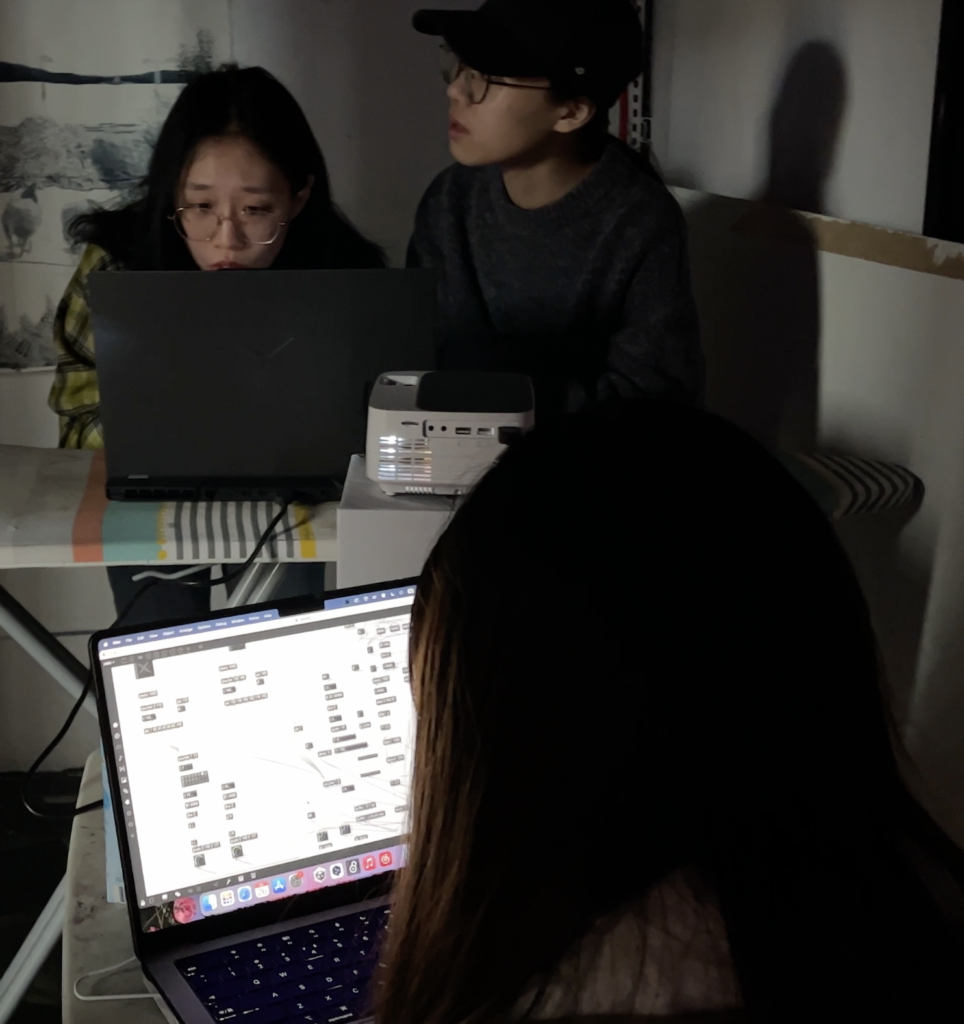
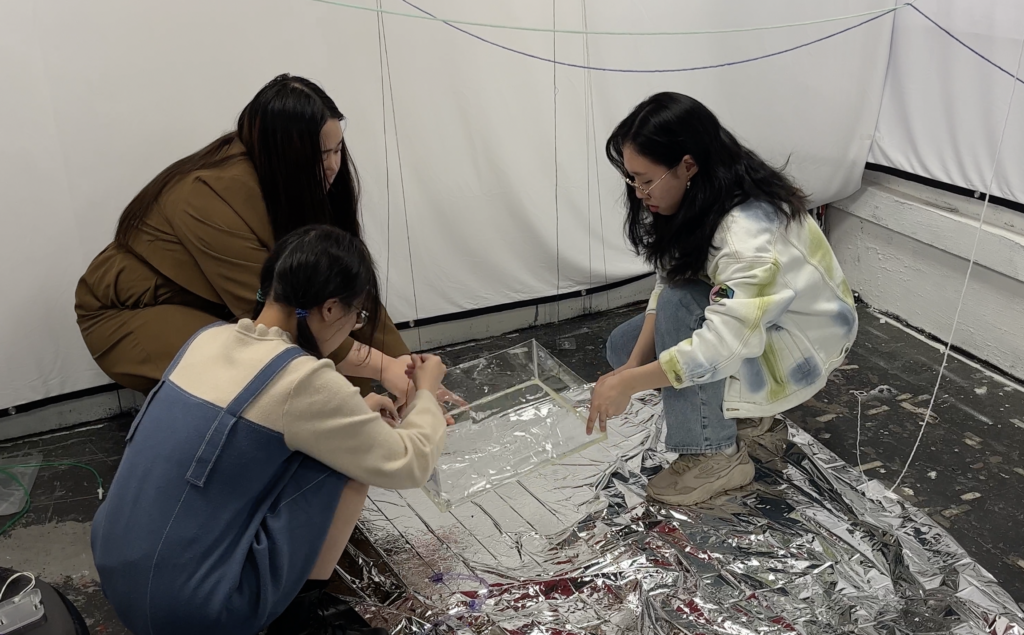
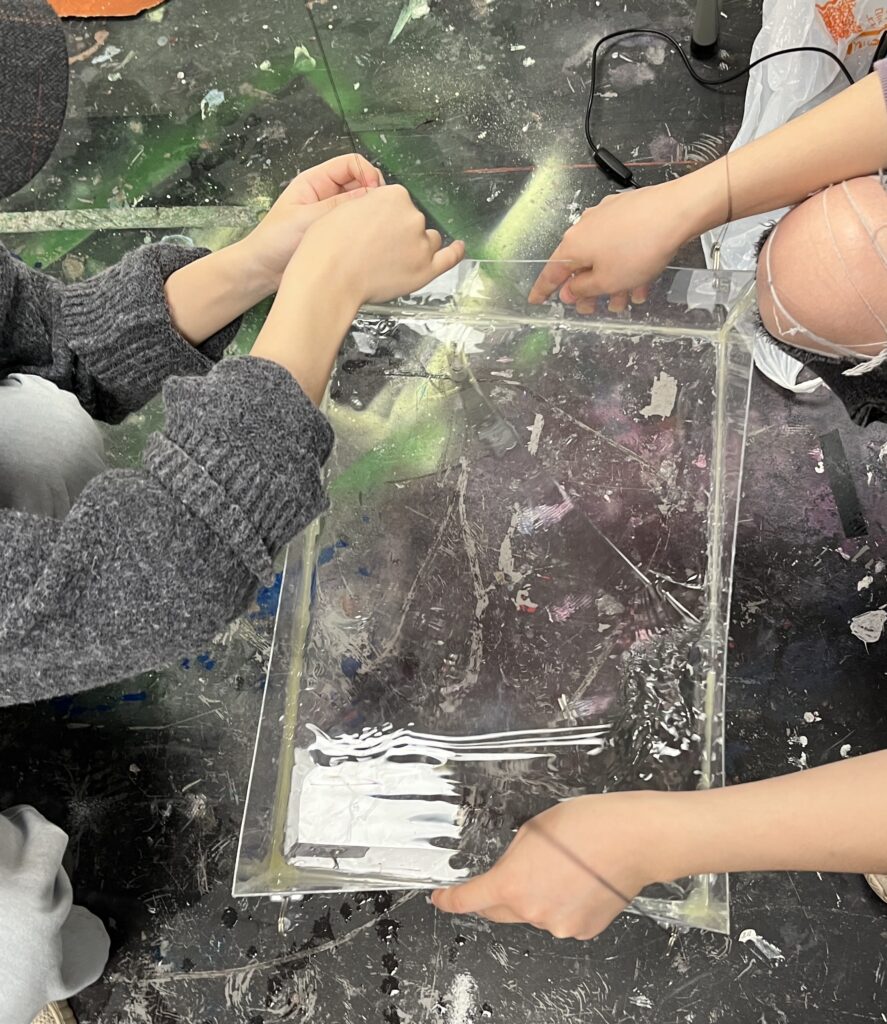
The video was shot by Rudan and Jeala, the video was edited by Rudan, the sound and music production was handled by Yuan, and the set was built by all of us.
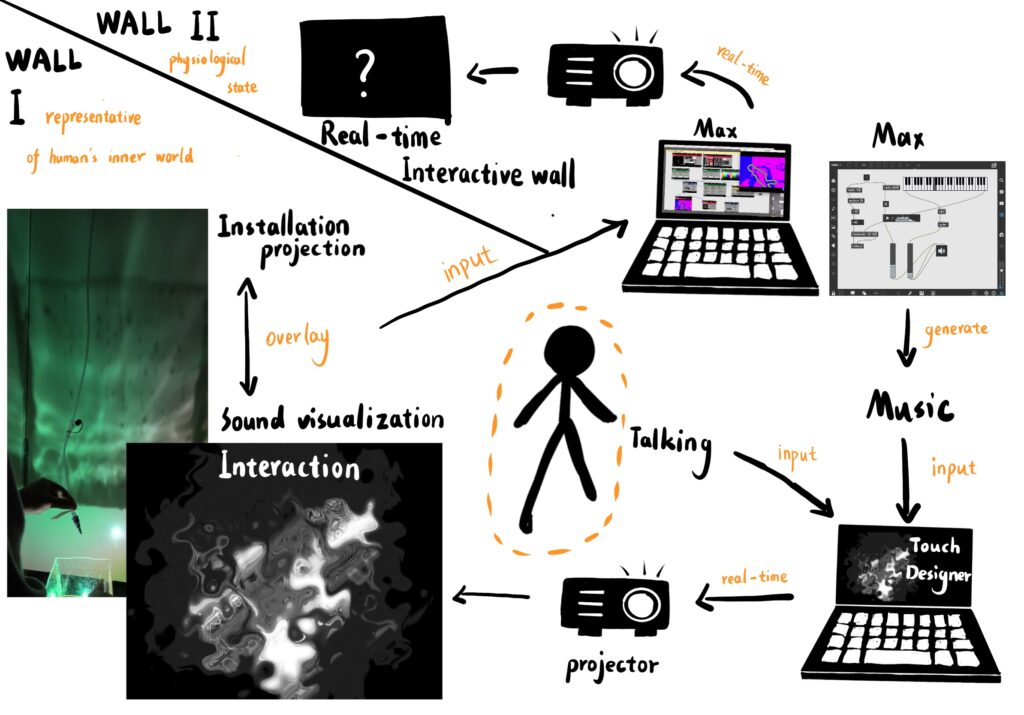
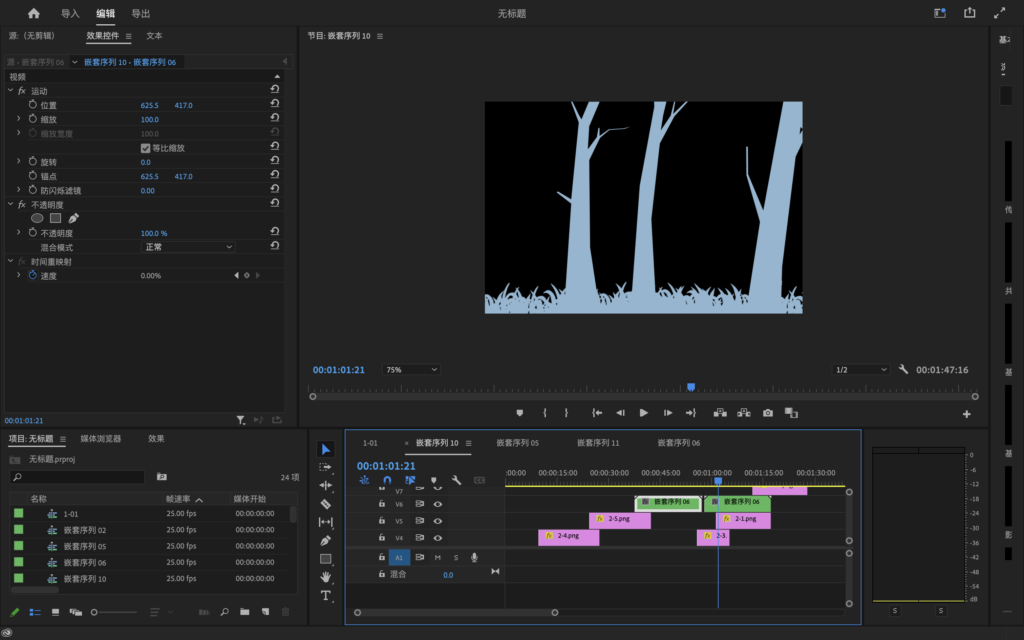
After collating all the live recorded videos, I drew up a flowchart of the video clip and also the subplot for that video clip.
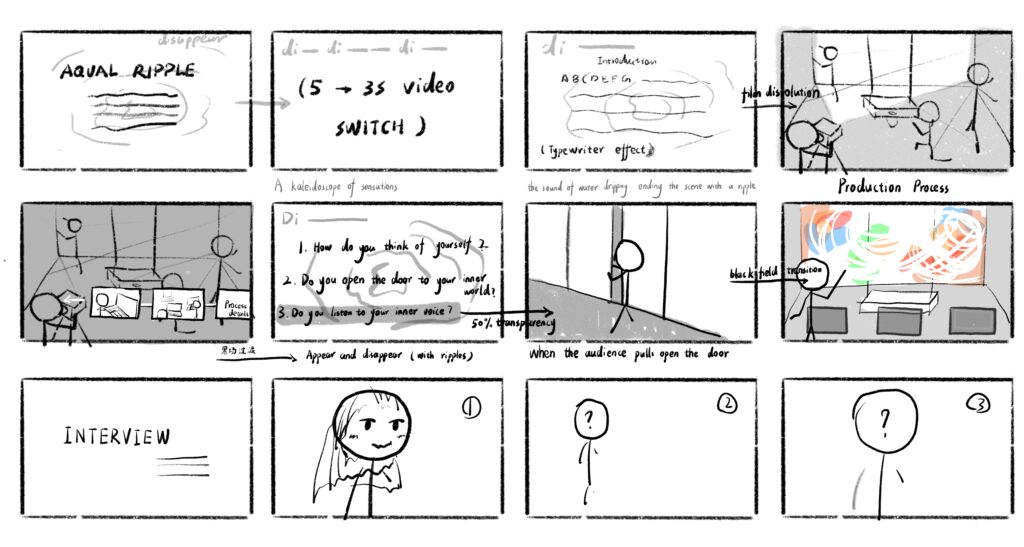
(This image was drawn by Rudan Zheng)
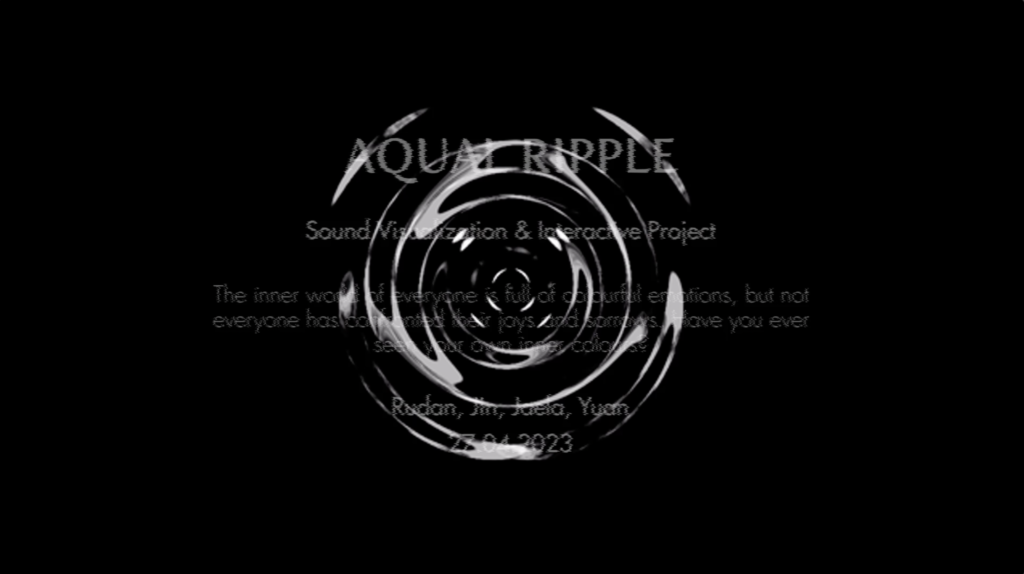
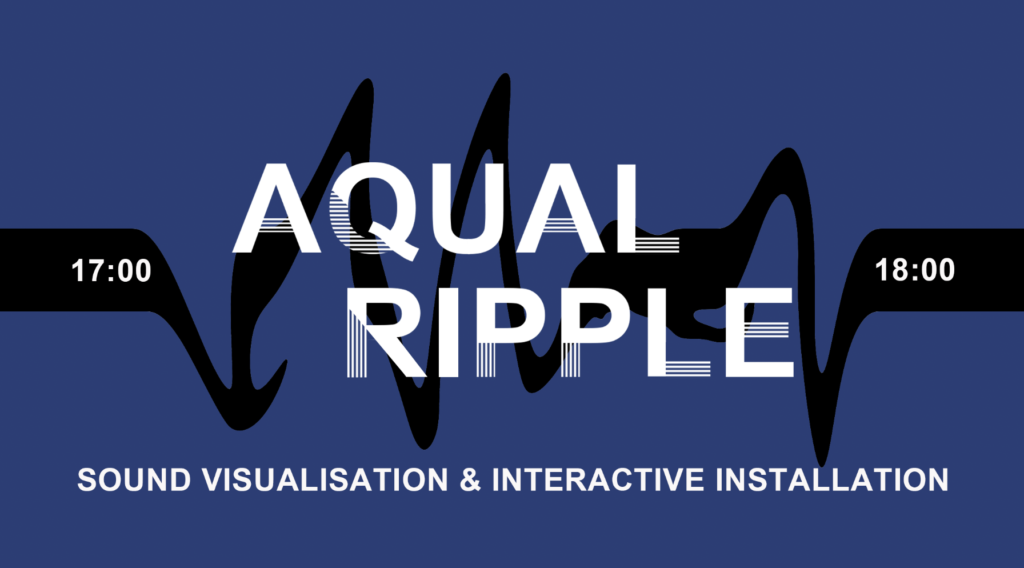
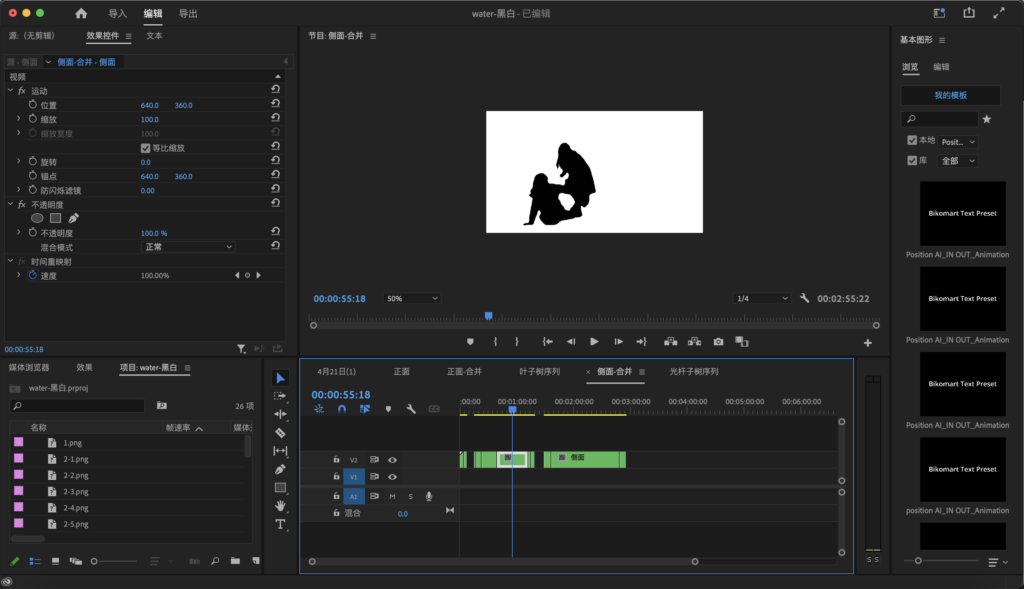
The first act of the video starts with a ripple and ends with a ripple in the title as well as an introduction to the project.
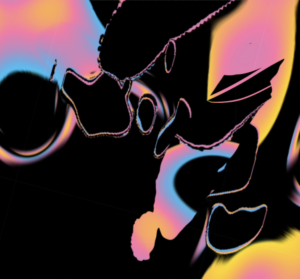
The second segment is three two-second videos switched with the sound of water drops, used to quickly demonstrate three visual effect clips from our project, similar to the abstract section of the thesis.
The third section is the introduction to the project, and for this clip I used typewriter effects and sounds to create it, which seemed to make the video a little more interesting.
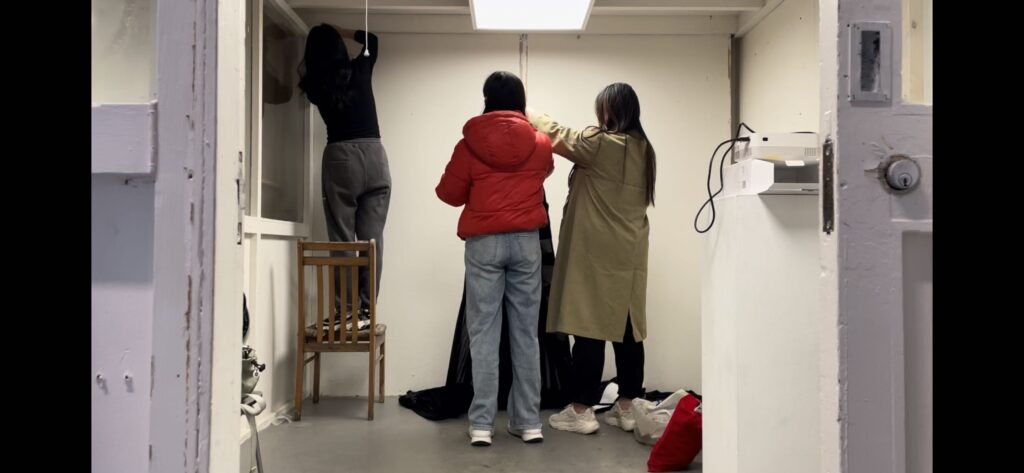
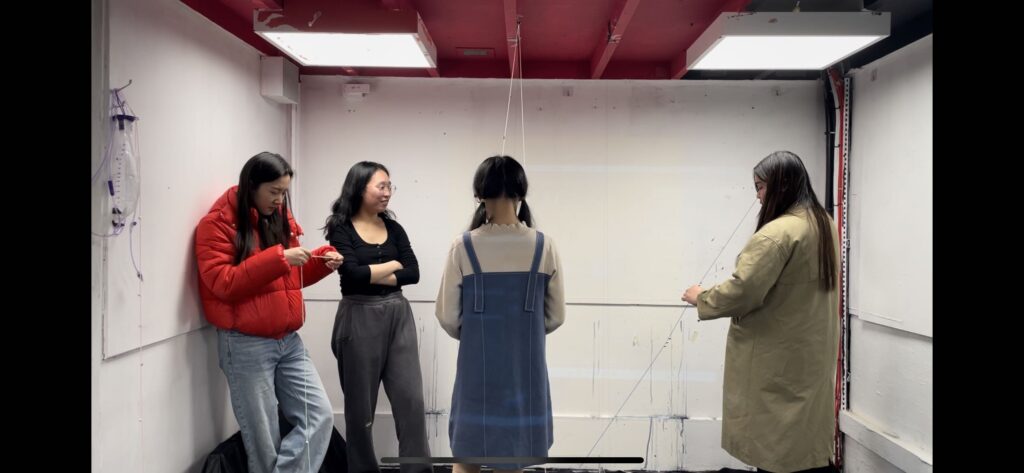
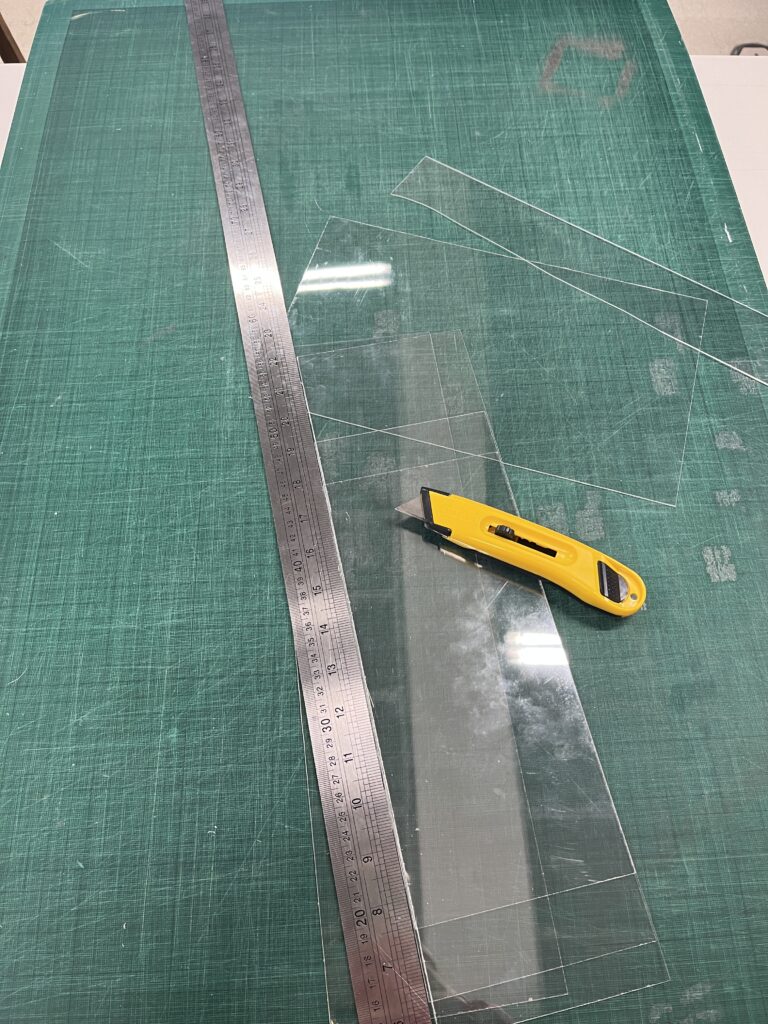
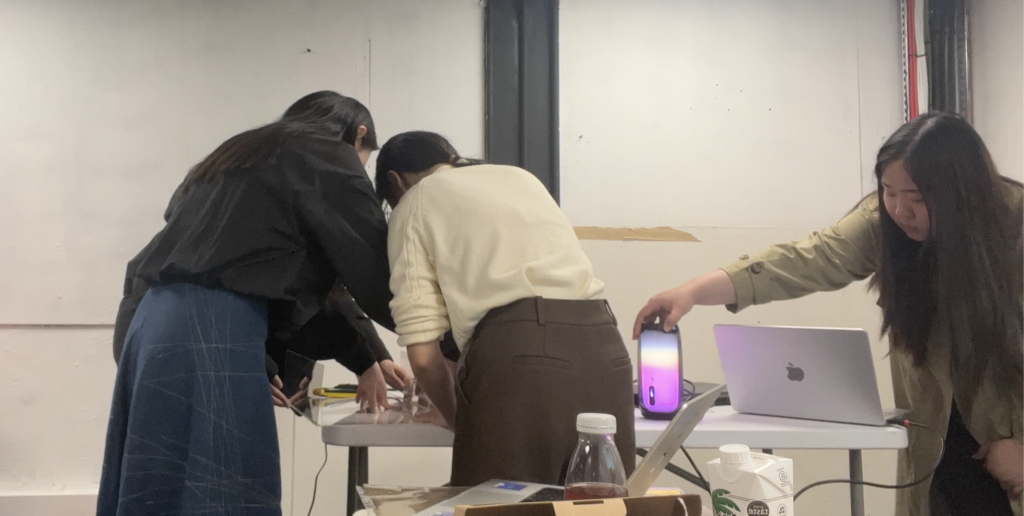
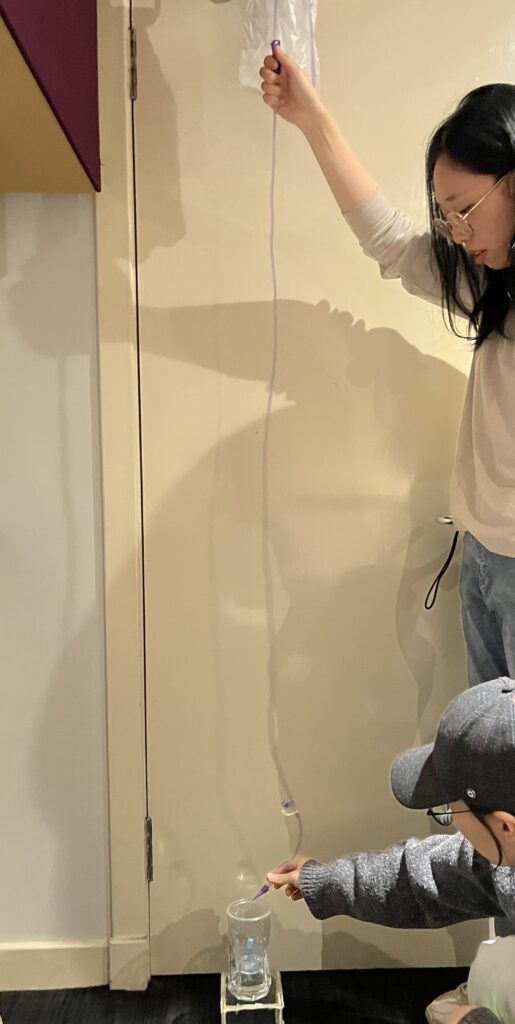
The fourth part is our production process. I’ve sped up the video because it’s been a long process over the last two months or so. The main part is the production process of building the set on the day we exhibited it, then interspersed with a roll of film strips of different types of production processes such as software, testing and material assembly.
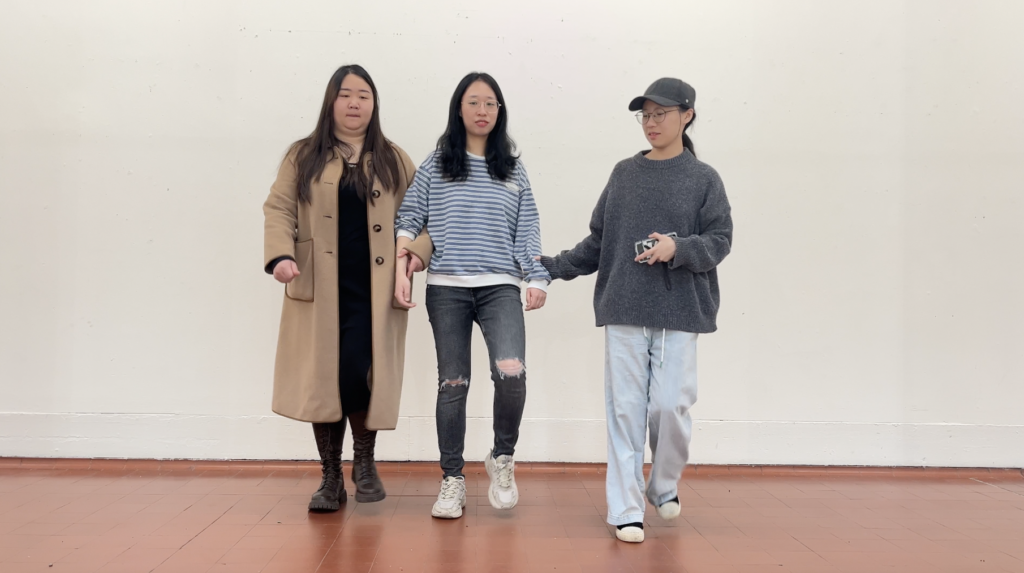
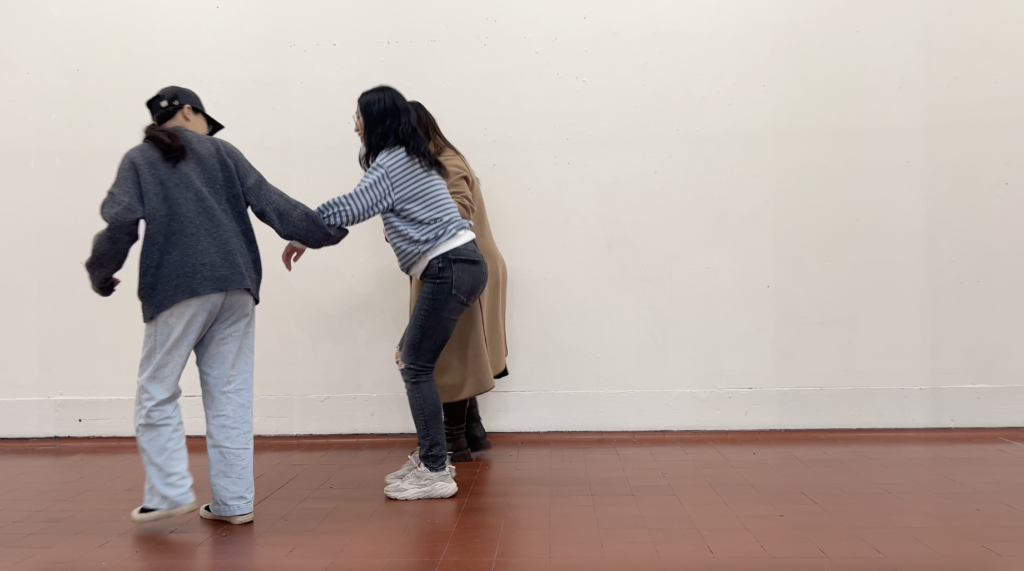
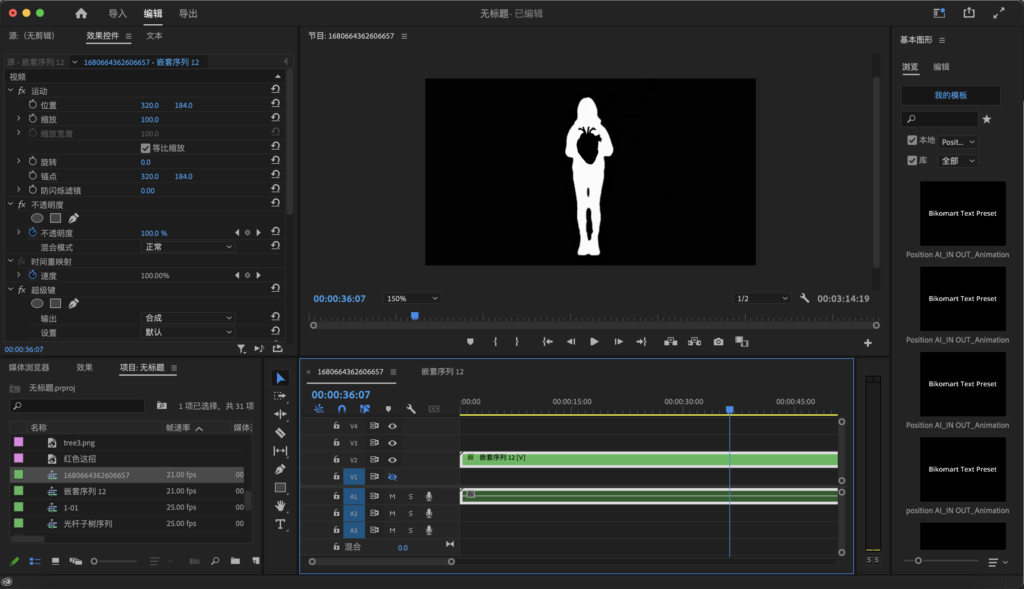
For the part about how to transition to the actual display, I tried a more subtle approach with the last video in the rolling strip of film being a video of the characters entering the display room. This video gets larger as the figure gets closer to the display until the moment the door is pushed takes over the whole frame. This allows for a very natural transition to the actual part of the display.
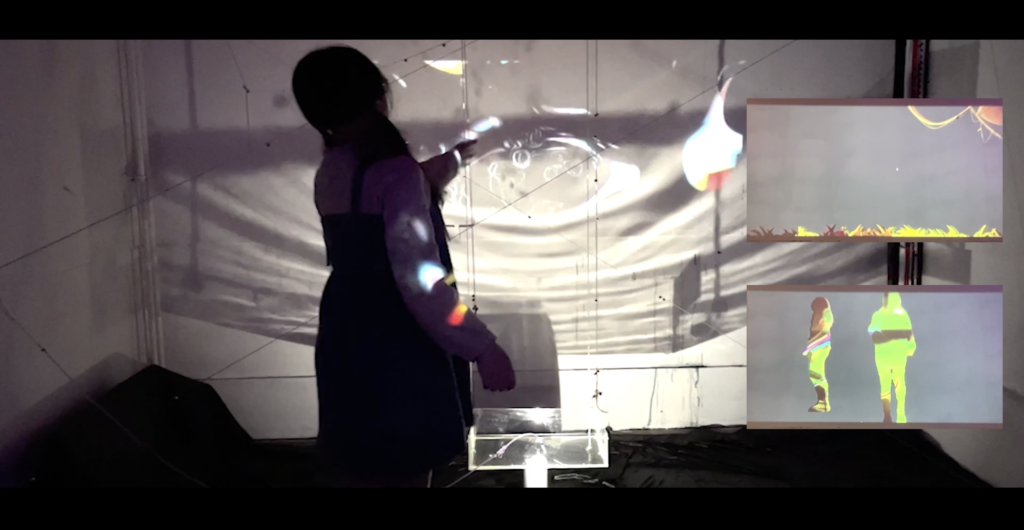
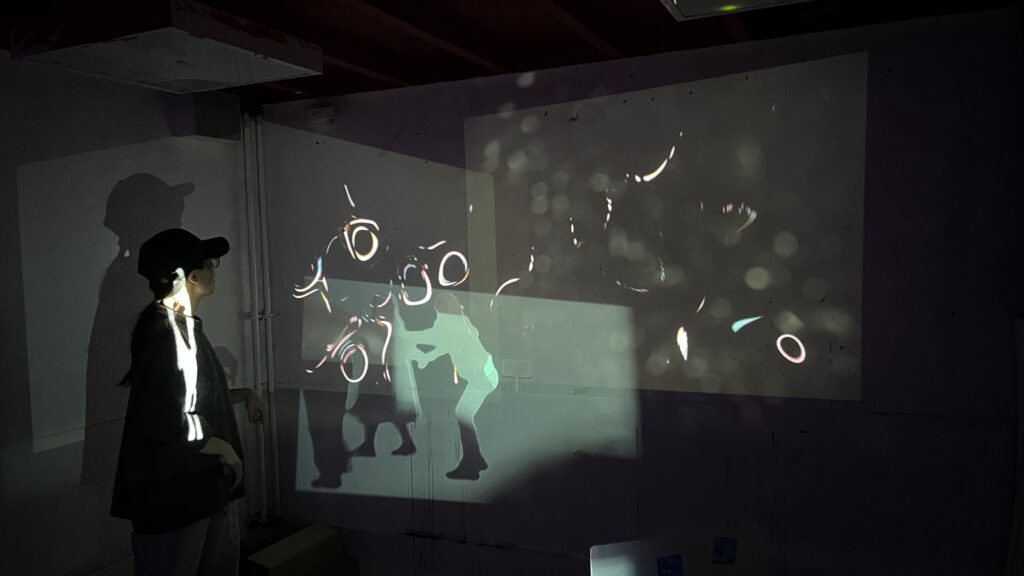
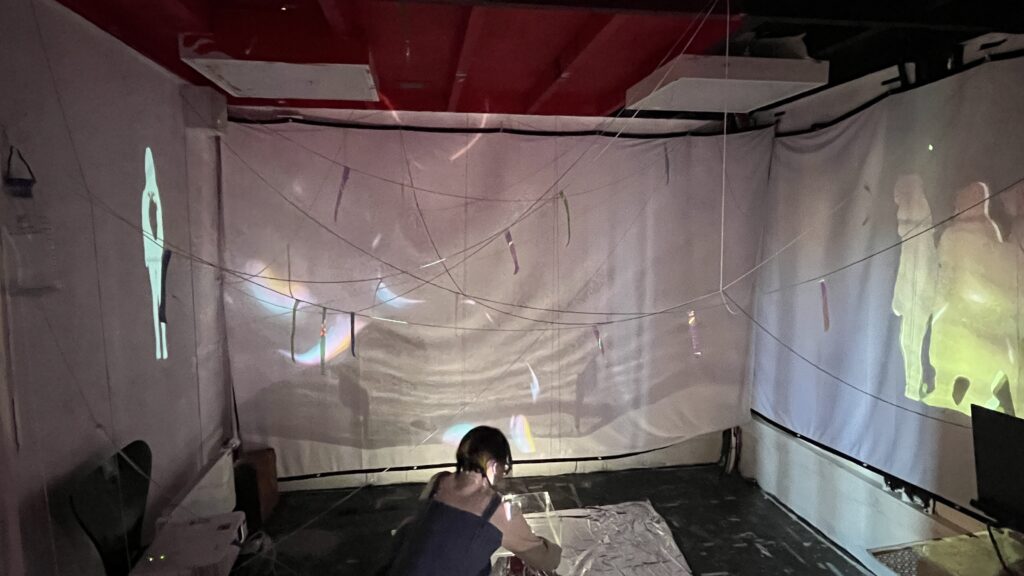
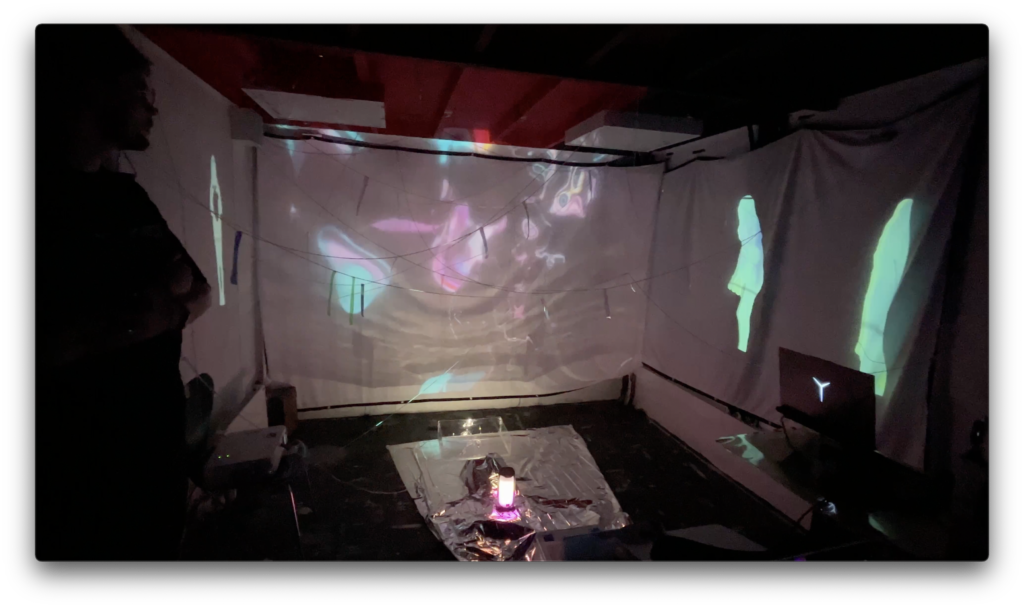
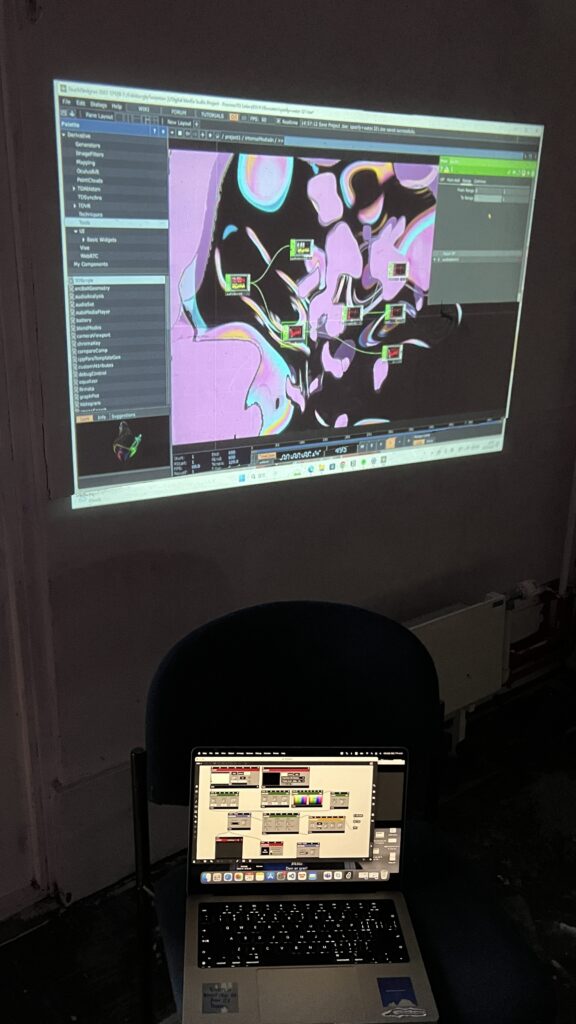
The fifth part is the actual exhibit, and because it is so long, I have only taken one minute and 30 seconds of it for the screening part of this video. Because of the range of the shot, we only got the main view of the wall, and the other two walls were projected using a small screen to show the image in the video.
We have included an interview section, as well as an interview with the audience about the project after they had visited us. The interviews include but are not limited to, their thoughts and what they think we could improve.
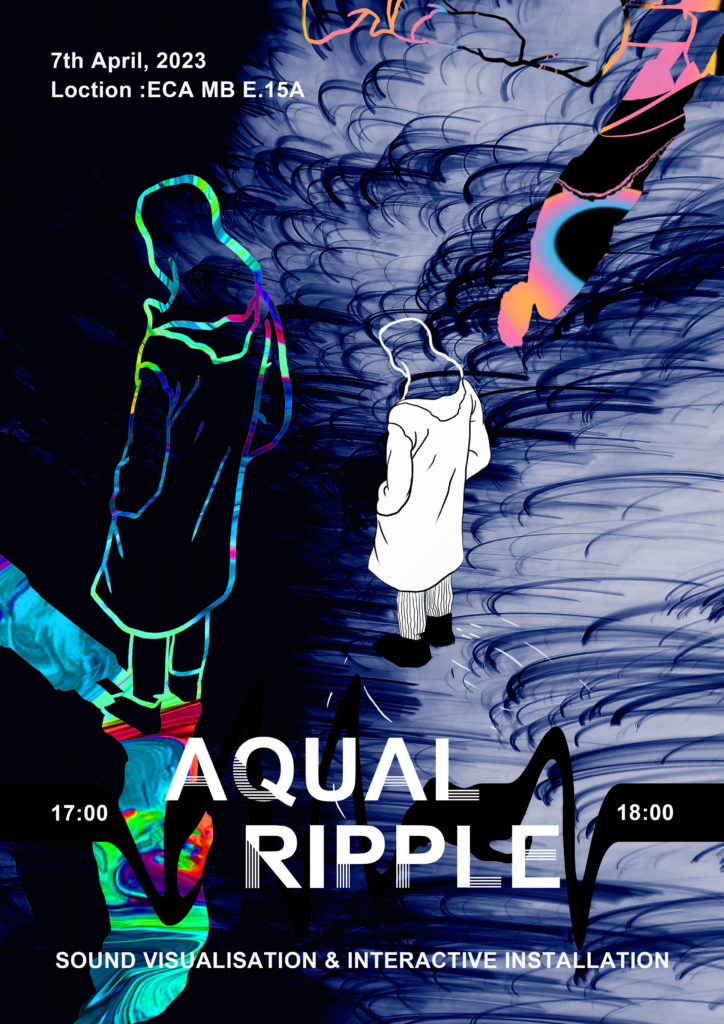
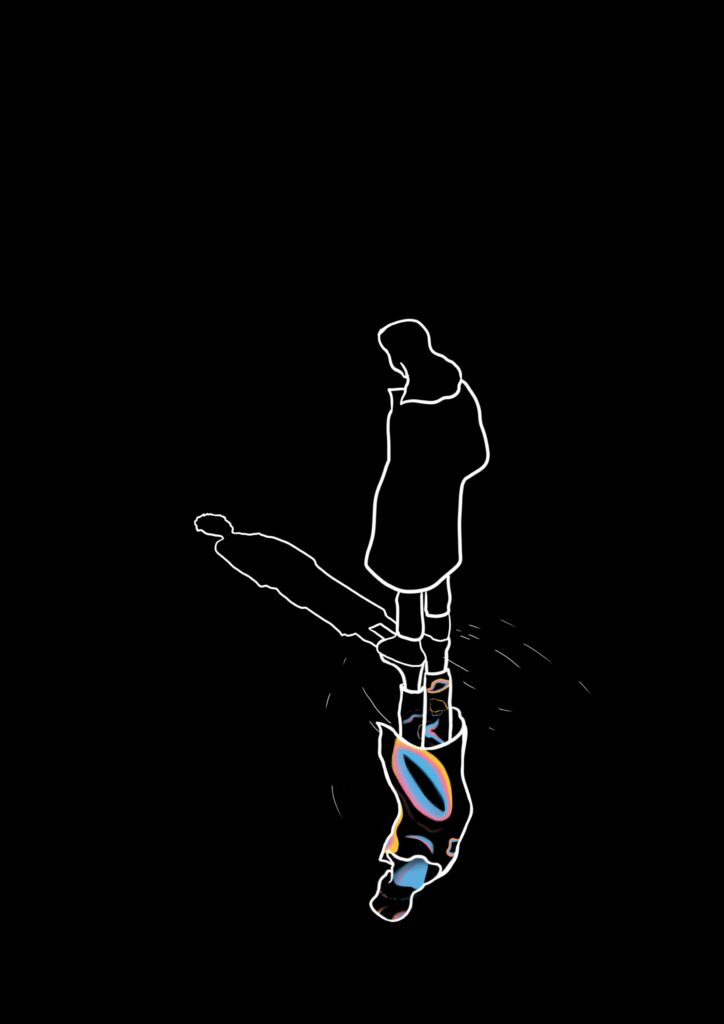
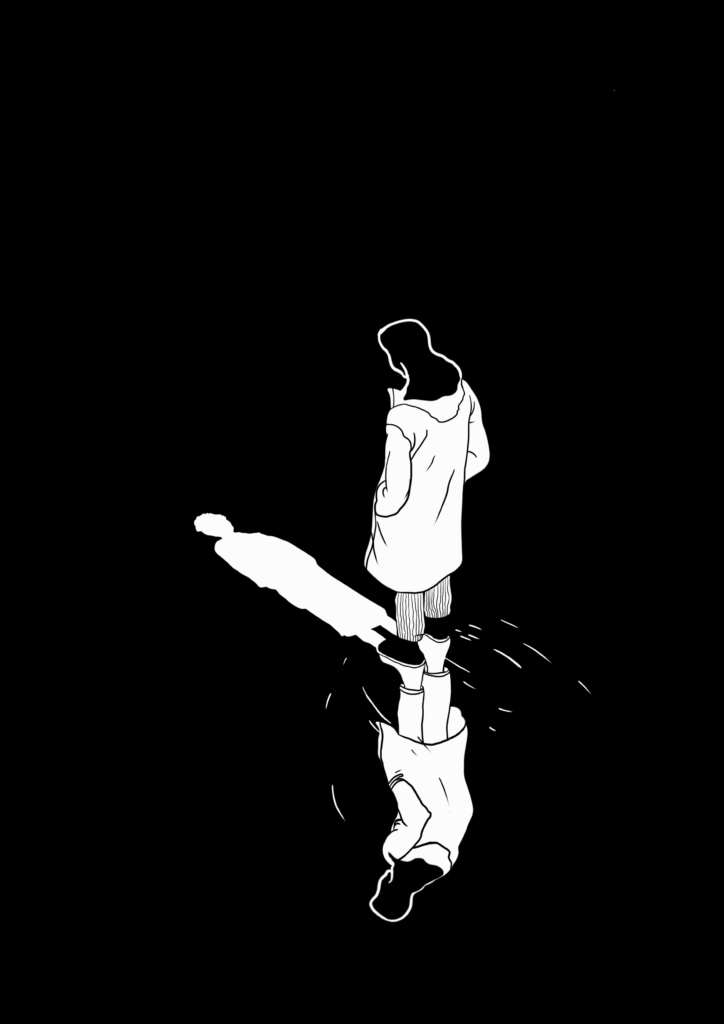
At the end of that video, I created a scrolling bar of people, which included the division of labour within our group and what we were working on. The background image for that section is a poster that I created to enrich the visuals.
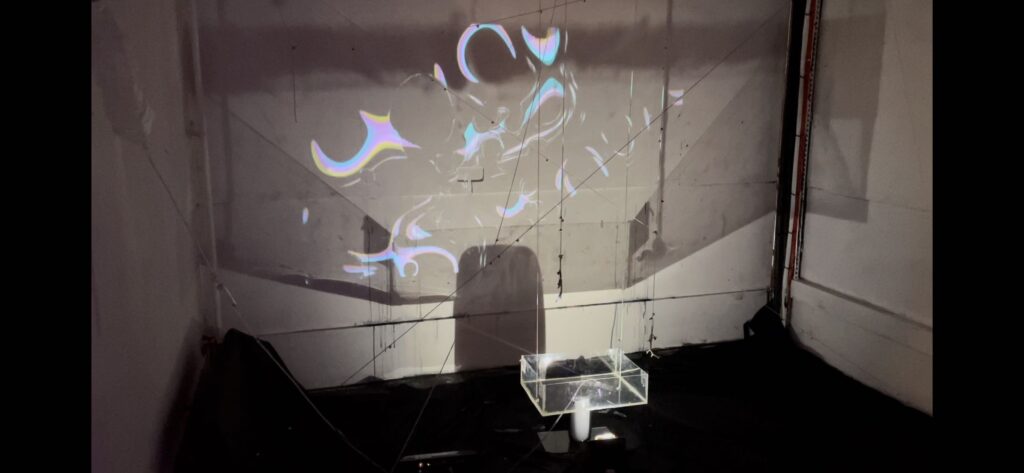
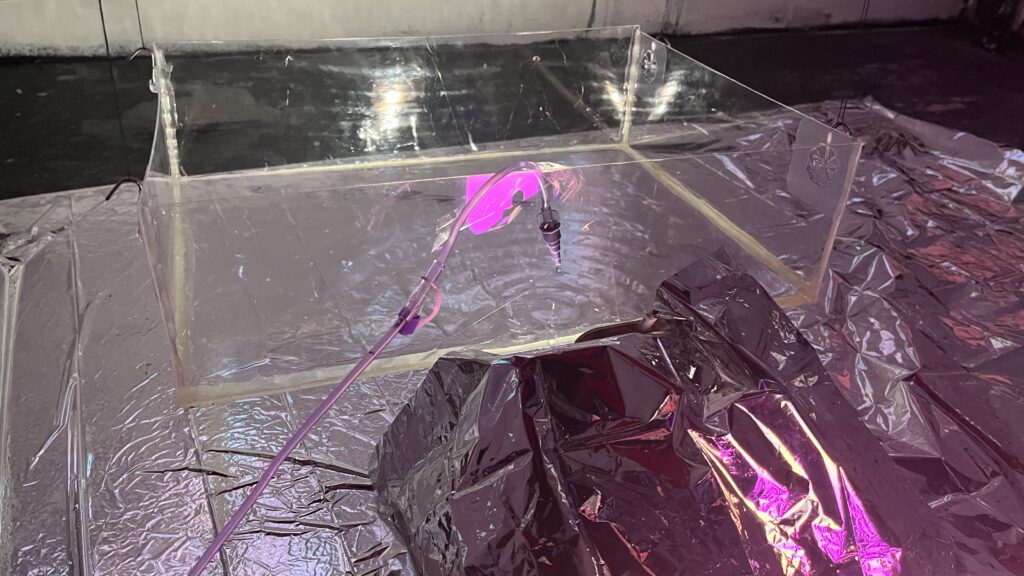
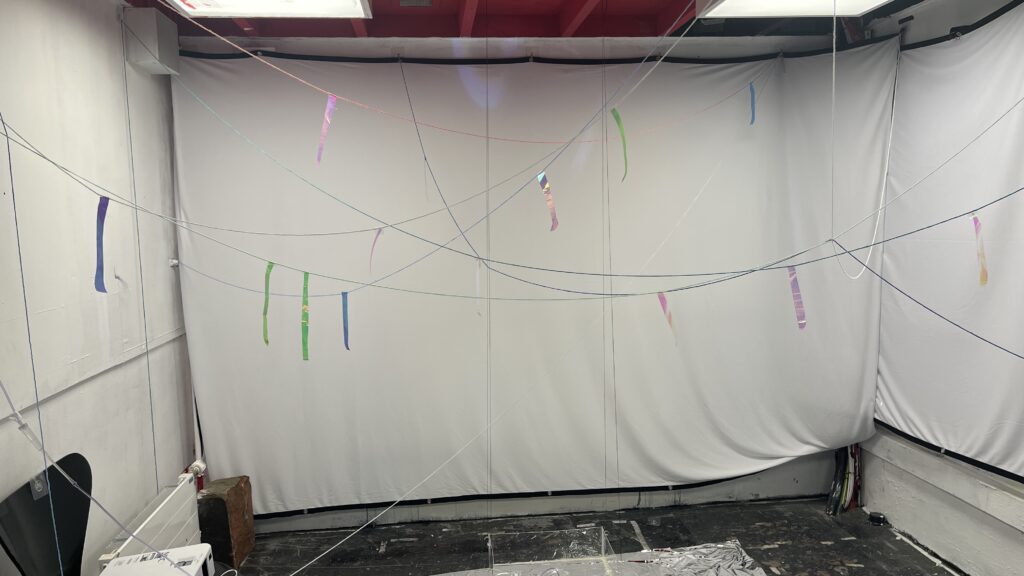

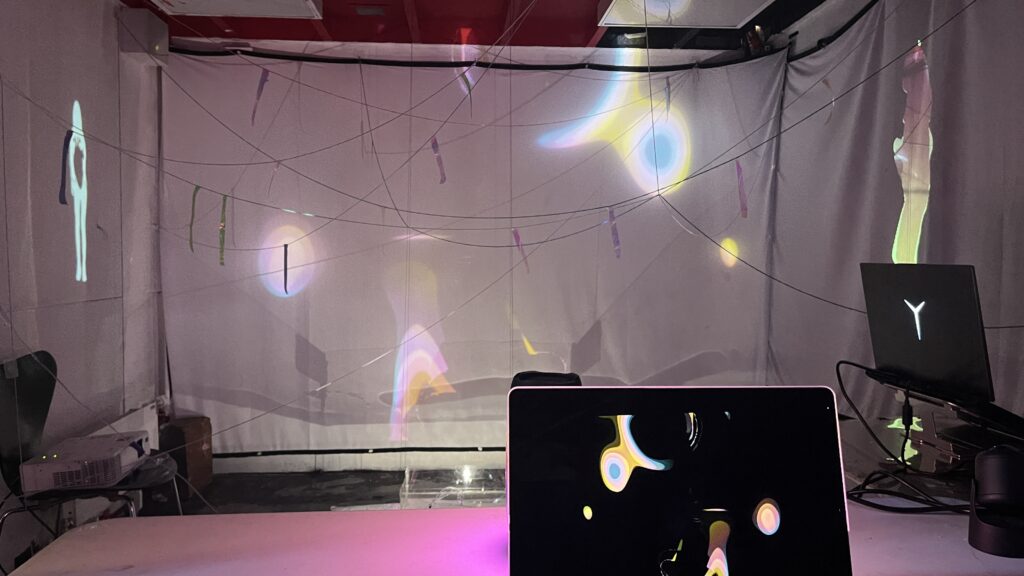
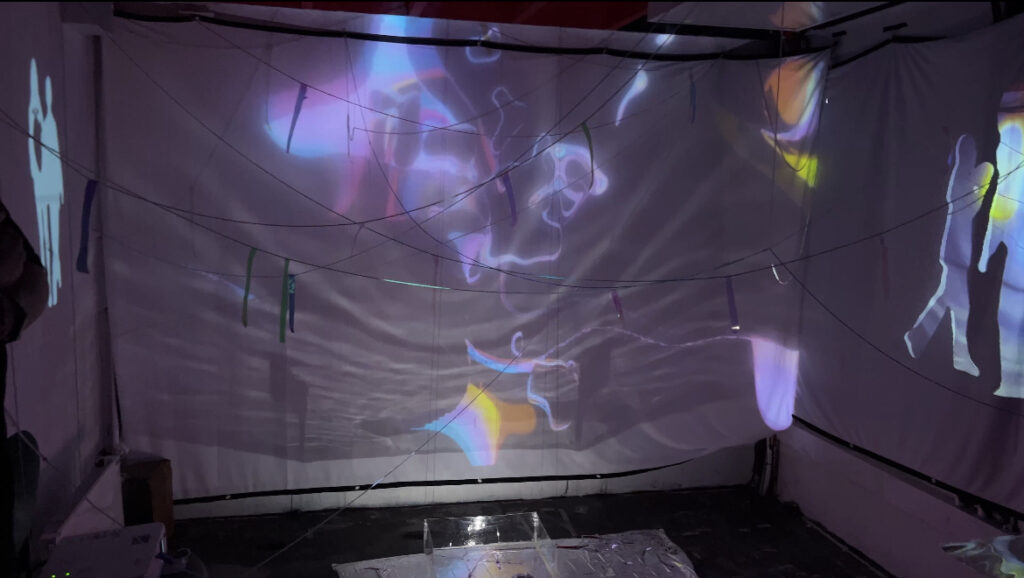
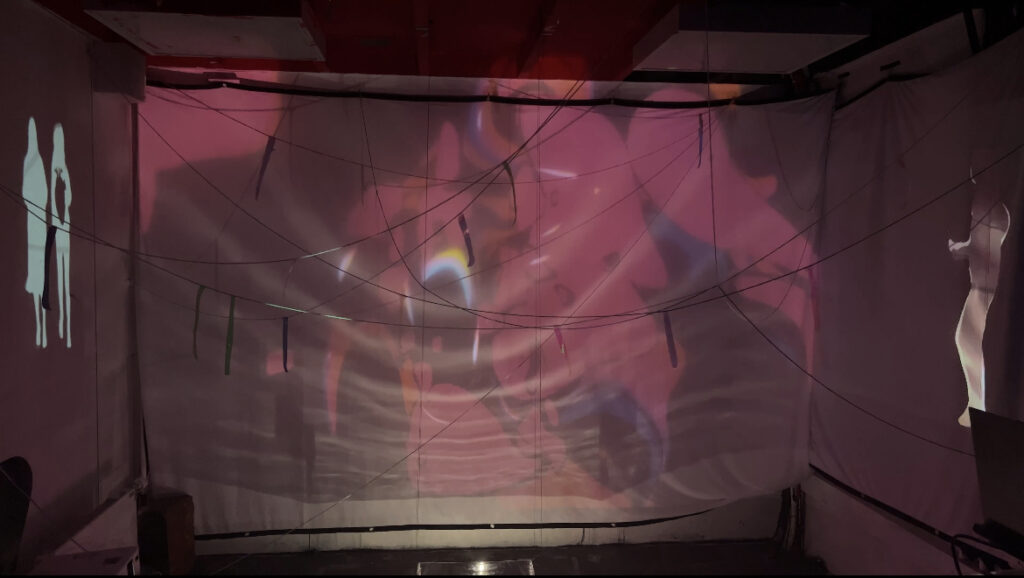
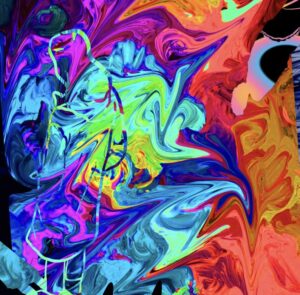
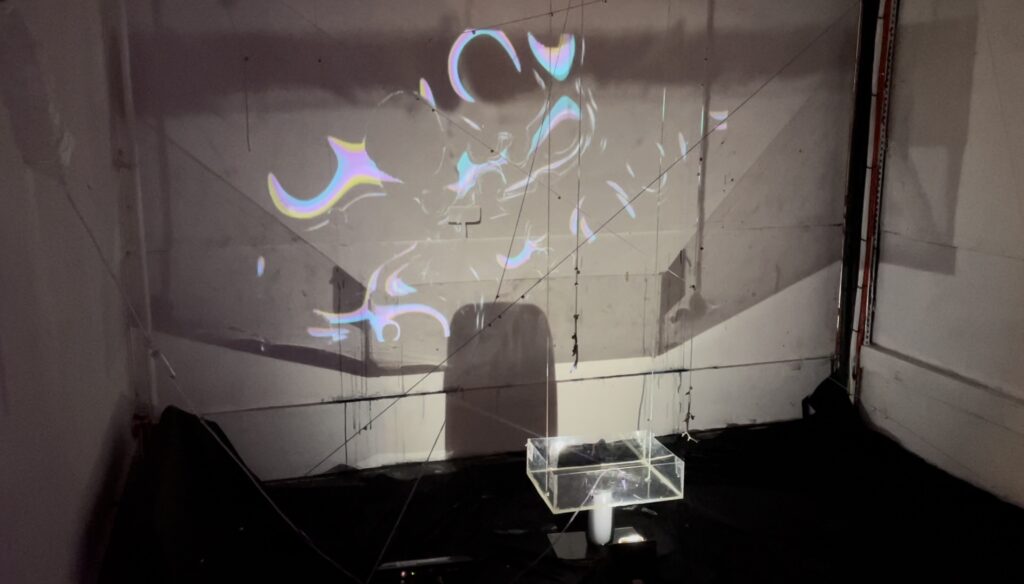
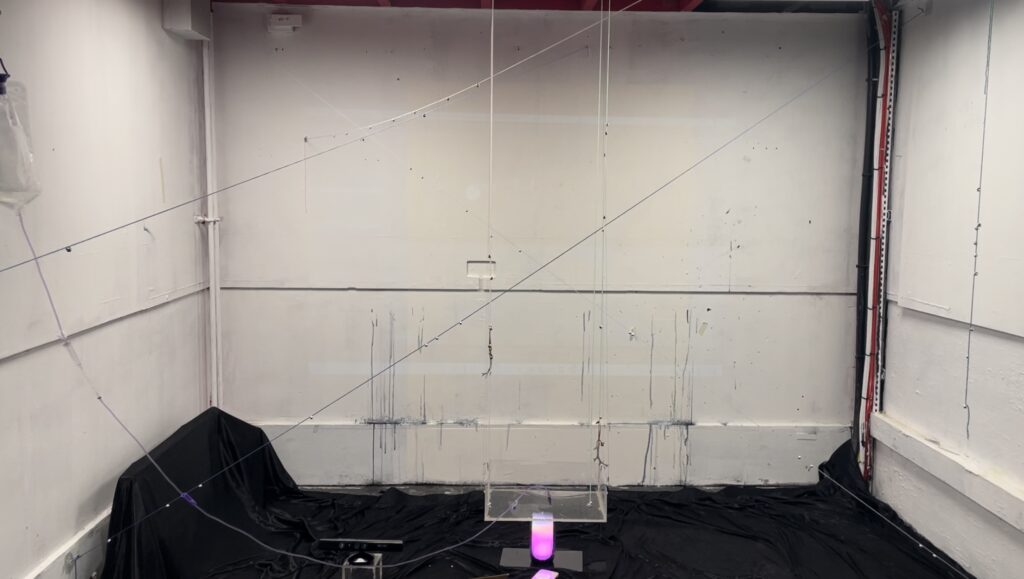

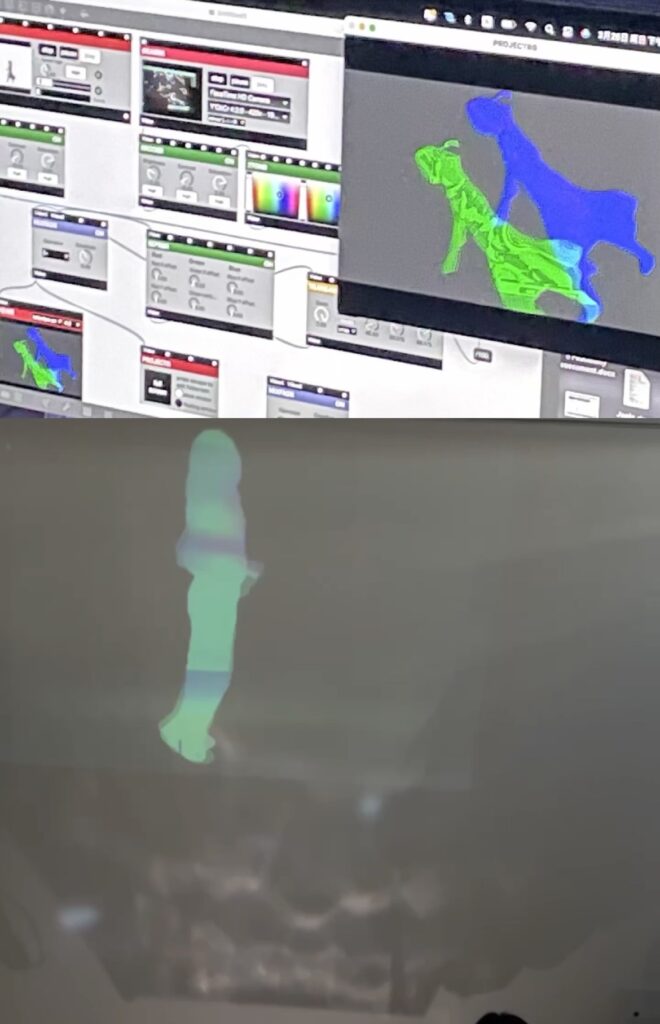
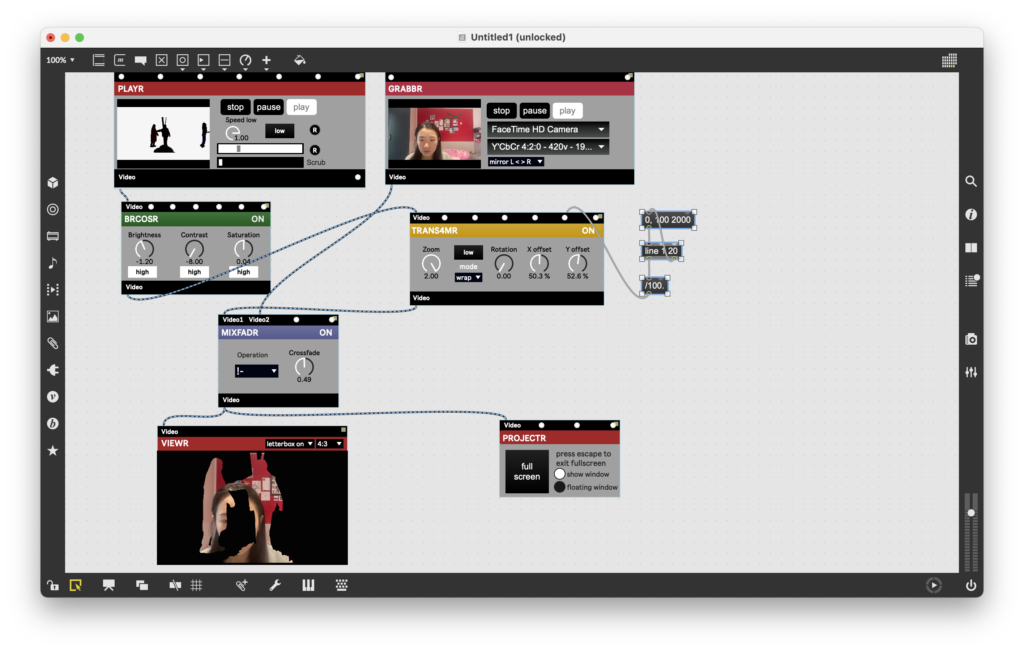
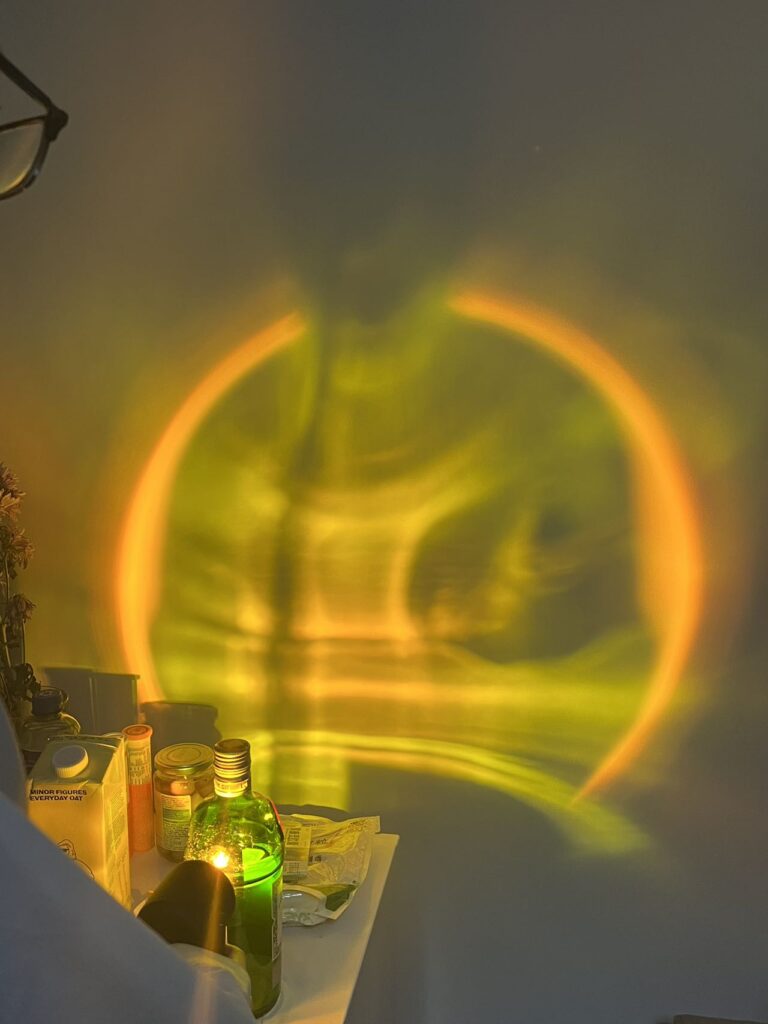
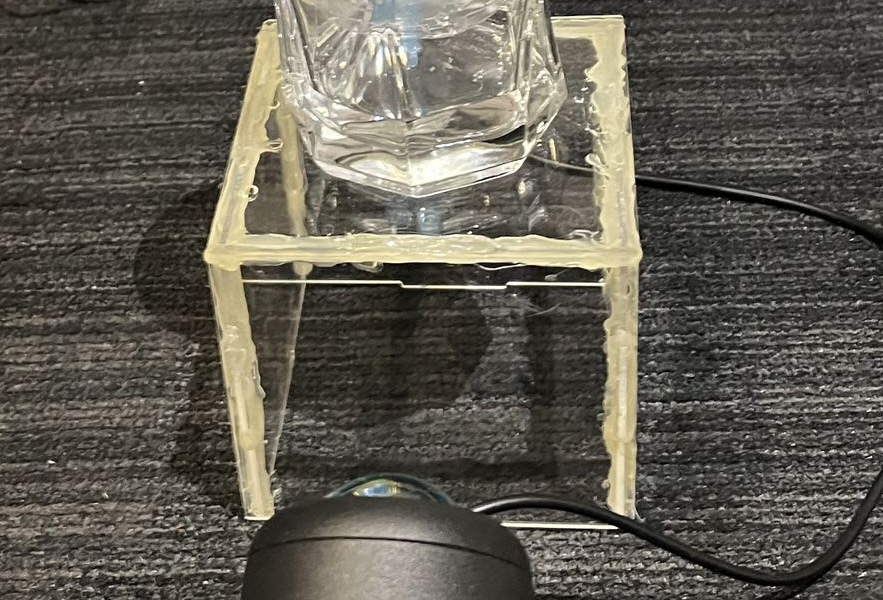
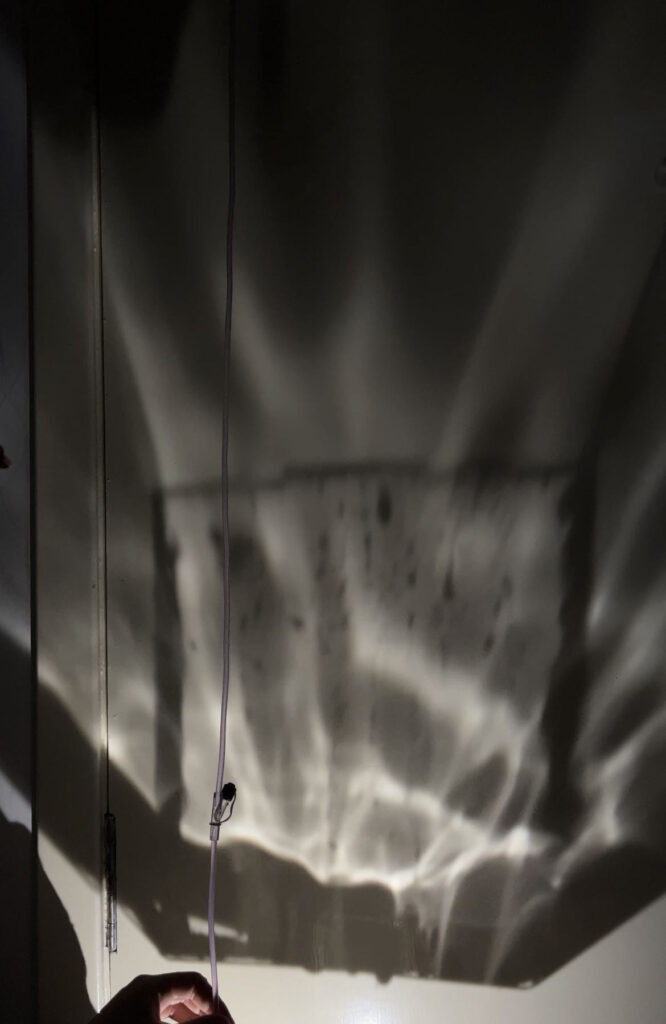
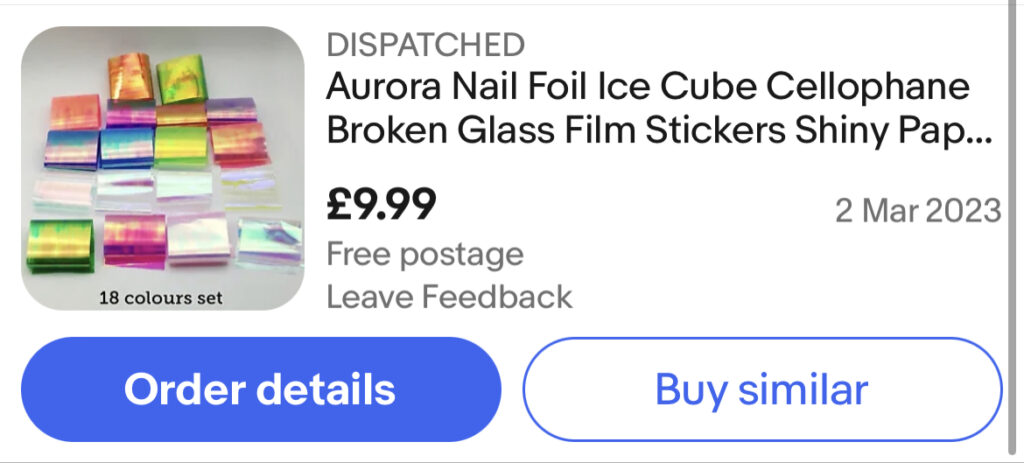
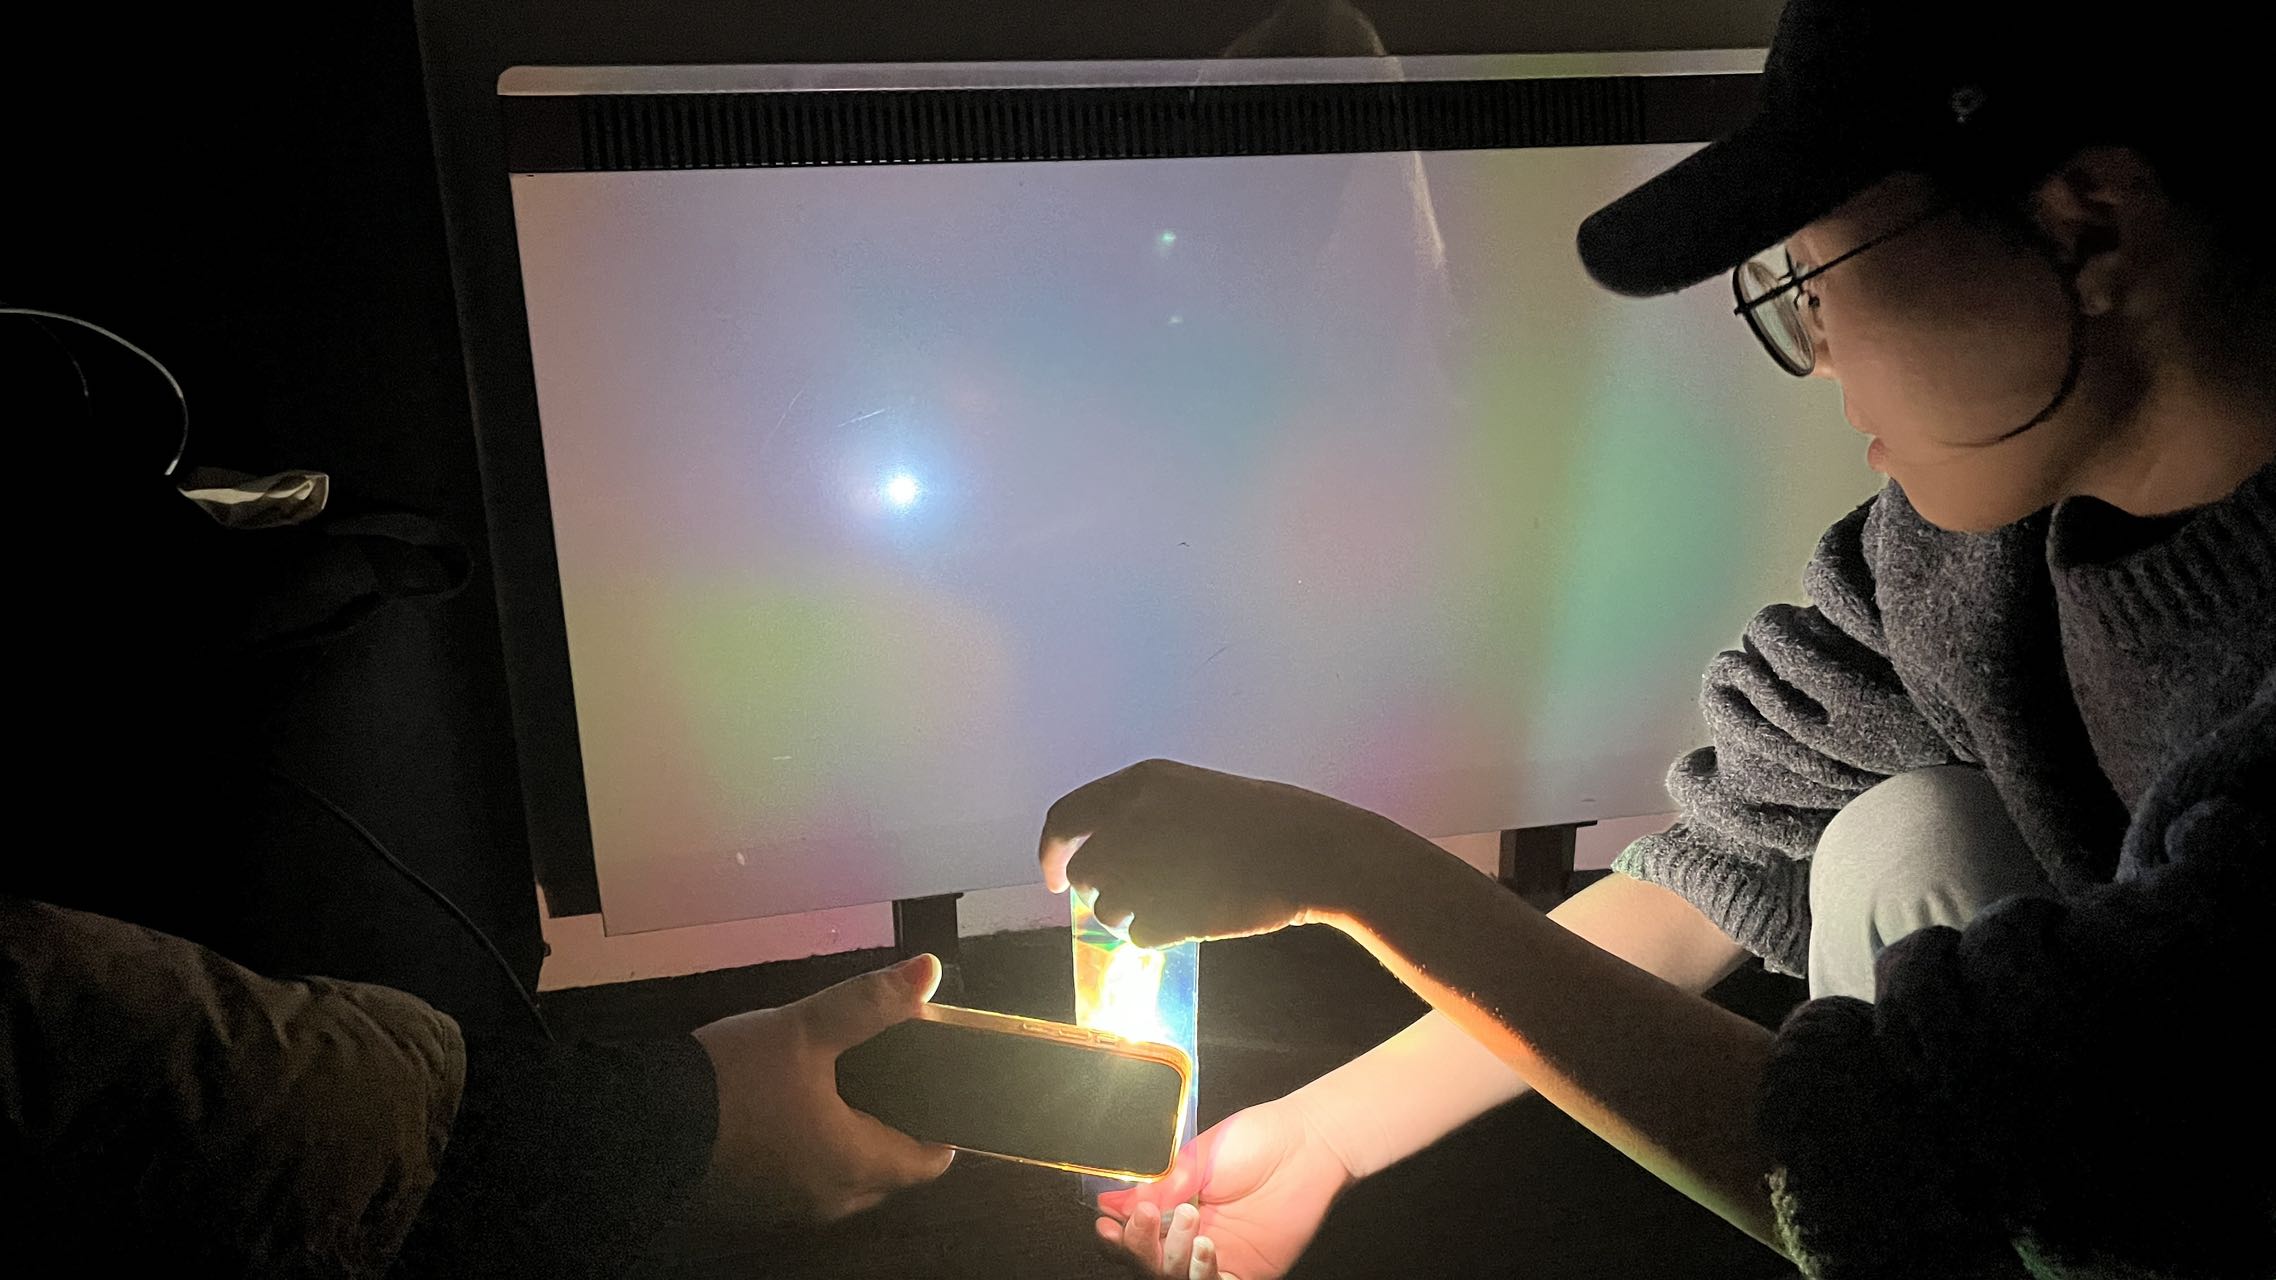
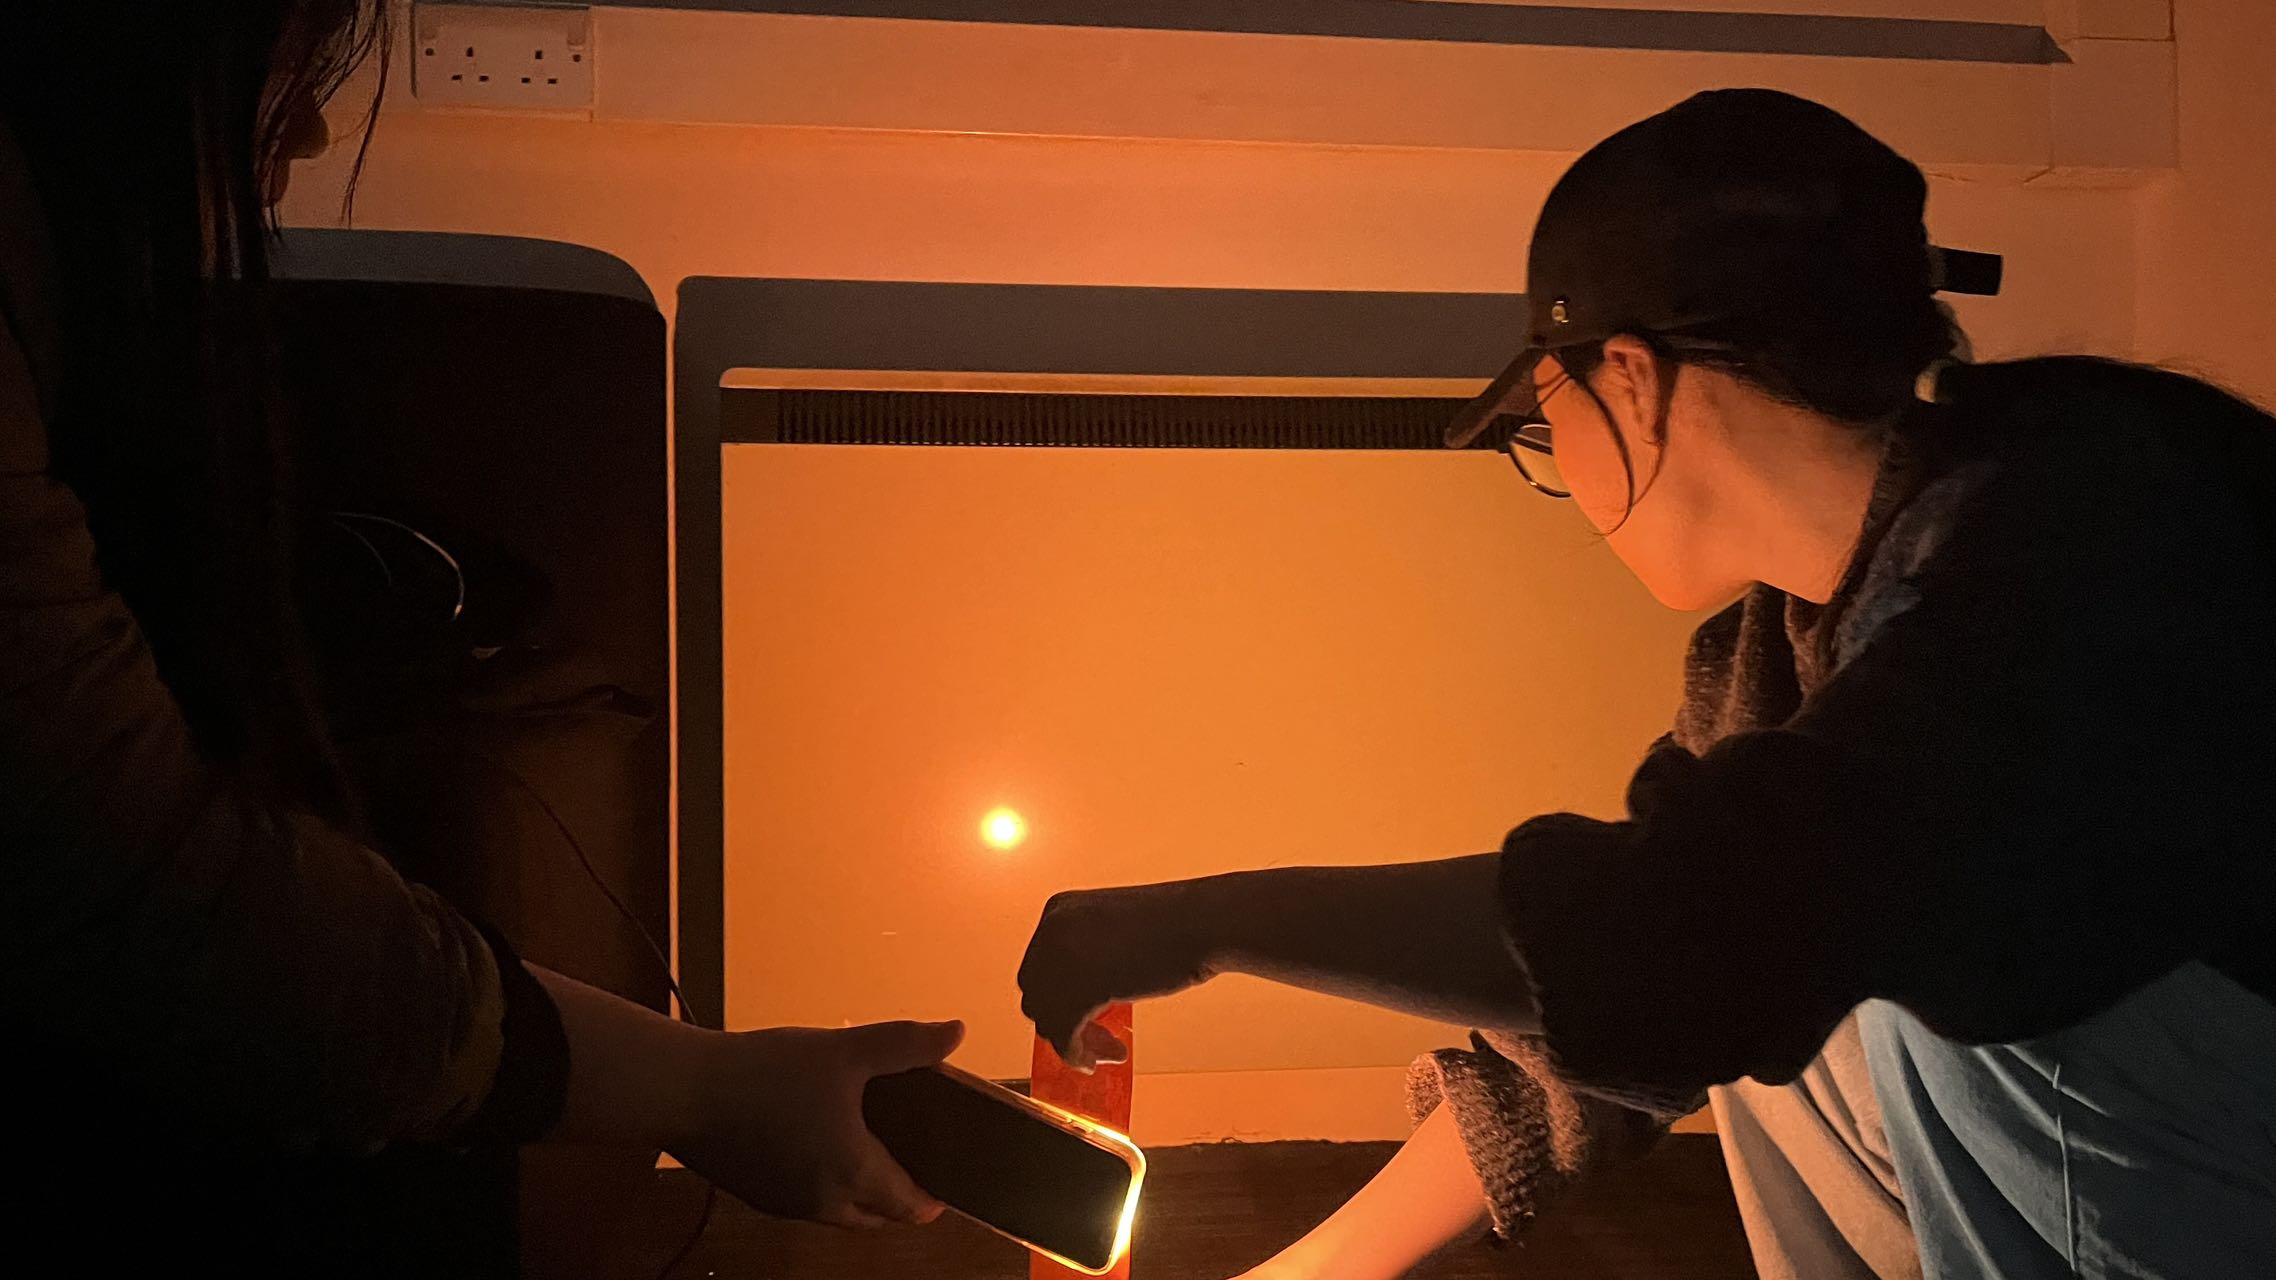
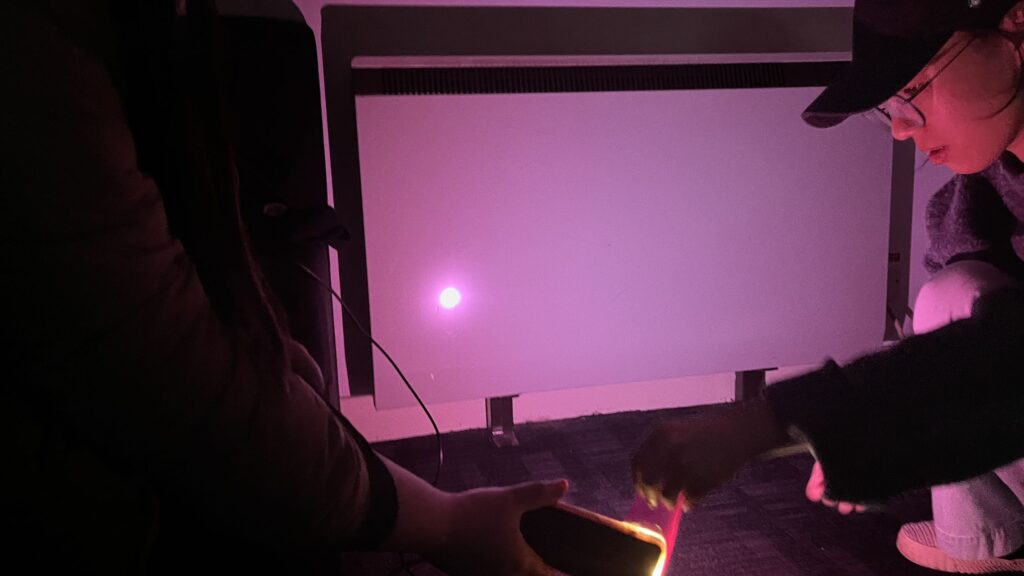
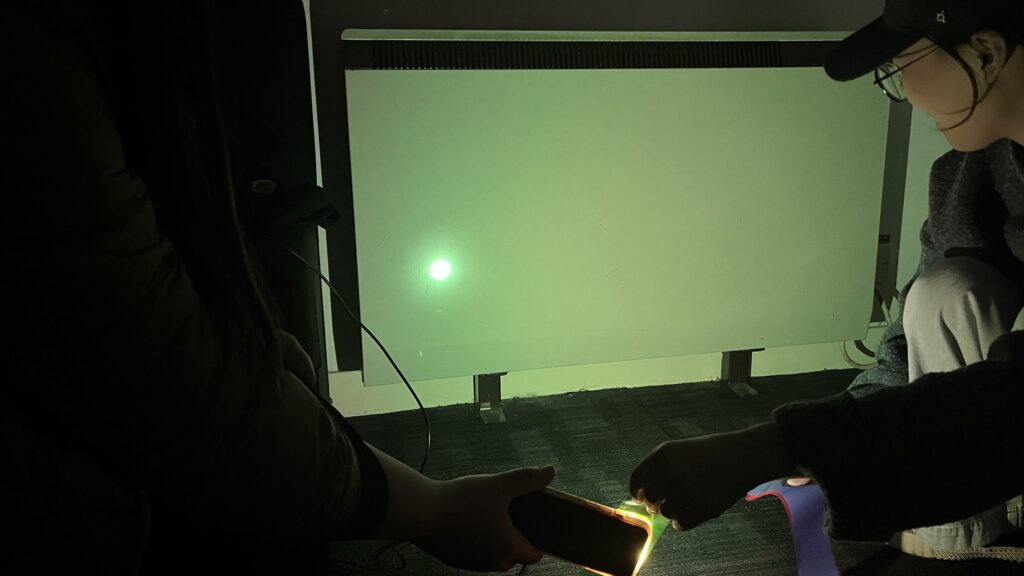


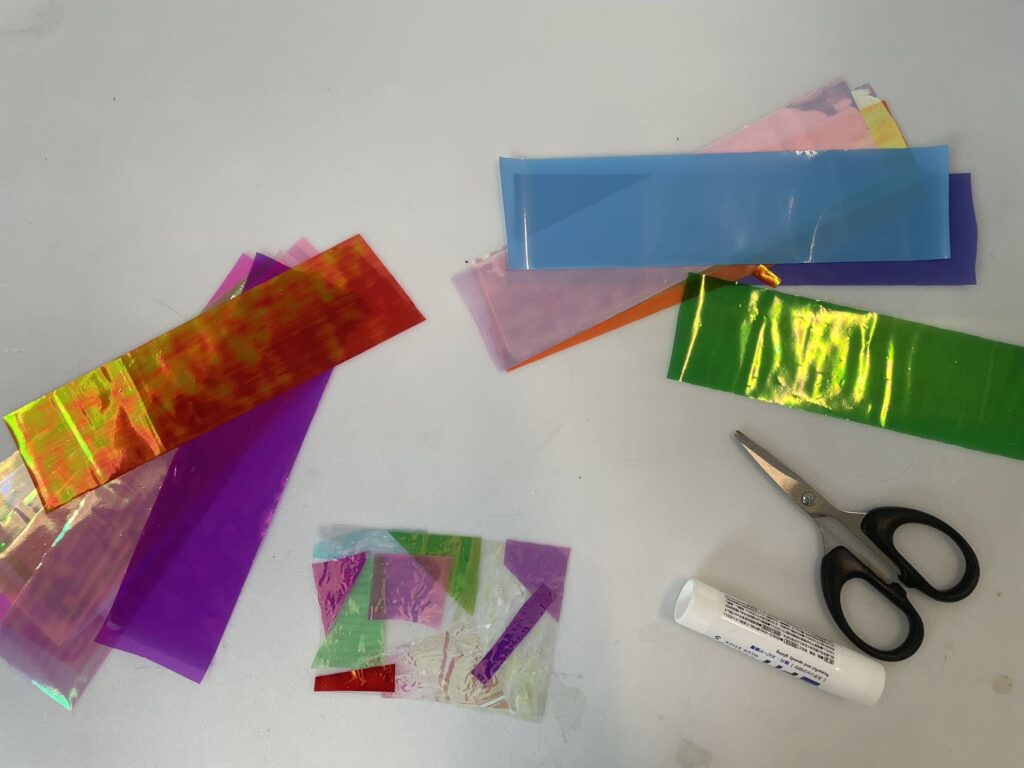
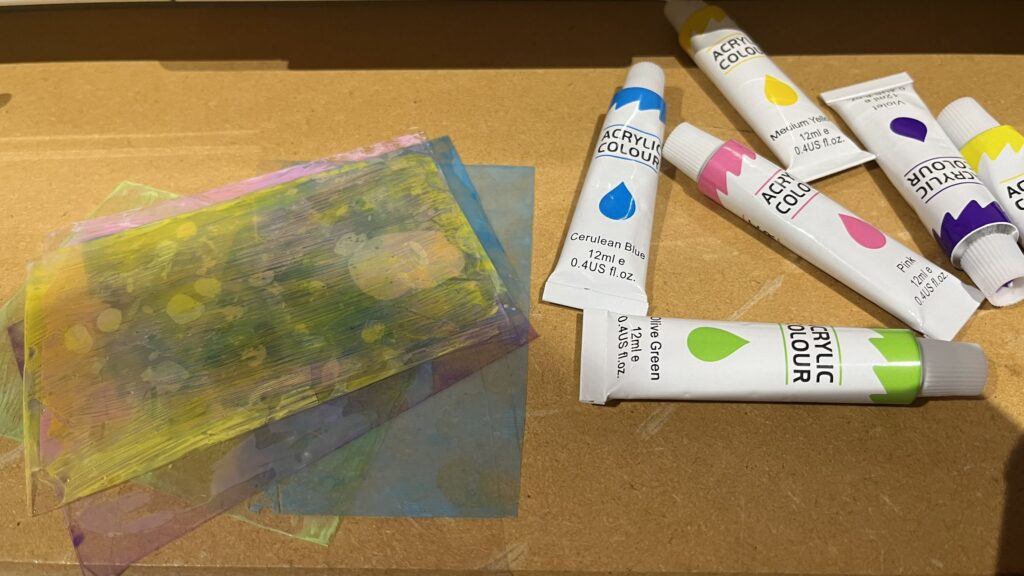 Therefore, I am trying to find other ways to make the light appear colourful on the wall.