For our project, we wanted to create a fully immersive experience by integrating user interactions as much as possible. To achieve this, we chose Arduino to connect a variety of sensors and bring real-time interaction to the installation. Our goal is to make users feel present in the scene, with data influencing both the audio and visual elements dynamically.
We plan to use several sensors, including pulse, proximity, humidity, and light sensors. But before diving into those, we decided to start with a simple task: getting button input to work on an Arduino Uno board. This allowed us to familiarize ourselves with the hardware, wiring, and code framework before scaling up.
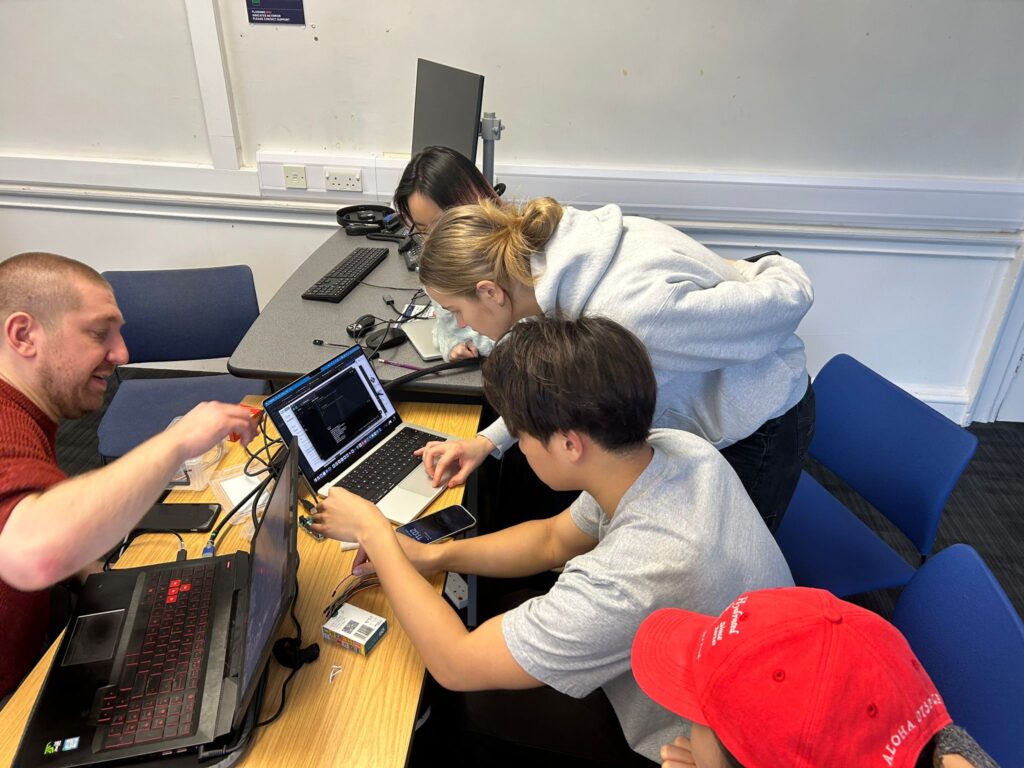
Day 1: Installing Arduino and Wiring the Button Circuit
We started by installing the Arduino IDE, writing basic code, and wiring a simple button circuit. Here’s a picture of that setup:
Unfortunately, we didn’t get it working on the first day. However, I went back later, referenced a wiring diagram from Arduino’s official tutorials, and got it running.
Wiring and Code
Here’s the wiring diagram I followed:

And here’s the simple code I wrote to print the button state from pin 2 in the Arduino IDE:

With this setup, I was able to successfully read button input. Here’s a quick demo video:
Exploring OSC Integration and Data Broadcasting
Initially, I explored the idea of using Open Sound Control (OSC) to broadcast sensor data over a network via Wi-Fi or Ethernet. The plan was for the audio and visual teams to pick up the input data from other computers. To test this, I installed Unity and worked on some integration options.
However, our team decided to simplify the setup by using Touch Designer as the central hub to handle all data, visuals, and sound. With this approach, a single computer could run the Touch Designer project and read sensor data directly from the Arduino’s serial port.
Connecting Arduino to Touch Designer
I updated my Arduino code to print button data to the serial port. In Touch Designer, I added a Serial DAT to the template and connected it to the Arduino. This allowed me to read the button state in real time within the project.
Here’s a demo of the button input working in Touch Designer:
Next Steps
My next steps involve adding multiple sensors to the circuit, printing the data in a structured format, and interpreting it in Touch Designer to control various parameters. For now, we’re simulating the data to keep the creative design process moving.
Here’s a look at the simulated button input set up to control a black-and-white filter in Touch Designer—and me smiling because it’s all working!

This progress has been a solid foundation for integrating real-time sensor data with our immersive project. More updates to come as we expand the system!