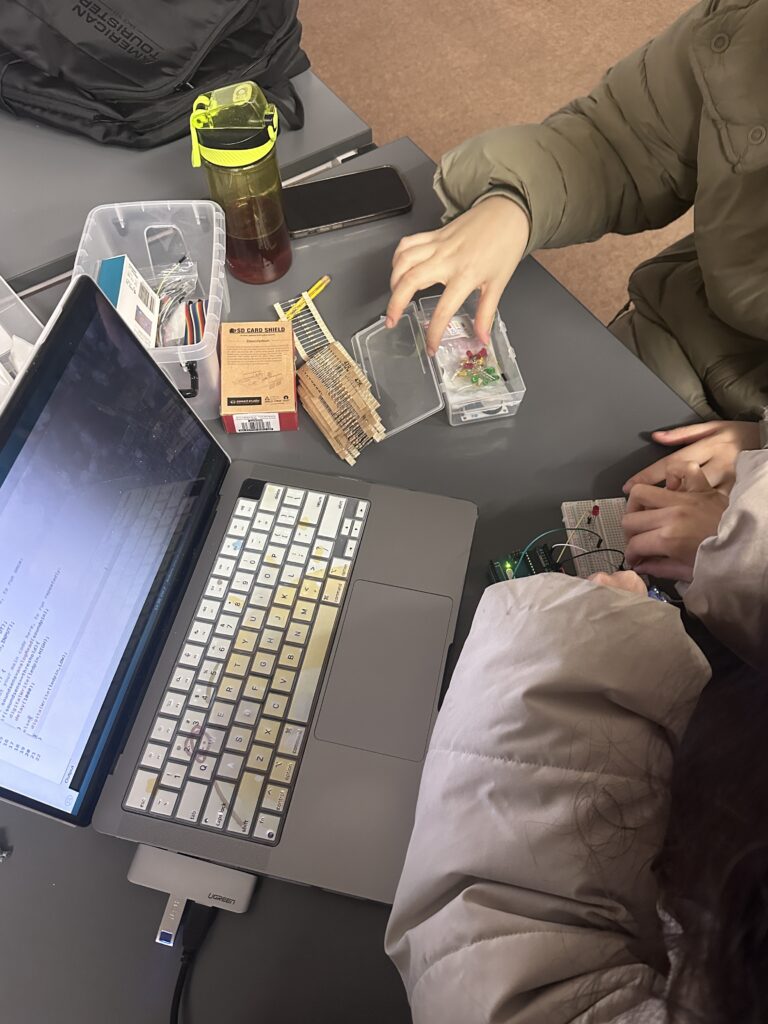
This week I mainly explored the sensor connection part a bit more (see Figure 1). Based on the previous successful connection and operation of the sound sensor and temperature and humidity sensor, I also successfully connected and operated the light sensor and ultrasonic sensor. Variables that affect changes in each sensor will be mapped to triggering conditions for user interaction in the final installation, which is interesting for users to deepen their actual experience of “Presence”. After testing a variety of sensors, I found that these two sensors are relatively easier to implement in terms of layout and simplicity. Their interaction conditions are more suitable for our final installation. Users only need to perform some simple interactions to complete interesting operations.
The first is the light sensor (see Figure 2 and Figure 3). When the brightness received by the sensor changes, the value generated by the sensor will also change accordingly. Corresponding to the final installation, the interaction form is roughly that users cover the corresponding position of the sensor with their hands to change sound effects, music or images, etc.
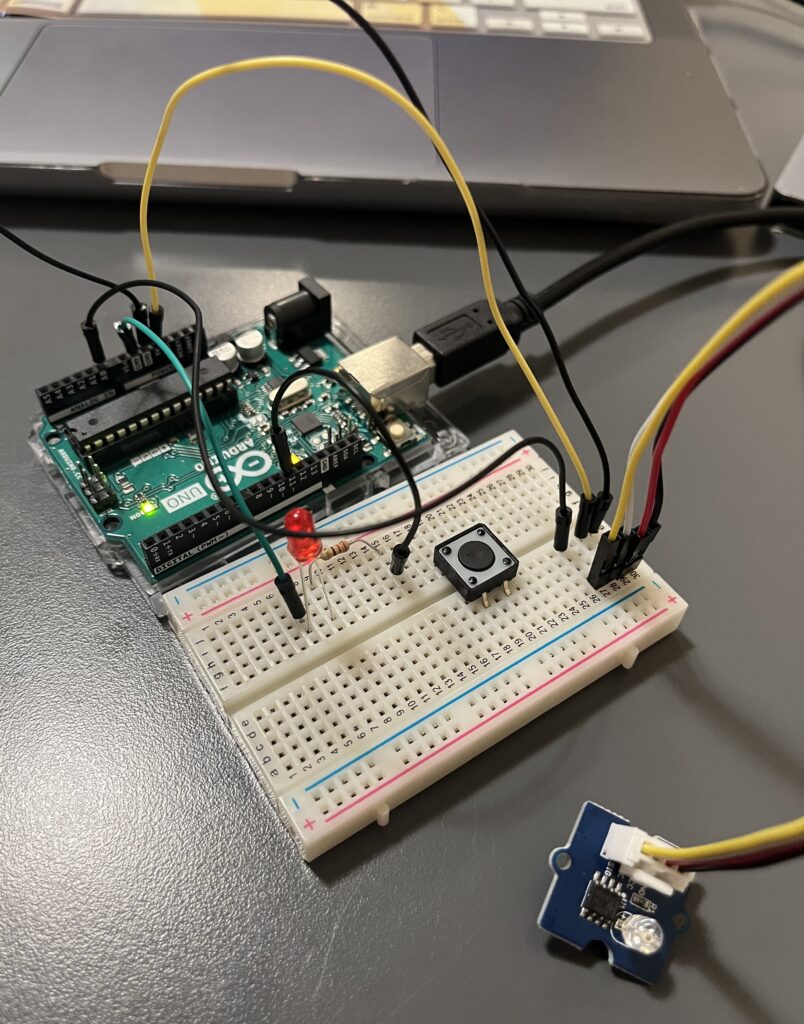
Figure 2: A Photo of Light Sensor Connecting.
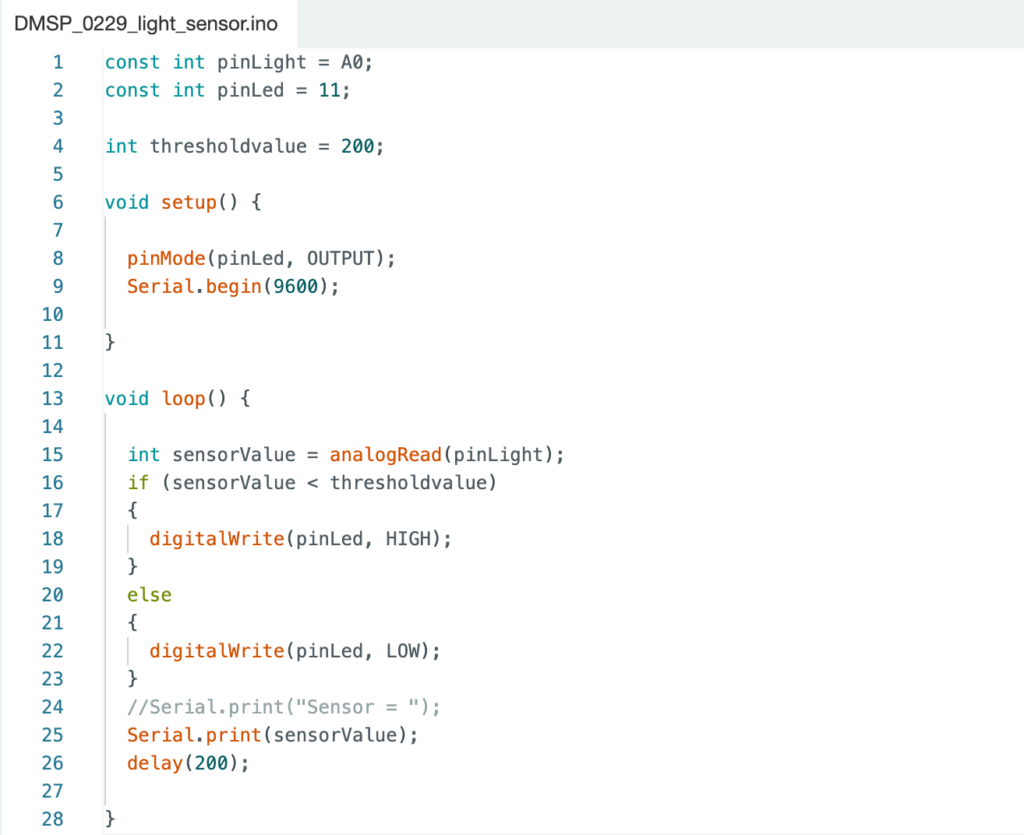
Figure 3: A Screenshot of the Light Sensor from Arduino.
Next is the ultrasonic sensor (see Video 1 and Figure 4). It works by identifying the distance between the sensor and the nearest object in front of it and changing the generated value accordingly. Currently, this is the sensor with the simplest form of interaction. As the user walks past the sensor, the corresponding audio or video will undergo some changes. It excels in its sense of interactivity and immediacy.
Video 1: A Video Showing Ultrasonic Sensor Connecting.
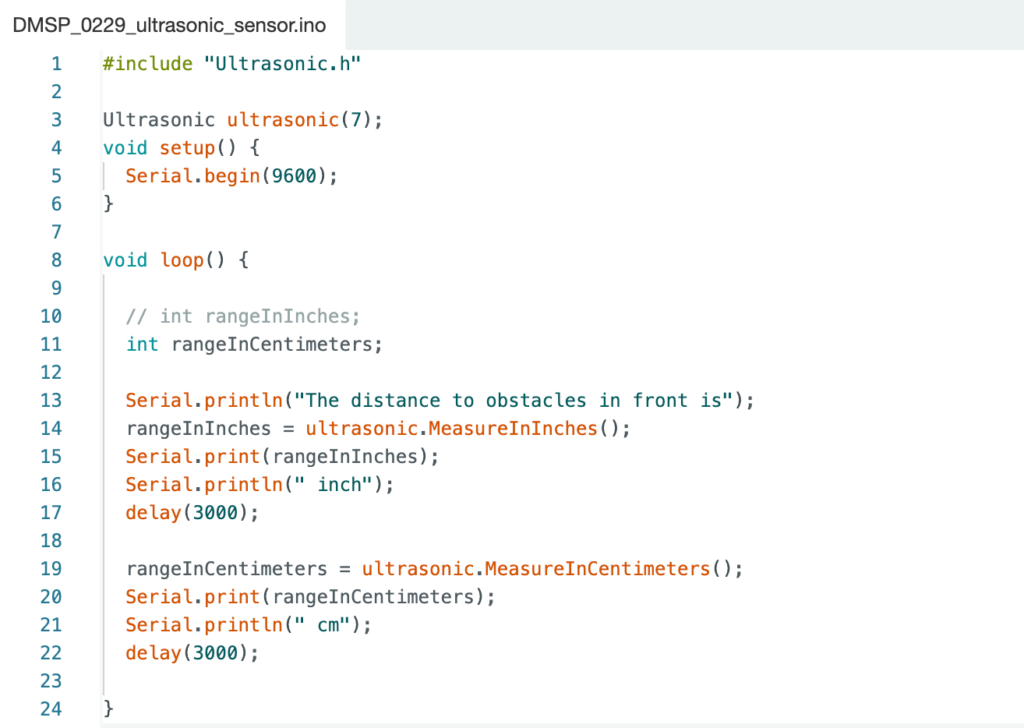
Figure 4: A Screenshot of the Ultrasonic Sensor from Arduino.
This week comes to an end on the connection between the sensors and Arduino. Next week’s tasks will focus on how to connect the Arduino to the Max and send data to the Max.