Any views expressed within media held on this service are those of the contributors, should not be taken as approved or endorsed by the University, and do not necessarily reflect the views of the University in respect of any particular issue.
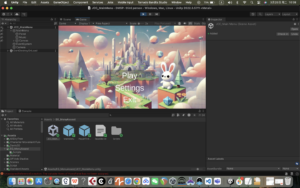
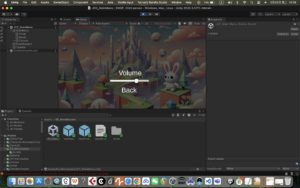
This week I designed and implemented the game’s start menu, which contains the Play, Setting, and Quiz buttons, and basically builds the game’s main navigation structure. At the same time, I reserved a channel to interface with the Wwise audio middleware, so as to easily integrate sound effects and music content.
In terms of functionality, I implemented the jump logic between each button and the corresponding scene through script control to ensure that the player can enter the main scene smoothly after clicking Play, which lays the foundation for the complete game flow.
In order to better fit the Monument Valley art style of our game, this week I focused on developing and implementing the ability for characters to change their gravity direction. By writing control scripts (using Physics.gravity and Rigidbody), the character can change the direction of gravity based on specific triggers, allowing for multiple angles of movement and exploration in the scene.
The implementation of this feature will greatly enrich the spatial puzzle mechanism of the game, enabling the player to explore the maze path from a multi-dimensional perspective, and enhancing the game’s fun and immersion.
This week, during the development of the project, I found that some of the mechanisms of our game can be effectively borrowed from the functional design explained in the ISE course, so I studied the tutorials and examples provided in the ISE course, and implemented two key functions, which are ‘picking up the key to unlock the door of the corresponding room’ and ‘rotating display of items’. rotation display’.
These mechanisms not only enhance the interactivity of the game, but also lay the foundation for more complex level design. In the next phase, I will incorporate these two features into the current game development process to further enrich the player experience!
This week, I completed the foundational design and modelling of the garden maze, which functions as both a spatial puzzle and a narrative device. Rooted in the story world of MM & NN, the maze represents a shared dreamscape, inhabited by the two protagonists.
Inspired by the architectural logic and spatial surrealism of Monument Valley, the maze incorporates multi-directional sound cues that align with the game’s central theme of auditory hallucinations. These directional sound elements are embedded into the environment, encouraging players to navigate through hearing as much as sight—enhancing immersion through sound-driven spatial orientation.
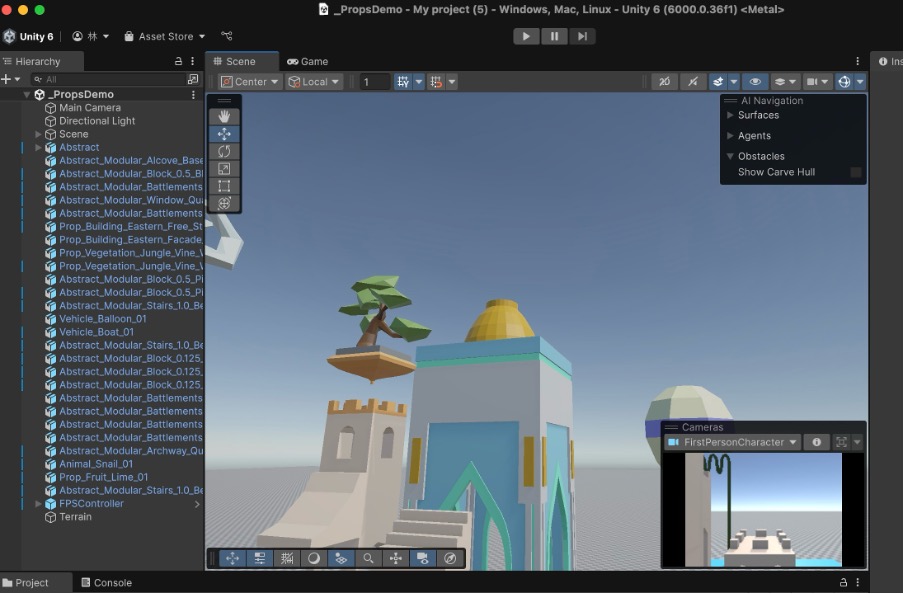
In Unity, I constructed the maze as a hybrid of castle and temple architecture, blending monumental forms with layered passageways. To emphasize the “dream” and “illusion” themes, I applied a soft, pastel-toned colour palette (light blue, pink, and white) throughout the maze. The overall aesthetic references minimalist architecture with a whimsical atmosphere, reinforcing the narrative’s ethereal quality.
Environmental Immersion: World-Building through Visual Framing
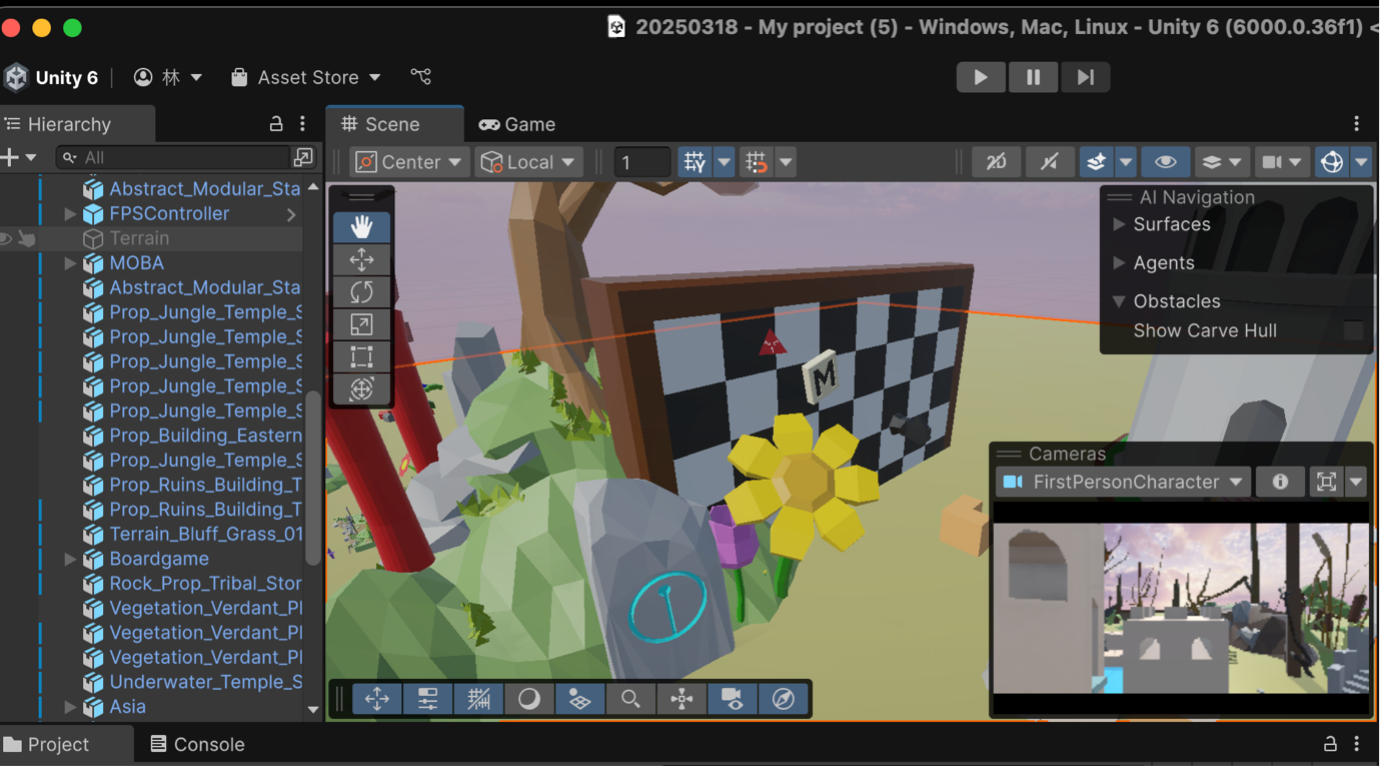
To preserve immersion and conceal the technical layout of the Unity scene, I intentionally masked the terrain system and modified the skybox to simulate a floating island suspended in the air. This approach eliminates visible grid structures or map edges, contributing to a sense of spatial detachment from reality.
In the near field, I surrounded the maze with a stylized natural environment that harmonizes with the architecture, serving both as a visual boundary and a compositional frame. These visual layers ensure players remain focused within the intended diegetic space.
Additionally, the maze contains two diverging paths, leading to distinct narrative endings. This design enhances replayability and supports the thematic duality embedded in the MM & NN narrative structure.
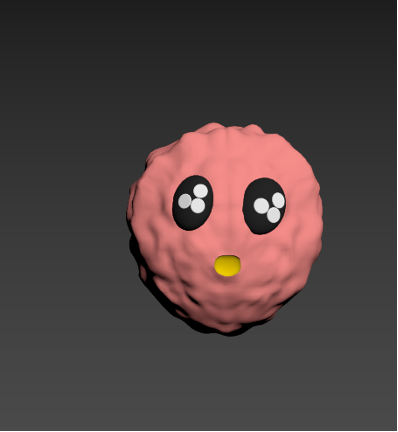
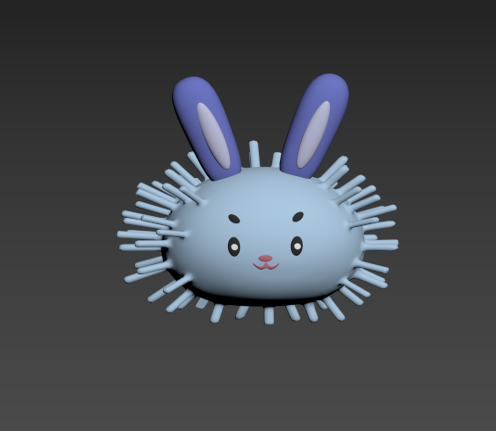
Character Modelling: Bringing MM & NN to Life
Parallel to the spatial modelling, I also began implementing the characters MM and NN. Based on previously developed 2D concept sketches, I created their 3D models and imported them into Unity.
Their designs reflect contrasting identities—subtle asymmetries in colour, posture, and silhouette hint at their divergent perspectives within the game’s unfolding story.
Since our group members developed a game scene for our project. It’s time to implement multiplayer system into it. After last blog, I watched other two more tutorials but the first one needs a huge amount of scripting which I don’t have the fundamental knowledge for that. So I go with this one https://www.youtube.com/watch?v=2YQMJJINWpo&t=84s
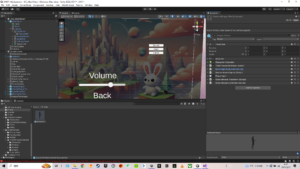
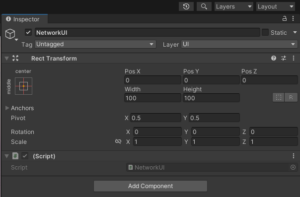
I followed the video and implemented everything into our Unity Project and added more buttons in Menu canvas for multiplayer options.
Prefab of multiplayer characterUI Buttions for Multiplayer
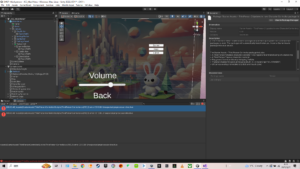
In this testing, there are two problems that lead to failed running of the game project
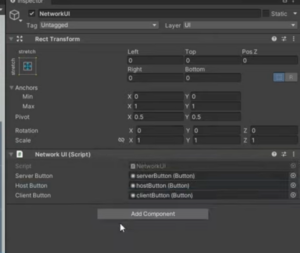
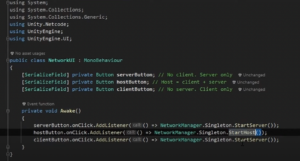
Another is NetworkUI scripting problem. I cannot connect my buttons to the script for some unknown reason. My script has a writing format unmatched with the tutorial (different colour and typing method in “call:”). I’ll ask for help in that too.
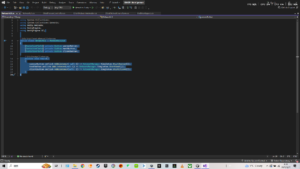
The tutorial’s NetworkUITutorial’s NetworkUI scriptMy NetworkUI
My NetworkUI script
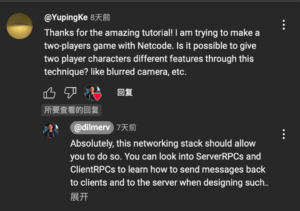
Beside, I asked a YouTuber about different features on players in multiplayer system to see which level is it to have different cameras and here is the answer.
From what I’ve learned recently, RPC setting for multiplayer is more advanced in scripting and system. I am concerning whether we have time to do that. After go into the project making process, my part changed from integration in Wwise and Unity into Multiplayer Implementation. Currently I am searching for help to some tutors who might be able to help in ECA and I am also learning more knowledge in multiplayer myself.
I’ve been doing some research on multiplayer in Unity and integrating multi-listener in it. There are mainly two separate ways to achieve multiplayer project in Unity – local multiplayer and online multiplayer. Based on the research I have been doing, local multiplayer project can only support split-screen in one device and online multiplayer can replicate parent model to multi individual clients through networking. Since our game will be displayed in two individual screens back to back and two audio output, online multiplayer can better fulfill our basic needs.
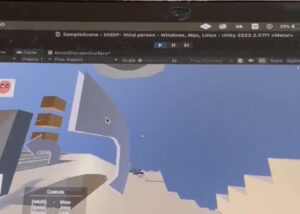
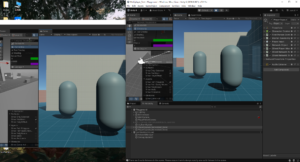
So I started my testing project with Unity official tutorial, only replacing the third-player controller with first-player controller.
The basic idea of online multiplayer through networking concepts of Unity is replicating player’s feature based on parent player setting by scripts in netcode. I made the FPS multiplayer test scene running well.
In case of further design and realization in multiplayer project, it may involves extra script in network transforming for every interactive component or animation.
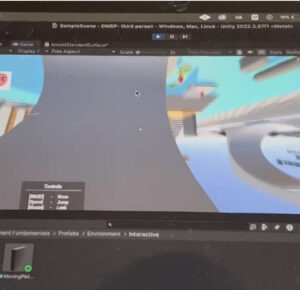
Two players’ windows running in Multiplayer Tools
There are three problems I am working on:
Because I completely followed the tutorial, there’s no script about FPS camera replication. The FPS camera contains two components-cinemachine brain and player follow camera. How to replicate them to different players is my next step.
For now, I don’t know how to give players’ characters different features (blurred camera, footsteps SFX, etc.) through netcode or other networking methods.
An error occurred when I integrate Wwise into this test project. I am trying to solve this problem in order to test multiplayer listener.
During the workshop we checked the different types of light in Unity and how they can be implemented in our Unity Environment.
Point Lights
They send light out in all directions equally. The direction of light hitting a surface is the line from the point of contact back to the center of the light object. The intensity diminishes with distance from the light, reaching zero at a specified range.
Point Lights
They are useful for simulating lamps and other local sources of light in a scene. They can also be used to make a spark or explosion illuminate its surroundings in a convincing way.
Spot Lights
Similar to Point Light in the aspect of a specified location and range over which the light falls off. However, a Spot Light is constrained to an angle, resulting in a cone-shaped region of illumination. The center of the cone points in the forward (Z) direction of the light object. Light also diminishes at the edges of a Spot Light’s cone. Widening the angle increases the width of the cone and with it increases the size of this fade, known as the ‘penumbra’
Spot Light
Spot lights are generally used for artificial light sources such as flashlights, car headlights and searchlights. With the direction controlled from a script or animation, a moving spot light will illuminate just a small area of the scene and create dramatic lighting effects
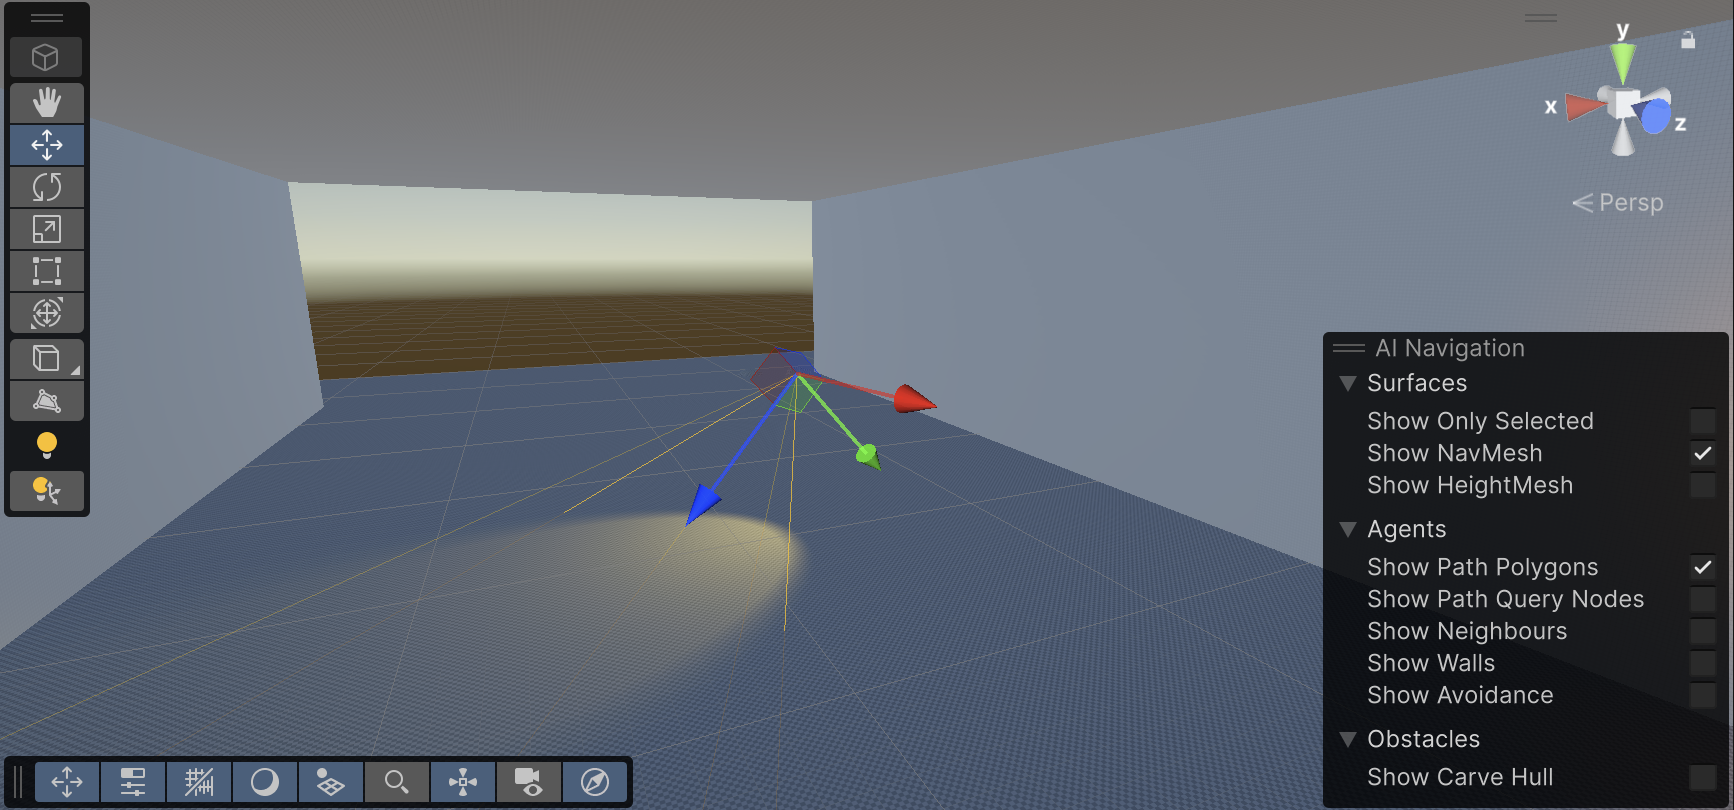
Directional Lights
Directional Lights are useful for creating effects such as sunlight. Behaving in many ways like the sun, directional lights can be thought of as distant light sources which exist infinitely far away. A Directional Light doesn’t have any identifiable source position and so the light object can be placed anywhere in the scene. All objects in the scene are illuminated as if the light is always from the same direction. The distance of the light from the target object isn’t defined and so the light doesn’t diminish.
Warm Direct LightDifferent angle
Directional lights represent large, distant sources that come from a position outside the range of the game world.
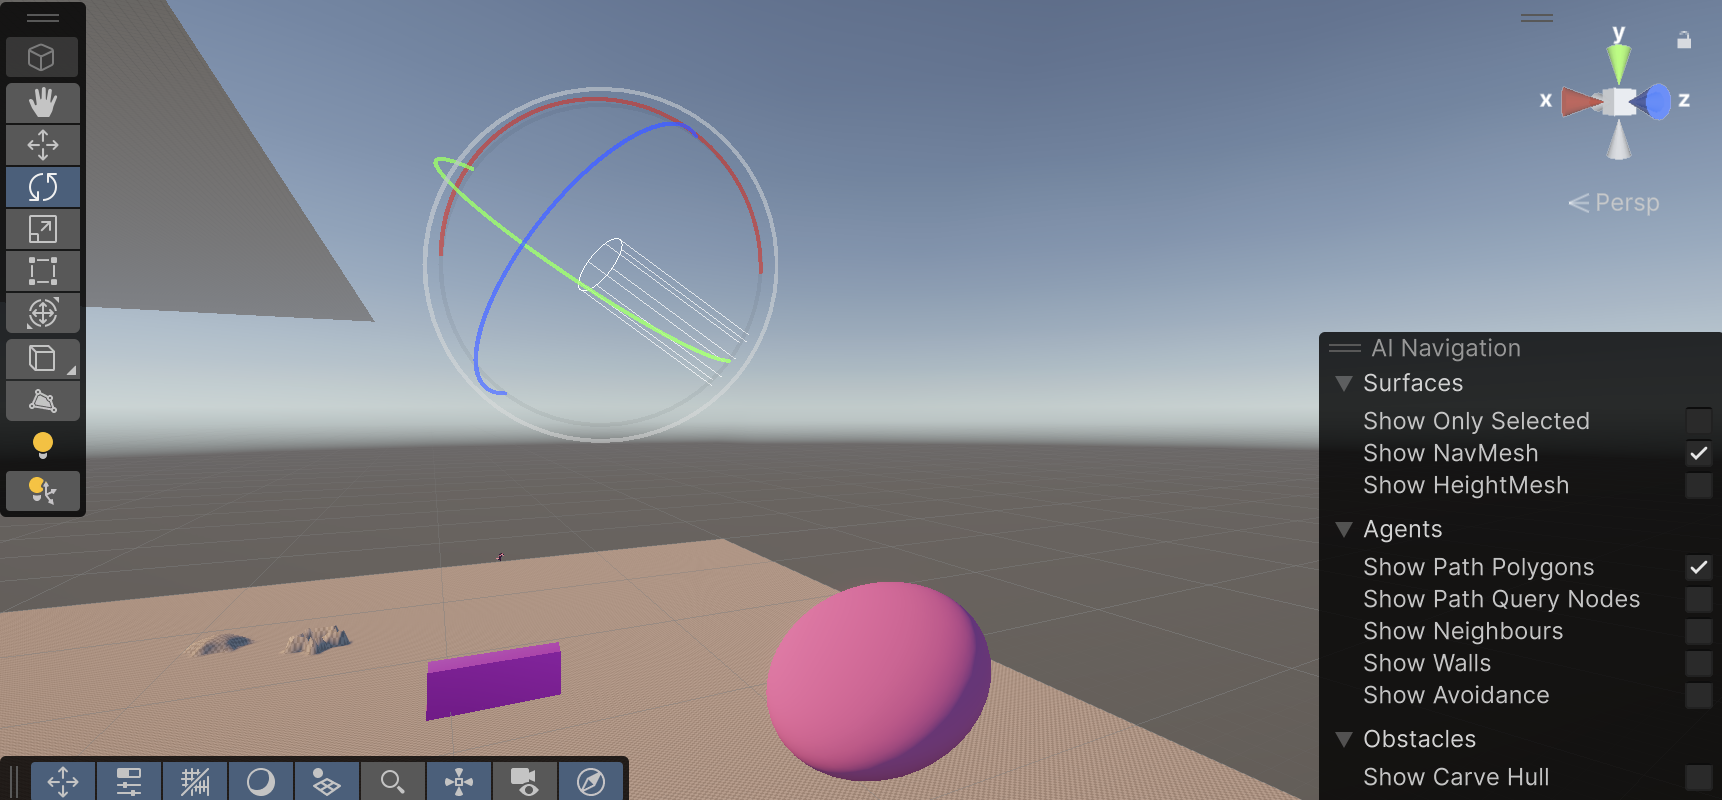
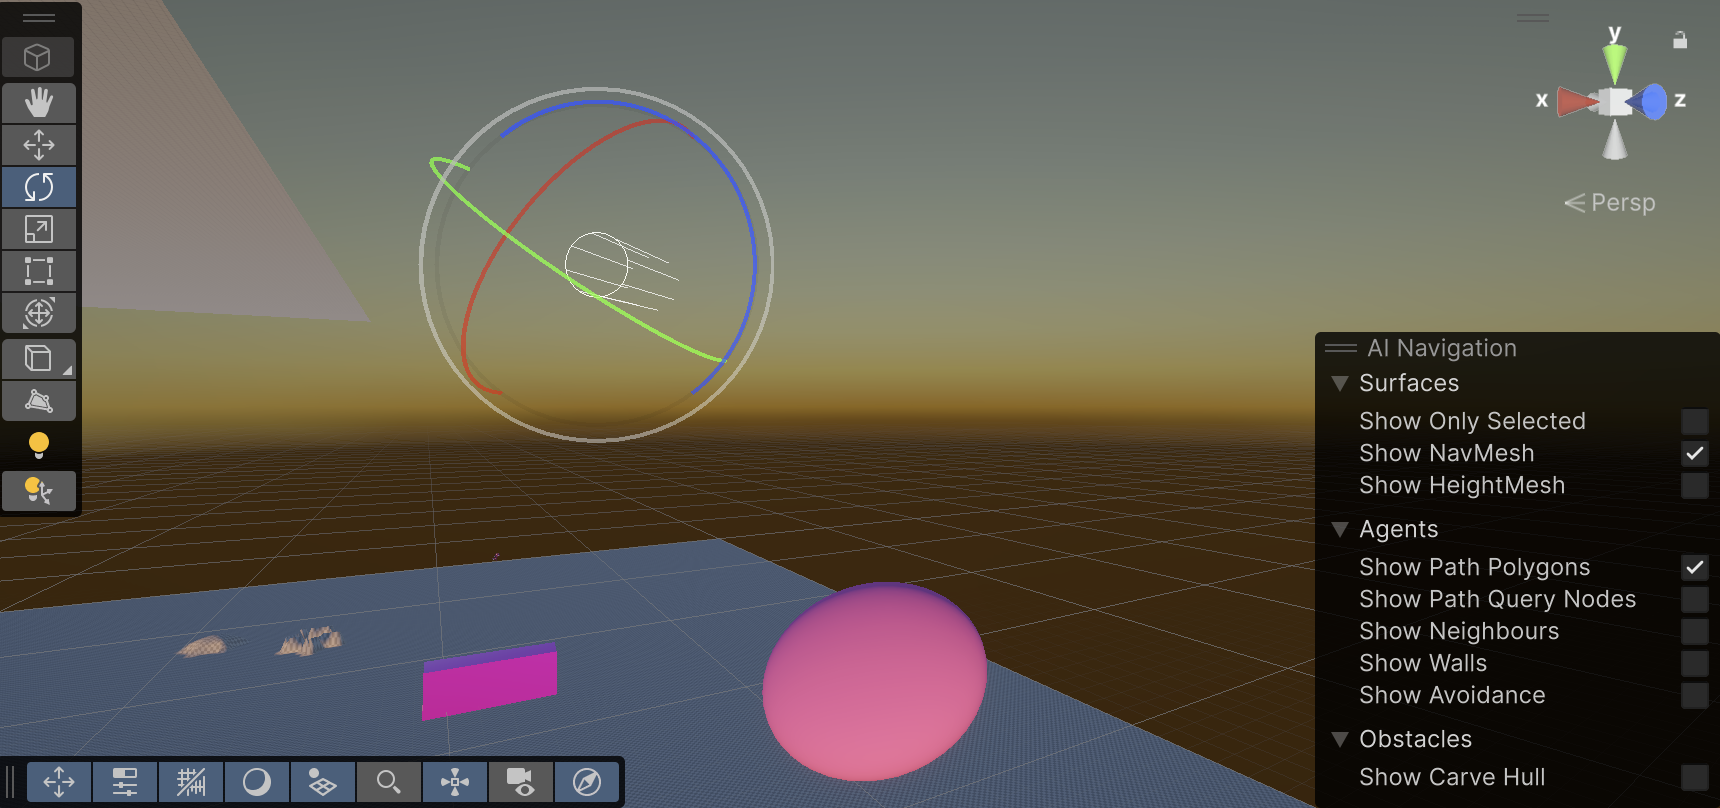
Sunset simulation
Area Lights
They can be defined by one of two shapes in space: a rectangle or a disc. An Area Light emits light from one side of that shape. The emitted light spreads uniformly in all directions across that shape’s surface area. The Range property determines the size of that shape.
Since an Area light illuminates an object from several different directions at once, the shading tends to be more soft and subtle than the other light types. It can be used to create a realistic street light or a bank of lights close to the player.
Since one of our player has some degree of blurring or blind vision, I took some suggestion from Dr. Jules and found some solutions about it. I mainly focused on two solutions: blur camera and particle effect.
1.Blur Camera
This solution focuses on creating a post processing object to do blurring effect on player’s camera which is easier to apply and makes a vague screen.
Blur Camera :
Setting up post processing in Unity:
The first video mainly use three sections to achieve blurring effect : Motion Blur, Depth Of Field and Vignette. We can change many parameters in it to adjust the perfect one for our project or even make some live changes. But it needs a set up for post processing in the second video. I never tried it so I am not sure how can we avoid blurring two cameras.
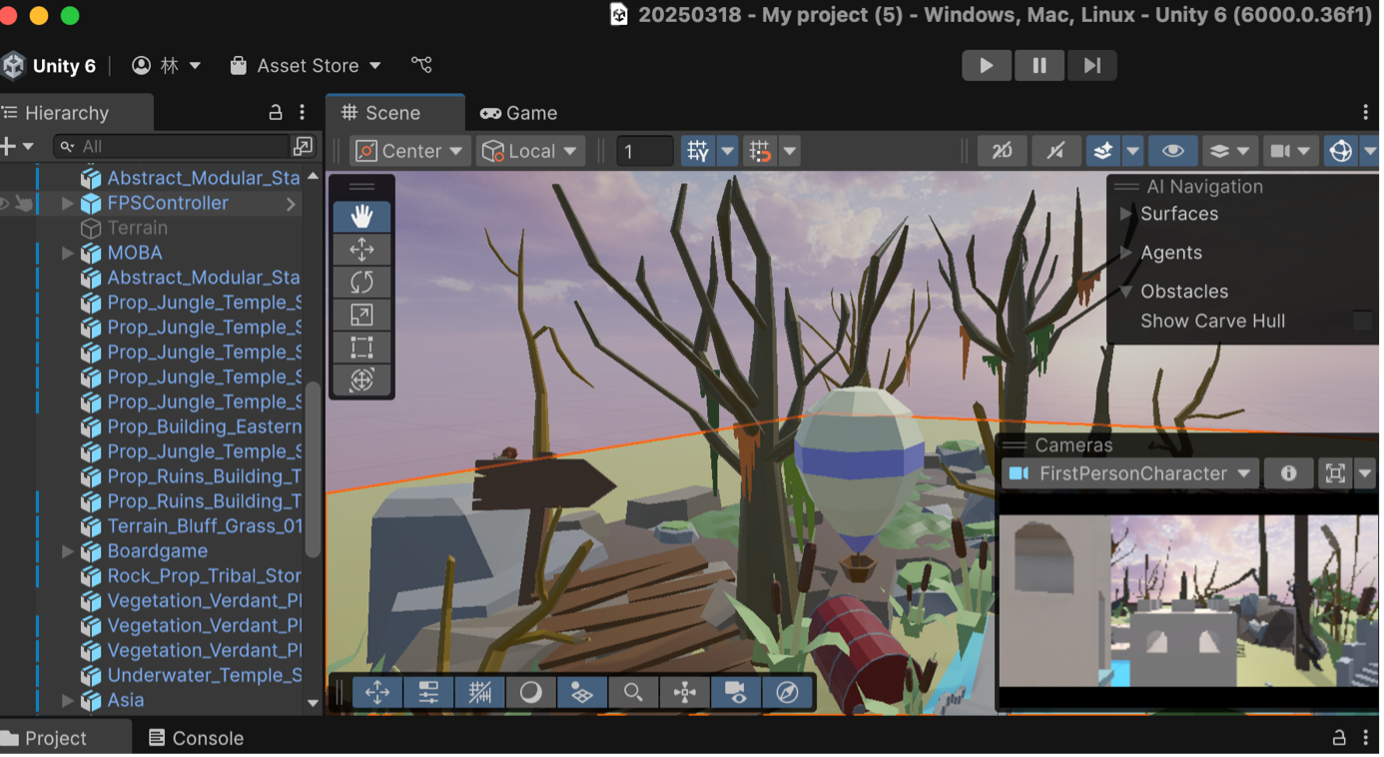
2.Particle Effect
Using particle effect to create fog is another interesting solution for making a vague landscape or maze. It’s not to say we have to use it for blurring the vision of one specific blind player, but we can also apply it in designing the environment.
This video used a standard asset in asset store to create a high adjustable and dynamic fog. It can also be applied in part of our environment. It is helpful if we want to hide some clue inside or temporary blurring the vision in our project.