Any views expressed within media held on this service are those of the contributors, should not be taken as approved or endorsed by the University, and do not necessarily reflect the views of the University in respect of any particular issue.

Personal Reflection – Yuxuan

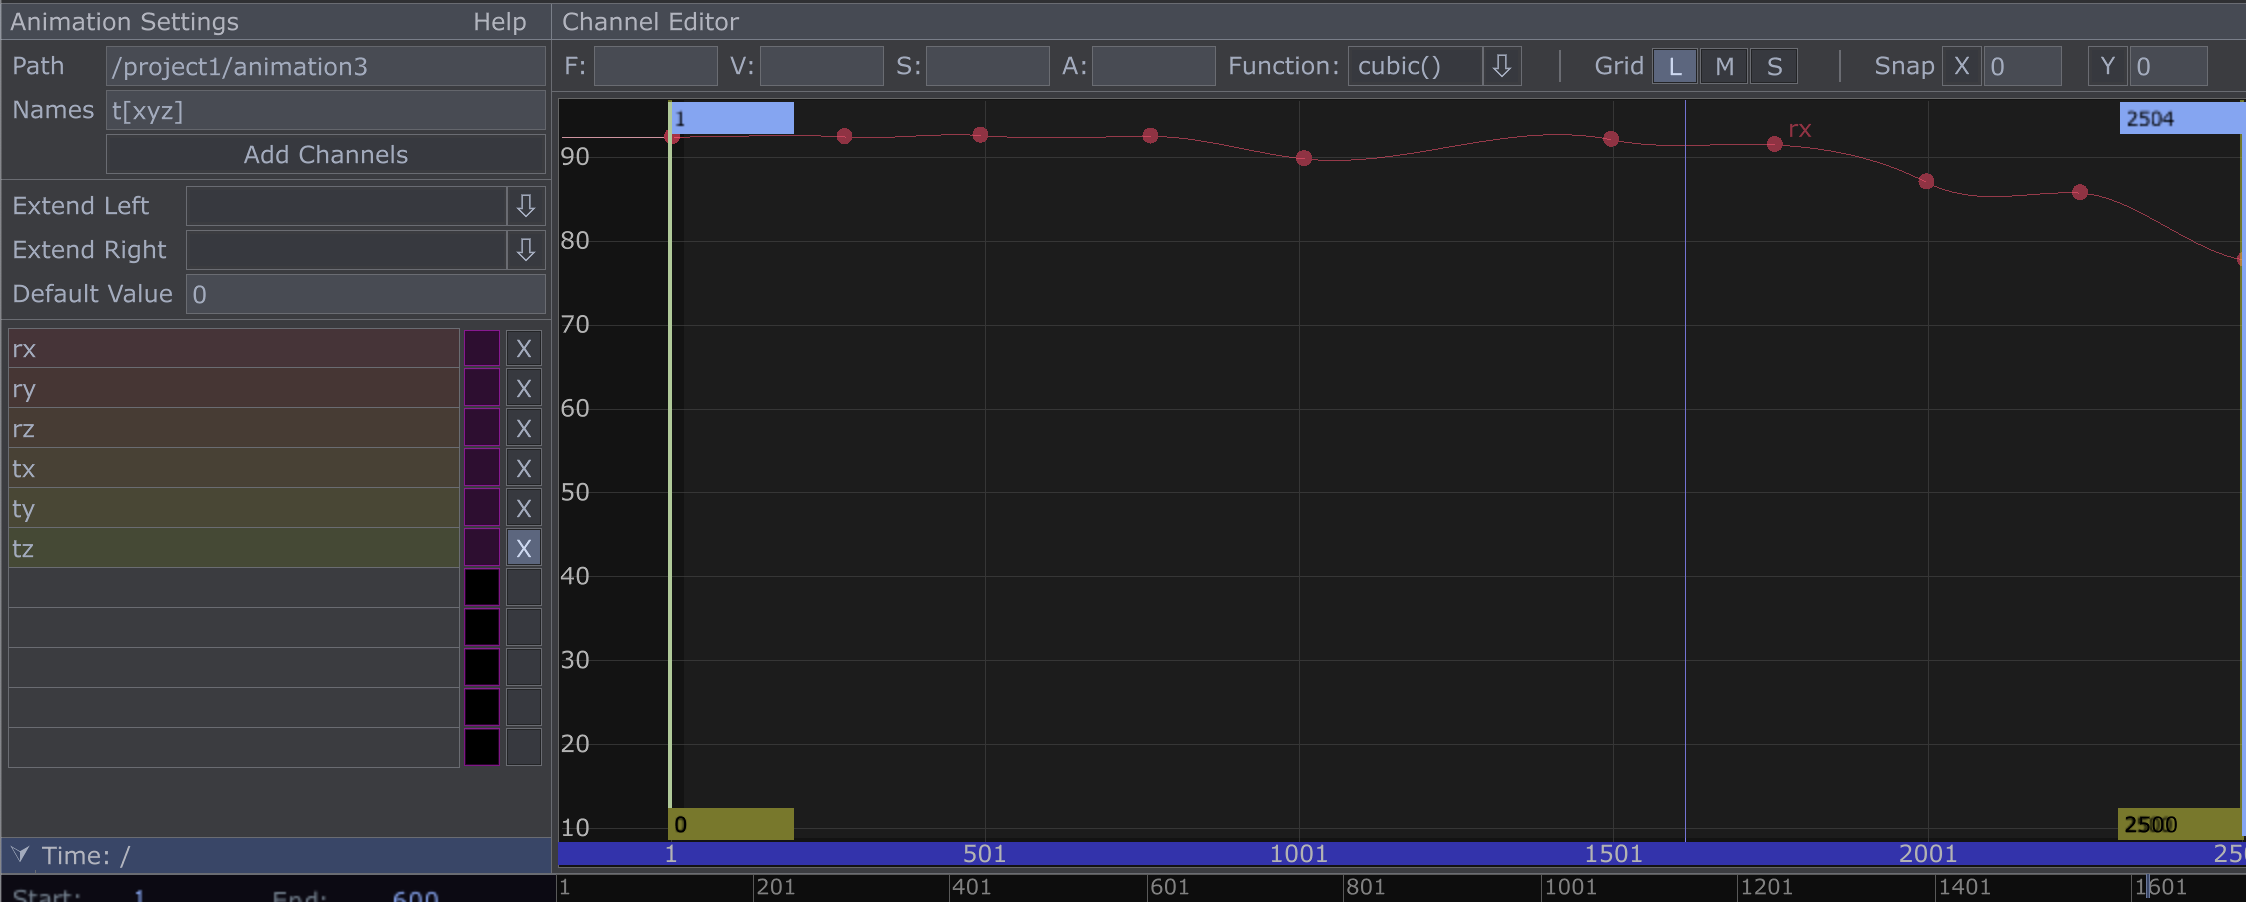
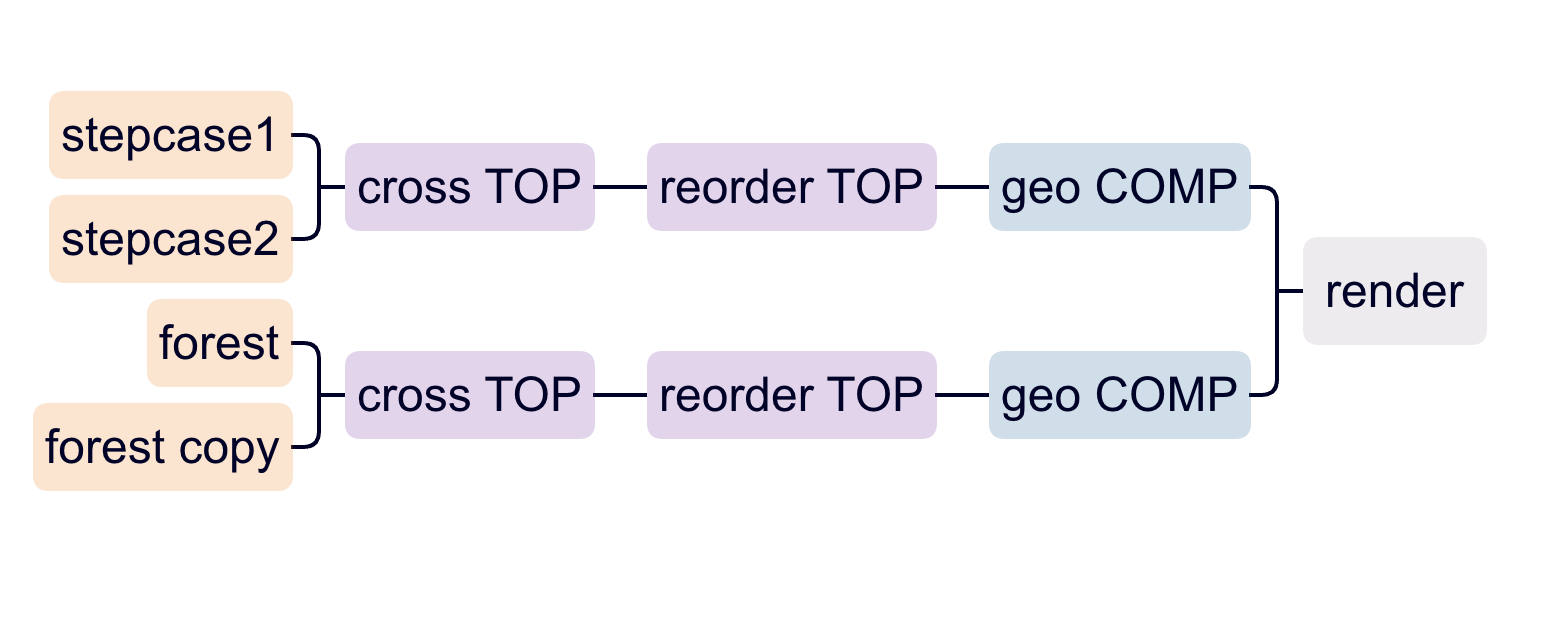
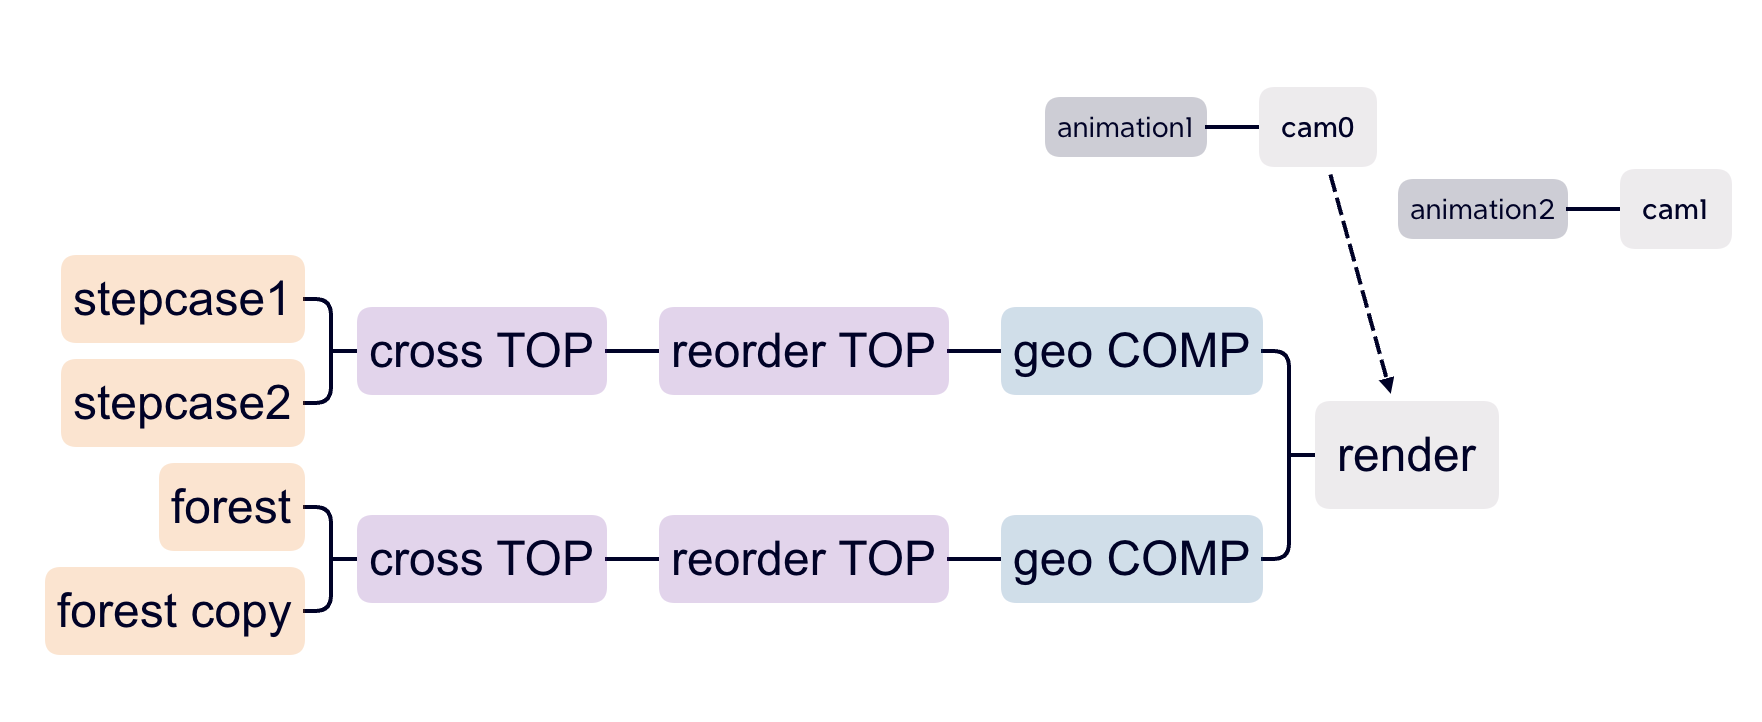
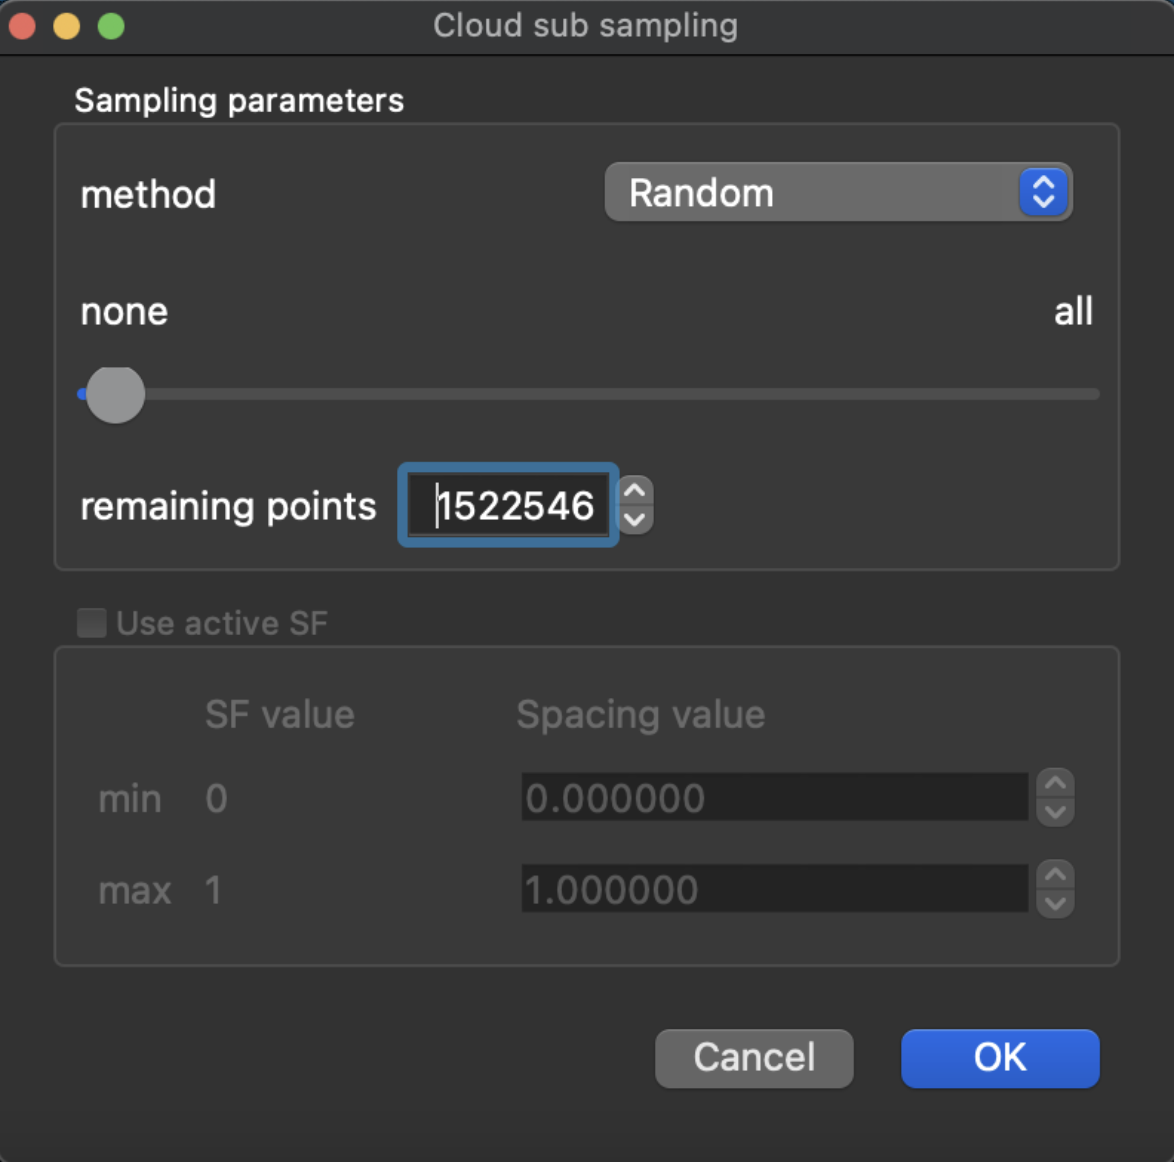
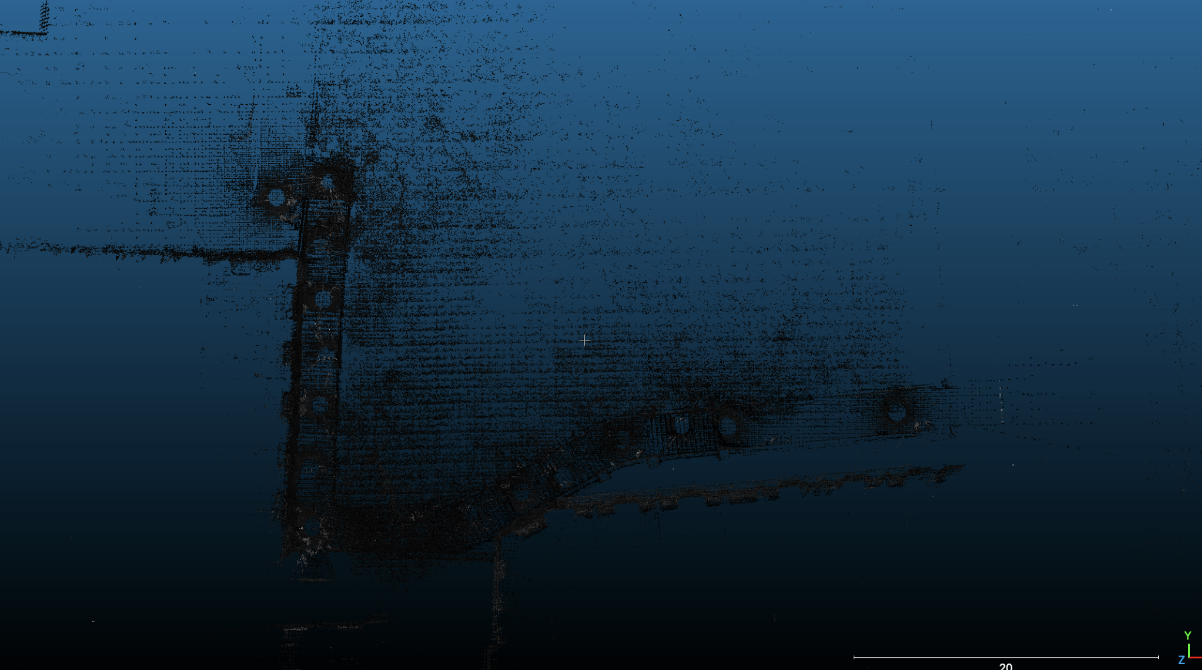
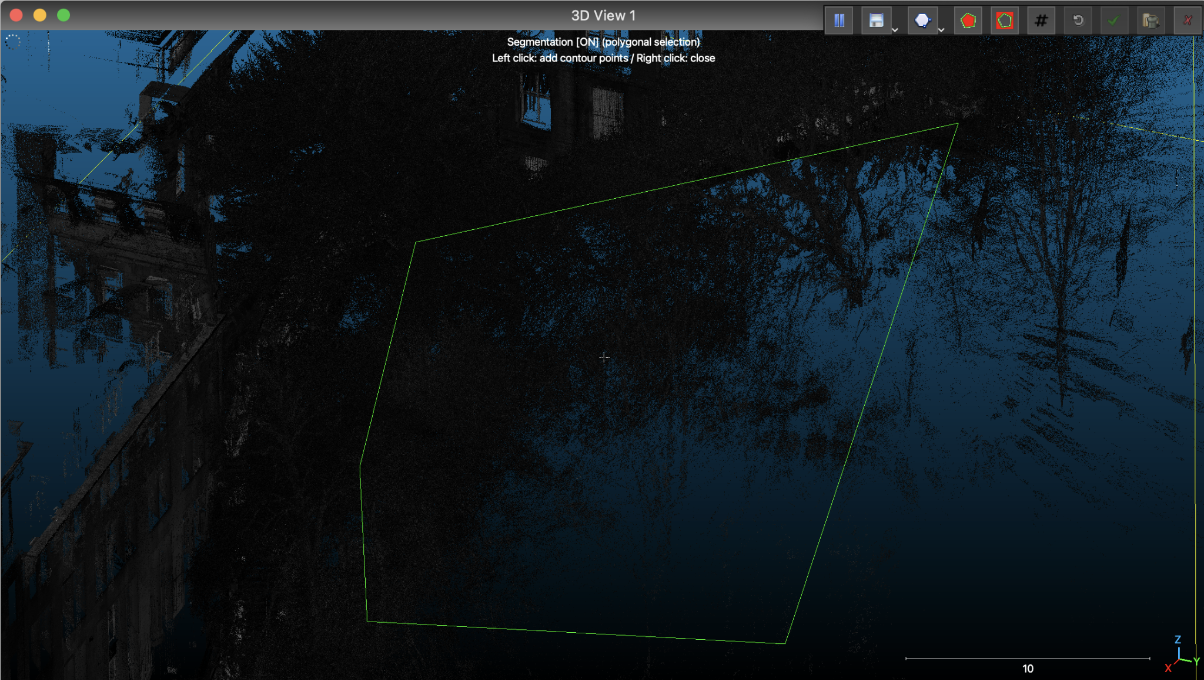
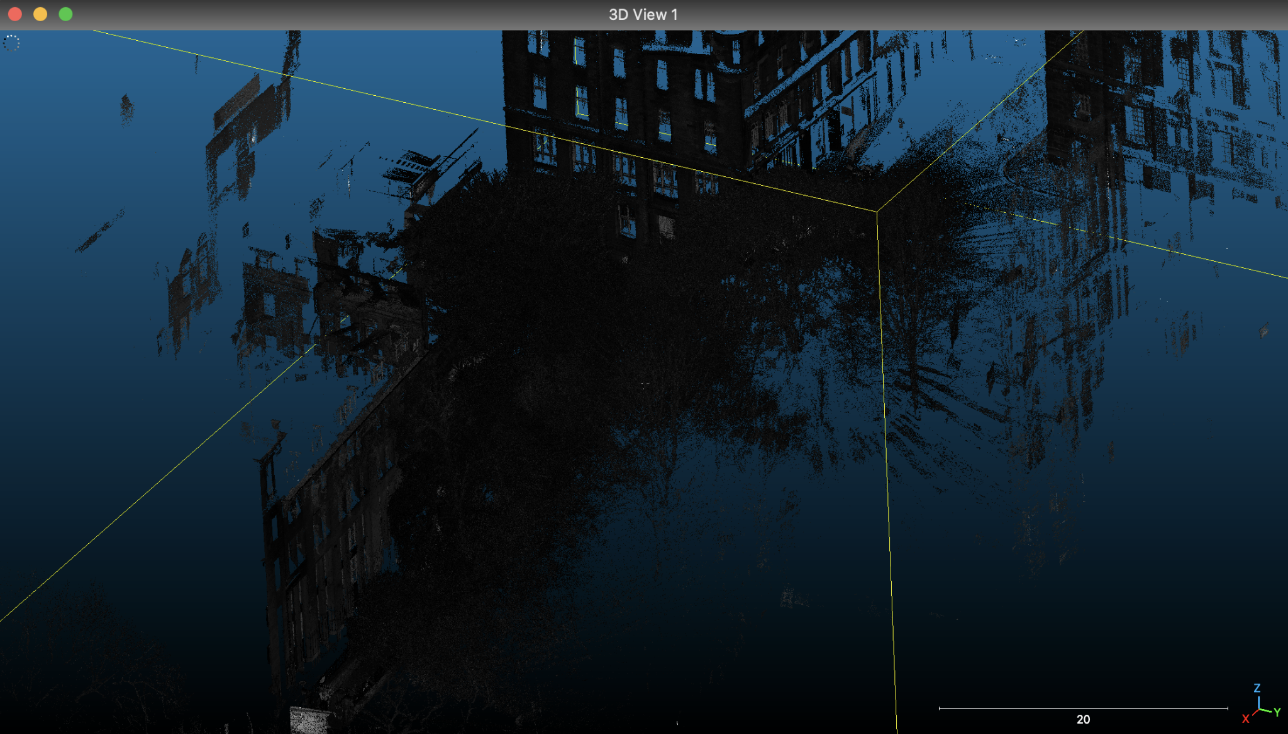
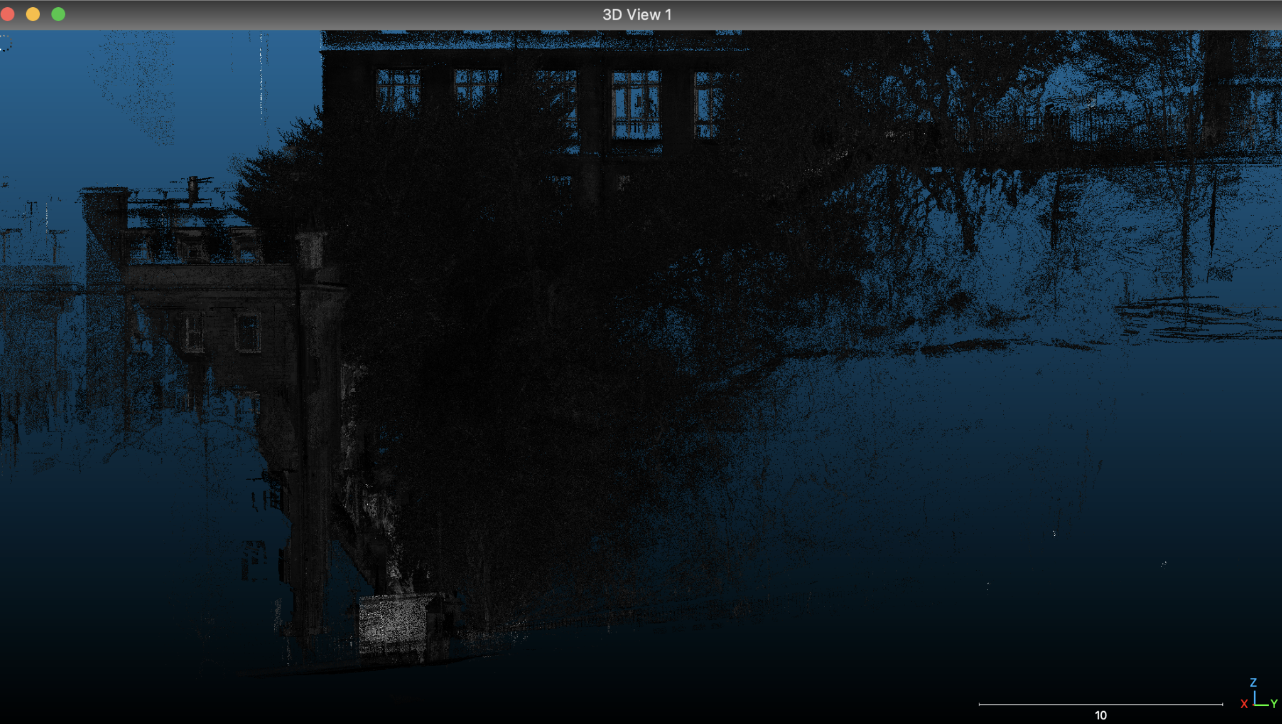
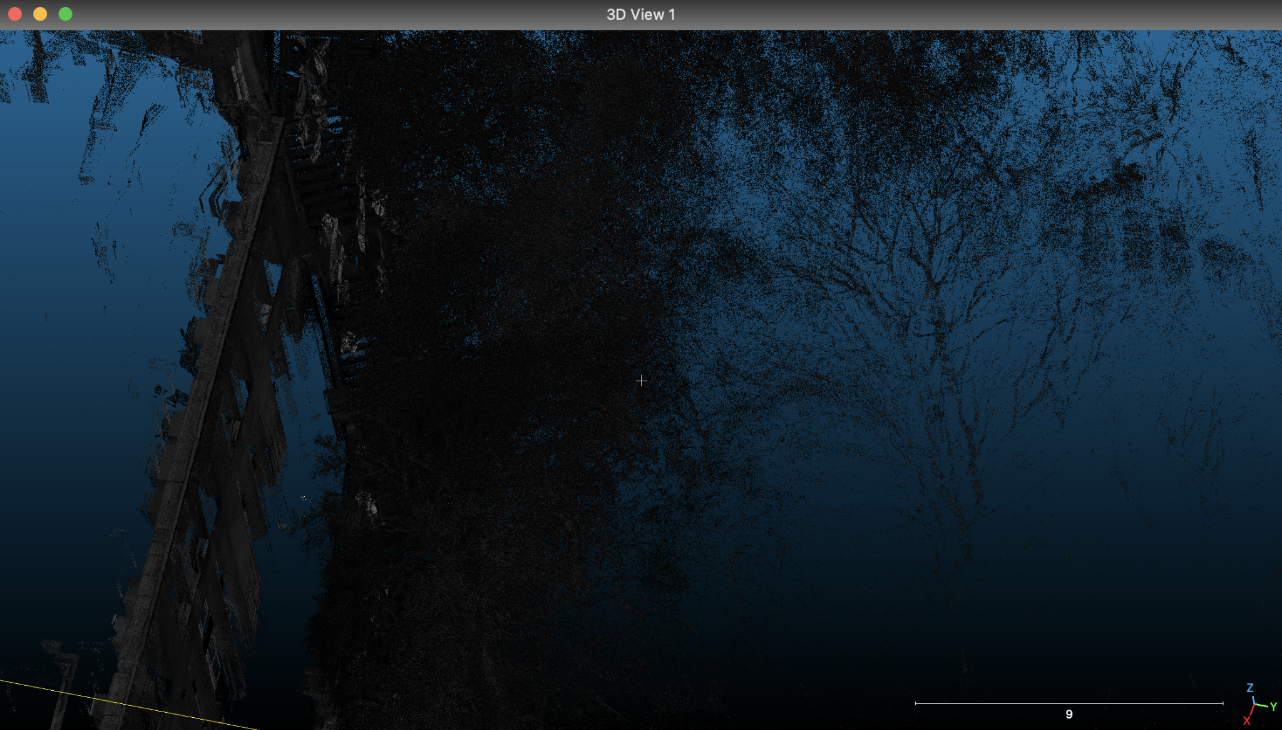
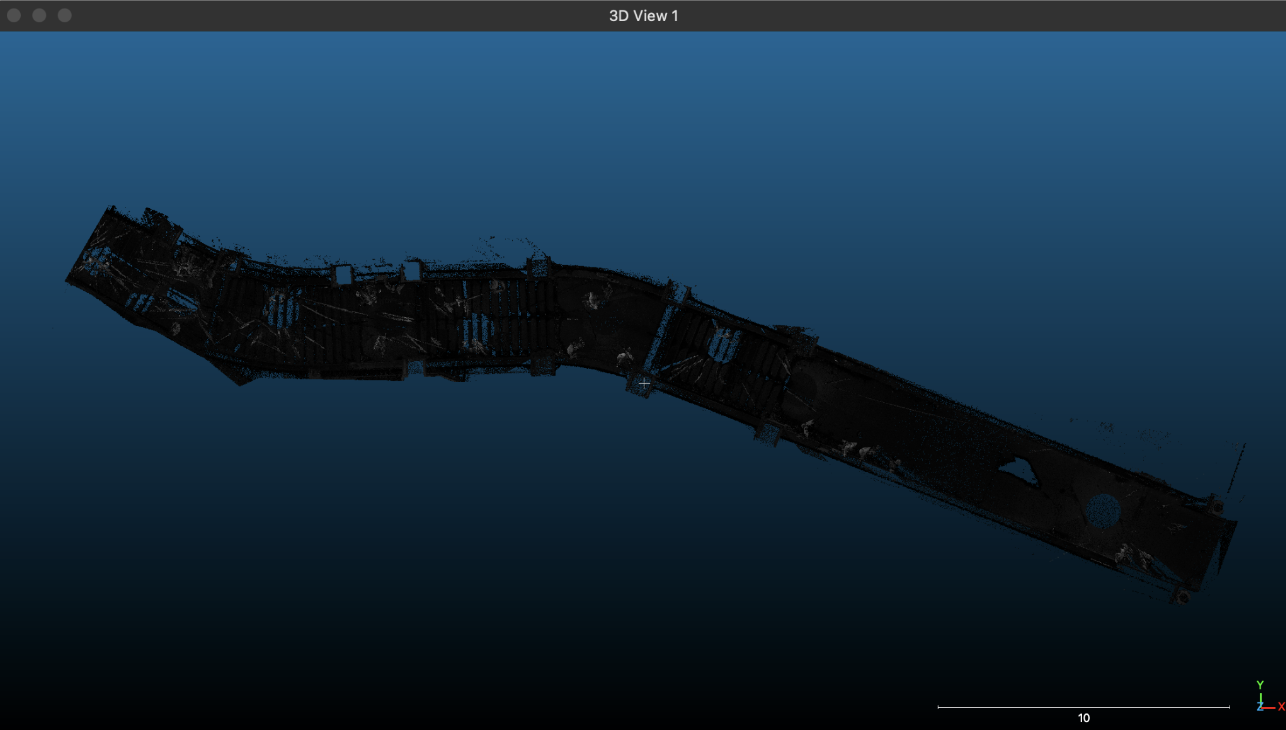
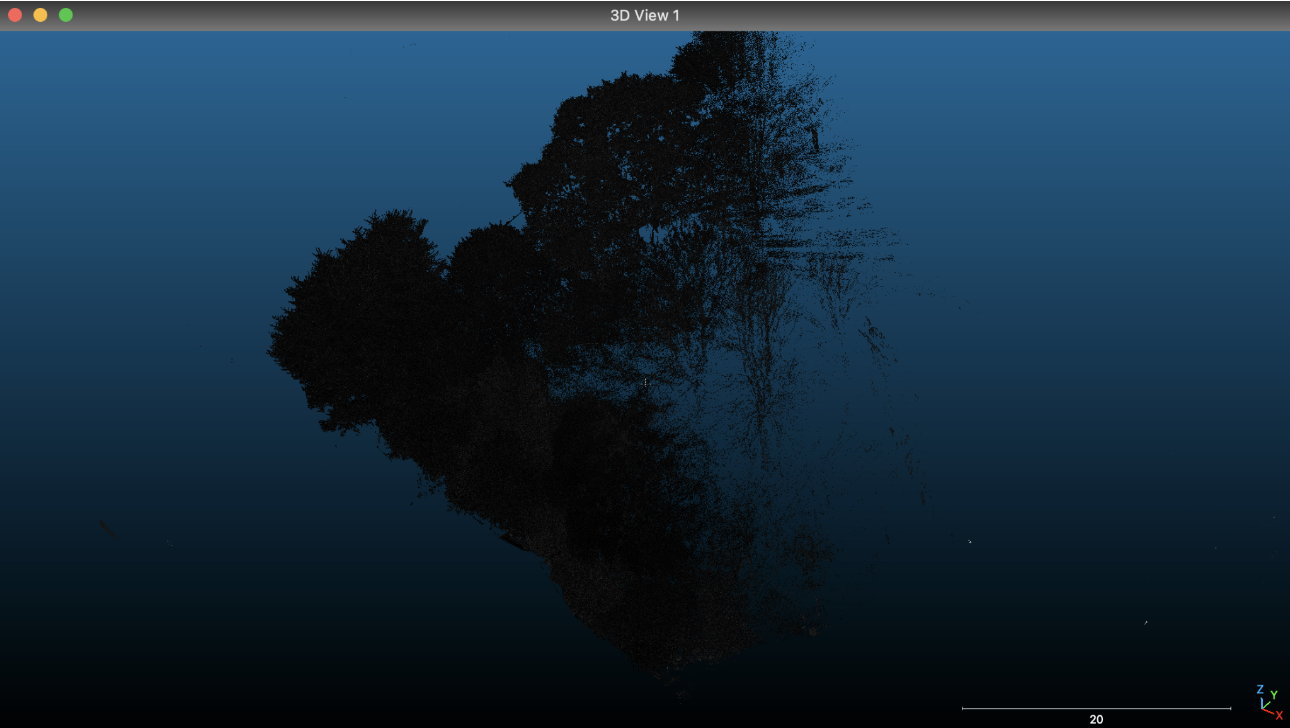
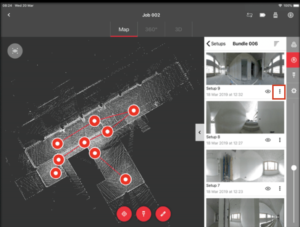
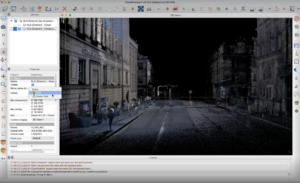
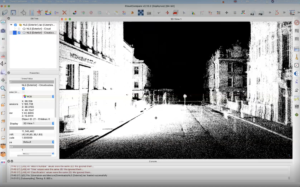
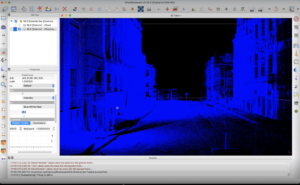
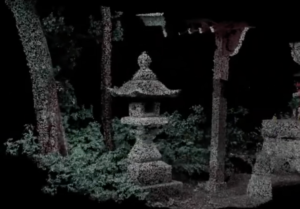
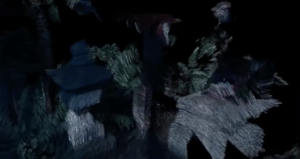
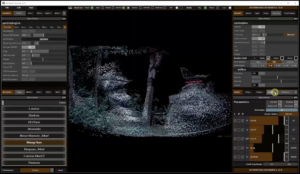
First of all, I feel very fortunate to have taken the DMSP course and the Place theme this semester, which has been an unforgettable journey for me. Not only have I learned how to use LiDAR and TouchDesigner, but I have also worked with exceptional teammates to create an impressive project.

In terms of the final exhibition, although we achieved certain results, there are still many areas that can be improved upon. Firstly, the venue could be improved to create a more immersive environment, such as a curved screen that can cover not only the surrounding area but also above and below the audience, creating a stronger sense of immersion. Additionally, using edgeless LED screens or other display technologies can enhance the display effect, and a larger sound system can be employed to improve the audio experience. Additionally, to address the issue of conflict between the ultrasonic sensor and Kinect during the exhibition, we can consider using physical buttons or devices as an alternative means of interaction.

I am very grateful to my excellent team members. Firstly, I want to thank Allison and Yijun for working with me on the TouchDesigner design. We started from scratch and learned and explored together. Without them, it would have been difficult for me to learn so much. I also want to thank Molly and Dani for their efforts in setting up the exhibition and video rendering. They arranged everything perfectly on the day of the exhibition, which gave us enough time to solve any problems we encountered. Finally, thanks to David, Chenyu, Xiaoqing, and Yuanguang for their efforts in the sound design team, designing such a perfect immersive sound experience. In addition, I would also like to express my gratitude to our mentor Asad, who led us to explore and learn about LiDAR, an interesting tool that I believe I will use again in future projects. Thanks all for giving me an unforgettable team collaboration experience.


Yuxuan Guo

Exhibition Day – Yuxuan

What I did

  1. Solved the scene switching triggered by the distance sensor in Max with David
  2. Set up TouchDesigner on the school’s PC.
  3. Installed equipment and configured Touchdesigner for presentation mode.
  4. Conducted final testing of interactions by connecting both MAX and TouchDesigner.
  5. Borrowed and set up the recording equipment.
  6. Filming

Challenges Encountered

On the exhibition day, I encountered a challenge when trying to link Max with TouchDesigner. As we didn’t conduct a complete test in advance, we set two fixed points in TouchDesigner for using the distance sensor, and the audience triggered the scene switching by walking between the two points. However, in Max, David set three fixed positions, and the audience’s position will switch between these three points. If we had followed the previous plan, the scene would have frozen in the transition when the audience stood in the middle position, and they would not be able to see a complete scene. Fortunately, after communicating with David, he modified the trigger value of the distance sensor in Max. As a result, the scene will switch when the user moves between the three adjacent positions.

The second problem we encountered was related to the equipment. Due to the highly complex interaction logic and large point cloud file imported into the TouchDesigner project, as well as the fact that the Kinect only supports Windows systems, it was difficult to run the project successfully on our laptops. Although we borrowed a computer from the school for the demonstration, it encountered some malfunctions on the day of the presentation, which caused severe lag and even prevented us from re-linking to the point cloud file in TouchDesigner. In the end, we had to set the point cloud file in an external hard drive on our own computers and run the project on the school’s computer through the external hard drive. This cost us a lot of preparation time.

The third challenge we encountered was related to the version of TouchDesigner. As we were using a non-commercial version and there was no free student version available, the resolution of our presentation was limited to 1280*1280, and we could not cover the entire screen when presenting in full-screen mode. Fortunately, with the help of Molly and Dani, we were able to enlarge the projector screen, so the presentation window was not affected.

Lessons Learned and Team Collaboration

This project made me realize the importance of thorough testing before presenting a project to the public. Although we tested the equipment in advance, our features were not fully designed, and the visual and sound aspects were not tested simultaneously, leading to many unexpected situations on-site. Fortunately, we were able to solve most of the problems before the presentation. This was also my first time working in a team of nine people, and I realized that timely communication and collaboration are crucial in a large team. Updating progress and sharing problems in a timely manner can make team collaboration more efficient.


Yuxuan Guo

TouchDesigner Point Cloud Camera Animation#1

For Scene 1, we want to design a first-person perspective roaming animation of climbing stairs to simulate the experience of climbing stairs as a pedestrian. The first half of the stairs are very winding, and we hope to use this camera animation to provide users with an immersive experience.

Developing the Animation

In the video uploaded on YouTube by The Interactive & Immersive HQ(2022), it was mentioned that the Animation CHOP can be used in TouchDesigner to create camera animations. Considering that the camera can move and rotate in the X, Y, and Z directions, we need to add 6 channels in sequence in the animation editing window to control the camera’s rotation and position in the X, Y, and Z axes.

Before starting to edit the animation, you need to set the length of the animation, i.e., the number of frames, in both the Channel Editor and the “Range” parameter of the Animation CHOP.

Next, add keyframes to the corresponding curve positions in each of the 6 channels and adjust the curvature of the curves to make the camera motion smooth. In practical operations, to make the animation more natural and easier to adjust, it is recommended to add keyframes to the same position in all 6 channels when creating a keyframe at a specific time. This method can greatly improve work efficiency, especially for longer animations.

If you’re reading this in order, please proceed to the next post: ‘TouchDesigner Point Cloud Camera Animation#2’.

Reference list

The Interactive & Immersive HQ (2022). Generative Camera Paths in TouchDesigner – Tutorial. [online] www.youtube.com. Available at: https://www.youtube.com/watch?v=5EyN_3vIqys&t=14s [Accessed 26 Apr. 2023].

Yuxuan Guo

Designing interactions with TouchDesigner #3 – Synchronisation of scenes and cameras

After discussing with Yijun and Allison, we decided to prepare two sets of camera animations for the two scenes respectively. In addition, we designed interaction for Scene 2 by using Kinect to recognize the user’s hands. To ensure that the content of Scene 2 does not affect Scene 1, the forest section also needs to be duplicated and correspond to Scene 1 and Scene 2 separately. This also allows for more freedom in interactive design, as we can individually control the changes, colors, and interactions of the staircase and forest sections in each scene.

Rendering structure

To implement the above ideas, we decided to redesign the rendering structure of the scene. We used two Geo TOP to display the staircase and forest sections separately and used Cross TOP and Reorder TOP to synchronize switching between the two staircase scenes and the two forest scenes. With this setup, when the values of the two Cross TOPs are both 0, the rendered content will be Scene 1. When both Cross TOPs receive a value of 1, the two sections switch simultaneously, and Scene 2 is rendered.

Camera switching

To synchronize the two different camera animations with the scene switching, I decided to use two cameras and create animations for them separately. I referred to Ruben(2021)’s tutorial on TouchDesigner multi-camera switching on YouTube. To switch between the cameras, an expression was set in the camera parameters in the Render TOP: ‘cam{0}’.format(int(op(‘null16’)[‘chan2’])). By receiving values of 0-1 similar to the Cross TOP, the floating point number is converted to an integer through int(), which switches the view between the two cameras cam0 and cam1.


If you’re reading this in order, please proceed to the next post: ‘TouchDesigner Point Cloud Camera Animation#1’.


Reference list

Papacci, R. (2021). [OUTDATED] Simple Way To Cycle Through Multiple Cameras in TouchDesigner. [online] www.youtube.com. Available at: https://www.youtube.com/watch?v=6wGYWXhZUFs [Accessed 27 Apr. 2023].


Yuxuan Guo

Designing interactions with TouchDesigner #2 – Scenes transition

Previously, I mentioned that I divided the original point cloud data into three parts: Staircase 1, Staircase 2, and Forest. Now, we want to make Scene 1 and Scene 2 change interactively while keeping the forest section fixed. 

To make the transition between the two scenes natural, I used the Cross TOP and Reorder TOP to implement the transition by scrambling the points in one scene and then re-generating the second scene. This method was inspired by the TDSW(2022). Additionally, I can use the Noise TOP to add noise to each axis individually to achieve changes in the point cloud in a specific direction.

When transitioning between scenes, the parameter range for Cross TOP is from 0 to 1. When the value is 0, the content of Scene 1 is displayed, and when the value is 1, the content of Scene 2 is displayed. The middle part of the range between 0 and 1 represents the transition process between the two scenes.

The specific idea is to use a distance sensor to detect the position of the audience, set two distance intervals, and map the values of these two intervals to the range of 0-1 in TouchDesigner. When the user is close to the sensor, Scene 1 is displayed, and when the user moves back to a distance further from the sensor, Scene 2 is displayed.


Reference list

TDSW (2022). 3/3 TouchDesigner Vol.032 Creative Techniques with Point Clouds and Depth Maps. [online] www.youtube.com. Available at: https://www.youtube.com/watch?v=6-NOXtLQCvI&t=1494s [Accessed 27 Apr. 2023].

Yuxuan Guo

Designing interactions with TouchDesigner #1 – Importing point cloud files

To transfer point cloud files to TouchDesigner for further editing, we referred to the videos uploaded by B2BK(2023) and Heckmann(2019) on YouTube as a reference.

Separating coordinates and colors.

 In TouchDesigner, we used the pointfilein TOP to import point cloud files in the PLY format that were previously exported. Afterward, we used the pointfileselect TOP to separate the corresponding color sections in the point cloud file. The colour values are encoded from 0 to 127 in the ply file. To get the right colours, it’s necessary to create a math TOP and divide by 127.

Adding materials.

Next, we created a Geometry COMP and added an Add SOP and Convert SOP to it. Then, we linked the point cloud coordinates and colors from the previous steps in the Geometry COMP. Then, we added a Line MAT as the material for the Geometry COMP, and the basic point cloud import operation was complete.

Rendering

Finally, to display the point cloud, we needed to add a Render TOP to render the contents of the Geometry COMP. The Render TOP also needs to be used in conjunction with a Camera COMP and a Light COMP for proper rendering.

In addition to these steps, we can also use the Point Transform TOP to adjust the position of the point cloud in 3D space, and use tools such as the Ramp TOP to adjust the color of the point cloud during the first step.


If you’re reading this in order, please proceed to the next post: ‘Touchdesigner visual part 1 – import point cloud file into touchdesigner #2’.

Reference list

B2BK (2023). Touchdesigner Tutorial – Advanced Pointclouds Manipulation. [online] www.youtube.com. Available at: https://www.youtube.com/watch?v=dF0sj_R7DJY&t=153s [Accessed 26 Apr. 2023].

Heckmann, M. (2019). Point Clouds in TouchDesigner099 Part2 – Using a Point Cloud File (Star Database). [online] www.youtube.com. Available at: https://www.youtube.com/watch?v=TAmflEv0LJA&t=1221s [Accessed 26 Apr. 2023].


Yuxuan Guo & Yijun Zhou

Point cloud data processing with CloudCompare #2 – Exporting point cloud files

In order to export point cloud files to TouchDesigner for further processing, we can choose between ply, xyz and csv formats for export. By looking up some information, I have listed the characteristics of the three formats.

PLY (Polygon File Format):

  • PLY is a versatile 3D model file format primarily used for storing 3D scan data and mesh data.
  • It can store point coordinates (x, y, z), color information (r, g, b), normal information (nx, ny, nz), and face data, among other attributes.
  • PLY comes in two formats: ASCII and binary. The ASCII format is more human-readable but has a larger file size, while the binary format has a smaller file size but is harder to read.

XYZ:

  • XYZ is a simple text format mainly used for storing point cloud data.
  • It only stores point coordinates (x, y, z), and sometimes includes color information (r, g, b).
  • The format is simple, easy to read, and edit but does not support storing face data or normal information.

CSV (Comma Separated Values):

  • CSV is a versatile text format used for storing tabular data and can be used for saving point cloud data.
  • It can store point coordinates (x, y, z), color information (r, g, b), normal information (nx, ny, nz), etc., but requires custom column order and definitions.
  • Similar to the XYZ format, it is easy to read and edit but does not support storing face data.

In summary, all three of the above formats were suitable for this project, but after testing and comparing them, we finally chose the plv format for export, taking into account file size and loading speed.


Reference list

Meijer, C., Goncalves, R., Renaud, N., Andela, B., Dzigan, Y., Diblen, F., Ranguelova, E., van den Oord, G., Grootes, M.W., Nattino, F., Ku, O. and Koma, Z. (2022). Laserchicken: toolkit for ALS point clouds. [online] GitHub. Available at: https://github.com/eEcoLiDAR/laserchicken/blob/master/Data_Formats_README.md [Accessed 27 Apr. 2023].

Yuxuan Guo

Point cloud data processing with CloudCompare #1 – Editing

After data collection using lidar, an e57 format point cloud file was generated. In order to further process the data, we chose to use CloudCompare to edit the point cloud files.

Reducing points

On the first attempt, because the data collected was of the highest quality when importing the file into CloudCompare, the file was too large, making it difficult for our computer to edit it. Therefore, we need to reduce the number of points in the data. In CloudCompare, this operation can be performed by sub-sampling, and in sub-sampling you can select the random method to customize the number of points after resampling and complete the reduction.

For subsequent data acquisition, we selected a medium-quality setting for scanning, reducing the process of handling the data and avoiding excessive loading times once in the software.


Separate scenes

The scene we are scanning is The New Steps in Edinburgh, a section that includes a staircase with a 90-degree angle, a wooded area, and a building adjacent to the staircase.

In order to make it easier to design the data in other software, we chose to split the scene into three scenes: a separate wooded scene, a staircase with buildings removed in the first half, and a staircase with buildings in the second half.

To complete the operation above, the segment tool is required in CloudCompare. For the specific operation method, I referred to the video tutorial by EveryPoint(2021). Clicking on this tool draws a polygon on the screen which can be mapped to the 3D scene where the point cloud is located. The user has the option to delete all points within or outside the mapped range of the polygon.

As it is not possible in CloudCompare to directly select different points in the 3D scene for processing as in other 3D software, nor is it possible to use shortcuts to select individual vertical or horizontal axes to rotate the scene. Editing the scene becomes extremely challenging, especially as the branches of the trees in the scene have spilled over the stairs and the fence. Dozens of separate pruning operations at different angles are required to sort out a clean scene. This took me a lot of time, but the result was quite good.

before:

After:


Since subsequent point cloud color adjustments and camera animations need to be made in TouchDesigner, it is sufficient to export the point cloud to a format supported by TouchDesigner (ply, csv, xyz) after the separation of the scene has been completed.


Reference list

EveryPoint (2021). How to Quickly Align and Merge Two Point Clouds in CloudCompare. [online] www.youtube.com. Available at: https://www.youtube.com/watch?v=0OcN-lNChlA [Accessed 27 Apr. 2023].

Yuxuan Guo

Export e57 file from LiDAR

Before using the iPad to export, ensure the iPad has enough storage space. The average export file size is usually between 5 GB and 10 GB, if there is not enough space the export will fail. After trying, deleting the created jobs in cyclone will not free up storage space on the iPad, so the best thing to do is to ask the ucreate staff to reinstall the software on the iPad and log into the account.

export e57 file

Select the linked file in the right hand menu bar of the job and click on the button in the bottom right hand corner of the file to select the export e57 file. After the export is complete we can transfer it to our computer via airdrop for editing.

import data from lidar

Open cyclone and connect it to lidar.

Create a new job.

Click on the button at the bottom left of the jobs page.

Click on scanner data and select the data to be imported.

Wait for the data transfer to complete.

If you’re reading this in order, please proceed to the next post: ‘From Raw Data to Unity’.


yuxuan,

17 Feb 2023

Workflow

Scan

The Leica BLK360 laser scanner: Through the cooperation of the scanner and iPad, the scene can be scanned into a point cloud. The iPad application can automatically match multiple scans in the same scene. Through the corresponding software on the computer and iPad, the scanned scene can be exported.

The new BLK360 3D scanner from Leica Geosystems - DEVELOP3D

Post-processing

CloudCompare: With this software, we can import the scanned point cloud. It reduces the number of points in the scene and modifies the color, and saturation of those points. It can also create a camera, creates keyframe animations for the camera, and export video in mp4 format.

TouchDesigner&attraktors designer: The point cloud can be imported into the software attraktors designer. And it can recognize the points and control them. For example, it can control the movement of points within a certain range, or convert points into lines for movement. It can also completely scramble the points, forming new scenes with certain movements.


Reference link:

https://www.youtube.com/watch?v=SuFeM07ddPc&list=WL&index=2

https://www.youtube.com/watch?v=ssJUxwtR44o

Installation

Arduino&sensors: Through the cooperation of the written program and the sensor, we can realize the immersive interaction between the audience and the scene. For example, the user’s footsteps are recognized by the pressure sensor, and the scene changes; Interact with the scene through gesture recognition hardware(Kinect/Leap motion).


13th Feb 2023

yuxuan


css.php

Report this page

To report inappropriate content on this page, please use the form below. Upon receiving your report, we will be in touch as per the Take Down Policy of the service.

Please note that personal data collected through this form is used and stored for the purposes of processing this report and communication with you.

If you are unable to report a concern about content via this form please contact the Service Owner.

Please enter an email address you wish to be contacted on. Please describe the unacceptable content in sufficient detail to allow us to locate it, and why you consider it to be unacceptable.
By submitting this report, you accept that it is accurate and that fraudulent or nuisance complaints may result in action by the University.

  Cancel