Any views expressed within media held on this service are those of the contributors, should not be taken as approved or endorsed by the University, and do not necessarily reflect the views of the University in respect of any particular issue.
The videos I gathered were of nature and pollution. I start with a generic sunrise that changes into a bird’s eye view of a forest to the mountains with a beach. I wanted the audience to feel calm and see sites they are familiar with. From here I transitioned to a cityscape. I should’ve added visuals that had more vehicles and people but showed one that was rather a calm city road with a few cars. I then began adding pollution videos and these would crossfade with the nature visuals. In short, I move from nature to cityscape, pollution in the cityscape to pollution in nature. Finally, end with us (the group) looking down a hole and it begins to spiral. This is where my part ends.
These videos used were stock videos taken from online sources, I would’ve liked to film a few visuals in the city but unfortunately, never had the time. I did ask around for any aesthetic nature videos among my friends and peers but failed to receive any suitable ones. It was also interesting to learn that we use portrait mode to capture moments over landscape these days and that’s mainly due to social media. The links to the videos used are mentioned below.
Choreographing the performance
I start our performance with visuals of nature and pollution, blending them with effects to create an interesting video output. We were introduced to Vizzie (Max) during the course, where this was all possible and it seemed rather straightforward.
Little did I know that running the software would make my laptop sound like it was about to take off.
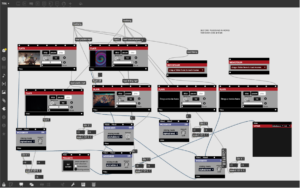
I started the first patch by adding video players, multiple effects, and loadbang commands for all of them. I did notice a considerable decrease in the speed of my laptop as I was working. The file crashed multiple times and I was starting to question my laptop’s GPU ( which could run Unity, Blender, and Photoshop at the same time!)
It was during our rehearsal on the 27th of March, that Jules pointed out that having too many players with loadbang for all of them is causing the laptop to slow down and crash the software. He told me to simplify it and have a maximum of four players.
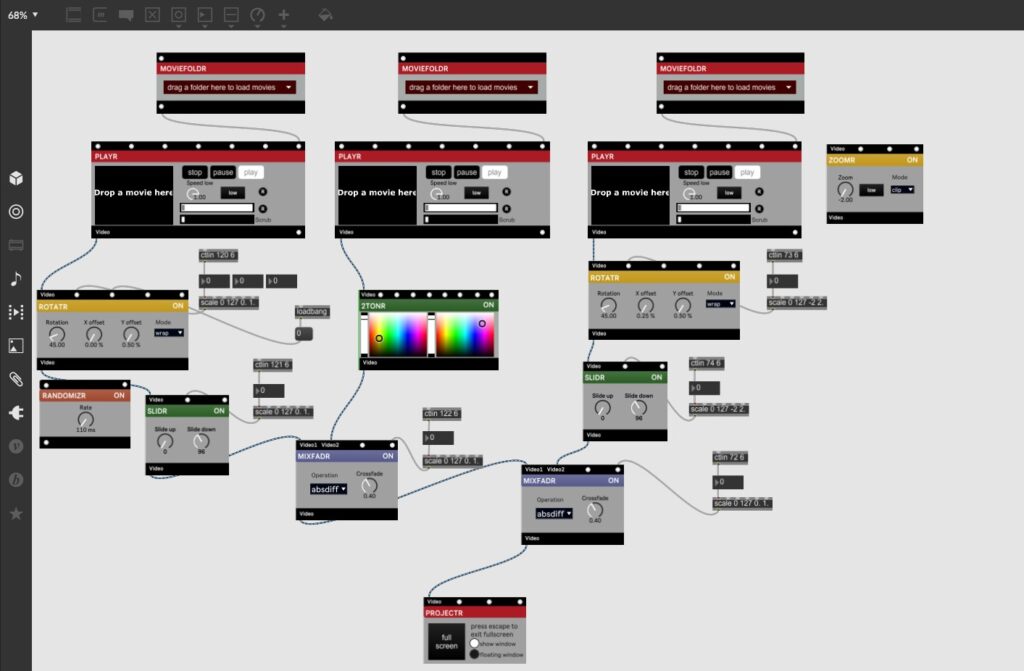
So, I restarted, opened a new patch, and began the process again. This time I kept it as simple as possible and had just enough effects. I added movie folders, three exactly, one for nature, one for pollution, and another for glitches and effects. I added three effects so that I can follow consistency through the performance.
Adding a MiDi controller to control the changes/effects has been very useful and with practice, I feel a lot more confident.
What I learned from this experience – start simple, see what the software is capable of, and have fun!
Pollution Videos, Download The BEST Free 4k Stock Video Footage & Pollution HD Video Clips (no date). Available at: https://www.pexels.com/search/videos/pollution/ (Accessed: 23 April 2023).
Nature Videos, Download The BEST Free 4k Stock Video Footage & Nature HD Video Clips (no date). Available at: https://www.pexels.com/search/videos/nature/ (Accessed: 23 April 2023).
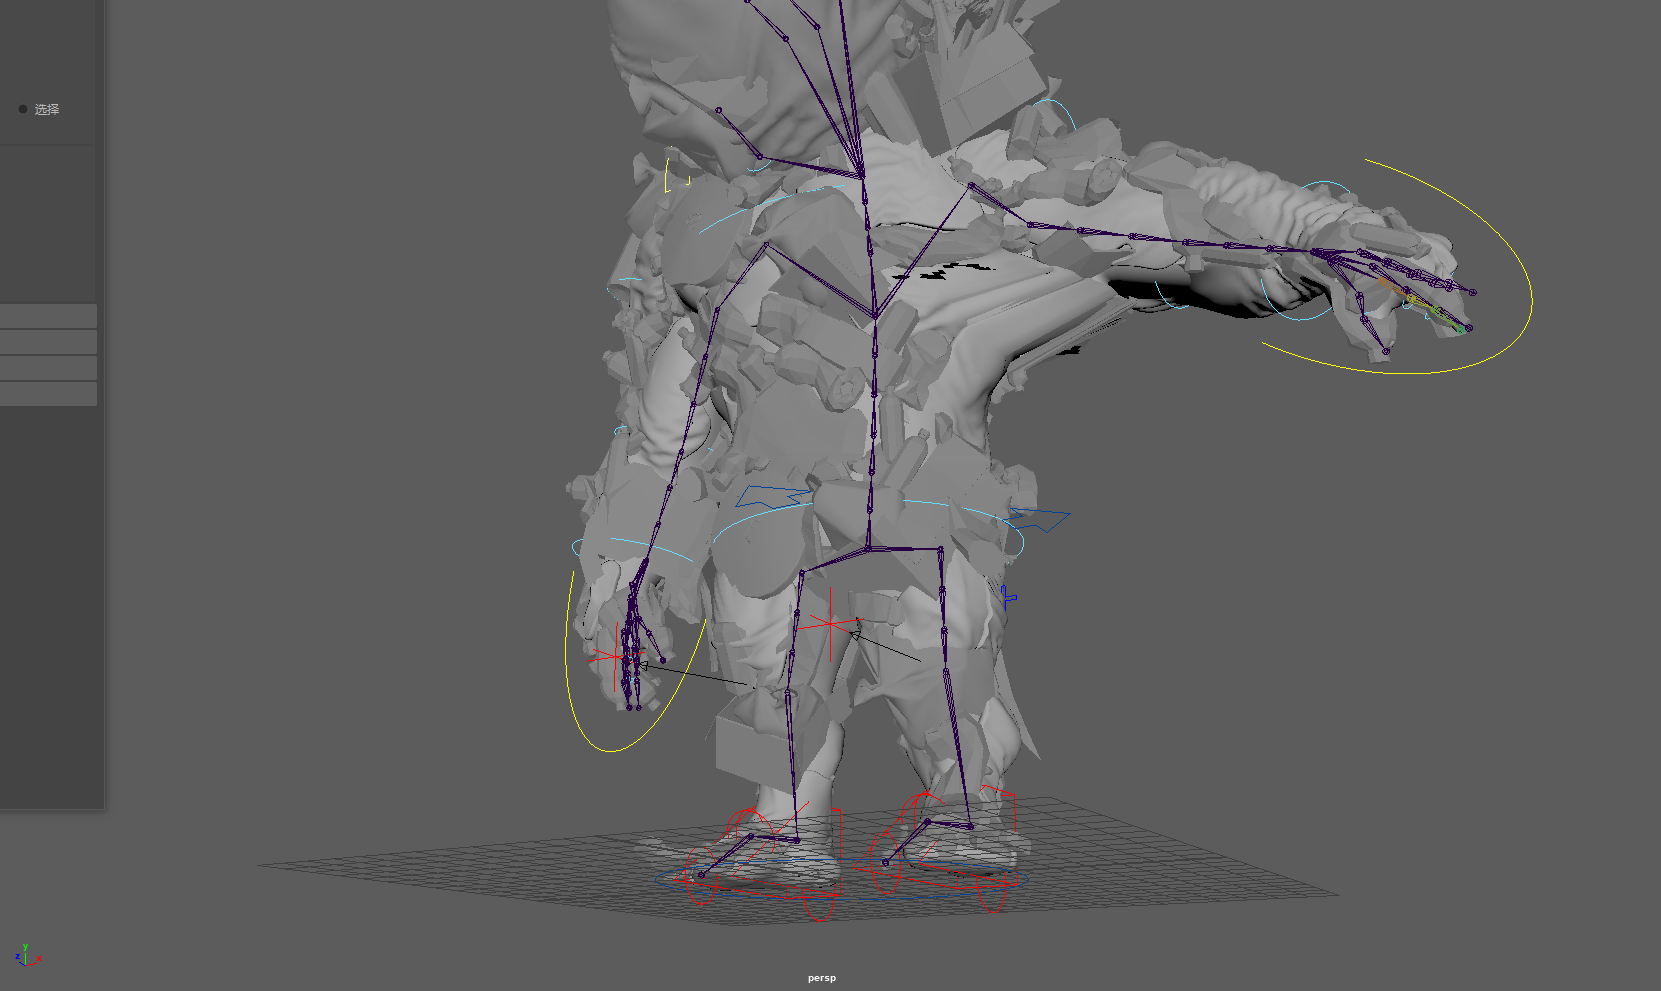
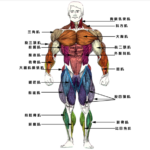
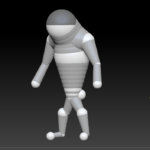
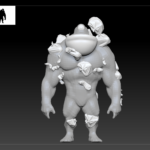
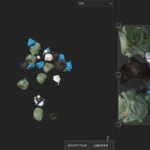
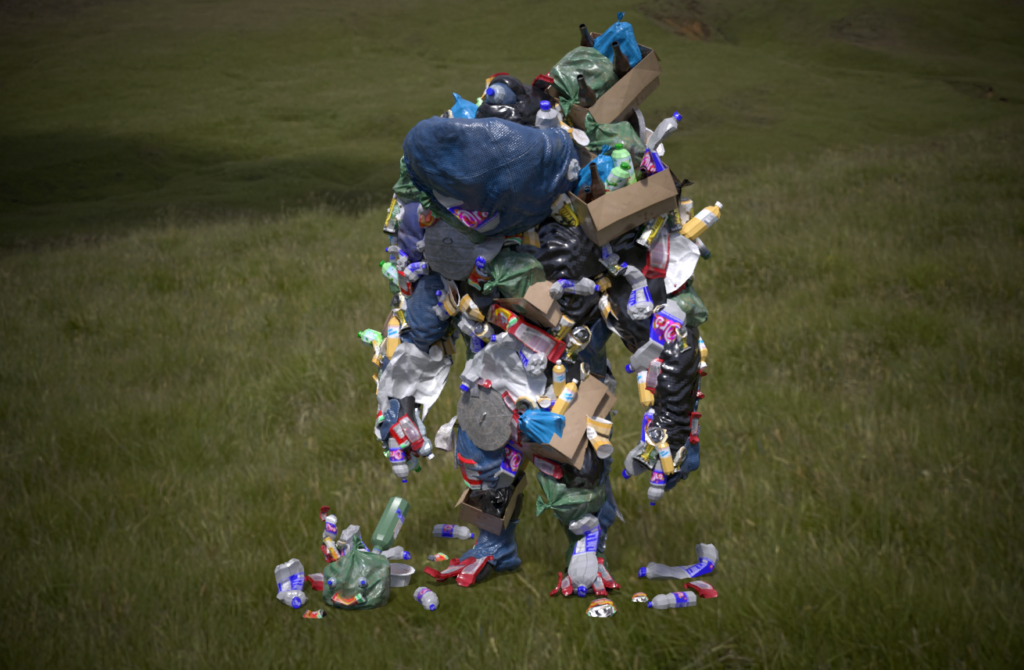
Start by adding an overall character skeleton to the Human IK panel, then constantly adjust and add joints and positions that fit the monster based on its shape. Also, when creating a hand skeleton, consider whether the hand skeleton is divided into four fingers, and the space between the fingers determines the Angle at which the skeleton needs to rotate. Thus, you can create and bind bones without modifying their rotation, but you can accept position information. In the process of creating fingers, there is always a certain curvature in the joints of the monster’s bones, and you should try to avoid breaking the first rule when adjusting him. When crafting skins, automatic brushing of skin details is often poor and requires additional adjustment of monster weights.
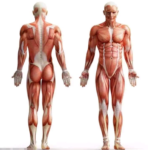
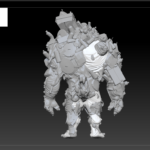
While learning how to control monster bones, I also learned reverse dynamics and forward dynamics in 3D animation. Forward dynamics is necessary to create detailed circular motion, as it requires directly setting the rotation of each joint of the garbage monster. Reverse dynamics is necessary to create direct target motion because it only requires setting the position and direction of motion of the end joint in the joint chain. To position the joint chain, rotate each joint one by one. For example, in order for a joint chain to reach a specific location in space, each joint in a keychain must be rotated one by one. To do this, you will first rotate the parent joint of the joint chain, then rotate the next joint, and proceed along the chain in turn. In this case, I often make mistakes in the parent-child joint, but this can be tested repeatedly to know whether the joint position is in the parent-child position or the parent-child position, so the statement in this part may not be very clear. When using forward dynamic animation of bones, Maya adds joint rotation starting at the root joint, followed by subjoints of the root joint, following the skeleton hierarchy.
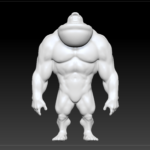
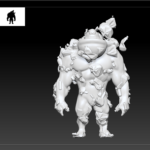
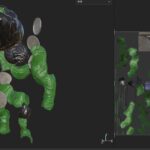
Due to the complexity of the monster model, multiple joints need to be created close to each other (using short bones) to ensure smooth movement of the joints when animating curves. Especially when it comes to creating monster foot bones, it’s a very complicated system for me. You need to look at the position of the human foothold and then control the foot. For example, when walking forward or backward with the bone of the foot raised, move the feet back and forth alternately, with the pelvis always centered on the foot in the forward and backward direction. This is often prone to control errors. When creating the control joint for my left foot, I first selected the RightFoot joint for ease of use and then hid it by pressing Ctrl+h on my keyboard. Go to the side view and select Animation> from the main menu
When the controller is able to control the movement of the skeleton, the skeleton needs to be bound to the monster model. I’ve been trying this part for almost two nights. Since the monster models were made up of a lot of junk and were not created with the need for subsequent animation in mind, the models were not as standardized as in the video teaching. So, the whole night, 2 repeated mistakes, very painful, let me almost want to give up, animation always has bones, the controller can control the bones, but the monster’s body does not move. At first, I thought it was a problem with the controller Settings, but in fact, the model is difficult to attach skin, and the model often has stretching problems.
AIW showed our performance work in progress to professors Jules and Andrew for critique. They suggested we simplify the workspace (Patch) of Vizzie, max MSP, and suggested a few ways to do so. For instance, using a maximum of four players, using movie folders, and the use of some coding to trigger videos. They also suggested using more effects because the content we already had was sufficient.
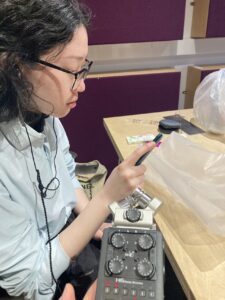
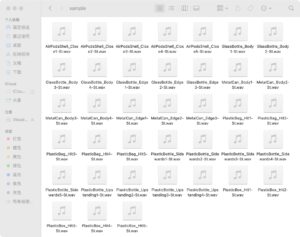
For sound, they suggested more ideas for creative plastic-like sounds, such as creating sound from jelly.
We also discussed equipment usage and room allocation requirements.
The narrative approach is that Alice/the audience is now inside the rabbit hole-in an apocalyptic wasteland. But the approach to our version of wonderland is original.
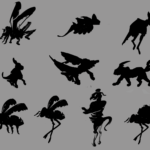
The narration is simple, because we are supplementing the viewer with multiple broad videos. Alice finds herself in a plastic wasteland made of fantasy elements, all the plastic is turning into jellyfish birds flying in the sky outside a house made of mushrooms. (This is inspired by the visual approach that Tim Burton has used in 2010’s Alice in wonderland). This is partly inspired by the fact that turtles eat jellyfish, and since plastic bags look so similar to jellyfish, they often eat the plastic leading to a decline in their population. (https://www.worldwildlife.org/stories/what-do-sea-turtles-eat-unfortunately-plastic-bags)
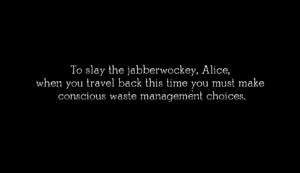
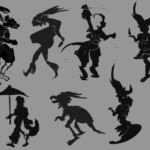
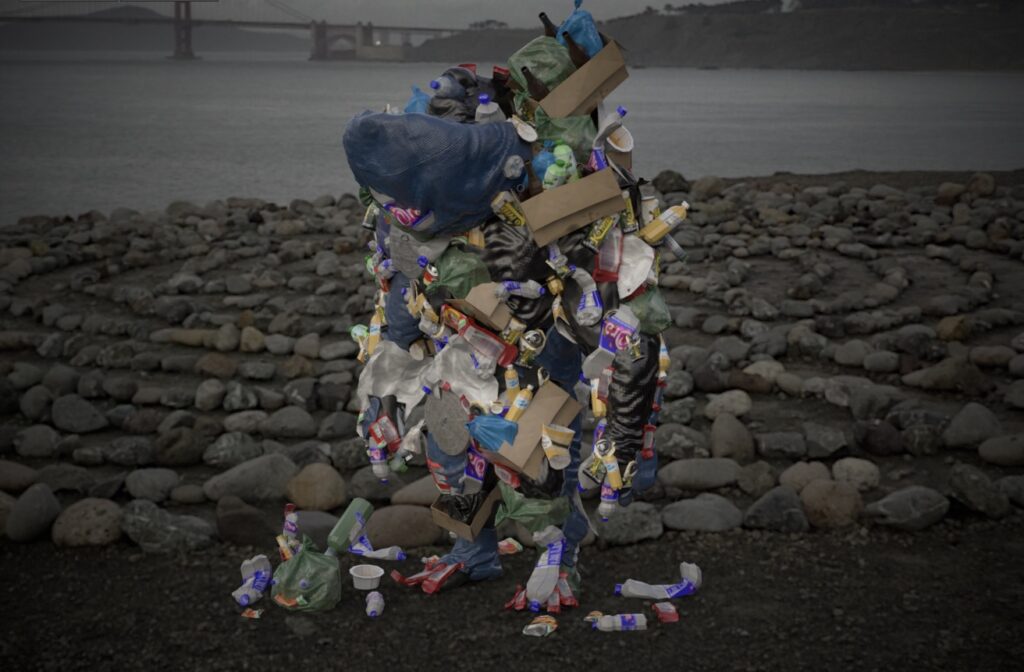
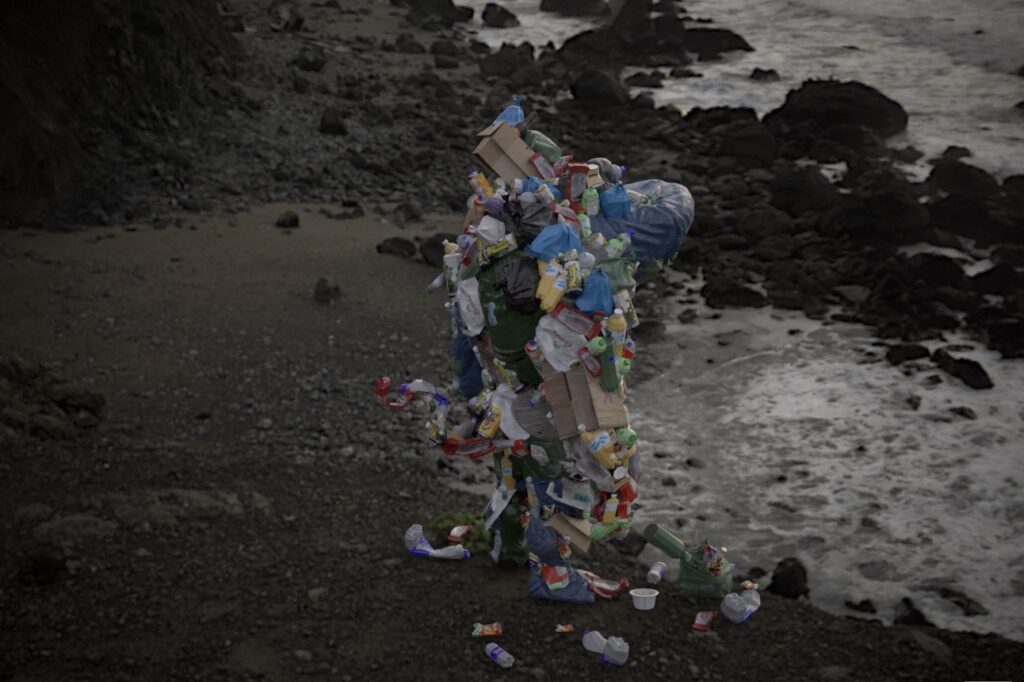
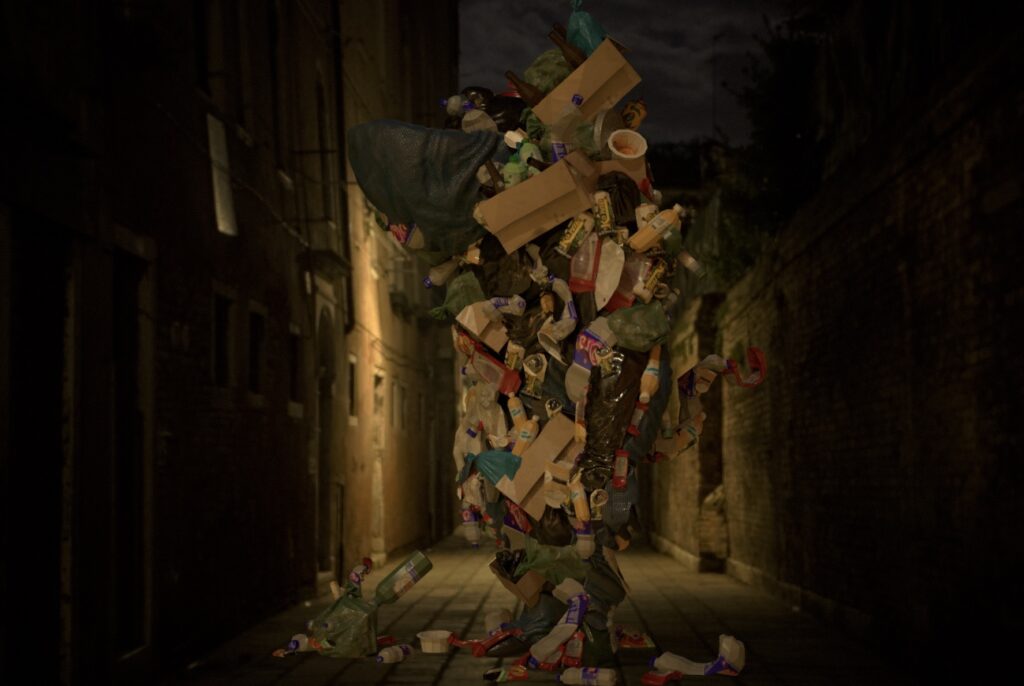
Alice then goes forward in time to the dining scene from the same movie, except it is set in a post apocalyptic wasteland. She is then showed that she is out of time-from the dangling clock video-and then transported to a barren land filled with hills made of garbage instead of rocks. It is here that the final monster reveals itself. Unlike how Alice slayed the jabberwocky in the movie, in our version of the retelling, she fails to undo the pollution and mass destruction humankind has caused. This is because at the current rate (time/clocks) at which we are going, we will reach a time when our actions cause irreversible damage on our planet.(Thompson, R. C., Moore, C. J., vom Saal, F. S., & Swan, S. H. (2009). Plastics, the environment and human health: current consensus and future trends. Philosophical transactions of the Royal Society of London. Series B, Biological sciences, 364(1526), 2153–2166. Found online: https://doi.org/10.1098/rstb.2009.0053). Hence the only way to slay the jabberwocky, i.e, garbage monster, we must travel back to our real world and this time, make responsible choices. This is supplemented with text (below) prompting the users to do so.
There is a portal in our performance that leads back to the first clip it starts with(My psychedelic rabbit hole portal followed by Shruti’s sunrise), forming a single loop, and hinting that Alice has left the wasteland.
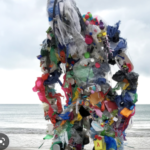
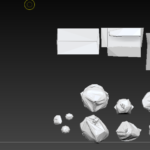
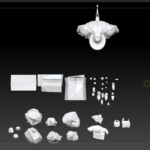
Owen McDonall and I, Vibha Jayaram, filmed videos of garbage by creating a set with black curtains. Midjourney was also used to produce images with some very particular prompts, all in 16:9 ratio. These included the dining set in a wasteland, the mushroom house, and the background for monster reveal. The videos such as the spirals and the fade ins/outs were sourced through http://www.pexels.com . After effects and photoshop were used to then alter these and convert them into a video format. These videos were then mixed using mixfaders on vizzie.
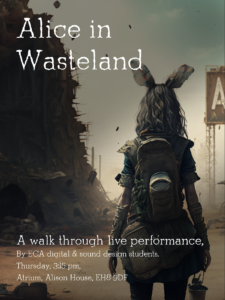
I also created the poster for the performance using Midjourney and photoshop. Towards the end, I helped make the brochure as well.
Tools used:
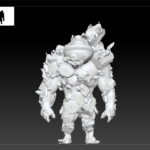
My work included the second half of the performance merging with Xu Yi’s garbage monster.
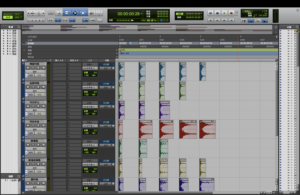
For that I mostly relied on Midjourney AI and videos from Pexels. I used Max MSP’s Vizzie for creating the visuals, and broke it down into two patches for better system performance. This was connected to a MIDI controller. I used a short throw projector on a back projecting white screen for the performance. Additionally, Owen and I shot some videos on his camera using a set we created using materials we sourced from ECA free store.
.
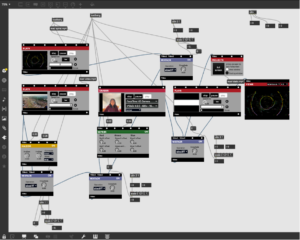
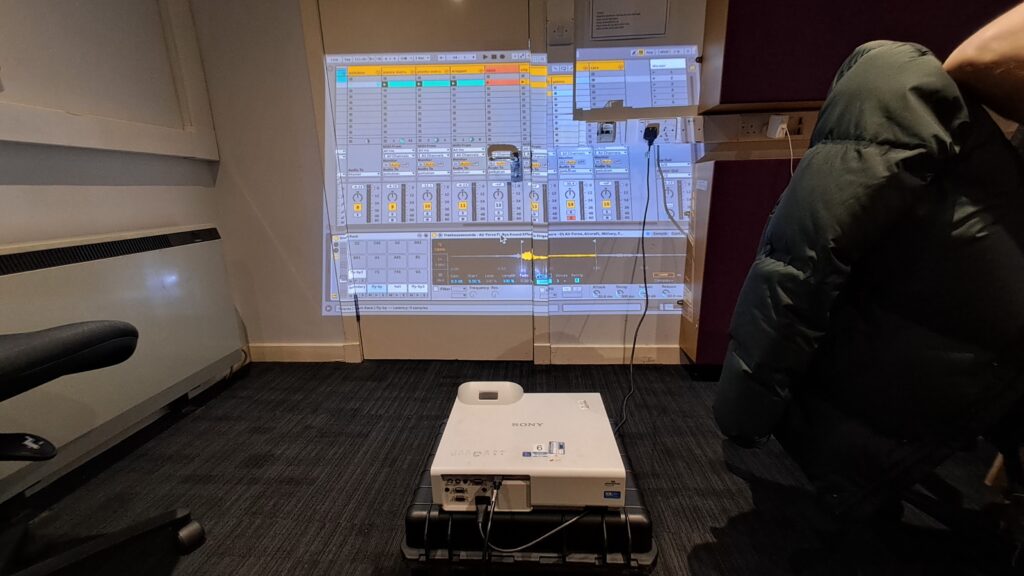
This is my first patch (I was trying to create a psychedelic transition into garbage land using kaleidoscopic effects and a camera (IPEVO documentation camera)
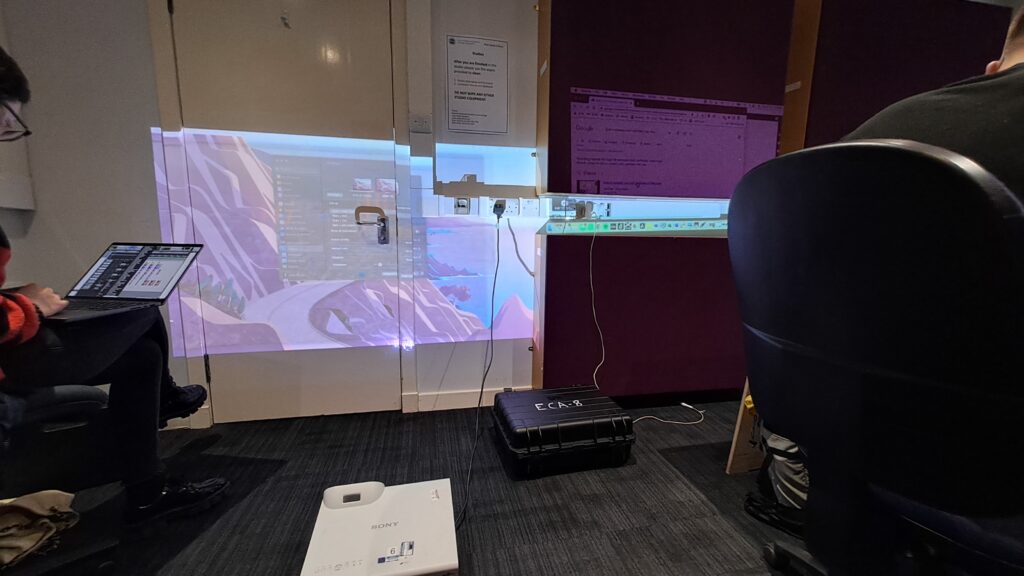
This is my second patch
Challenges
The beginning and end of my performance had to merge with Shruti’s visual and narrative approach. Since we were building something that formed a loop, we decided to loop the rabbit holes, which were a perfect way to break and remix the visuals. Hence, we had a rabbit hole at the beginning, and at the part where the garbage monster began forming and at the end of the performance.
I also had to effectively make vizzie patches that could run on my system without crashing, so I used movie folders as per the professor’s guidance. Unfortunately, I had to use two patches and switch between them during the performance. This was because I wanted specific effects on specific videos, and if combined, my system started crashing. This was a little tricky, because each time we practiced, I had to come up with a slightly different way to switch between patches seamlessly, and quickly turn the midi controllers to their set positions on time when the second patch started playing. It also required concentration and practice to switch between movie folders on time and remember the midi controller positions that operated the particular files.
The performance day
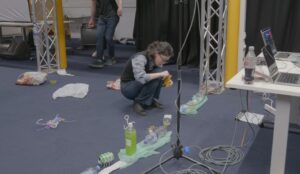
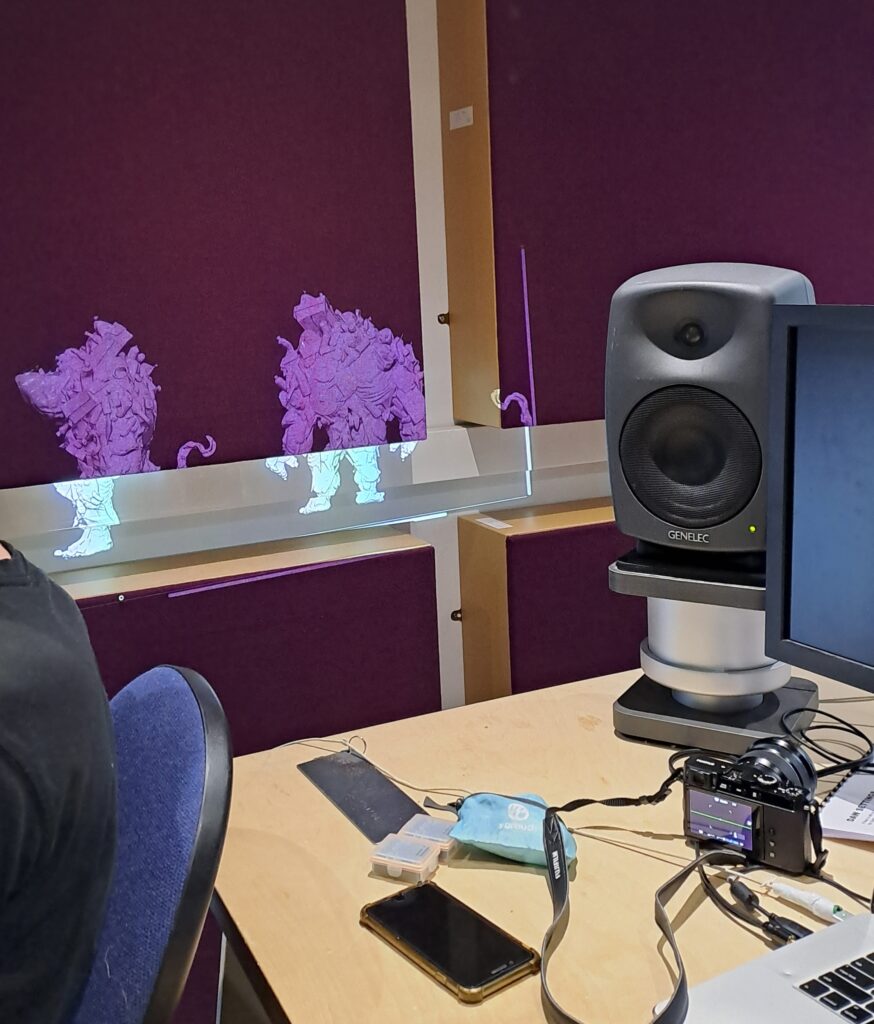
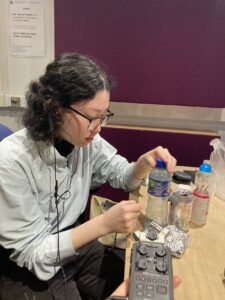
We had many instantaneous ideas on the performance day to build monsters out of the garbage we had gathered, and tie up bags on the entrance to give more character to the installation space. However, because of how dark it was, these details weren’t entirely visible. Mengru Liu had the idea to add candle lights to the monsters we made which made them more visible.
It took a lot of time for us to set up the room and get everything working. But right before the performance, my projector started malfunctioning. We had all just set up to do a trial run when a loose connection to my laptop caused the projector to project a blank screen and when I tried to fix that, it progressively got worse. It took around half an hour to get my projector to work but it was displaying the branding in big bold letters. Hence Xu Yi and I had to make the decision to merge our parts and play the visuals from one projector (her’s) instead of two.
Regarding the visuals, we were instructed to blend my parts with Shruti’s a little more, and we added the sunrise video to the end of my performance which worked great.
Reflections
We could have brought a few more bags of garbage and made an installation wall if we had time.
I learnt that one should always check if the tech is working first and then set up the space second.
Something will always go wrong and it’s good to have a backup.
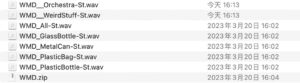
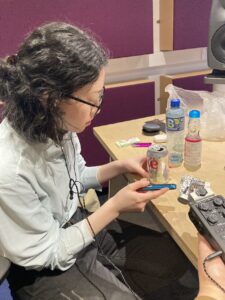
Here’s the composition I(Mengru) made by now. Including the ones made by garbage recording and one electrical loop to add the weirdness, and one orchestra-ish music for the natural part. Here’s the google drive link.
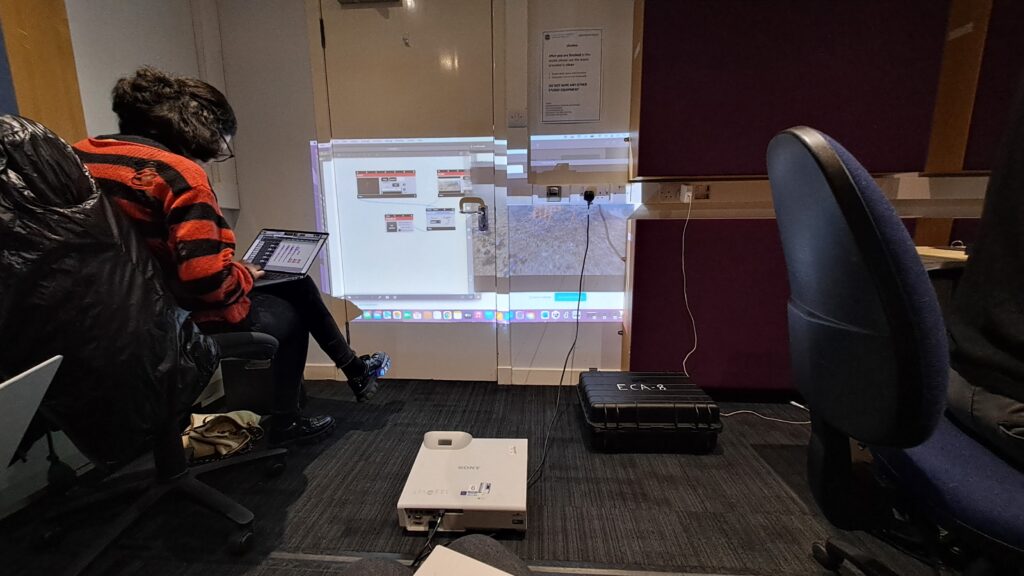
On Thursday, the 16th of march, we met up to test some prototypes. We booked a studio in Alison house, a midi keyboard, and two projectors – short throw and pico to try/test our work, and we heard some sound samples made by Mengru and Owen.
We also used this time to divide the work more specifically based on our strengths and also decided on our narrative.
Overall, it was a good meeting where we found our direction, and now we move into creating our parts for the performance!

 Adding a MiDi controller to control the changes/effects has been very useful and with practice, I feel a lot more confident.