Any views expressed within media held on this service are those of the contributors, should not be taken as approved or endorsed by the University, and do not necessarily reflect the views of the University in respect of any particular issue.
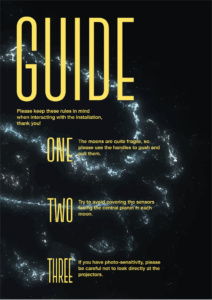
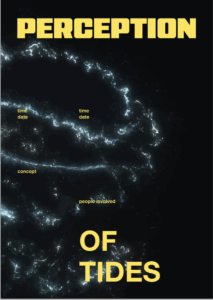
Yanis and I looked at more typefaces and settled on this compressed, tall one. I fitted it to the grid so it would sit nicely between all the information on the poster. As a group we also decided that we might need a small guide on how to use the installation as our models were quite fragile.
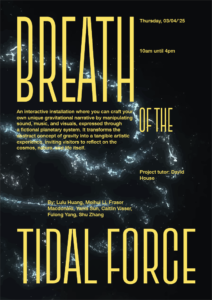
Everyone was really happy with the poster, and it really feels finished off now. It’s also nice to have a small souvenir of the project that isn’t an awkward planet model.
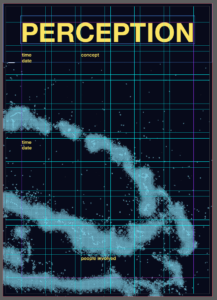
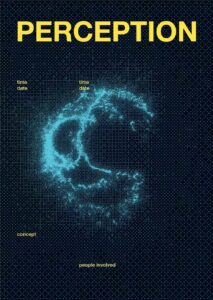
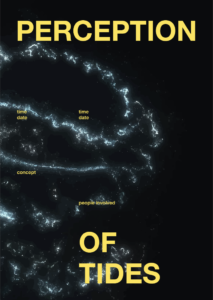
For the poster I made a grid system to juxtapose the flowy visual in the background. The bitmaps were very blue, so to contrast this I opted for yellow type. I did try a lighter blue but felt it wasn’t striking enough.
Grid system used
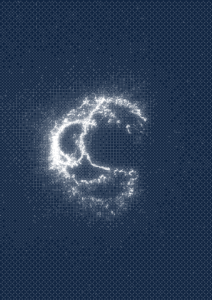
I did try a lighter blue but felt it wasn’t striking enough.
Blue type trial
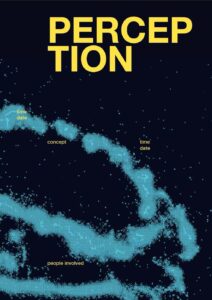
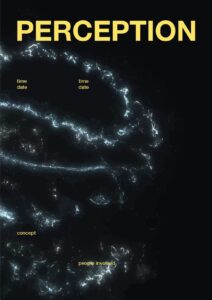
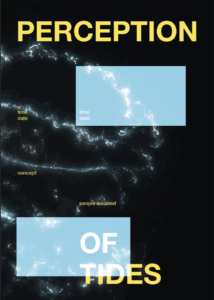
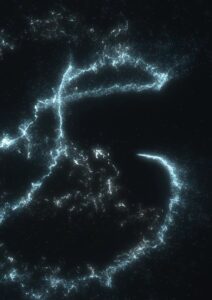
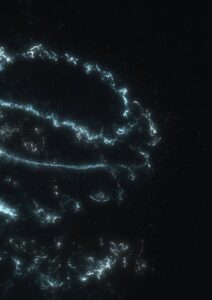
Then it was just a matter of finding which bitmap worked the best. I tried different layouts, both with how zoomed in the background image was and where the type was placed. I showed Yanis to get some feedback and he suggested adding squares that were inverted to further this idea of a different perception. But we both felt it wasn’t quite hitting.
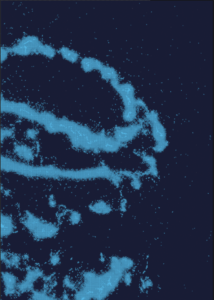
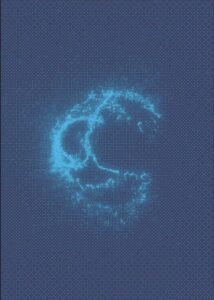
One issue with the bitmaps was that there were lots of little shapes, which did look cool but also made it look a bit like an optical illusion, and that isn’t the most comfortable thing to look at. This was happening due to there being lots of particles swirling around the central sphere shape, which were being recognised by the bitmap.
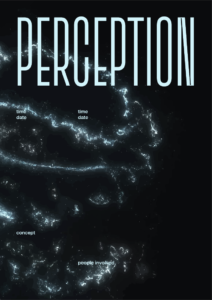
I took the original image of the Touchdesigner visual and image traced it in Illustrator. This also had lots of little particles still swirling, but were much bigger and less contrasting to its immediate surrounding, so made it so much more comfortable to look at.
Another thing we did together was play around a bit with different fonts, as I had just been using Helvetica as a base font. We looked at more digital looking typefaces, that felt more futuristic.
This whole process was something that I’ve really missed doing. A lot of, not only this project, but the course in general has been learning a lot of new skills. That has been great, but it’s always nice to just do what you know well. It also felt like a nice way to just decompress after working non-stop on the physical models.
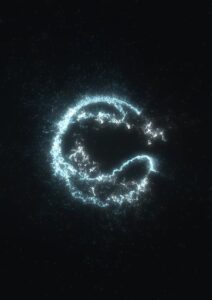
I decided to make a poster for our exhibition. I wanted to use one of Yanis’ visuals as the background of the poster. The problem was that he had to use the free version of Touchdesigner which doesn’t let you export anything at a high resolution. The solution for this was to put it in Photoshop and make a bitmap. I then cut out the white of the bitmap and was able to fill it with a different colour.
I tried some different options, and played around with the bitmap settings and subsequent colour combinations. This was a really fun process, and was finally something that I did know how to do.
We had finished the lava and air moon, so now we had to do the metal moon, the tracks for the trains and the central “earth”.
We had been told by the others that the tracks would need some type of system to slow down the trains. They were worried that the audience would want to move the trains extremely quickly, which would then cause a small delay to the data. We decided we would use wooden sticks and then secure the foam board sides to the sticks so the tracks would be separate, and thus easy to transport, but also create sort of speed-bumps for the trains.
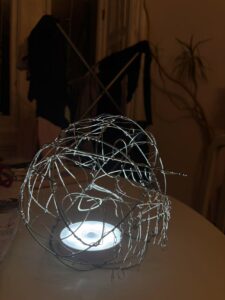
Yanis focused on the metal moon, using a balloon as a template to bend the metal wire to a spherical shape. He made it quite abstract and added small dangly parts.
Here they are all done:
Lastly, was the central planet. We used one of the transparent balloons and stuck our fake grass on top of it. We used some paper and kitchen towel to create a watery texture. We also put some UHU glue over this to create a layered, squiggly texture to look more like waves. We painted over it to represent grass and water, and the let it to dry for a while.
All of our models are very crafty, and slightly look like a primary school project. But that’s not to say that the process was very enjoyable, and Yanis and I in particular are very proud of the result. We had to do a lot of rethinking about how we were going to make them. We went through so many different ideas and had to constantly be problem-solving, which I would say is the real thing we took from it.
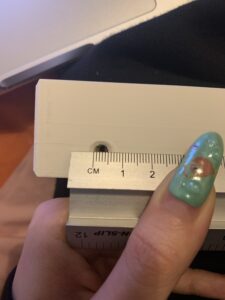
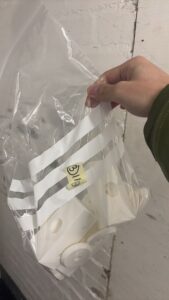
We had our trains (yay!) but now we had to assemble them. For some reason, the trains were printed slightly too big and we had already gotten screws to attach the wheels, which now obviously didn’t fit our prints.
I went back to my dad to see if he had any other screws, and luckily for us he is Bob the Builder, so that was solved.
Every time we completed a small task, it was a massive weight off of our shoulders. Lots of changes had been made to our concept, but also the requirements for the data collection, so we didn’t have as much time to create everything as we would have wanted.
We had to put our foot down at a certain point because the others responsible for the sound and data collection kept thinking of new ideas, which were great, but kept delaying when we could start producing everything. So that process was slightly frustrating on our end, but we understood why it was happening and tried to resolve all the issues they arose as quickly and creatively as possible.
Yanis had taken over figuring out Touchdesigner and had gotten the tutorial to work, the next step was to find a way to input our real time data. He and Lulu tried to figure it out, but it wouldn’t work. So seeing as Touchdesigner was not working out very well for what we needed, we needed to rethink how we were going to make our visual.
When we got our MAX tutorial from Jules, he had mentioned that Jitter was able to create interesting visuals. I looked into this as we had all our sensor data, sound data and orbiting planet data on MAX so it would probably be an easier process to input our data to create a reactive visual system.
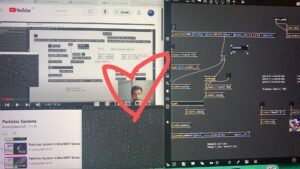
Again, Yanis and I are not familiar with MAX or Jitter, so I looked for tutorials that could help us. I found a tutorial series on YouTube that, again, worked with particle attractors with coordinates.
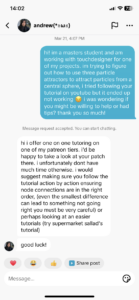
This is the only picture I took of me following the tutorial, and just really felt like this man was my saviour as we had been struggling so much with Touchdesigner and something was finally working in our favour.
It broke a few times when I was following the tutorial, so it was a real trial-and-error process.
How far I got with the tutorial:
I got to a good base with the visual, as the rest of the tutorials started exploring constantly moving attractors and different colour/textures, and I didn’t want to jump too far ahead if it wouldn’t work with our data.
The patch included a node for the attractor coordinates, and I had checked the later tutorials to see if he incorporated multiple attractors, which he did. I tried to figure out where I could customise these coordinates, but I didn’t know enough about MAX or our sound patch to figure it out.
I asked Lulu for help at this stage, as she had done a lot of the maths for our patches and knew how it was set up. I handed over my patch to her, with the tutorial link and she was able to figure out how to make it reactive to our data changes.
Lulu’s revision of the patch using our sensor data:
I’m not great at maths and could not wrap my head around how she managed it, but it worked. They were able to customise it to represent the different moon types too by changing the colour.
Originally our idea with the tracks would be that the sphere’s would be stuck to a pole that would be in a track, but we already established that this would be too hard and expensive. Add that onto the down-scaling of our set-up we brainstormed other solutions.
Yanis suggested maybe making a small cart, like a little train, so we could wheel the planets down our track. I looked at Thingiverse for options to 3D print these trains as building them from scratch would be too hard to figure out and we didn’t have much time left to make it either at this point.
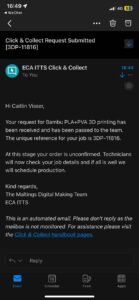
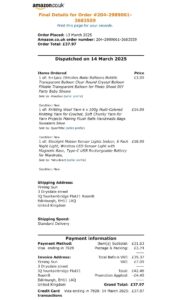
Yanis booked a 3D printer and was able to print one to test out, but it took a while to print. So I ordered it through the Click-and-Collect service at Minto House in the meantime, in case printing them ourselves would take too long as we were never able to book the right printer.
Unfortunately we didn’t take that many pictures of the first stages of building the models. It mainly consisted of covering balloons in paper maché so we would have customisable base for all two of our moons. The third moon would be made of metal and would be hollow, but I was still trying to find the tools to make these.
Originally our idea was to use the red wool we had bought to create squiggly shapes over the base sphere, and we were going to glue this down so the wool would be stiff and hold its shape. We started this process and quite quickly realised it didn’t work that well, and kept falling out of place as the glue wasn’t strong enough. We tried multiple different methods like completely dousing the wool in the glue and using super glue to glue parts of the wool together, but nothing worked so we decided to revisit it once what we had managed to do, had completely dried.
The earth planet we kept as the last one to do. We had bought clear balloons for this one, which were extremely hard to blow up ourselves, so we needed a pump. I was able to find one later which made the process so much easier.
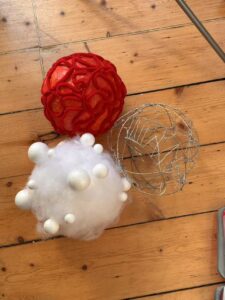
Once the bases had dried, we could customise them. Here’s what we did
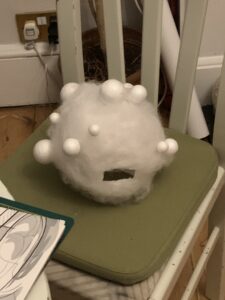
Air planet:
– added cotton stuffing all around it (I’m an avid sewer so luckily had some lying around from projects over the years)
– stuck different sized styrofoam balls on top to make it look lighter
Lava planet:
– checked the dried wool to see if it was usable; it wasn’t – it wouldn’t keep it’s shape and we would have had to use a lot of glue to further secure it to the base, and we only had half the sphere
– the base was quite soft, so I decided to sew the wool into the sphere; which was tedious but worked
– then we painted the base in a reddish-orange colour to look like lava
This meant that we only had the lava planet to finish off, and to make the metal and earth ones.
This process was very time-consuming, but also really fun. It took our mind off of other projects and we could just muck around a bit and see what happened. Yanis and I have had 2 meetings, each of about 3 hours, to make these models, and both times have put a movie on in the background to make the process feel less tiring.
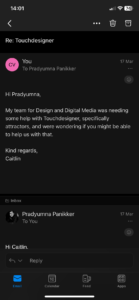
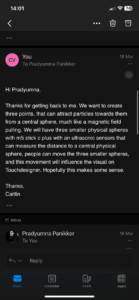
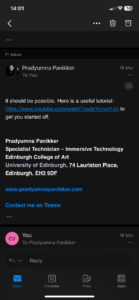
At some point while following the tutorial, it started not working anymore. I kept going back, retracing my steps, and even started again, but it kept breaking. So I reached out to Pradyumna for any help he could offer, as the tutorial I was following still wasn’t exactly what we needed. I explained our project to him and what we needed Touchdesigner for, and he suggested following the same tutorial I was already following. So it confirmed my suspicion that it would quite hard and specific to achieve what we wanted.
This then made me reach out to the creator of the tutorial. I had seen a few of his videos on TikTok before I had even started this whole project, so once I connected those dots, I figured he would probably be quite responsive on TikTok. I explained the issue and if he had any trouble shooting tips he might be able to share. Sadly, there wasn’t much he could do. I had previously taken this part over as Yanis was quite busy, but as I couldn’t figure it out, he has now taken it over and will try to follow the same tutorial and hopefully get better results.
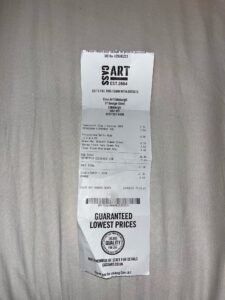
We slowly started to buy everything we needed for our physical model building. We needed quite a bit of material, and tried our best to use things we already had like paint, superglue, paper, etc.
We did need to buy some weird things too like fake grass for the earth planet and a foam board to create our tracks.
For a short while our plan was to buy a plastic mat to stick our foam board track sides to so we could transport it easily and make sure we couldn’t lose any tracks. We went to multiple hardware store to find a mat, but either didn’t find one big enough or cheap enough. We had to be quite strategic with how much we could buy.