1

Week 11: Overall Reflection

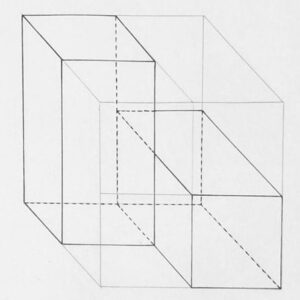
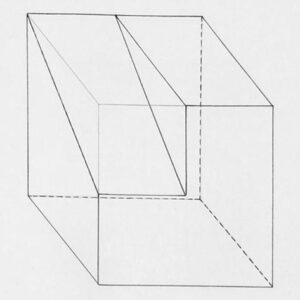
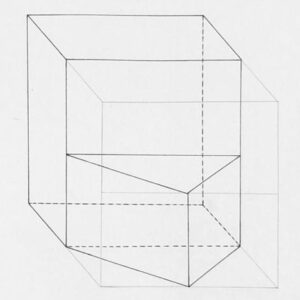
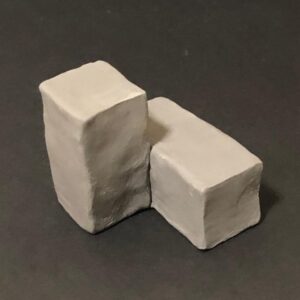
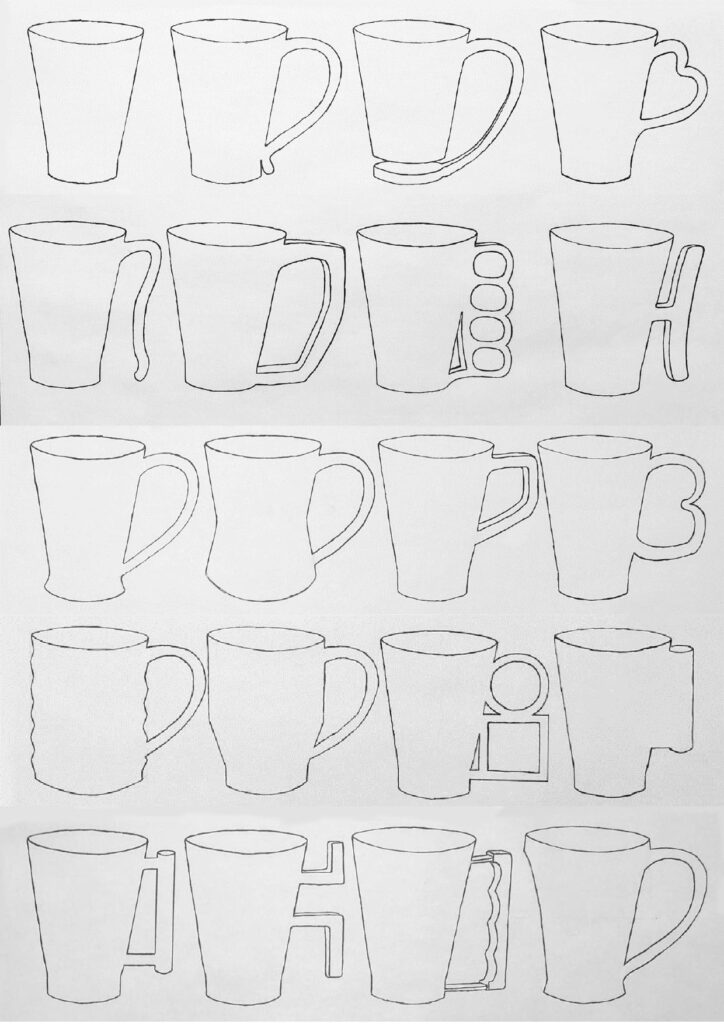
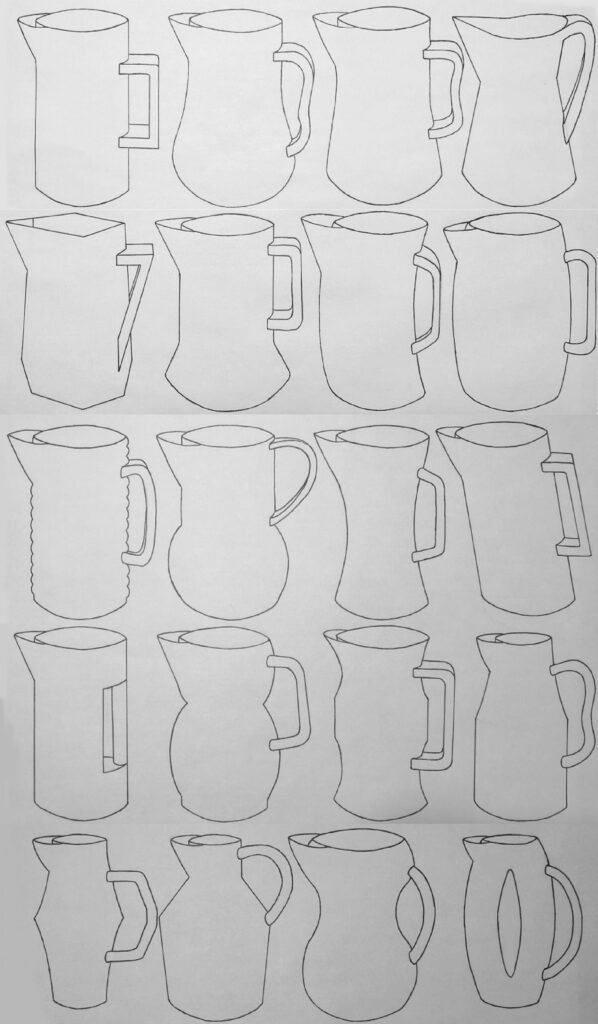
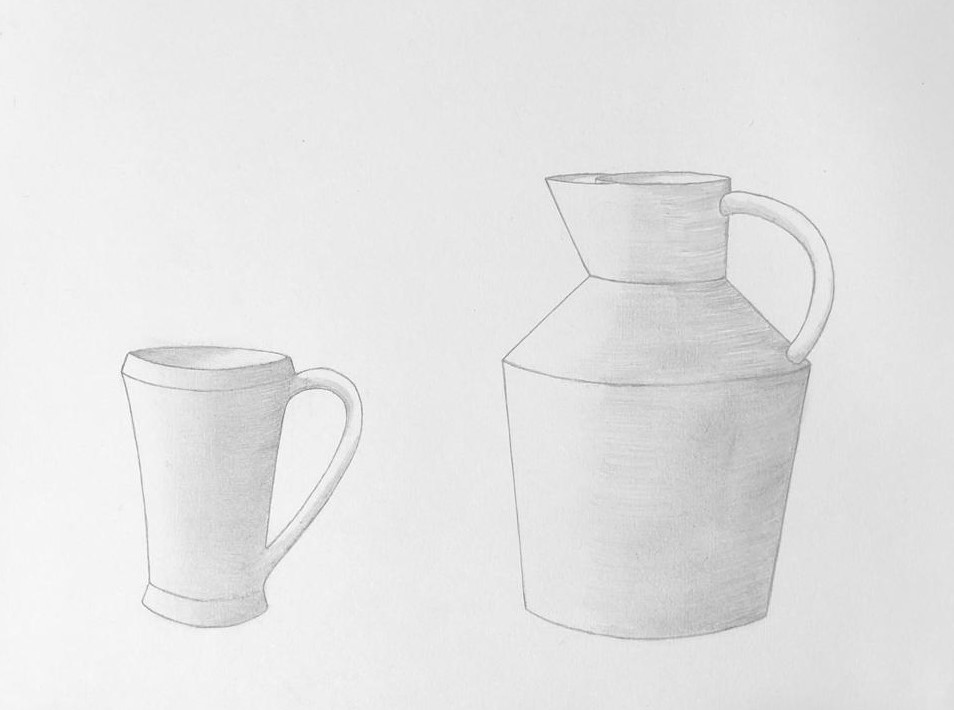
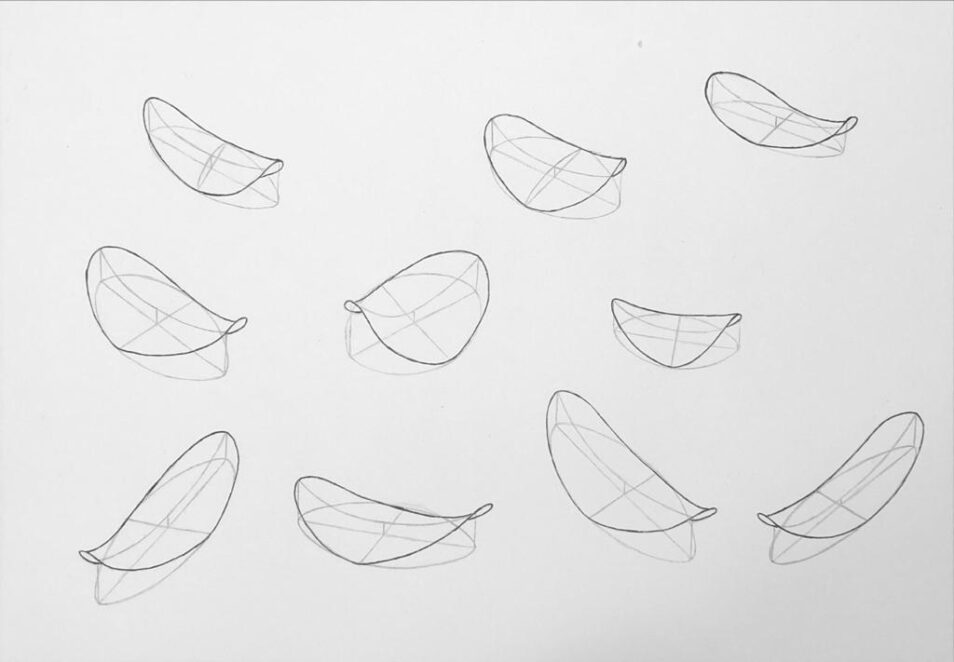
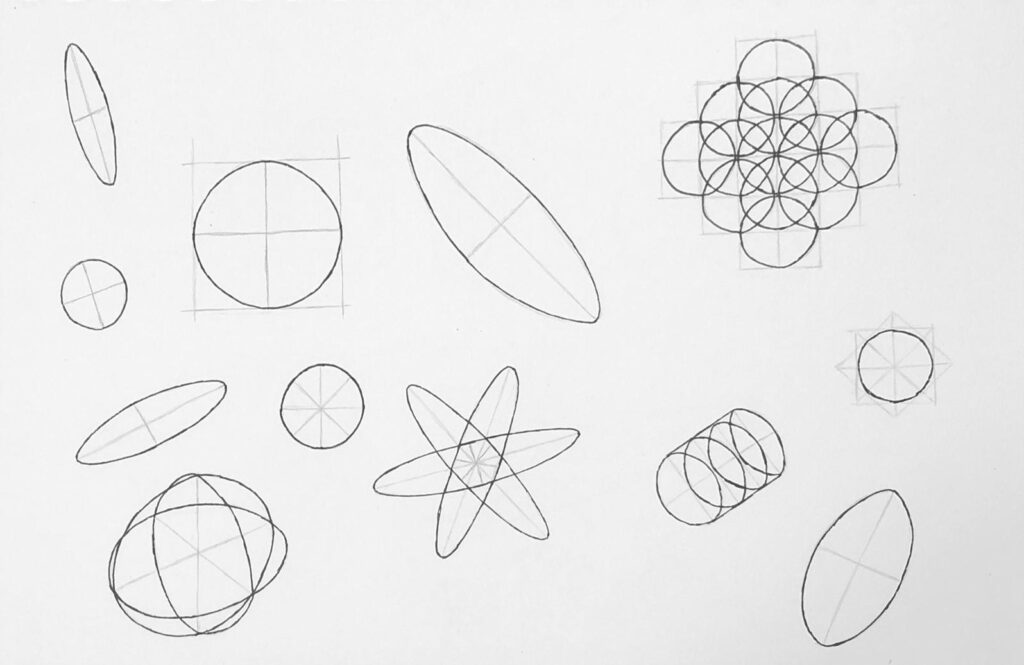
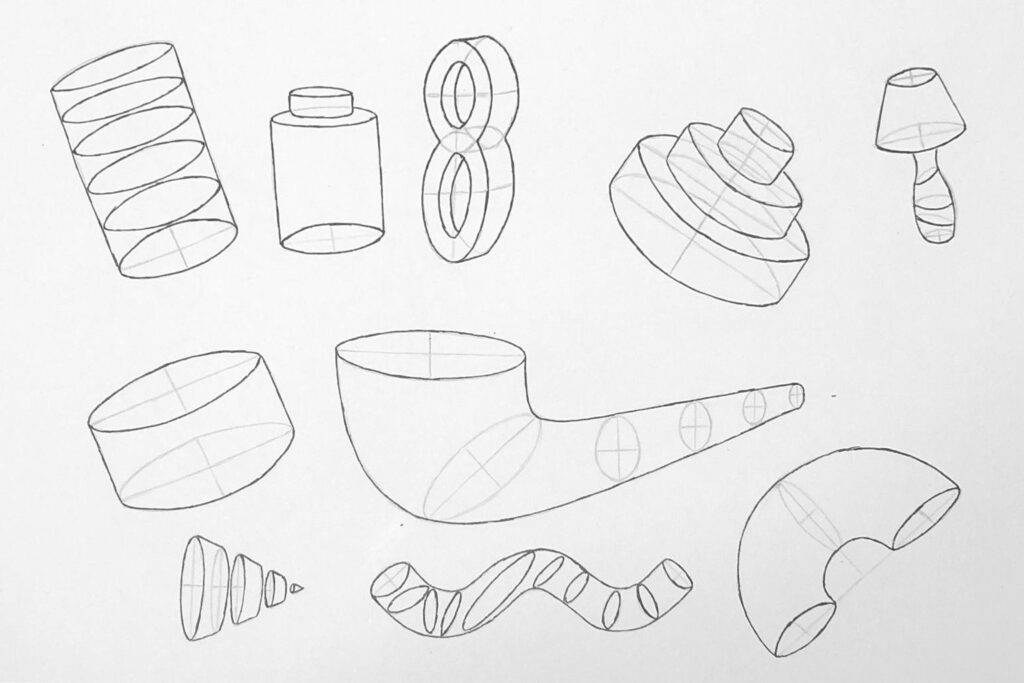
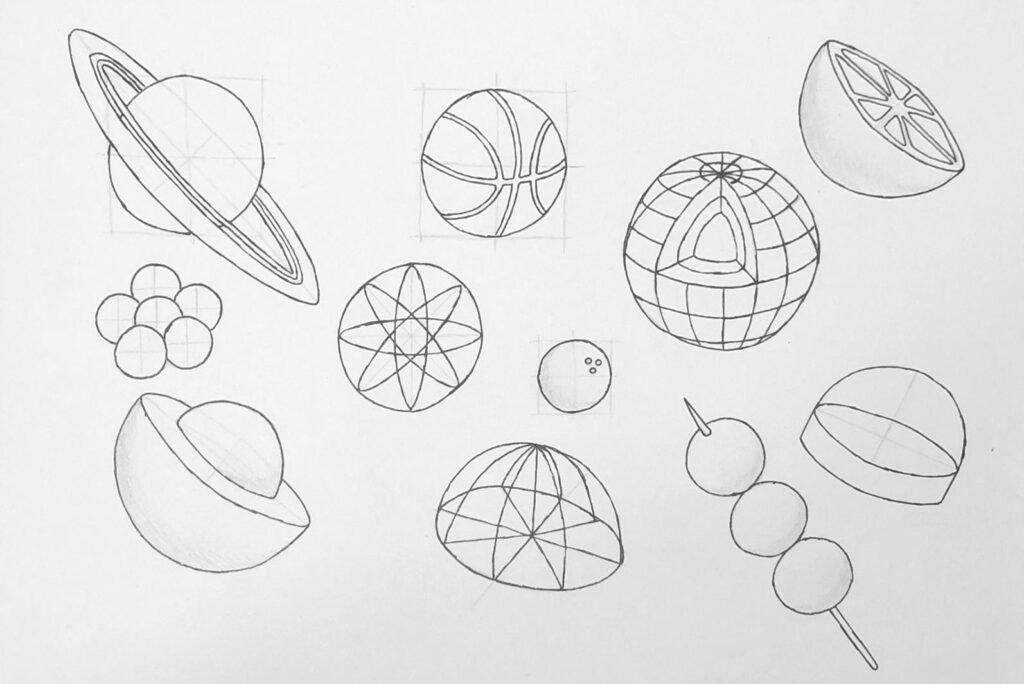
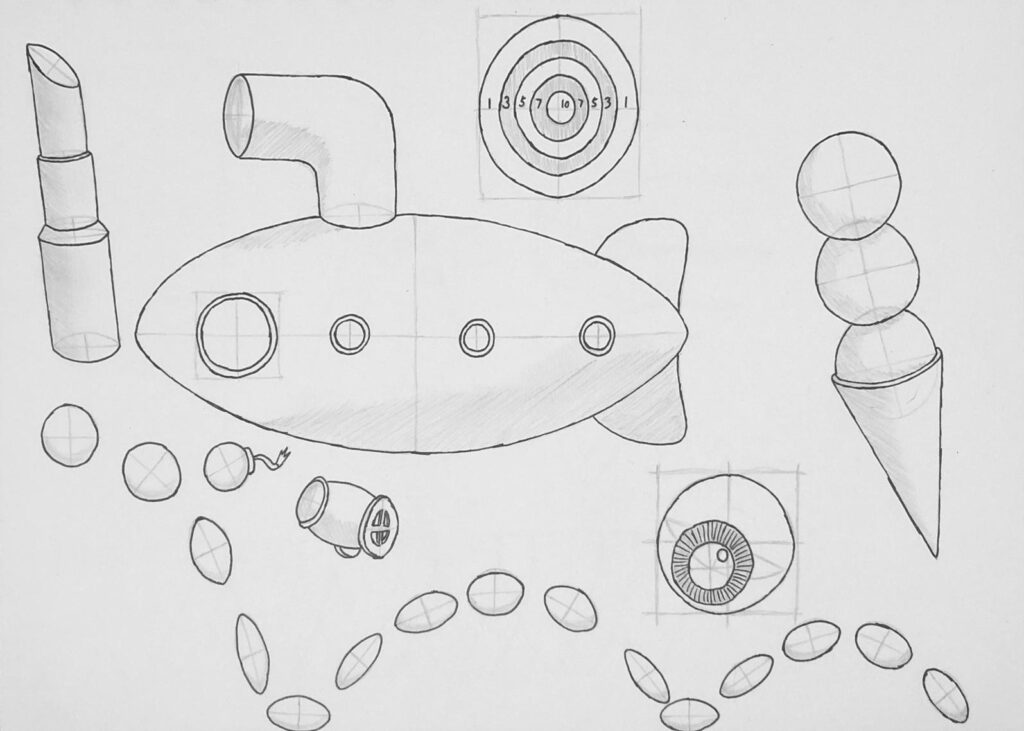
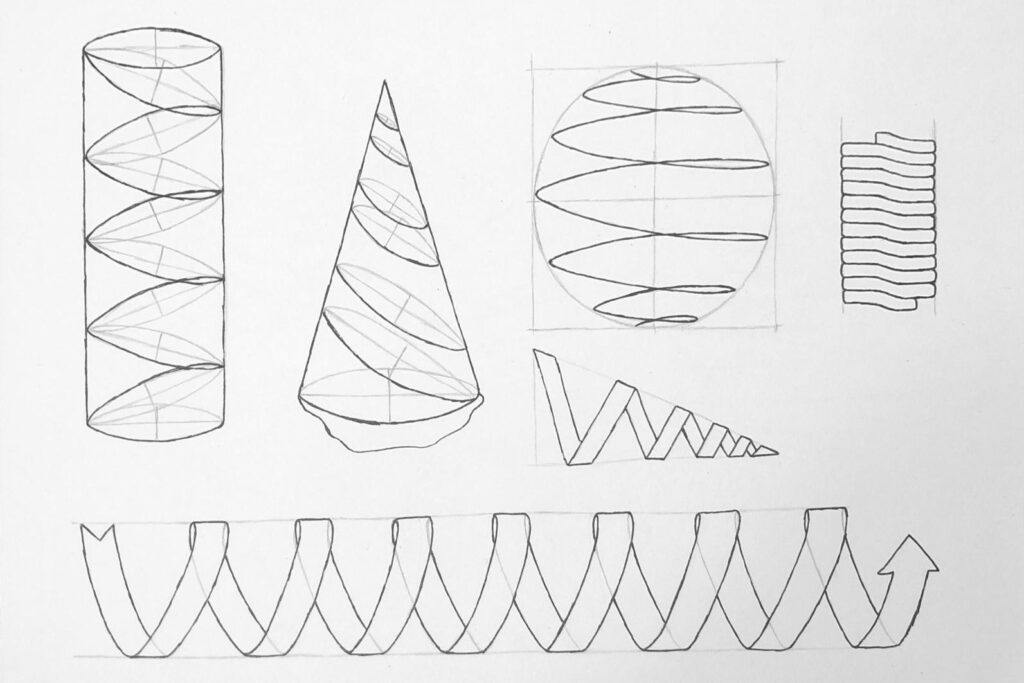
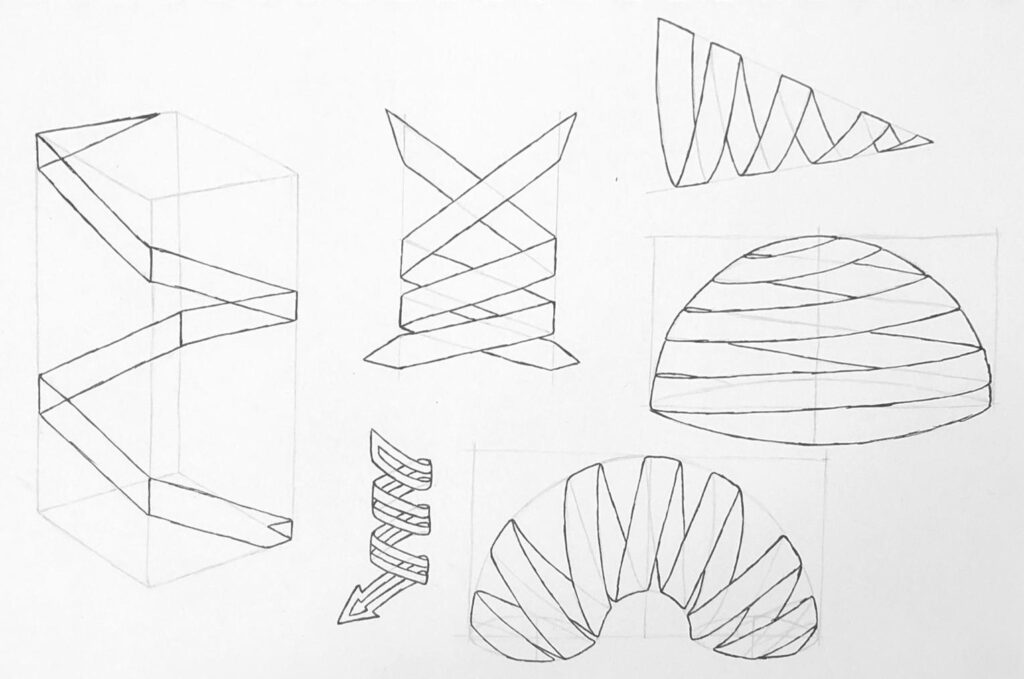
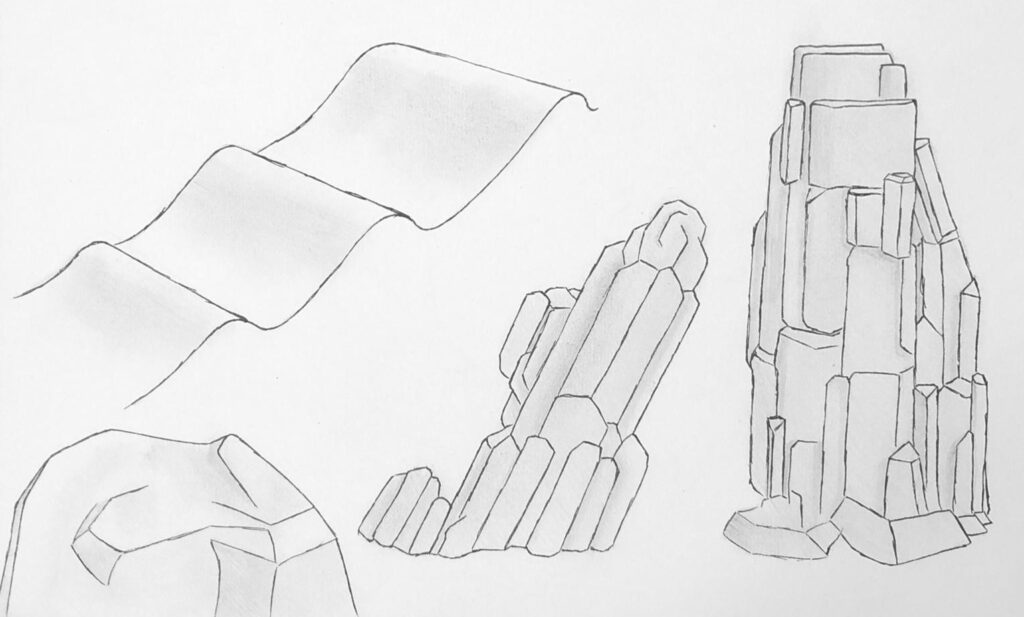
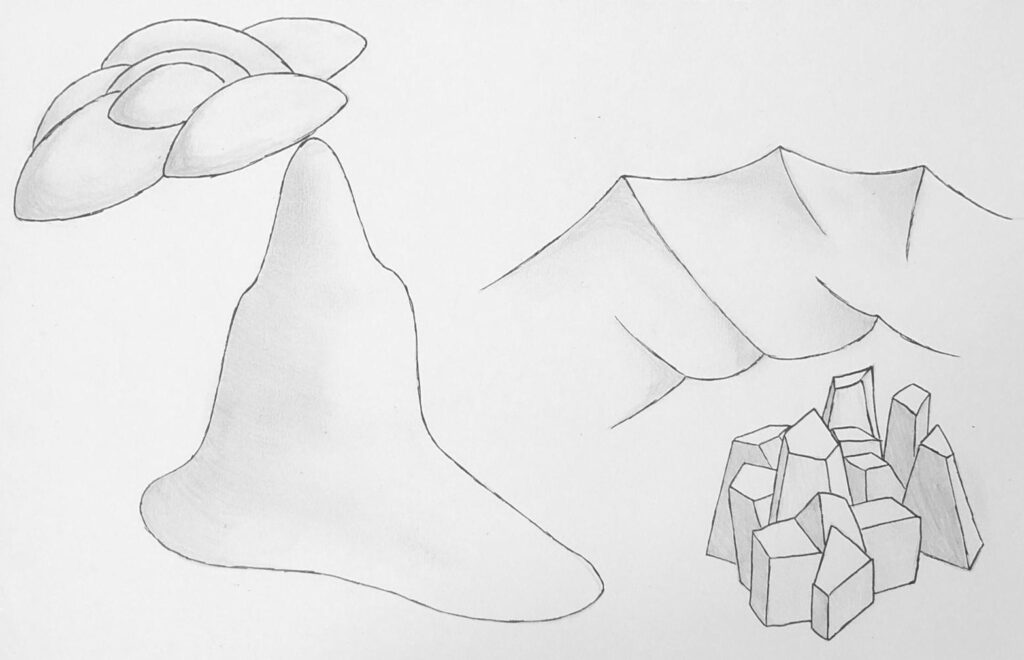
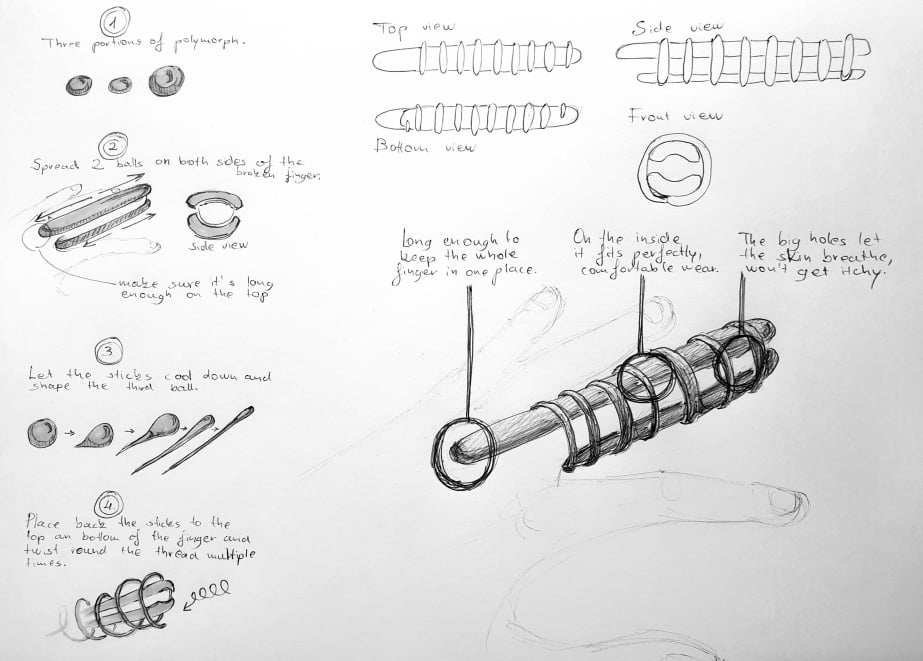
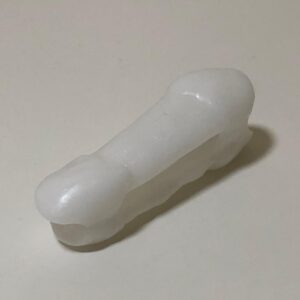
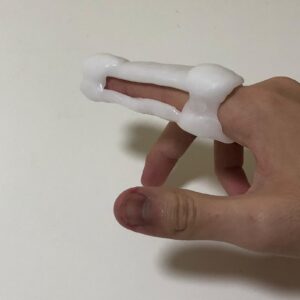
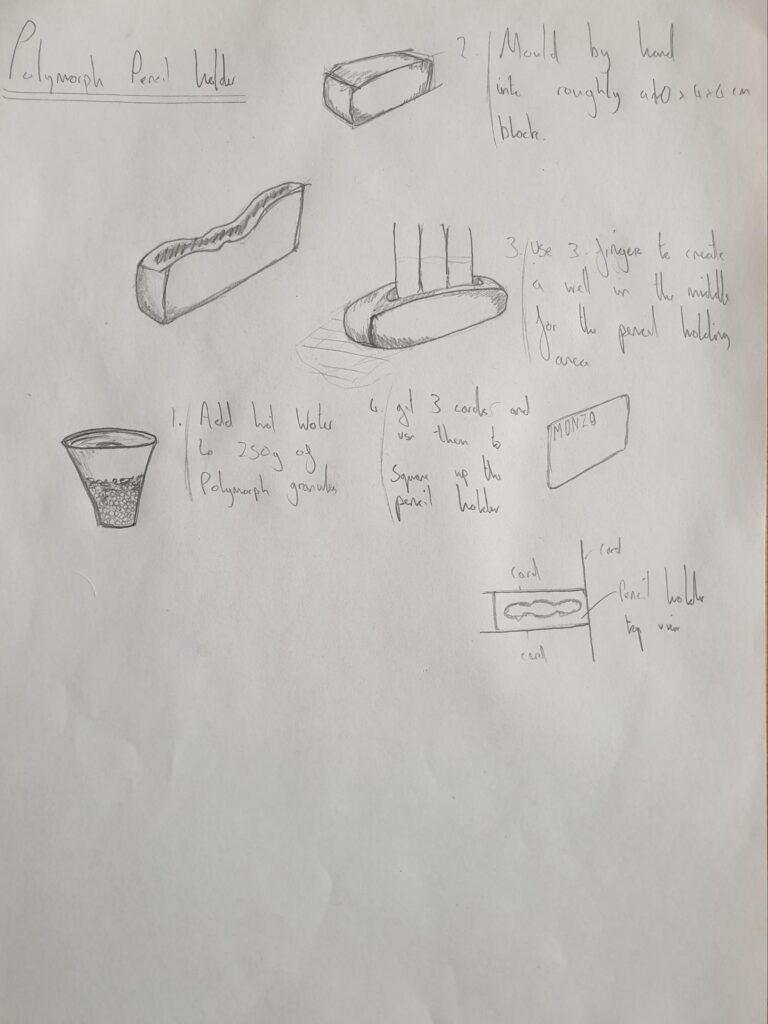
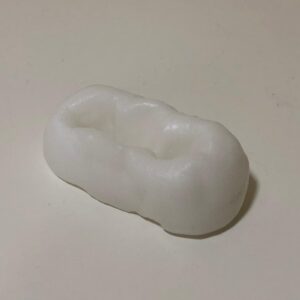
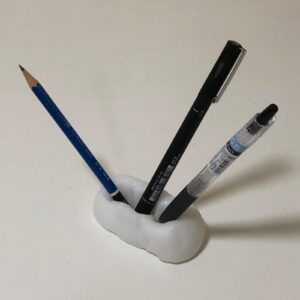
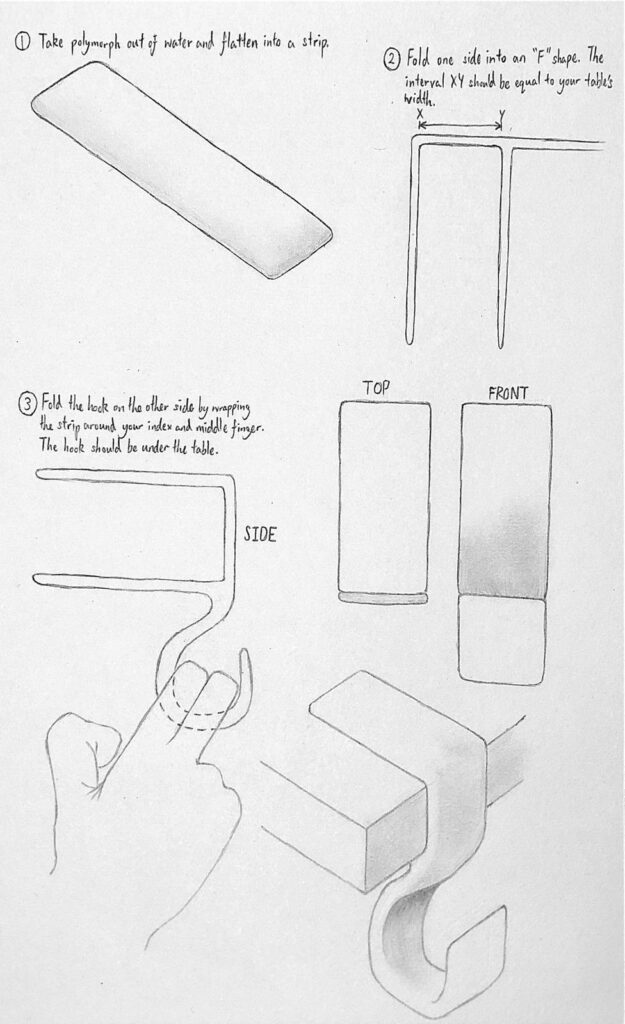
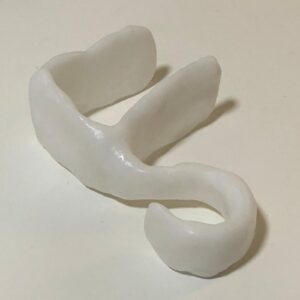
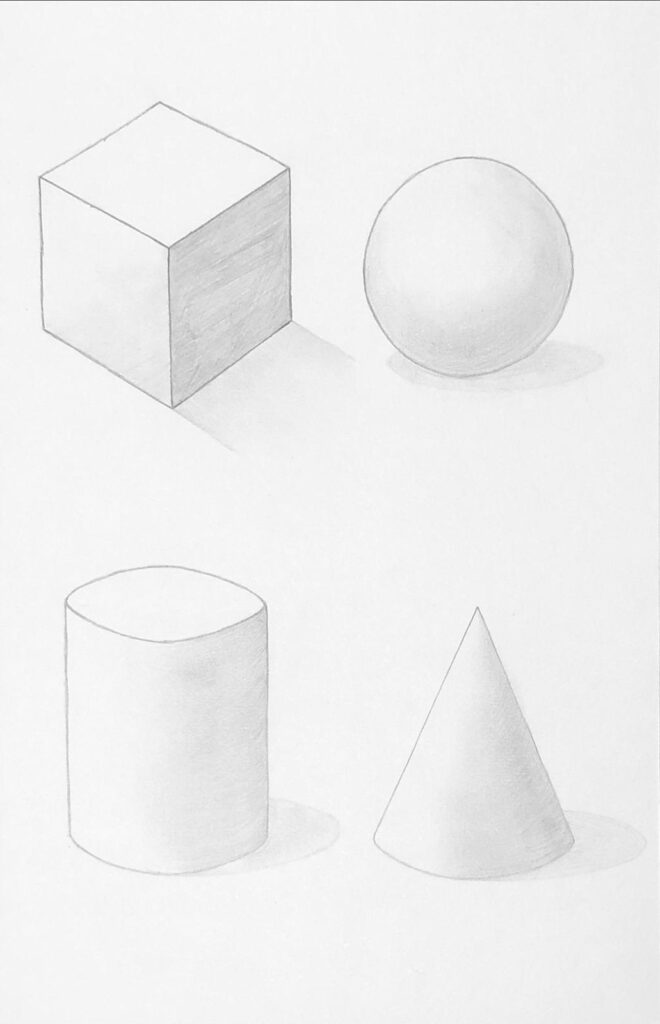
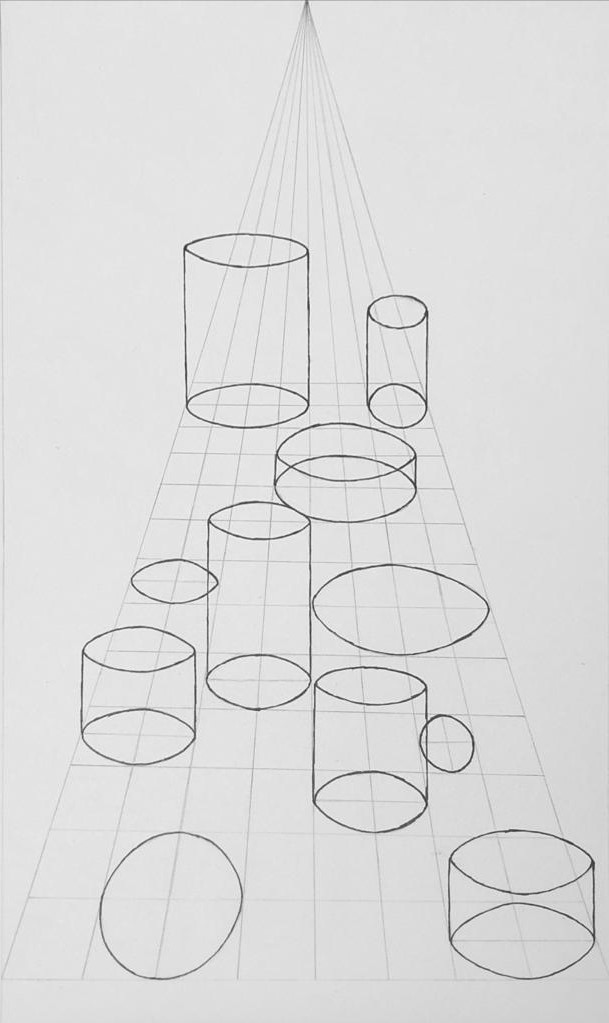
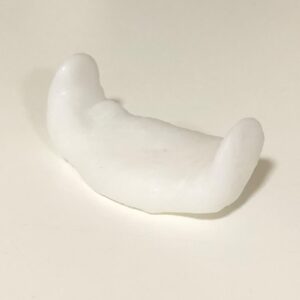
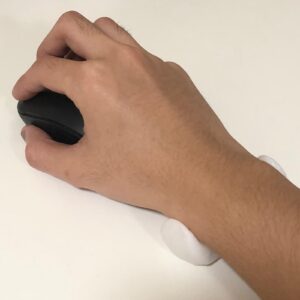
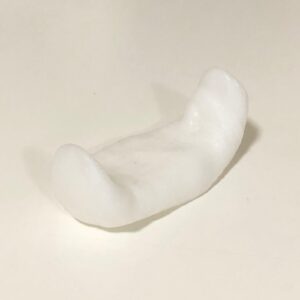
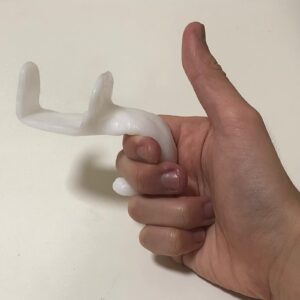
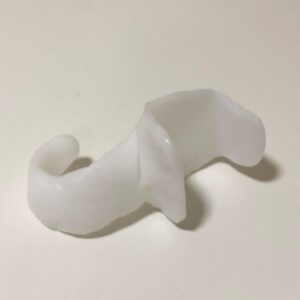
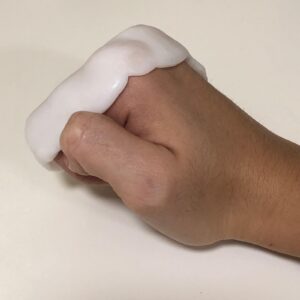
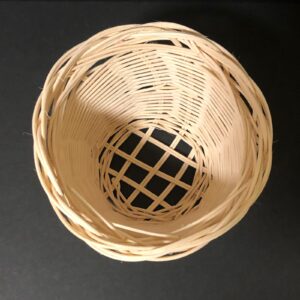
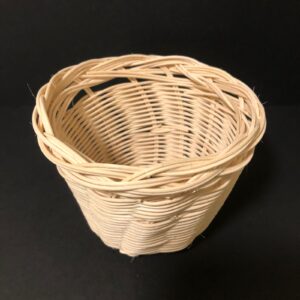
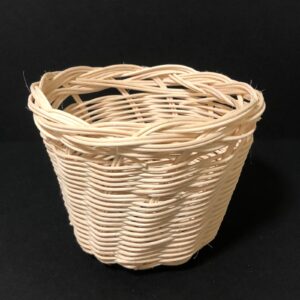
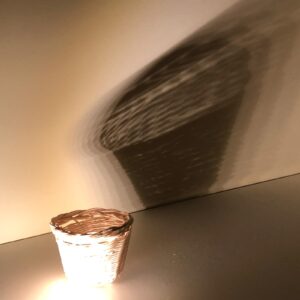
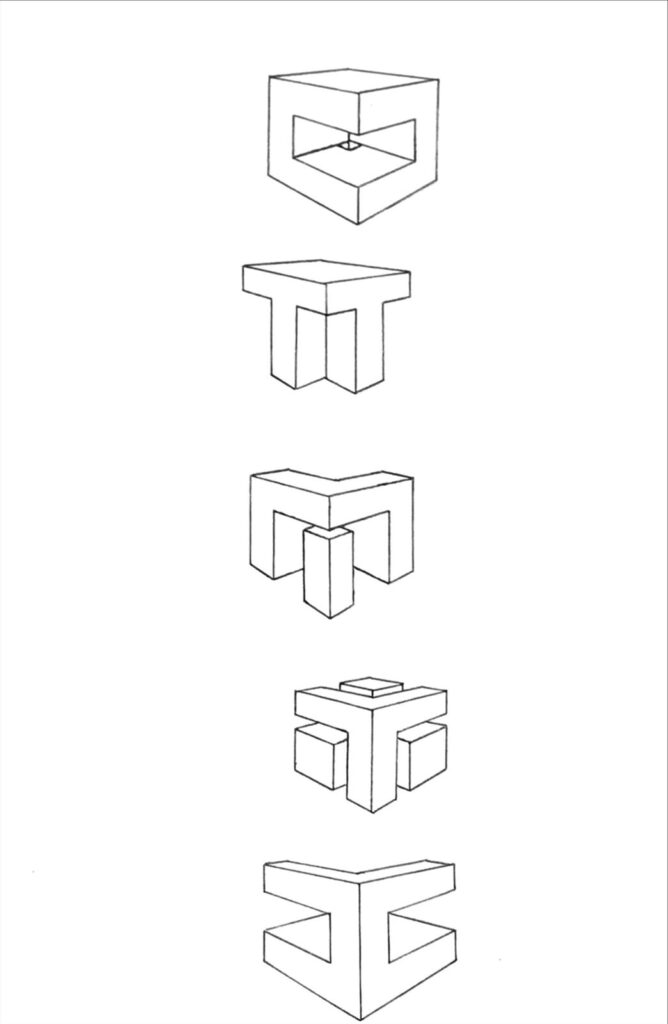
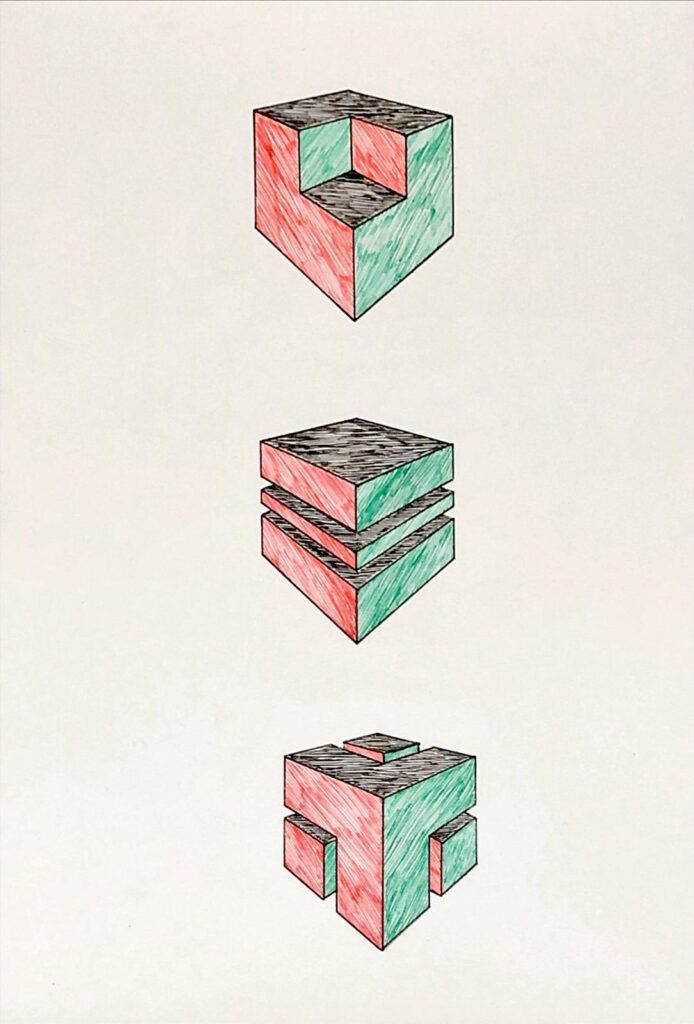
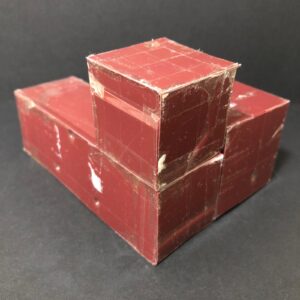
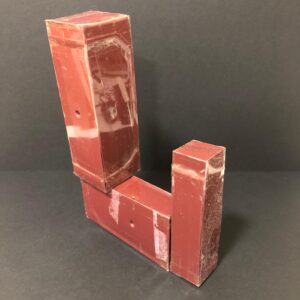
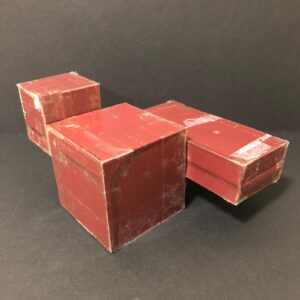
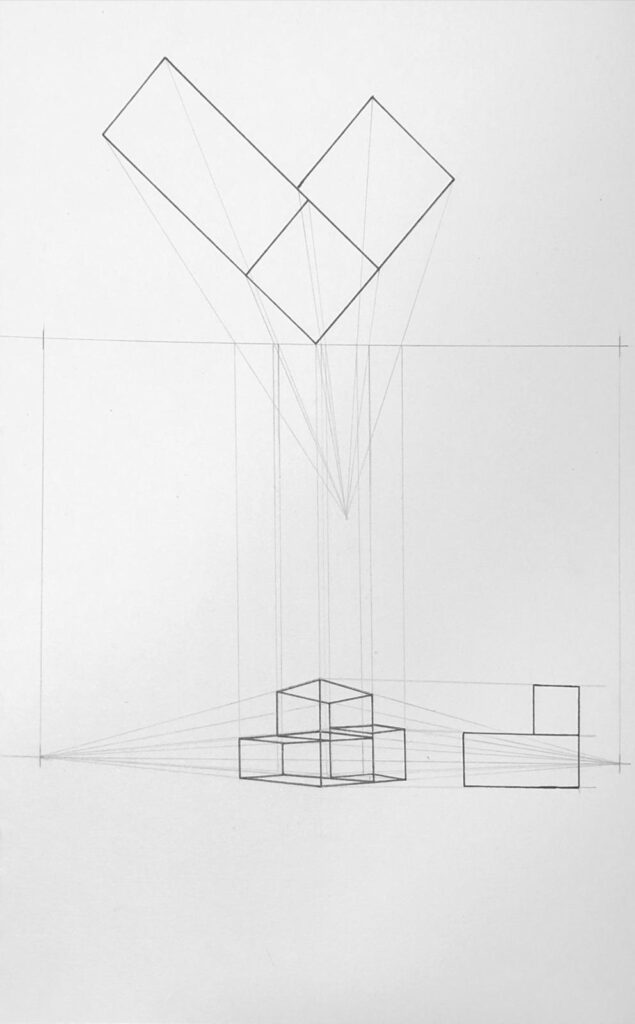
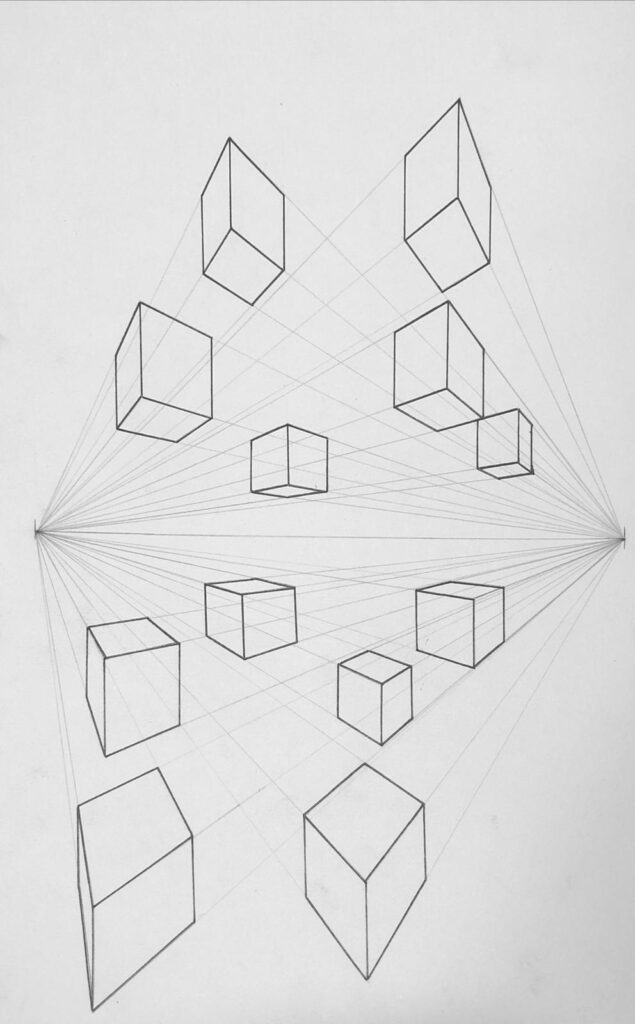
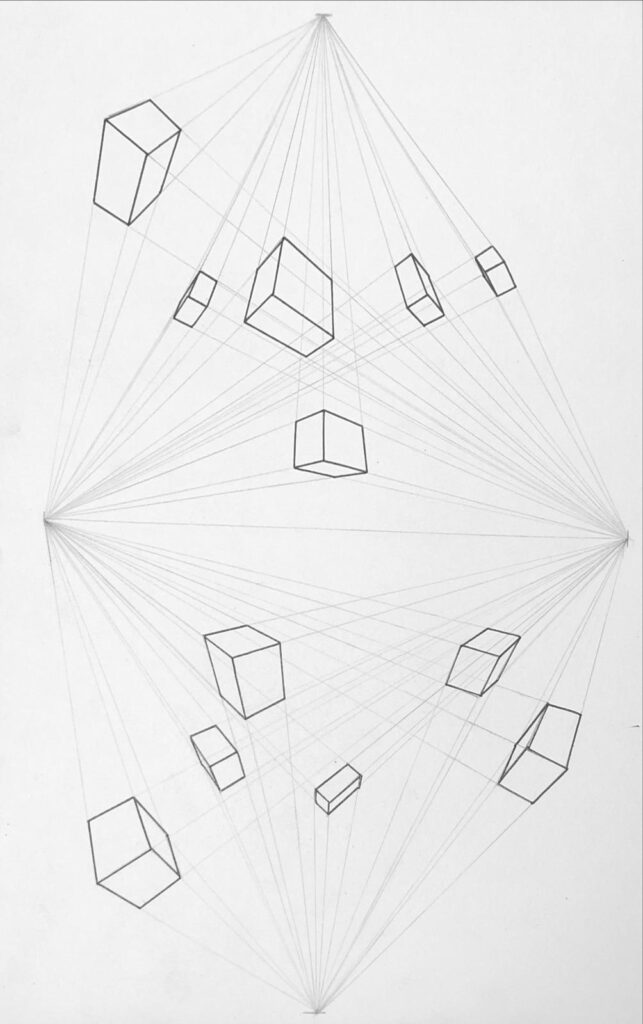
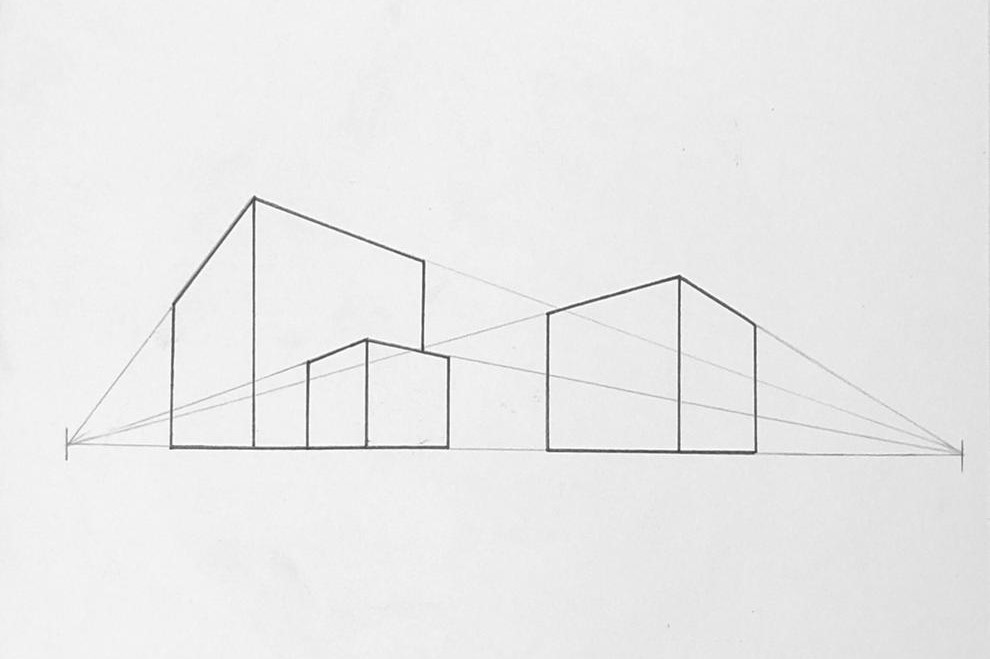
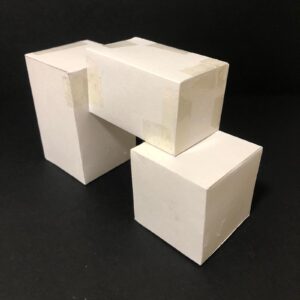
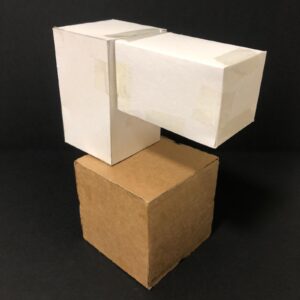
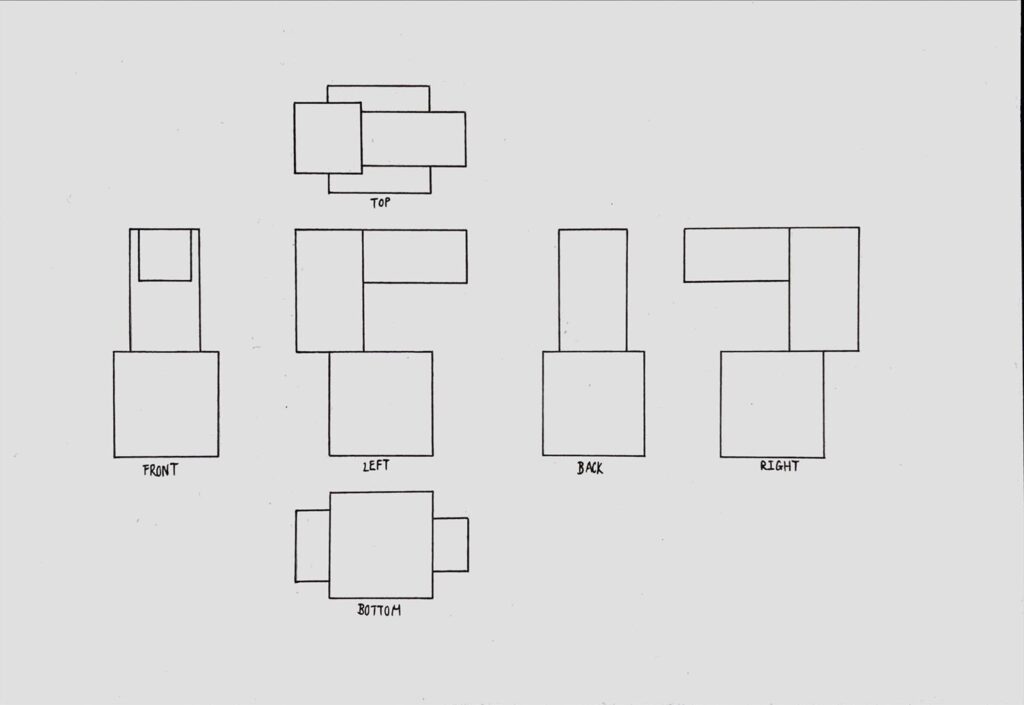
Throughout the 11 weeks in this course, I learned how to improve my sketches and different new sketching methods such as rotated plan sketch, 2-point and 3-point perspective sketching etc. Thanks to this course, I was also able to experiment with new materials such as rattan cane, polymorph and plasticine, broadening my horizon in terms of the materials I can use for prototyping. I also learned from my formative assessment that it is useless if you have great drawings but cannot present them in an appealing manner, be it the cropping of images, editing out mistakes or the formatting of the presentation as a whole.

Aside from practical skills, I also learned some valuable life lessons through this course. When I first started this 11 week course, I initially struggled as I thought my work was not up to par with my other colleagues in the course. I slowly began to improve my work ethic along the way, feeling I slacked off a bit at the beginning. I also began to manage my time better, pushing myself to get work done not only on time but also to an acceptable degree. This helped me set higher standards for myself, pushing myself to improve my work, desiring to achieve better.


Week 10: Reproductive Processes

Our task this week was to translate the given orthographic projections into parallel projections, then recreate the cubes with plasticine. This task was relatively simple, as I was quite used to drawing cubes at this point, albeit not by freehand. The plasticine itself took me a bit of time to soften at first, but it was easy to recreate the cubes afterwards, carving rectangles first before putting everything together to form a cube.

Next, we had to create our own version. I decided to first create an orthographic projection on the side before drawing the cube, which helped me understand my cube better. This was interesting as I thought orthographic projections could always convey a shape or a design almost if not perfectly, however this taught me that translating it into a 3D form is just as important to fully understand the composition of an object.


Week 9: Iterative Sketching

Our task this week was to draw 20 iterations of a cup. I first drew an orthographic and 3D sketch of the chosen cup, allowing me to get a better grasp of the cup’s original composition.

Next, based on the 3D sketch, I created 20 variations of the cup, creating different cup shapes and handles to see which one would look the best. Ultimately, I decided that the 20th variation looked the best. Despite it’s simple changes to the top rim and base of the cup, it gives the cup a slightly more elegant and fancy look.

Next, we had to create 20 iterations of a jug. After drawing the 20 variations, I think the 18th iterations matched the chosen cup the best, as I imagined that they would pair well if both were a set of metal cups and jugs.

Finally, I drew the chosen 20th and 18th cup and jug respectively side by side, and added shading to them to highlight their shape and what they would look like as a final product.

The pringles sketch was definitely one of the more “easier said than done” drawing practices in this course, as I found it hard to make the front part of the pringle look natural where the bottom half shows, and I feel like is something that I could practice on.


Week 8: Sectional Development and Curves

Our first drawing task this week was to fill up 4 pages with circles and ellipses. As I was still a bit unfamiliar with drawing circles and ellipses completely freehand, I had to use reference lines and axis to aid me in my sketches. After some practice on the first page, I began to draw different items and prisms that included circles and ellipses. Through this, I began to get used to translating ellipses to 3D.

On the 3rd and 4th pages, I began to add more shading to each circle and ellipse, creating even more of a 3D dynamic to the sketches, creating more spheres instead of just circles. I also tried exploring more complex shapes and items that may combine different sizes of circles and ellipses in the same drawing, such as a planet, an eyeball and lipstick. Overall, I felt like this task helped me further improve my understanding of how to translate circles and ellipses from 2D to 3D.

Our second task this week was to sketch 2 pages of spirals and 2 pages of irregular surfaces. The spirals seemed intimidating at first, but I got the hang of it pretty quick afterwards. I realized that spirals are essentially created by stacking ellipses together, then tracing only one side from each ellipse. This helped me utilize the skills from the first task and apply them to this task, creating different spirals that create different shapes like arches and hemispheres.

The next 2 pages are by far my most unfamiliar, as I was not used to drawing anything irregular intentionally. I tried to look into nature for inspiration, recreating different types of landscapes, such as rock pillars, cliffs, waves, sand dunes, and crystals. I feel like I definitely could use more practice with drawing irregular surfaces, as I feel like my drawings do not look natural enough and look somewhat “off” even for something that is supposedly irregular.


Week 7: Focus Groups

Our focus group decided that we should first attempt to recreate each other’s polymorph objects only by looking at the instruction sheets, then give each other feedback before creating our final objects and instruction sheets.

I first tried to recreate Zita’s finger splint. The description was quite easy to follow and the splint wasn’t hard to make either . In terms of the splint itself, I secured both sides of the splint instead of having the polymorph loop around the two strips like a spring, leaving the entire middle section of the splint clear, giving even more room for the finger to breathe.

Next, I tried recreating Joe’s pencil holder. I felt like the pencil holder itself could be longer in length, since pencil holders usually have more holes than just 3 to hold different grades of pencils. Another problem I faced is that the holes are a bit too big to hold pencils or pens, since the circumference of a finger is much larger than that of a pencil.

As for my own polymorph object, Zita and Joe suggested that the arms could be longer and the hook could be located right under and closer to the arm of the table hook. With these improvements in mind, I recreated my instruction sheet and table hook, this time with longer arms and the hook under the arms. This significantly improved my table hook, as it is now able to hold even heavier objects such as a fully filled water bottle, whereas the first table hook would sometimes slip off just by holding a pair of headphones. Overall, I’m quite satisfied with how it turned out.

Our first drawing task this week was to sketch primitive forms with shading. I feel like I’m getting better at understanding how to make objects appear to be 3D on a 2D plane by using shading to simulate the positioning of lighting. However, drawing the cylinder was a bit of a challenge, since I’m not quite used to drawing ellipses just yet, so the top of the cylinder ended up being more of a square with rounded edges than looking like a circle/ellipse.

Our next drawing task was to practice more on sketching ellipses. I first used 1-point perspective to sketch different sizes of ellipses, then tried to create cylinders with these ellipses. At first, I had the same problem where the sides of the ellipses on the major axis ended up looking rather sharp instead of round, and had to erase and redo some of the ellipses for a few times just to get the shape right. Eventually, I got more and more used to it. I’m still nowhere near to fully grasping the technique of drawing ellipses completely free-hand, but I think I’m slowly getting there.


Week 6: Grading and Shading

One of our tasks this week was to experiment with polymorph and create 5 small shapes that align with our hand in some way and can be useful. From the photos above, I have made a mouse wrist support (which can also double as a chopstick rest), a thimble, brass (actually polymorph) knuckles, a table hook, and a sauce dish. It was quite challenging to come up with the shapes and make them useful, since I had to come up with the shapes before the polymorph hardens from cooling. The morphing process was really fun, as it alomost felt like I was casting iron.

My favorite shape out of the five would have to be the table hook. I always wanted a table hook for my headphones, so I thought making a table hook would come in handy. The hook could also be used to hook other things such as bags. Though it wasn’t easy to get the desired shape at first, the results were not too bad.

Our drawing task this week was sketching a sphere in a bowl. I have always loved doing shading in the past, so this was a refreshing exercise for me. Though I rarely ever draw spheres in sketching, this was not as hard as I first imagined. I was pretty satisfied with the results, but much like the previous task, I think it could have been further improved if I had darker shades of graphite to further accentuate the darker tones to give the drawing a bit more contrast.


Week 5: Mid-term Reflection

After a good 4 weeks in this course, it has allowed me to practice my sketching skills more, including both drawing methods that I have learnt before in high school such as 2-point perspective, 3-point perspective and orthographic sketches; and new methods such as rotated plan sketches and reference geometry sketch. These perspective drawing tasks all helped me further hone my skills in drawing cuboids, and I hope to be able to draw these free hand with enough practice. Aside from perspective sketching, the practical tasks were also really fun despite being quite challenging at times. The rectilinear volumes introduced me to the concept of dominant forms, and the light basket let me experience with new materials. Though I’ve been able to complete the tasks so far, I wish I can put more personal approach to the tasks in the future and continue to experiment with new things while improving my sketching abilities.


Week 4: Linear to Physical

One of the tasks this week was to create a light-basket. I chose rattan cane as my choice of material as I wanted to try making an actual mini-basket with materials that I have yet to explore. Admittedly, the process was much harder than I expected, especially with creating the rim, where I had to redo many times.

Then, I tried seeing how the basket would interact with light. Given how my basket doesn’t have many big gaps except for the base, the shadows reflected onto the wall does not have much pattern to them. Instead, it creates an effect that makes the shadows resemble more of a spider-web, especially in the third photo, which I found quite interesting.

Another task this week was reference geometry. The rectangle reference geometry was rather difficult, since it’s much harder to draw rectangles without the use of a ruler. The cubes were much easier with the help of a ruler, but it was also interesting to see how much the size of the sides of the cubes would shrink the further it got from the first cube.

The third task this week was another task on perspective drawing where we had to draw 20 cube variations. This task really helped me get the hang of perspective drawing a bit more, and it was fun to see how many different shapes and patterns I could create out of a simple cube, taking away parts of a cube to create something else.

Finally, I picked 3 out of the 20 cube variations and shaded the corresponding faces with the same color. This helps with identifying the sides of the cubes much more with the sharp colors, though I wished I used more similar colors to give it a more realistic 3D feel.


Week 3: Rectilinear Volumes II

For week 3, we had to create rectilinear compositions again, this time with plastic. I created 3 different compositions consisting of cubes and cuboids. The most challenging part for me was definitely looking for sources of plastic to begin with, since plastic isn’t as easily accessible when compared to paper or cardboard. I ended up creating cubes and cuboids out of plastic from steak packaging, meaning I had limited resources and had to come up with unique volumes while keeping size limitation in mind.

We also learned how to create rotated plan perspective sketches this week, where we had to draw sketches for a house and one of our rectilinear volumes. The house was easy to sketch due to its simple shape, however the rectilinear volume proved to be a challenge due to its more complex shape, which I had to redo multiple times for the final sketch to actually somewhat resemble the rectilinear volume.

Another task this week was to draw cubes using two-point and three-point perspective. This was fun to do as I have done this before in high school. It was a bit hard to get the exact cube shape right instead of drawing cuboids, but I got the hang of it after a while. Overall, this was a great exercise as it let me see how cubes would look like and be drawn from different perspectives,


Week 2: Rectilinear Volumes I

In week 2, we had to create rectilinear compositions with different materials ranging from paper to cardboard to mountboard. I created 6 different compositions, mainly out of cubes. Though there is less variation, I was able to play around with different sizes of the cubes and cuboids, how they interact with each other and how to create a contrast between the different volumes through their size, color and placement.

Next, I picked out one of my compositions and made an orthographic projection sketch of it. I had experience in drawing orthographic projections during my time in high school, so although it was a familiar process, it was still fun and challenging to see how the volumes interacted with one another and how they actually look like from different angles.