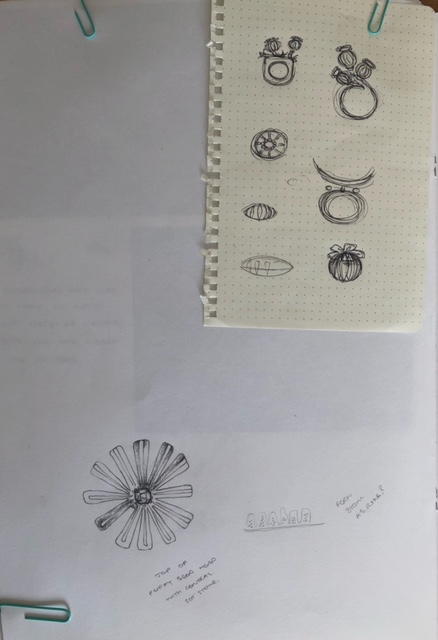
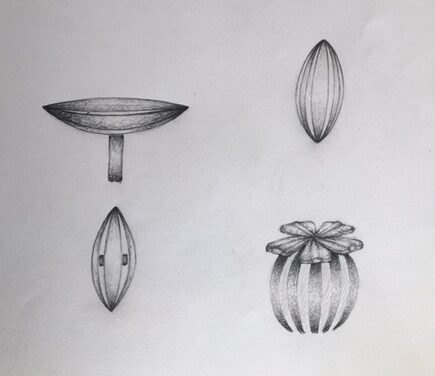
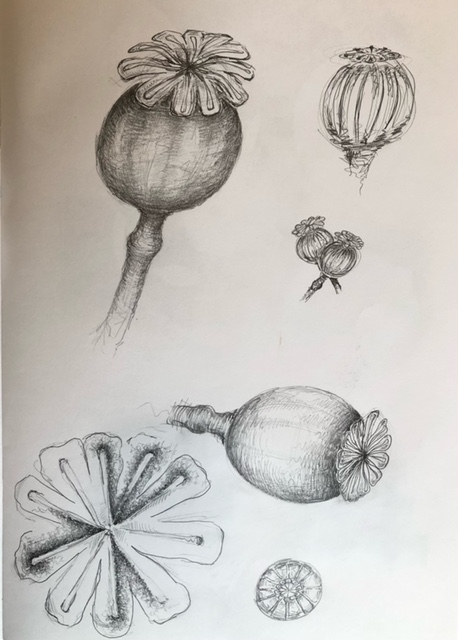
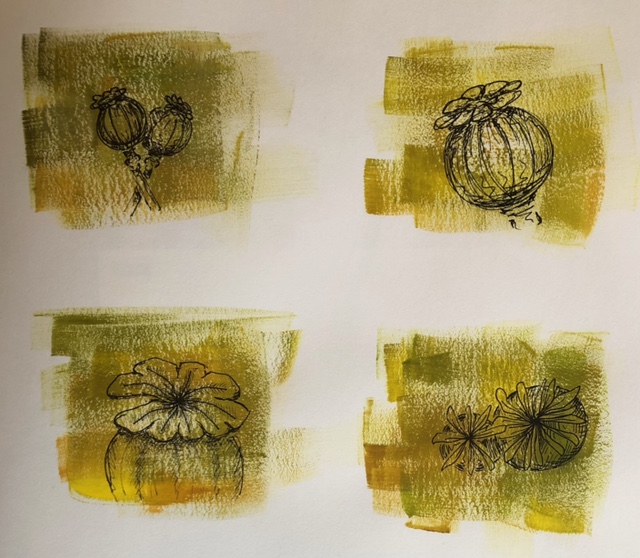
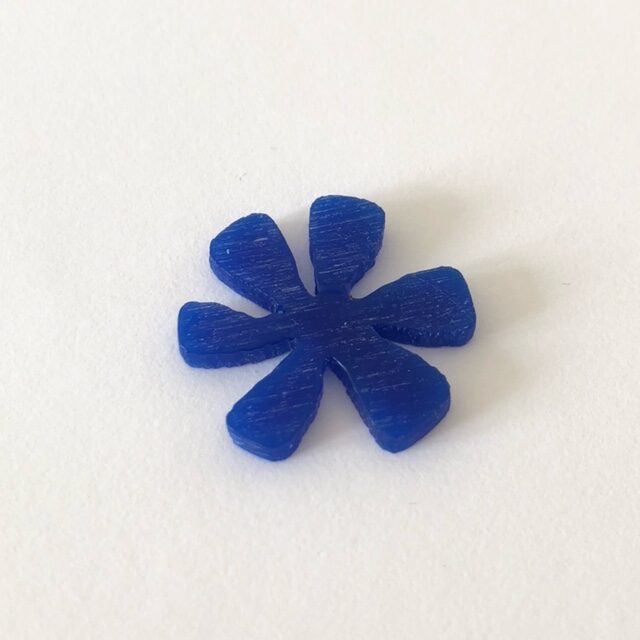
Wax Carving Process
First make sure you are casting a material that can burn out in the kiln like wax or sticks and leaves. Natural objects can be unpredictable when cast as their shapes may change when moulded and heated. Also be sure to only cast any gemstones that can withstand the heat of the casting process, so only stones which are high up on the Mohs scale of hardness.
Ensure your design is sprued correctly, allowing the plaster and eventually the molten metal to flow into every crevice.
Calculate the weight of the metal you are going to use, ensuring to factor in the sprues and subtract the weight of any gemstones or other materials that won’t be going into the kiln.
Each metals has a different wax/metal ratio. Simply multiply the weight of your wax model by the wax/metal ratio of the metal you’re using.
The next step is to create the plaster mould of your wax design. To do this, place your sprued model onto the rubber sprue base and put it into the plaster flask. Be sure to block the holes in the canister and then pour the plaster into the can.
Following this, the flask is shaken to allow the plaster to set with all the details from the wax model.
The mould is then placed in a kiln where the wax burns out, leaving just the plaster mould.
The molten metal of choice is then poured into the the plaster mould, the flask must still be hot for the process to work.
The flask holding the molten metal is transferred to a vacuum casting machine where the metal is encouraged into all the crevices in the mould.
Once this is done, the canister can be removed from the vacuum and quenched, removing the bulk of the plaster and revealing the finished metal cast.