Teaching and assessing online
This is a reminder of the tools and services available to you in the event of disruption to campus based activities, such as the current COVID-19 epidemic.
If your *students* can’t access campus
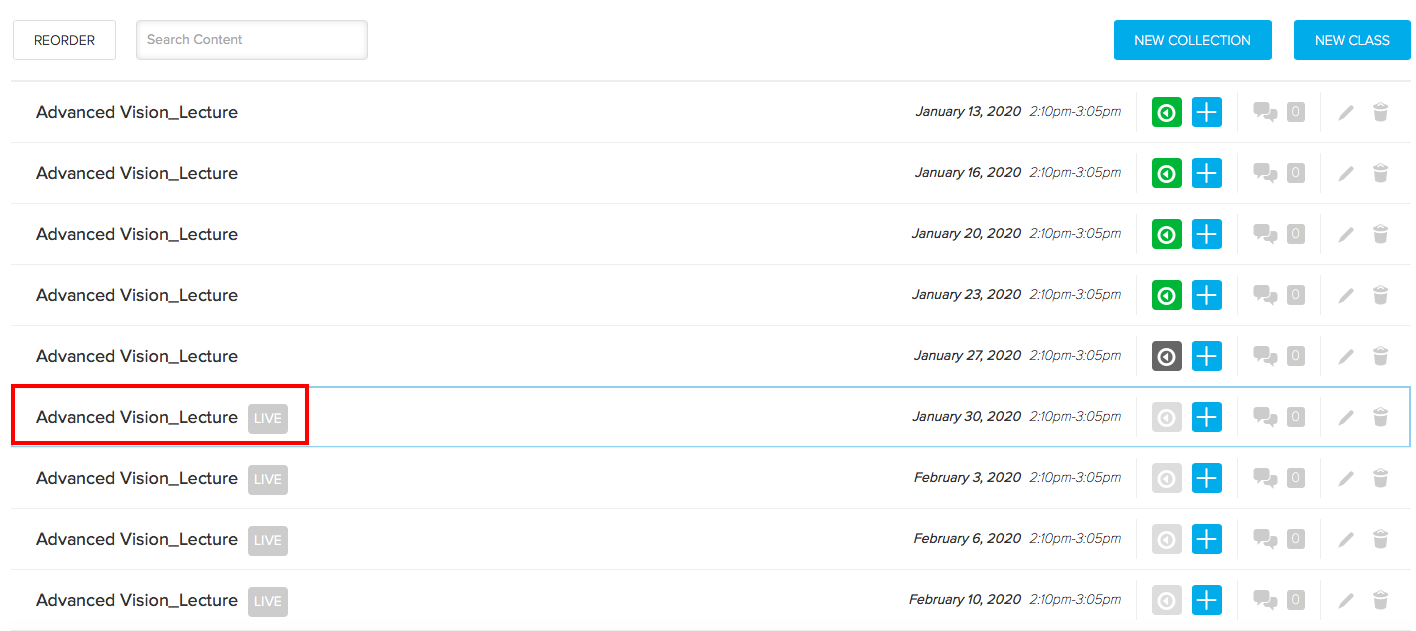
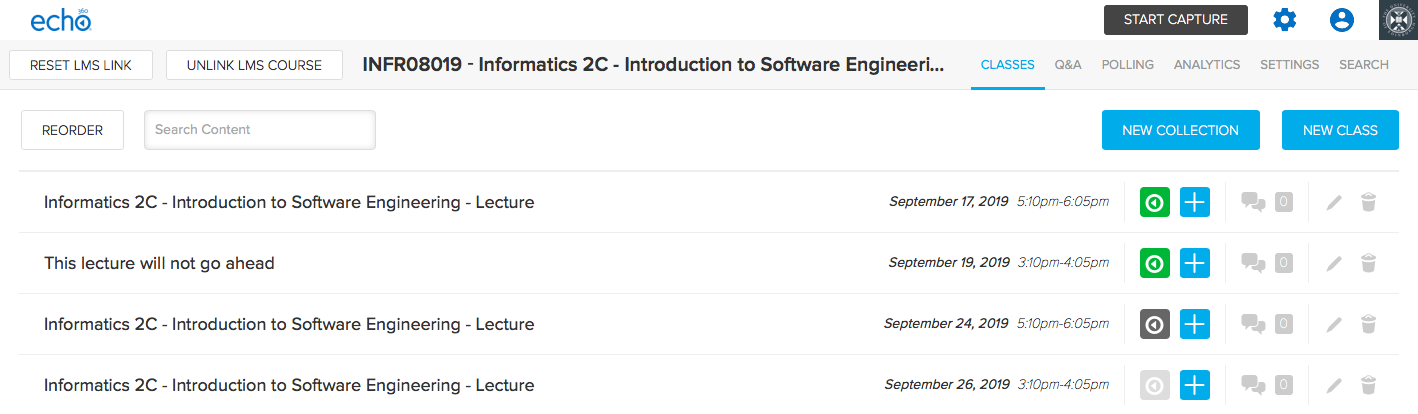
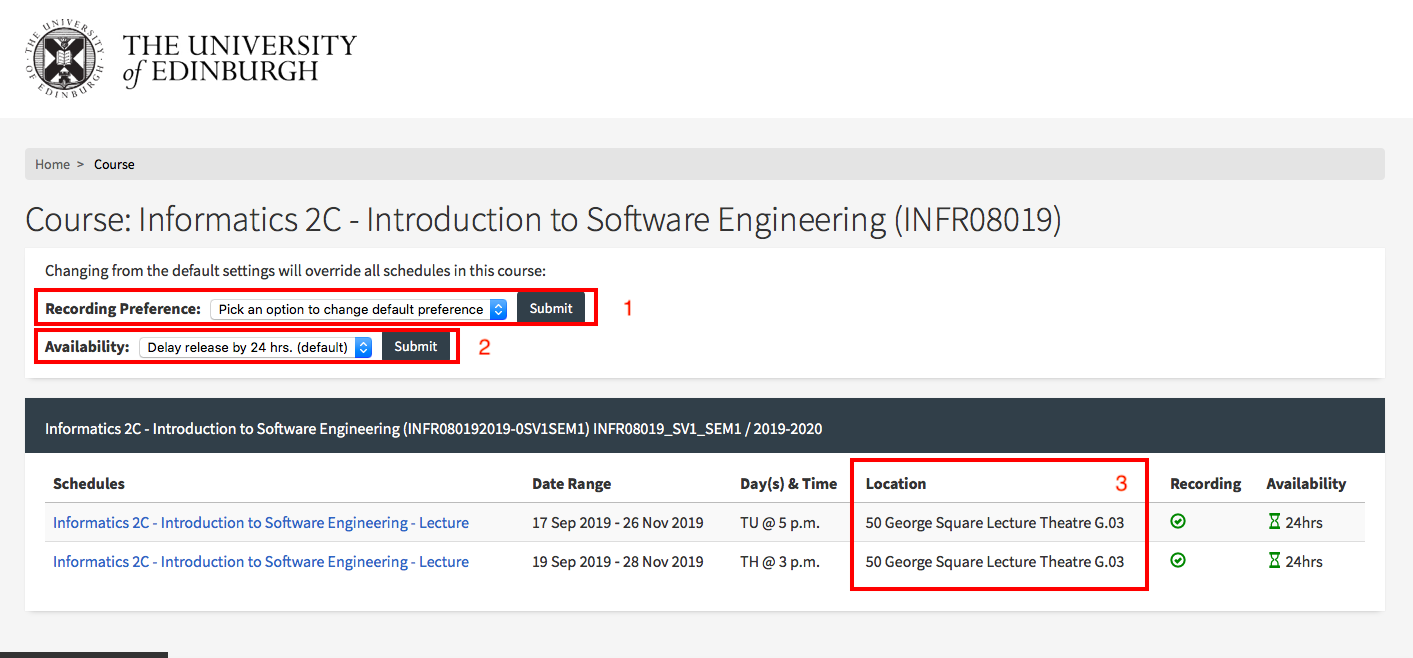
- If students can’t come to lectures, they can access the lecture recordings via the Lecture Recordings link in Learn. Please note: this is only for those lectures delivered in a centrally supported room.
- Any room which supports lecture recording, also supports Live Streaming. Please get in touch if you would like to enable live streaming of your lectures.
- For those courses requiring to use submit, students can download and install Virtual DICE or remote access to normal DICE machines via XRDP or SSH. Please log a call with computing help for further information.
- For those courses which don’t require to use submit, remember that Learn has an assignment tool which will more than likely meet your needs. The Informatics Learning Technology Service can help with this – please get in touch.
If *you* can’t access campus
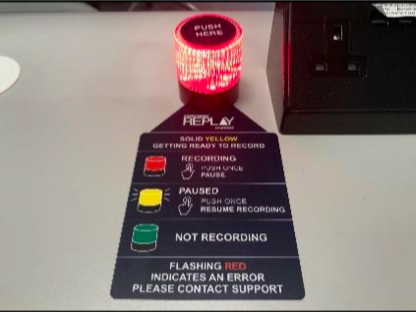
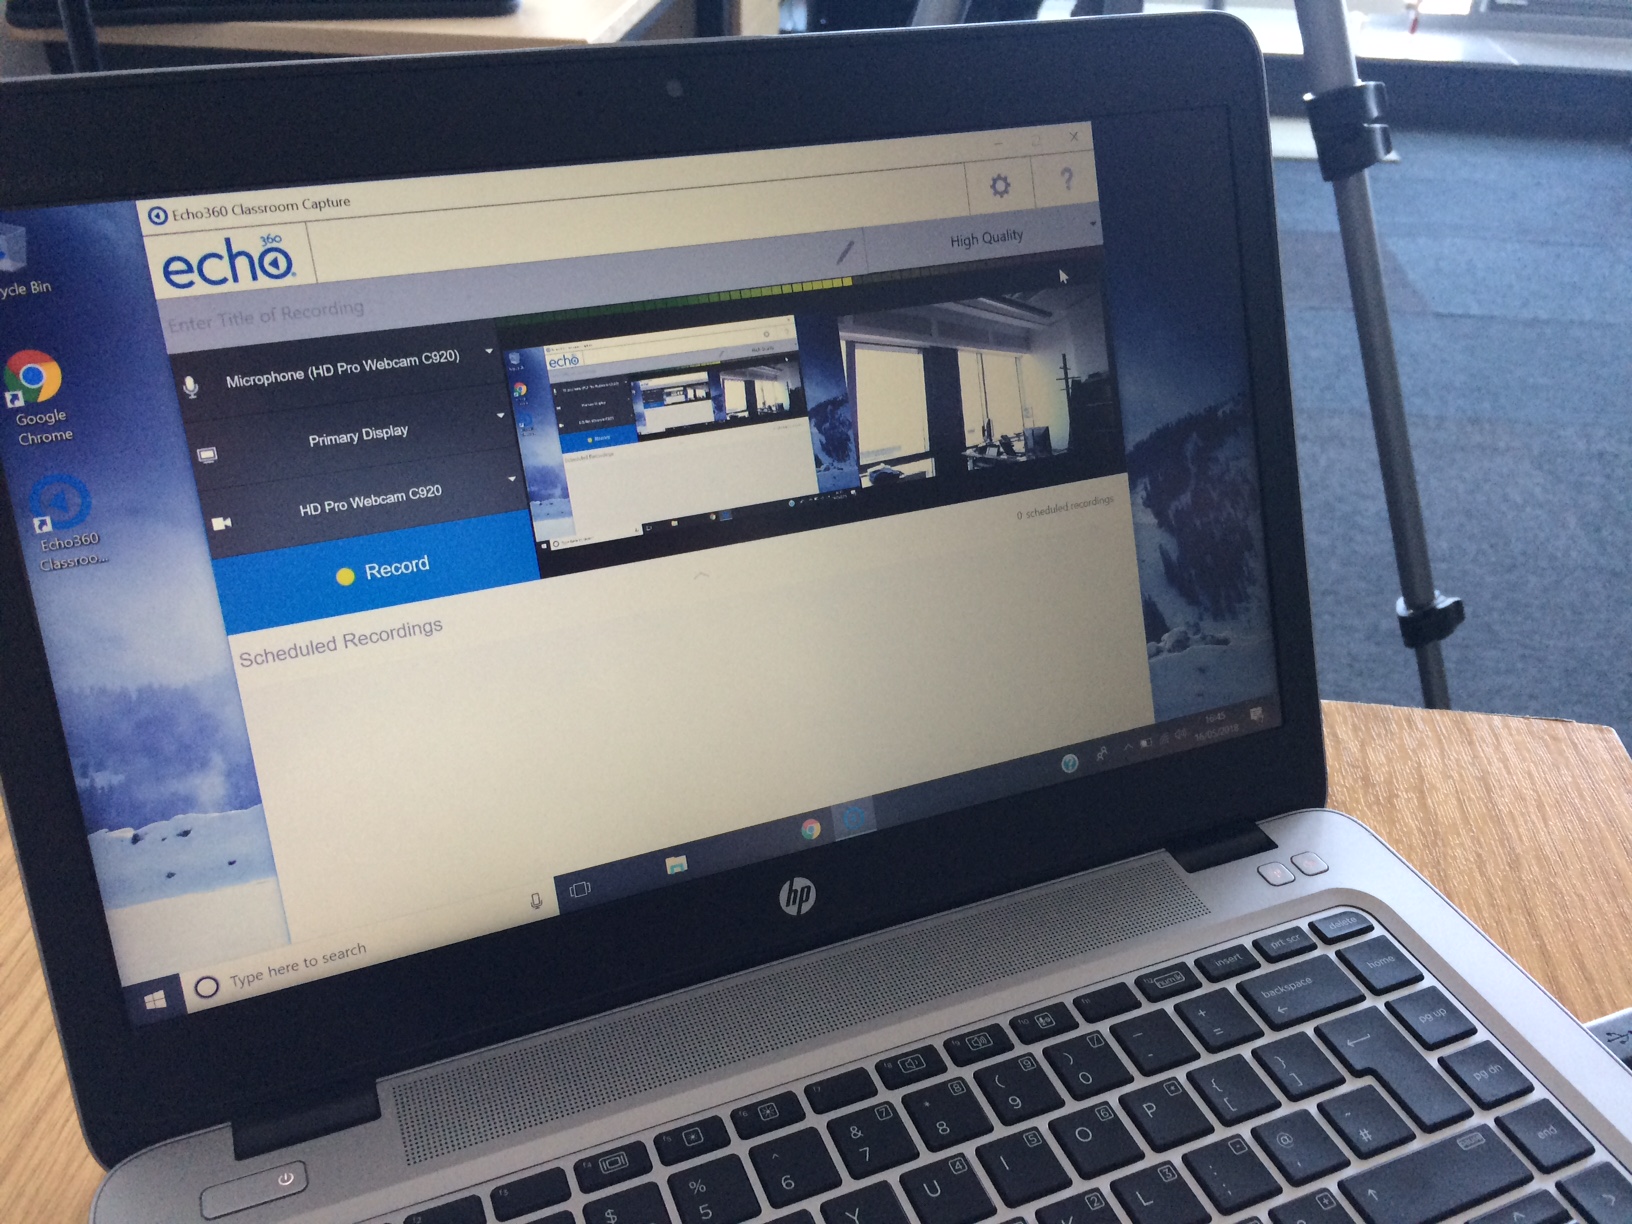
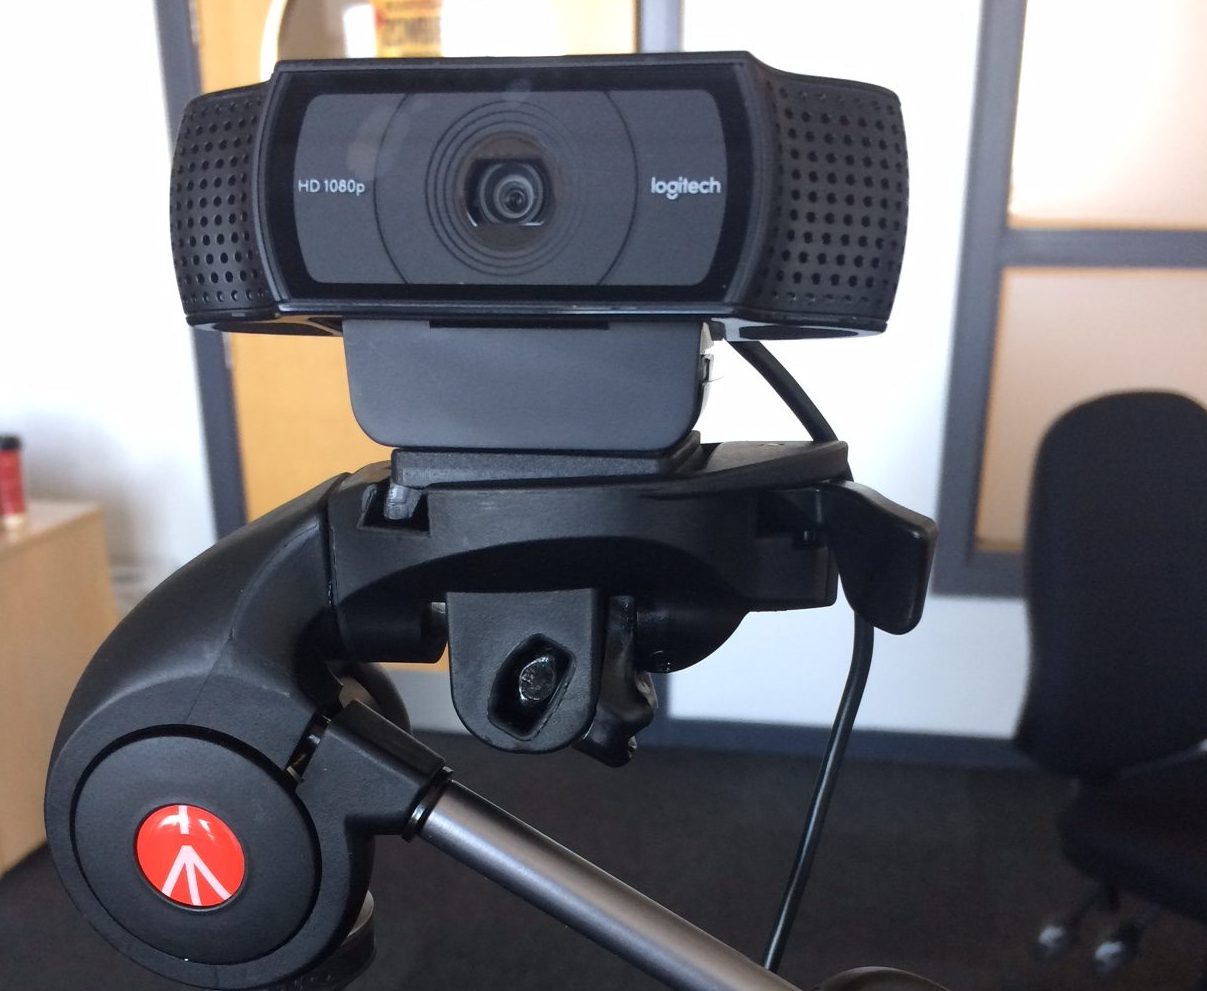
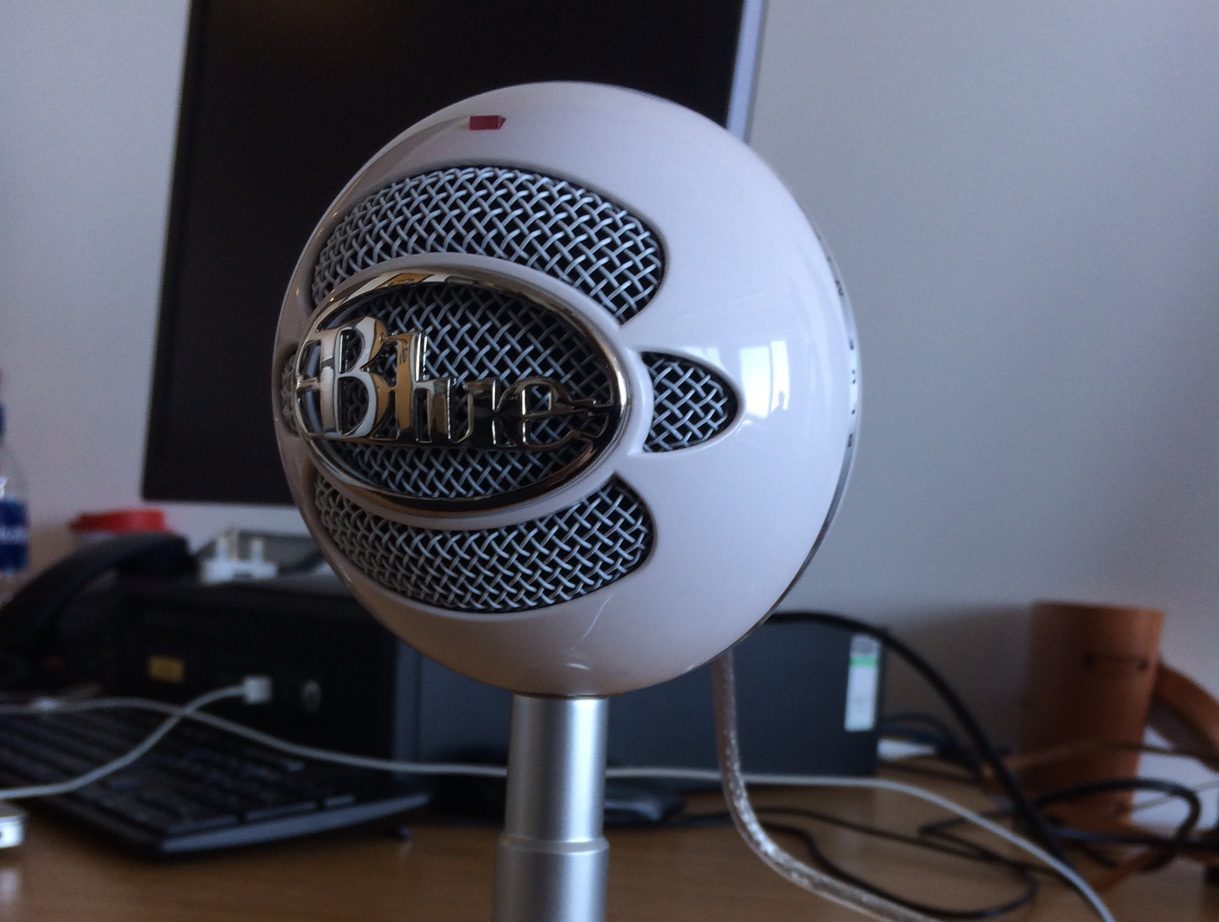
- The same product used for lecture recording at scale across campus (Echo360) has an application users can download from the website. Please note: the application is only available for Mac and PC. If you require a loan device, please get in touch.
- The Echo360 application – called Universal Capture – allows you to capture audio, screen + video. You can then publish direct to your course via the recording interface. This means students will access your recording in the same place as recordings of campus based lectures. See the bottom of the page for links to video and written guidance.
- The Echo360 player (the interface students use to watch lecture recordings) also has a nice feature where they can ask questions at specific points in the presentation. The lecturer can then review these and answer questions in the appropriate context. See Media Hopper Replay: Q&A discussions, flagging confusing content, and bookmarking for further guidance.
- You may want to deliver smaller, tutorial sized classes via Blackboard Collaborate. Collaborate sessions can be scheduled via MyEd or Learn. All sessions run in the browser (Chrome is recommended) and so there’s no need to worry about user devices.
Further Help
In addition to local help via the Informatics Learning Technology service, Blackboard are running sessions on Tuesday 10 March called “Preparing to scale online teaching and learning during Coronavirus”. This webinar is for anyone involved in administering or delivering teaching and learning, including but not limited to system administrators, eLearning technologists, IT managers, Heads of Teaching and Learning, faculty and academic staff. Register here: http://bit.ly/COVID-19EURUG
Media Hopper Replay’s universal capture tool – video instructions
Media Hopper Replay’s Universal Capture tool – Mac
http://www.docs.is.ed.ac.uk/skills/documents/Lecture%20Recording/Guides/3873_v2.pdf
Media Hopper Replay’s Universal Capture tool – Windows
http://www.docs.is.ed.ac.uk/skills/documents/Lecture%20Recording/Guides/3872_v2.pdf
Media Hopper Replay: Q&A Discussions, flagging confusing content and bookmarking
http://www.docs.is.ed.ac.uk/skills/documents/Lecture%20Recording/Guides/3887.pdf
An Instructor’s guide to Media Hopper Replay: Viewing course and student analytics
https://media.ed.ac.uk/media/An+Instructor%27s+guide+to+Media+Hopper+ReplayA+Viewing+course+and+student+analytics/1_rs96etgi